@DeletedUser41274645 (talk | contribs) mNo edit summary |
(→{{HW}}) |
||
| Line 1: | Line 1: | ||
| + | This page is a gallery page, featuring character art of [[Midna]]. |
||
| − | {{Noncanon}} |
||
| − | {{Images}} |
||
| − | {{Stub|HW}} |
||
| − | {{Object |
||
| − | |name = Illustrations |
||
| − | |image = [[File:No Image.png|150px]] |
||
| − | |caption = |
||
| − | |game = {{HW}} |
||
| − | |other = |
||
| − | |uses = Assembling Illustrations<br>Unlocking Adventure Mode maps |
||
| − | |comp = |
||
| − | |theme music = |
||
| − | }} |
||
| − | '''Illustrations''' are collectible objects in {{HW}}. They are comprised of '''Illustration Pieces'''. |
||
| − | == |
+ | ==Imp Form== |
| + | <gallery> |
||
| − | Illustration Pieces are obtained after a [[Gold Skulltula]] has been slain. Each Illustration Piece adds to the collection, forming a complete image after 20 Pieces of each Illustration have been obtained. There are a total of five Illustrations in {{HW}},<ref>{{Cite|There are five illustrations in total. You can check how many pieces of each illustration you've gathered by going to the Gallery's View Illustration section|N/A|HW}}</ref> depicting various scenes. The Illustrations can be viewed on the Gallery's View Illustration section from the main menu. |
||
| + | File:Midna01.png |
||
| + | File:Midna02.png |
||
| + | File:Midna03.png |
||
| + | File:Midna05.png |
||
| + | File:Midna Small.png |
||
| + | File:Midna Featured.png |
||
| + | File:Midna-Wolf.png|Midna atop Wolf Link |
||
| + | File:TP Wolf-Midna Art.png|Midna atop [[Wolf Link]] artwork |
||
| + | File:Midna Concept.png|Concept art of Midna |
||
| + | File:Midna Icon.png|Midna's in-game icon |
||
| + | File:Midna Monster.jpg|Closeup of Midna |
||
| + | File:Midnalink.jpg|Midna atop Wolf Link |
||
| + | File:Midna Portal.jpg|Midna summoning a portal to leave the [[Forest Temple (Twilight Princess)|Forest Temple]] |
||
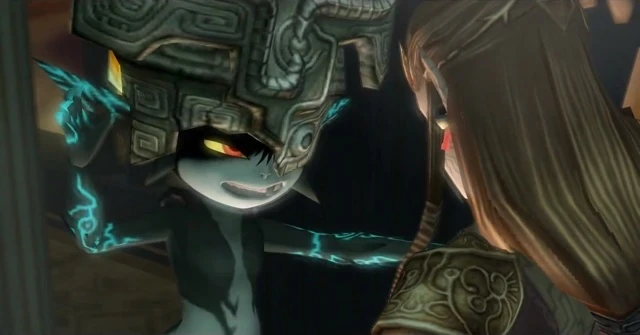
| + | File:Zant'sWhisper.jpg|Zant whispering to Midna |
||
| + | File:MidnaInjured01.png|Midna having been Injured by [[Lanayru (Spirit)|Lanaryu]] |
||
| + | File:MidnaInjured02.png|Injured Midna resting |
||
| + | File:MidnaInjured03.png|Looking up |
||
| + | File:MidnaInjured04.png|Back side |
||
| + | File:MidnaInjured05.png|Close up to her face |
||
| + | File:MidnaHealing.jpg|Midna being healed by [[Princess Zelda|Zelda's]] power |
||
| + | File:MidnaHealing02.png|Midna being healed by Zelda's power |
||
| + | File:Image190.jpg|Midna after Zelda sacrifices herself to save her |
||
| + | File:MidnaAndTheShadowCrystal.jpg|Midna holding the [[Shadow Crystal]] |
||
| + | File:Link and Monster Midna.jpg|[[Link]] and Midna in the [[Sacred Grove]] |
||
| + | File:Reclaim Fused Shadow.jpg|Midna assembling the [[Fused Shadow]] |
||
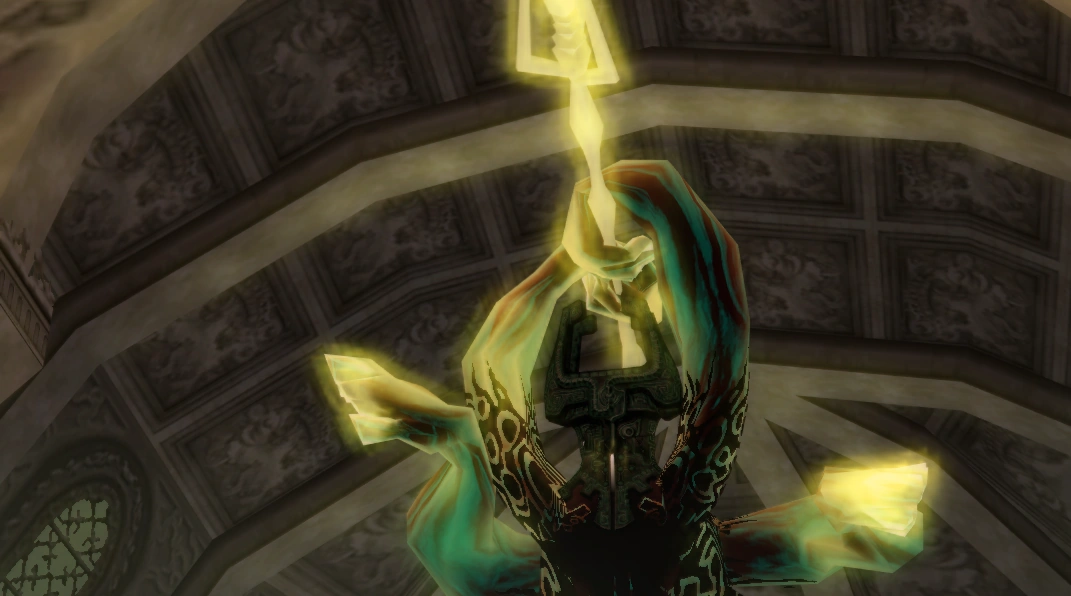
| + | File:Midna Fused Shadow.jpg|Midna using the Fused Shadow to kill Zant |
||
| + | File:MidnaGasp.jpg|Midna in fear of the Fused Shadow's power |
||
| + | File:Midna Moving Forward.jpg|Midna after killing Zant |
||
| + | File:Midna Summon Portal.jpg|Midna summoning a portal to leave the [[Palace of Twilight]] |
||
| + | File:MidnaLink.jpg|Midna and Link preparing to fight [[Ganon]]dorf |
||
| + | File:Midna's Transformation.png|Midna unleashing the full power of the Fused Shadow |
||
| + | File:Midna's Transformation 2.png|Midna trying to use a Trident to kill Ganon |
||
| + | File:Zelda and Monster Midna.jpg|Midna frustrated by Ganondorf for possessing Zelda |
||
| + | File:800px-LinkandMidna.jpg|Early screenshot of Wolf Link and Midna outside [[Hyrule Castle]] covered in [[Twilight]] |
||
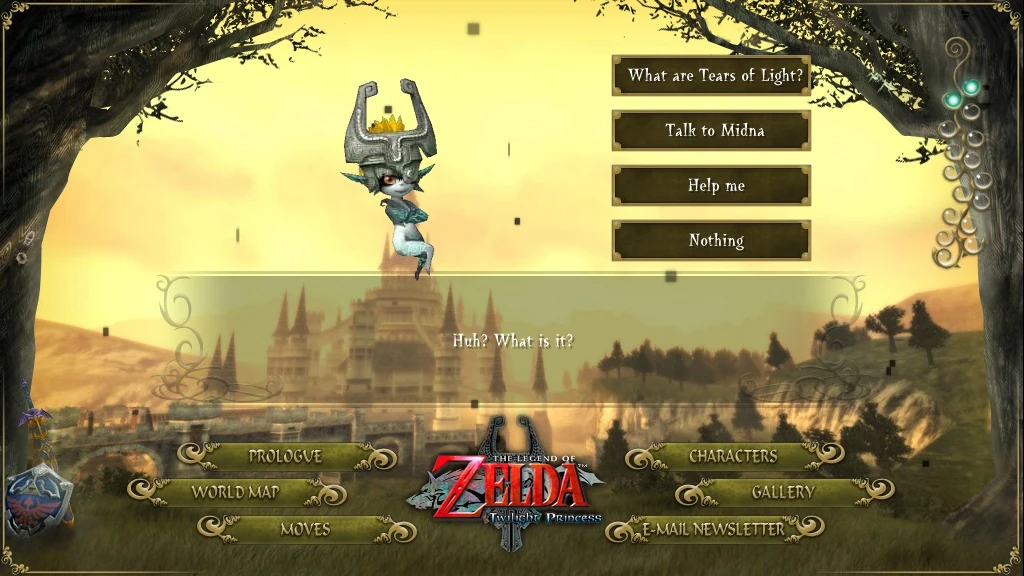
| + | File:Monster TP website.jpg|Midna on the official ''Zelda'' website |
||
| + | </gallery> |
||
| + | ==True Form== |
||
| − | Completing Illustrations yields certain rewards.<!-- What kind of rewards? --><ref>{{Cite|By collecting the pieces and completing illustrations, you can get your hands on certain rewards. To earn new illustration pieces, defeat Gold Skulltulas!|N/A|HW}}</ref> For each Illustration completed, a new map unlocks in Adventure Mode.{{Verify}} |
||
| + | <gallery> |
||
| + | File:MidnaTwiliArt.png|Concept art of Midna's true form |
||
| + | File:Midna's Revival.jpg|Midna being revived by the [[Light Spirits]] |
||
| + | File:Midna's True Form.jpg|Midna after she is revived by the Light Spirits |
||
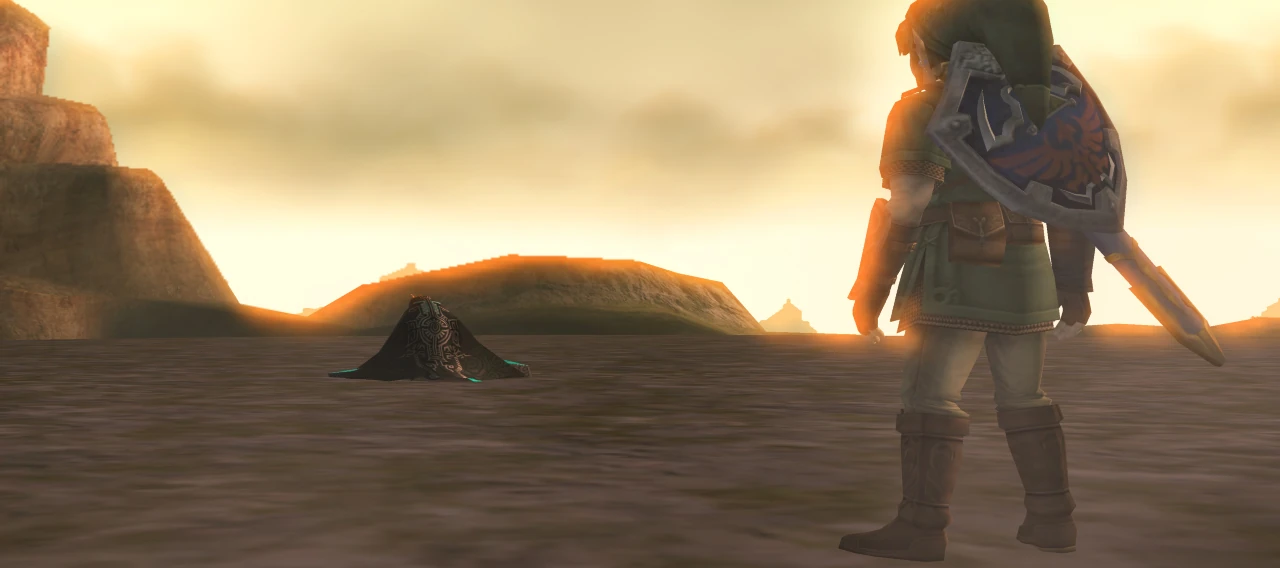
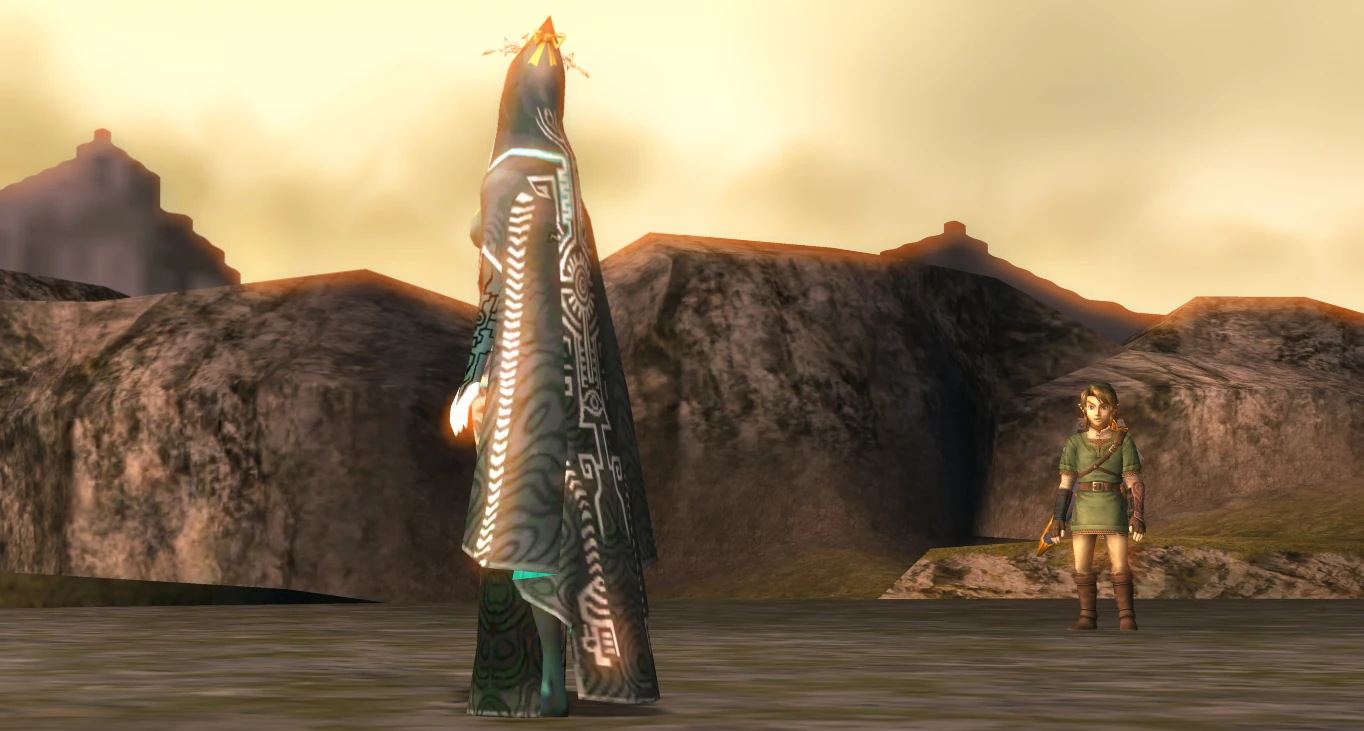
| + | File:Midna's True Form 2.jpg|Link meeting with Midna after her true form has been restored |
||
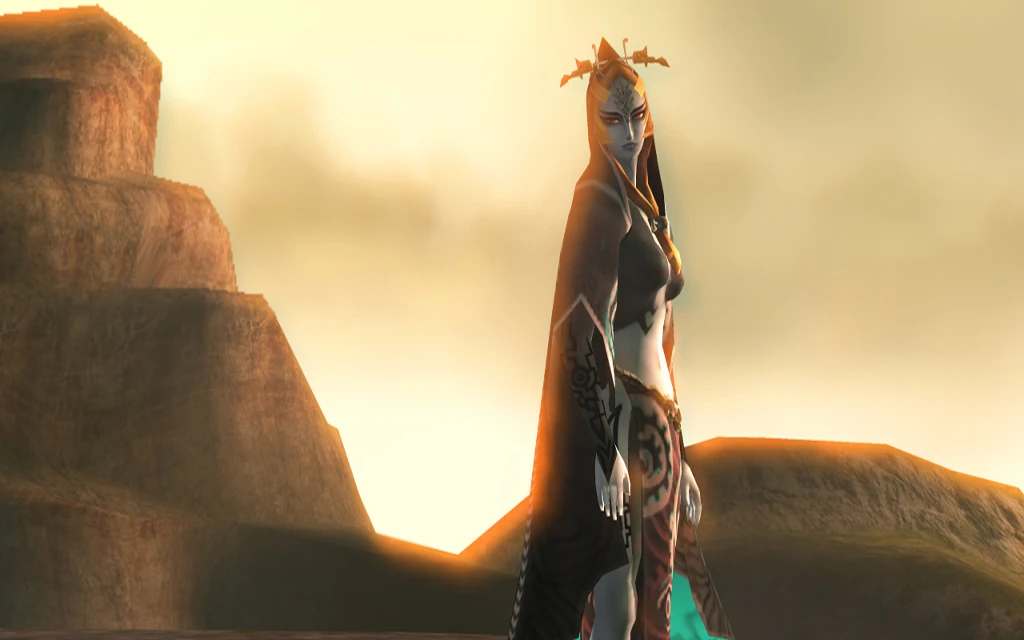
| + | File:Midna Final.jpg|Front view of Midna's restored form |
||
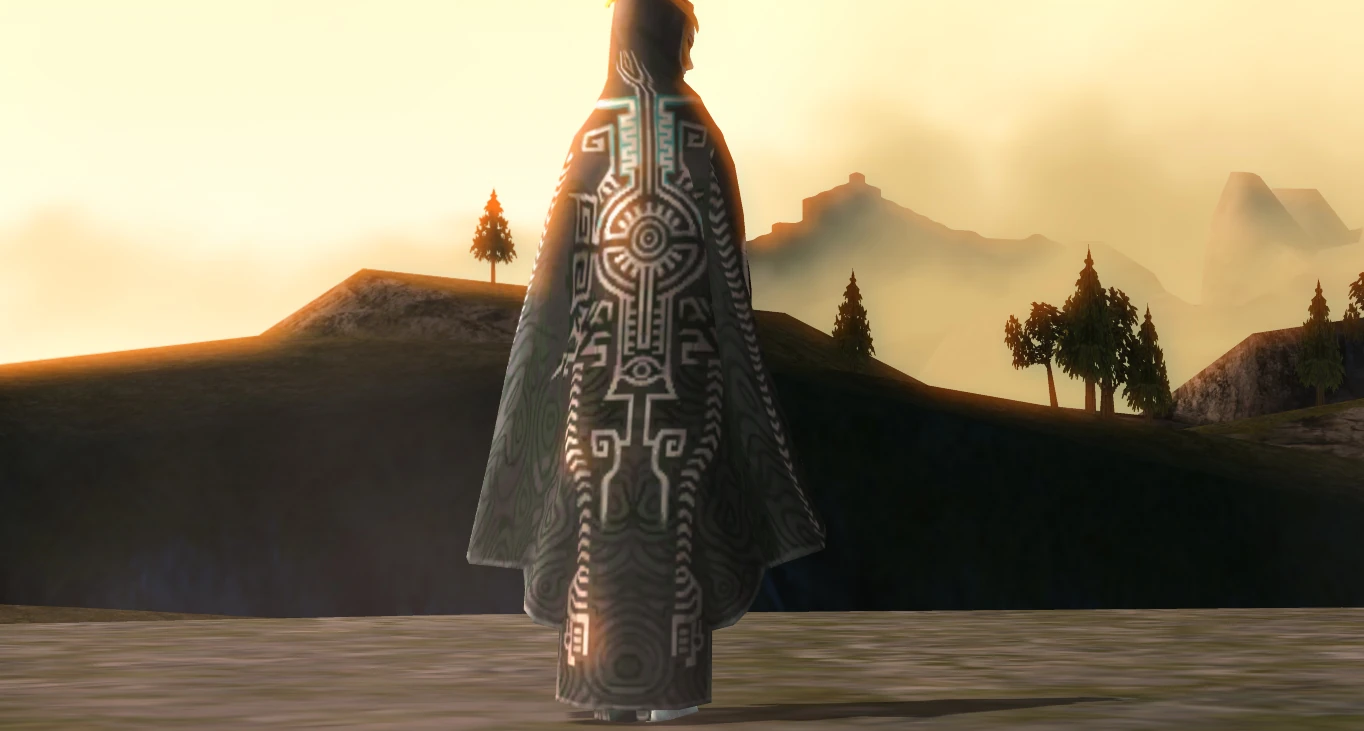
| + | File:Midna's True Form 3.jpg|The back of Midna's robe after she reveals her true form |
||
| + | File:Midnao.jpg|Closeup of Midna's true form |
||
| + | File:Midna's Farewell.jpg|Midna alongside Link and Zelda at the [[Mirror of Twilight]] |
||
| + | File:Midna's Farewell 3.jpg|Midna in front of the Mirror of Twilight |
||
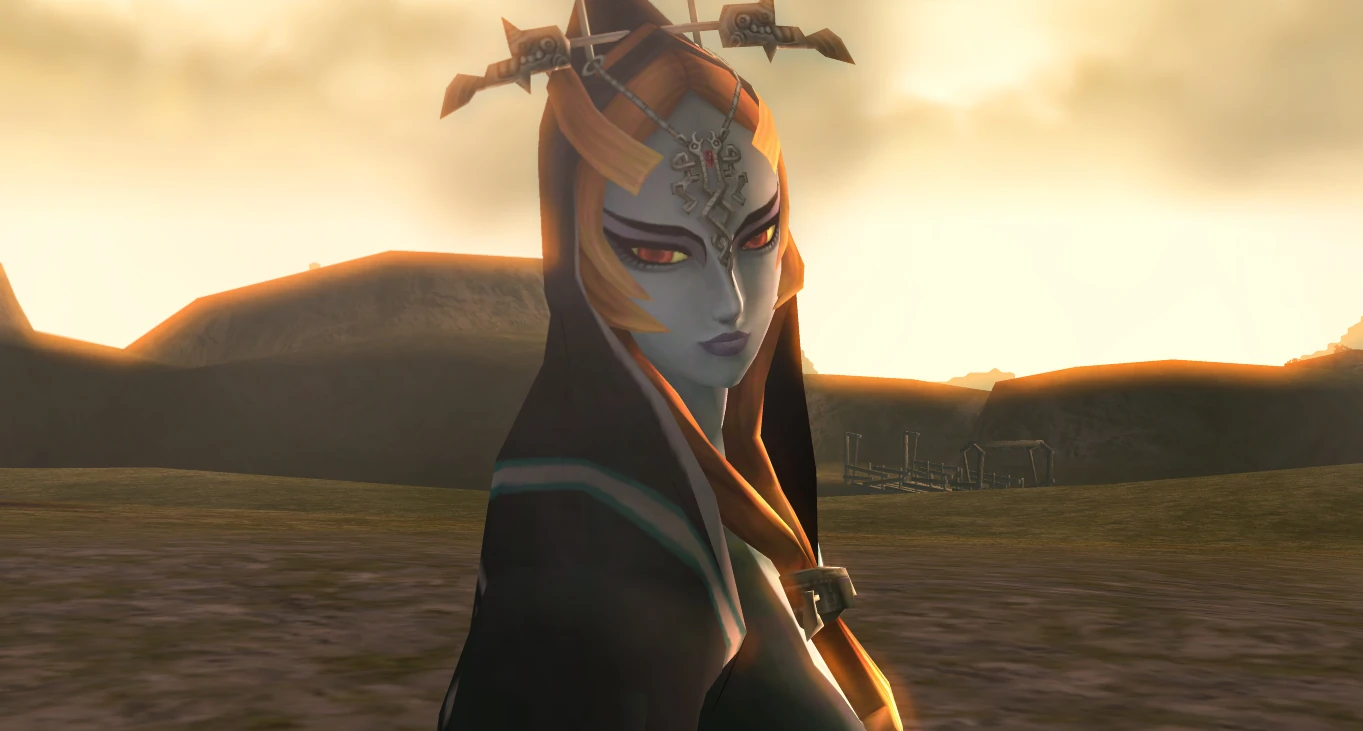
| + | File:TrueMidna.jpg|Closeup of Midna at the Mirror of Twilight |
||
| + | File:Midna's Farewell 5.jpg|Midna bidding farewell to Link |
||
| + | File:Midna's Farewell 8.jpg|Midna leaving through the Mirror of Twilight |
||
| + | File:Midna's Farewell 7.jpg|Midna returning to the Palace of Twilight |
||
| + | </gallery> |
||
| + | ==Non-Canon Appearances== |
||
| − | {{Ref}} |
||
| + | ==={{SSB4}}=== |
||
| + | <gallery> |
||
| + | File:SSB4 Midna.jpg|Midna's Assist Trophy |
||
| + | </gallery> |
||
| + | |||
| + | ==={{HW}}=== |
||
| + | ;Imp |
||
| + | <gallery> |
||
| + | File:HW Midna.png|Midna |
||
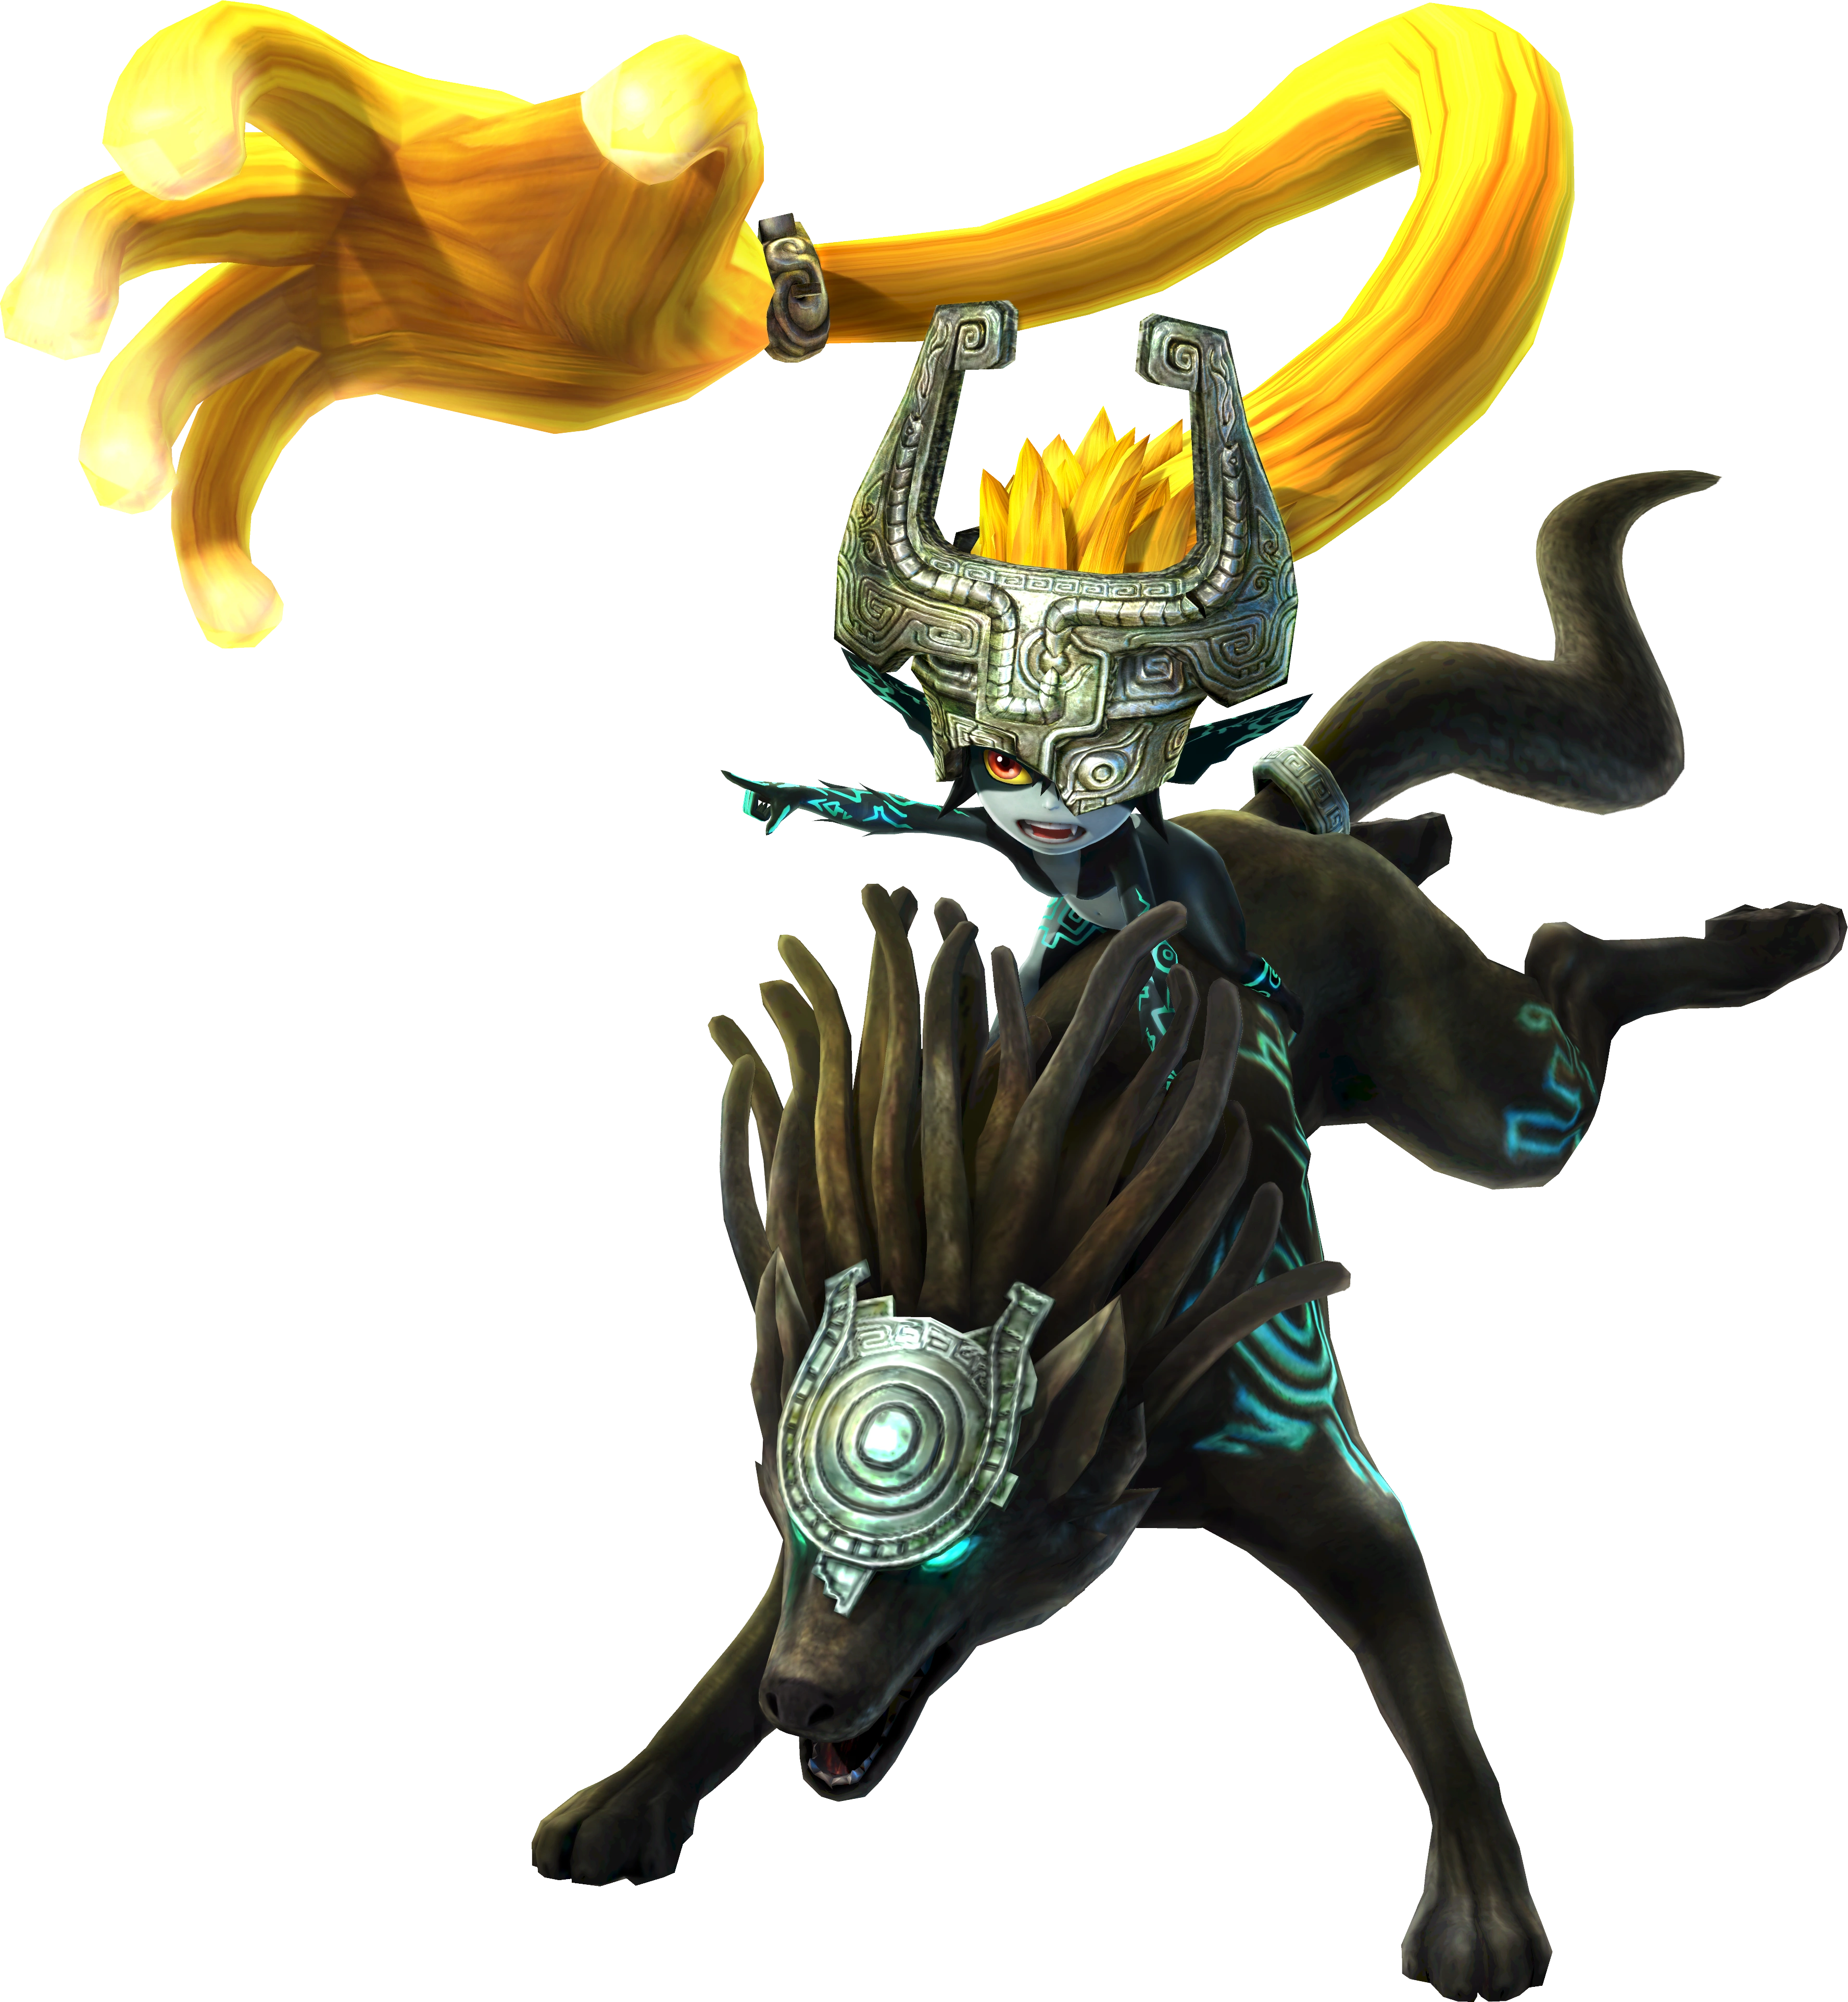
| + | File:HW Midna Cursed Shackle.png|Midna riding a Twilit Wolf |
||
| + | File:HW Midna - Standard Outfit (Master Quest).png|Costume based on the [[Shadow Beast]] from the Master Quest DLC Pack |
||
| + | File:HW Midna - Standard Outfit (Twilight).png|Costume from the ''Twilight Princess'' DLC Pack |
||
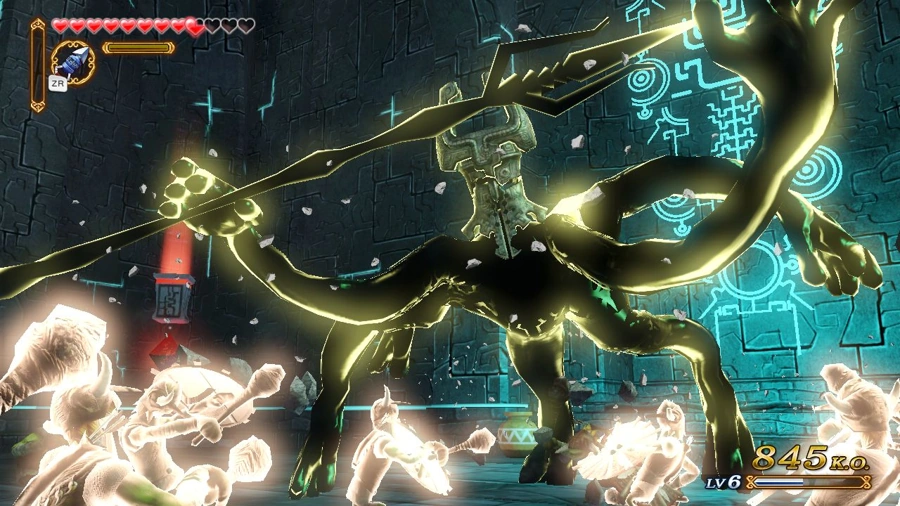
| + | File:HW Midna Transformation.png|Midna's Fused Shadow transformation |
||
| + | </gallery> |
||
| + | |||
| + | ;Twili |
||
| + | <gallery> |
||
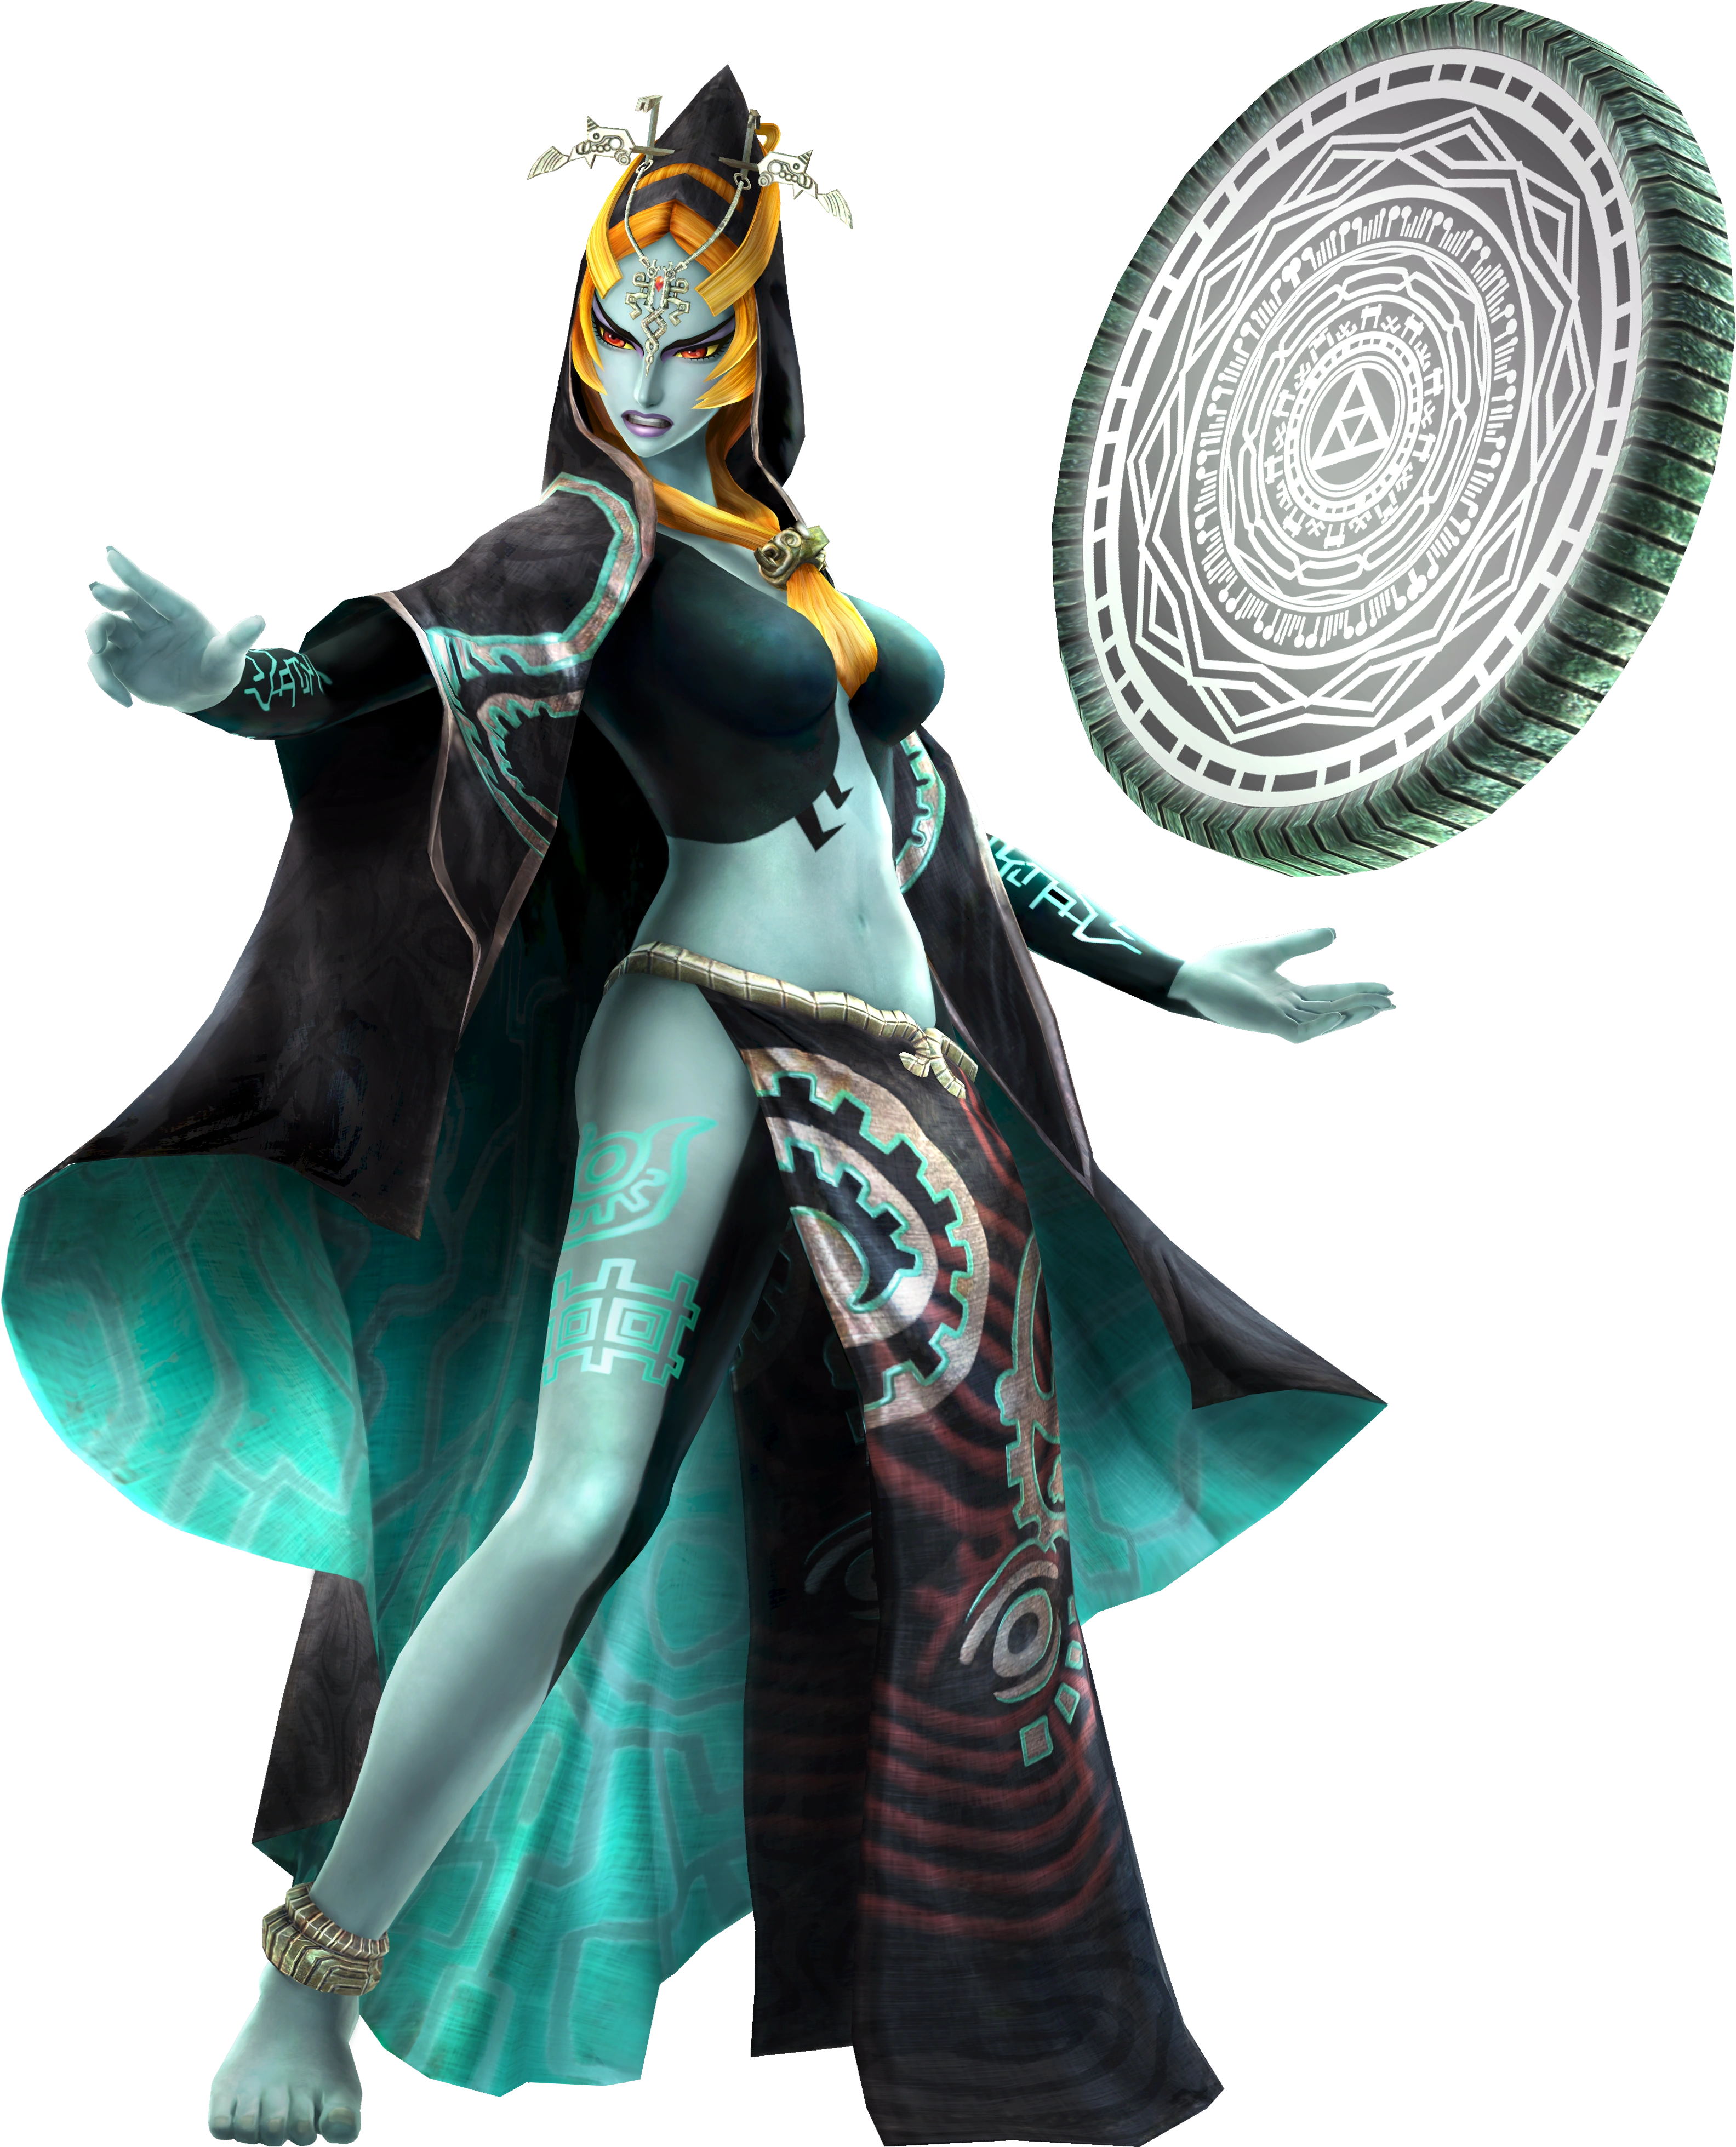
| + | File:HW Twili Midna - Standard Outfit.png|Twili Midna |
||
| + | File:HW Midna Twili Mirror.png|Twili Midna wielding the Mirror of Twilight |
||
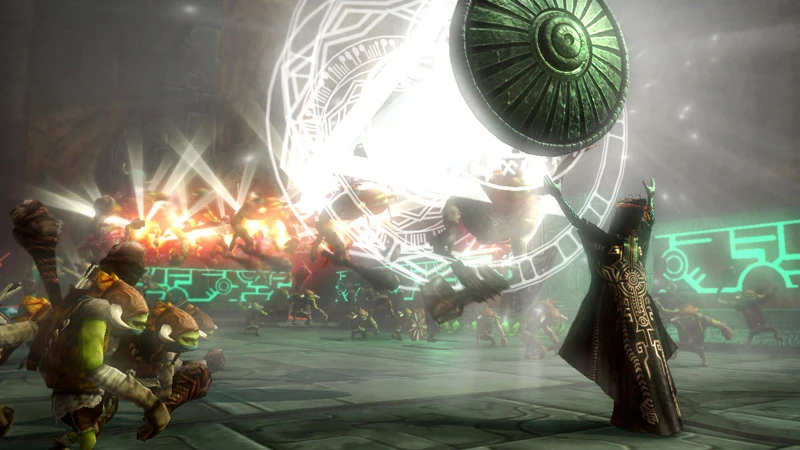
| + | File:HW Twili Midna Appearance.jpg|Twili Midna using the Mirror of Twilight |
||
| + | </gallery> |
||
| + | |||
| + | ====Video Gallery==== |
||
| + | {{Youtube|Jtvgfh-m_40|200|Shackles gameplay}} |
||
| + | |||
| + | [[Category:Galleries]] |
||
Revision as of 02:51, 9 December 2014
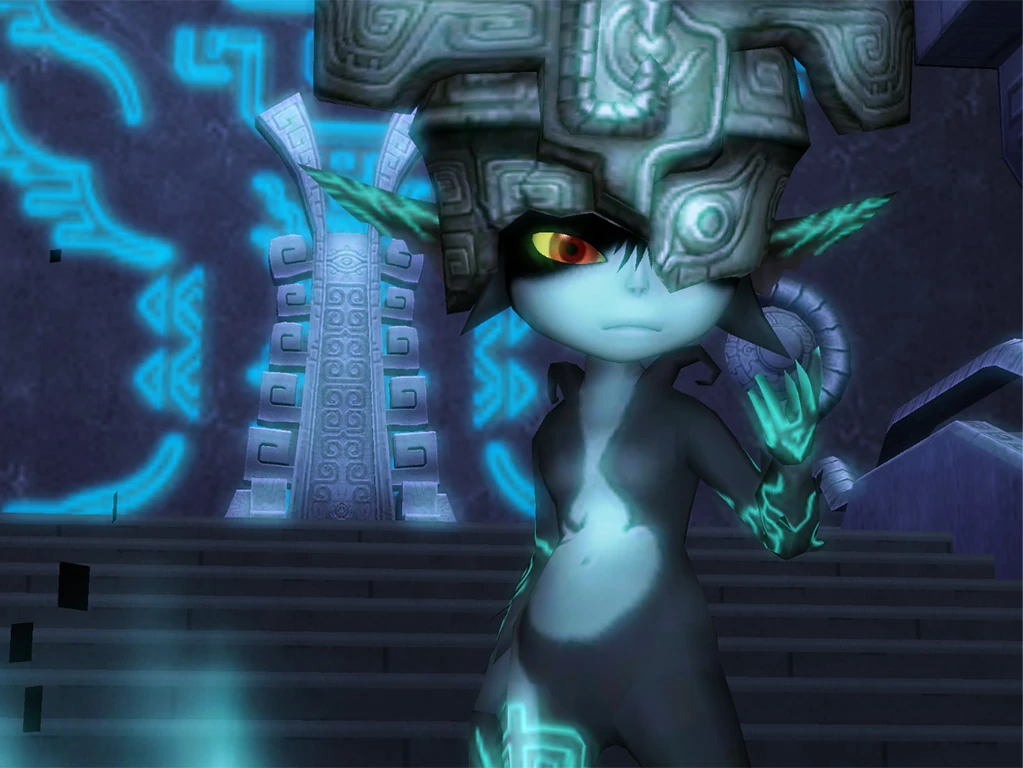
This page is a gallery page, featuring character art of Midna.
Imp Form
- Midna01.png
- Midna02.png
- Midna03.png
- Midna05.png
- Midna Small.png
- Midna Featured.png
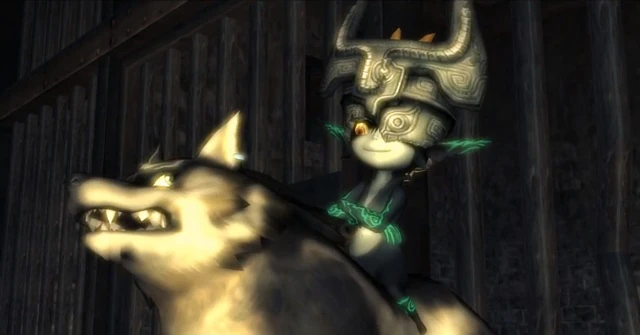
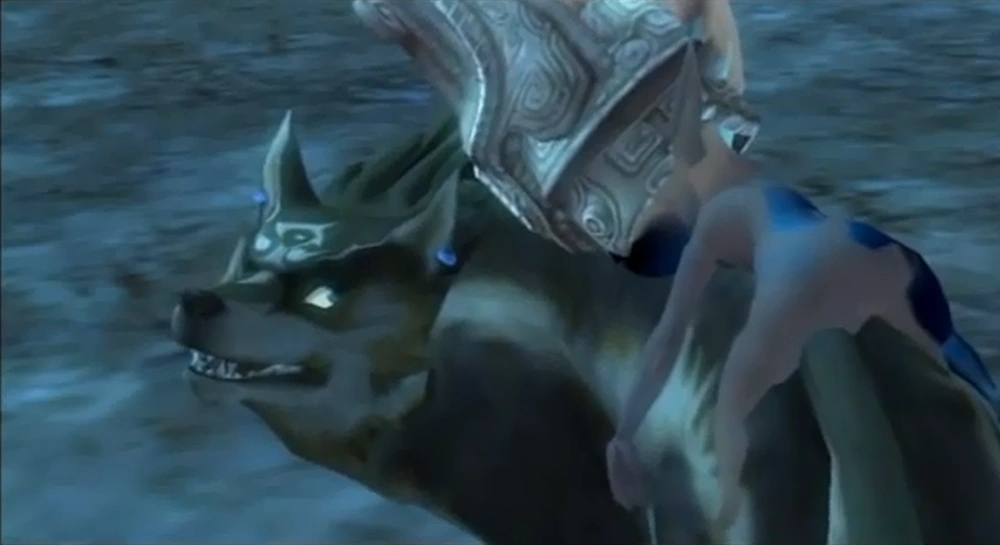
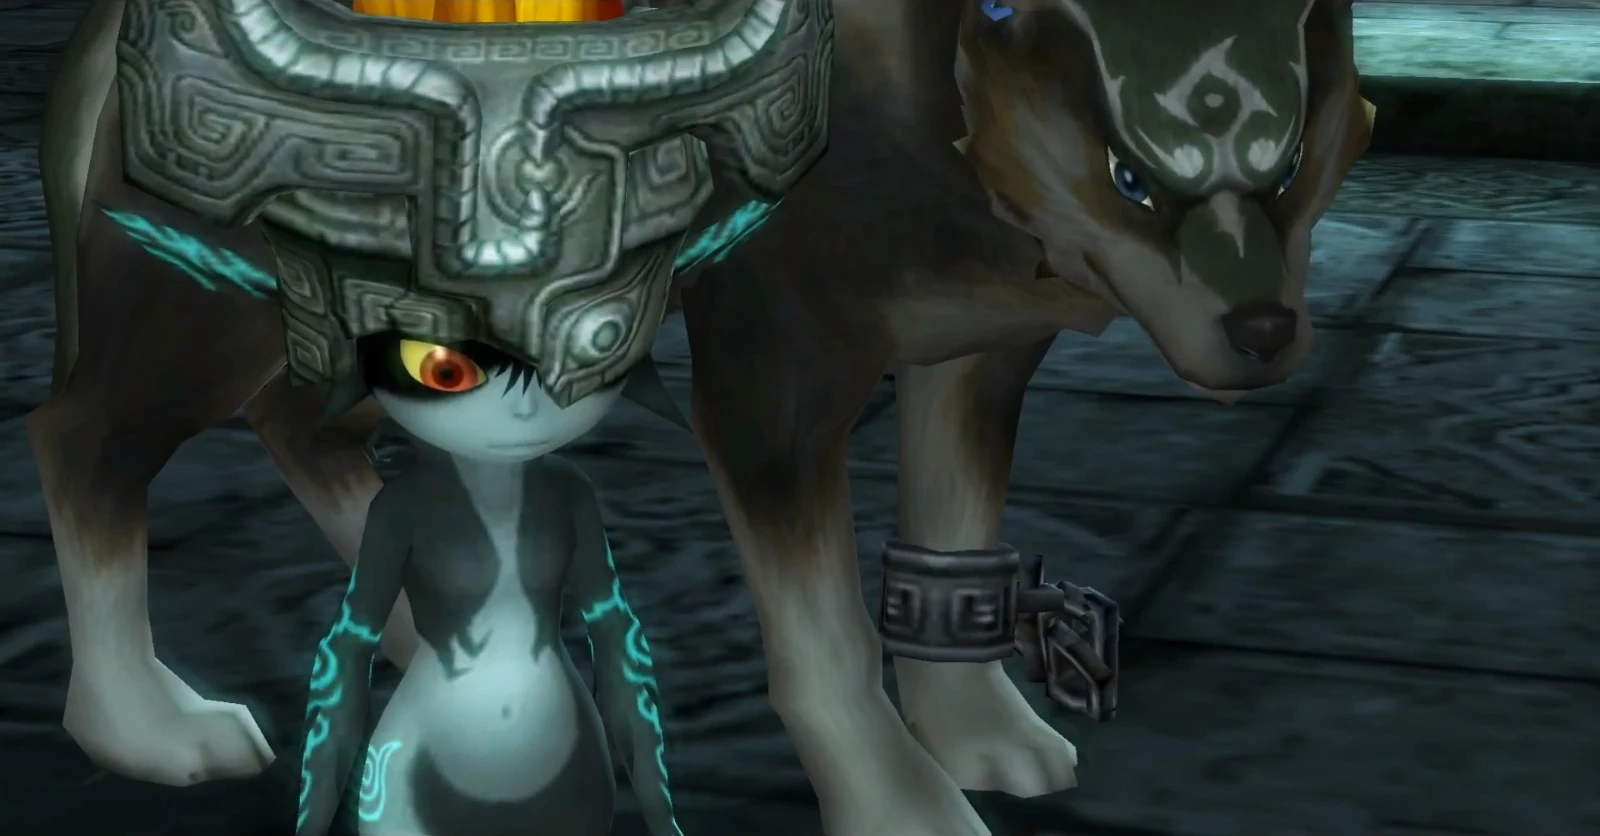
- Midna-Wolf.png
Midna atop Wolf Link
- TP Wolf-Midna Art.png
Midna atop Wolf Link artwork

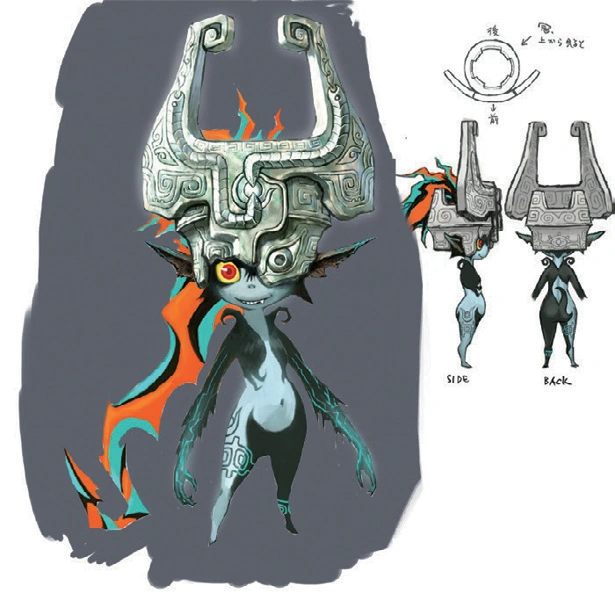
Concept art of Midna
- Midna Icon.png
Midna's in-game icon

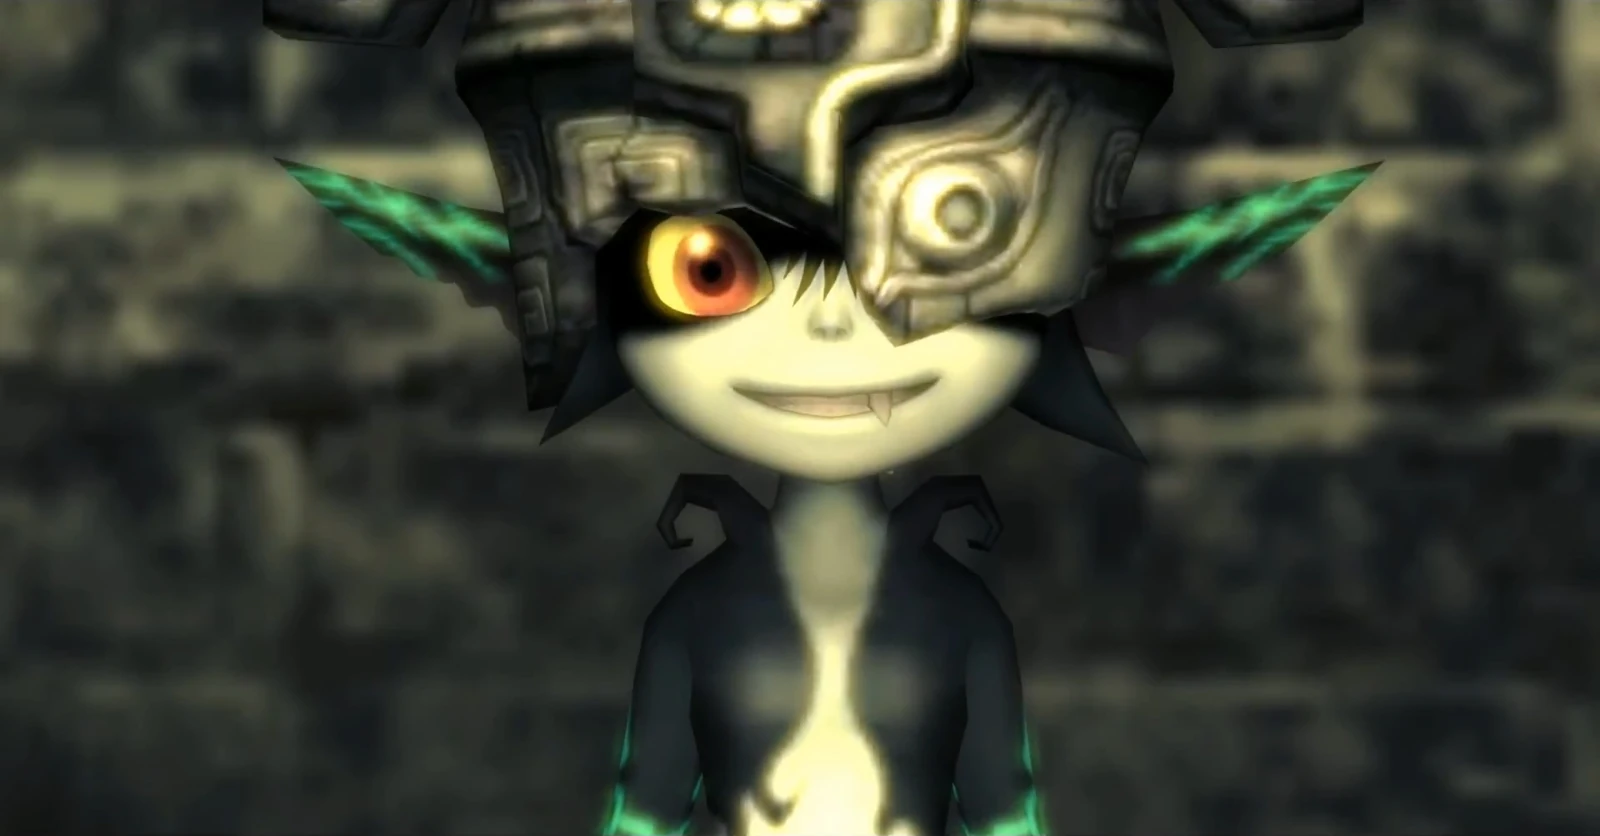
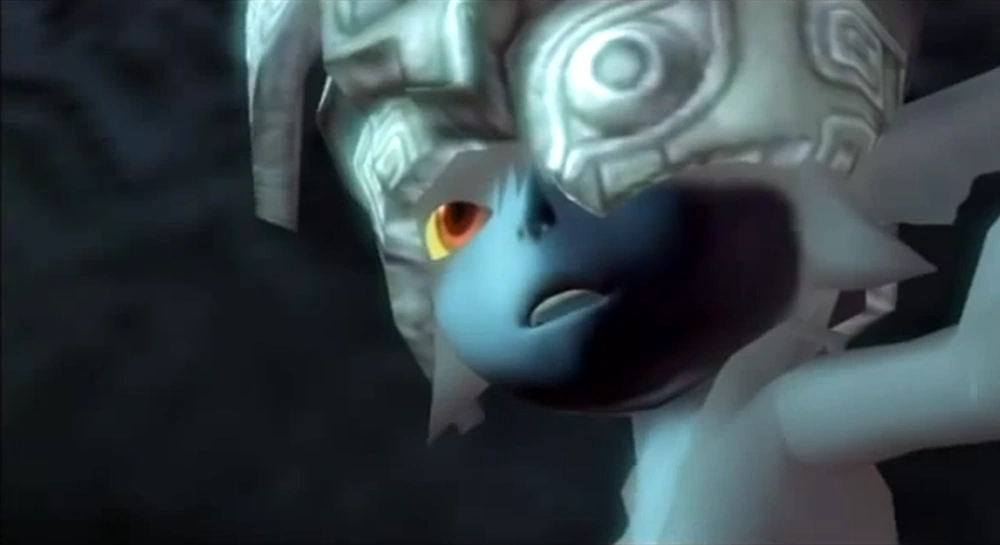
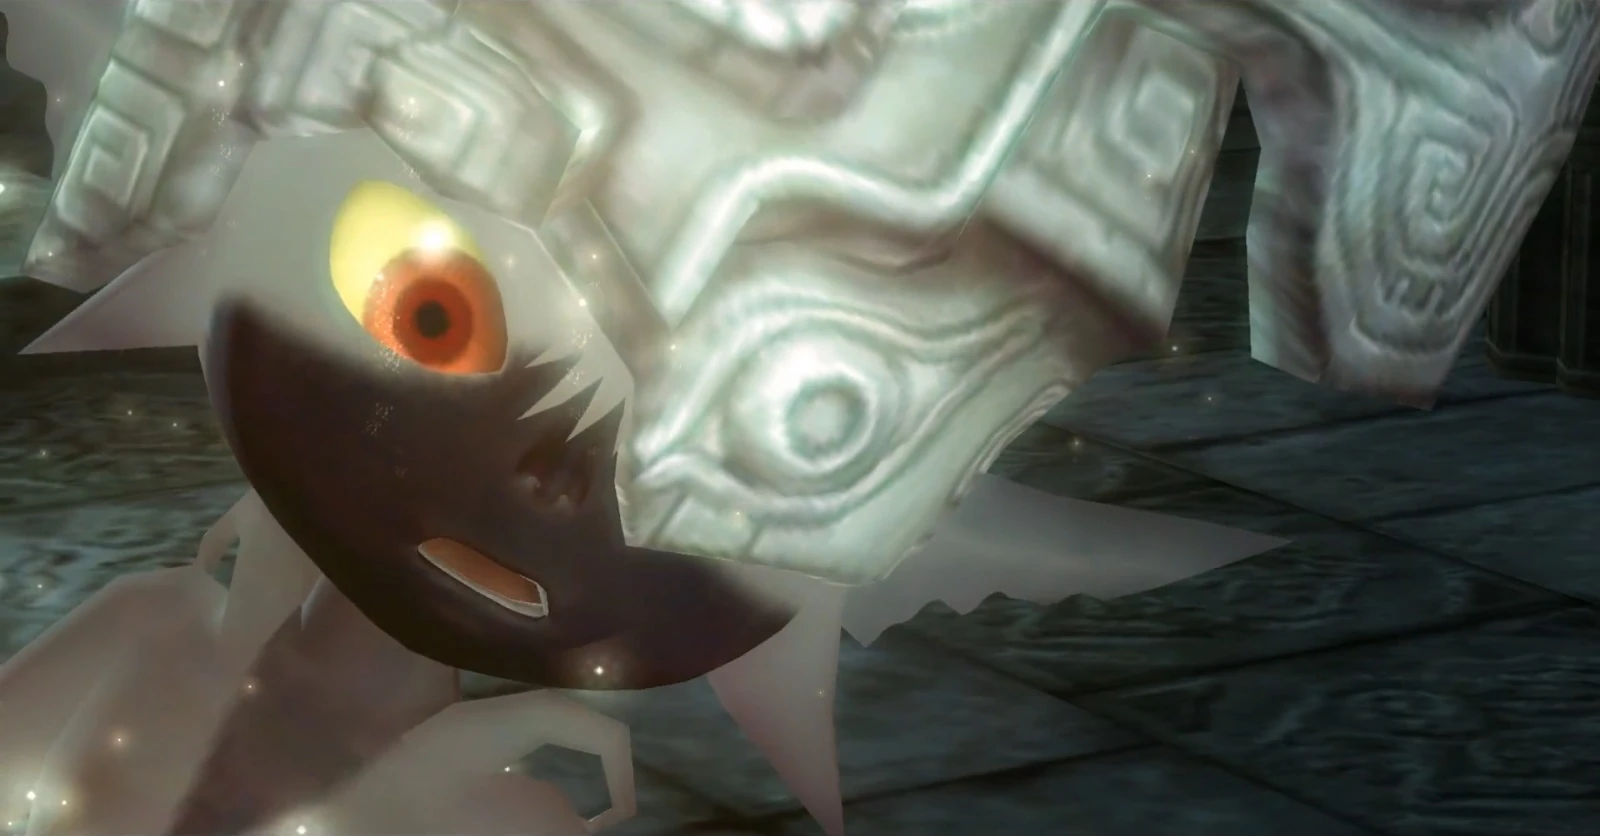
Closeup of Midna

Midna atop Wolf Link
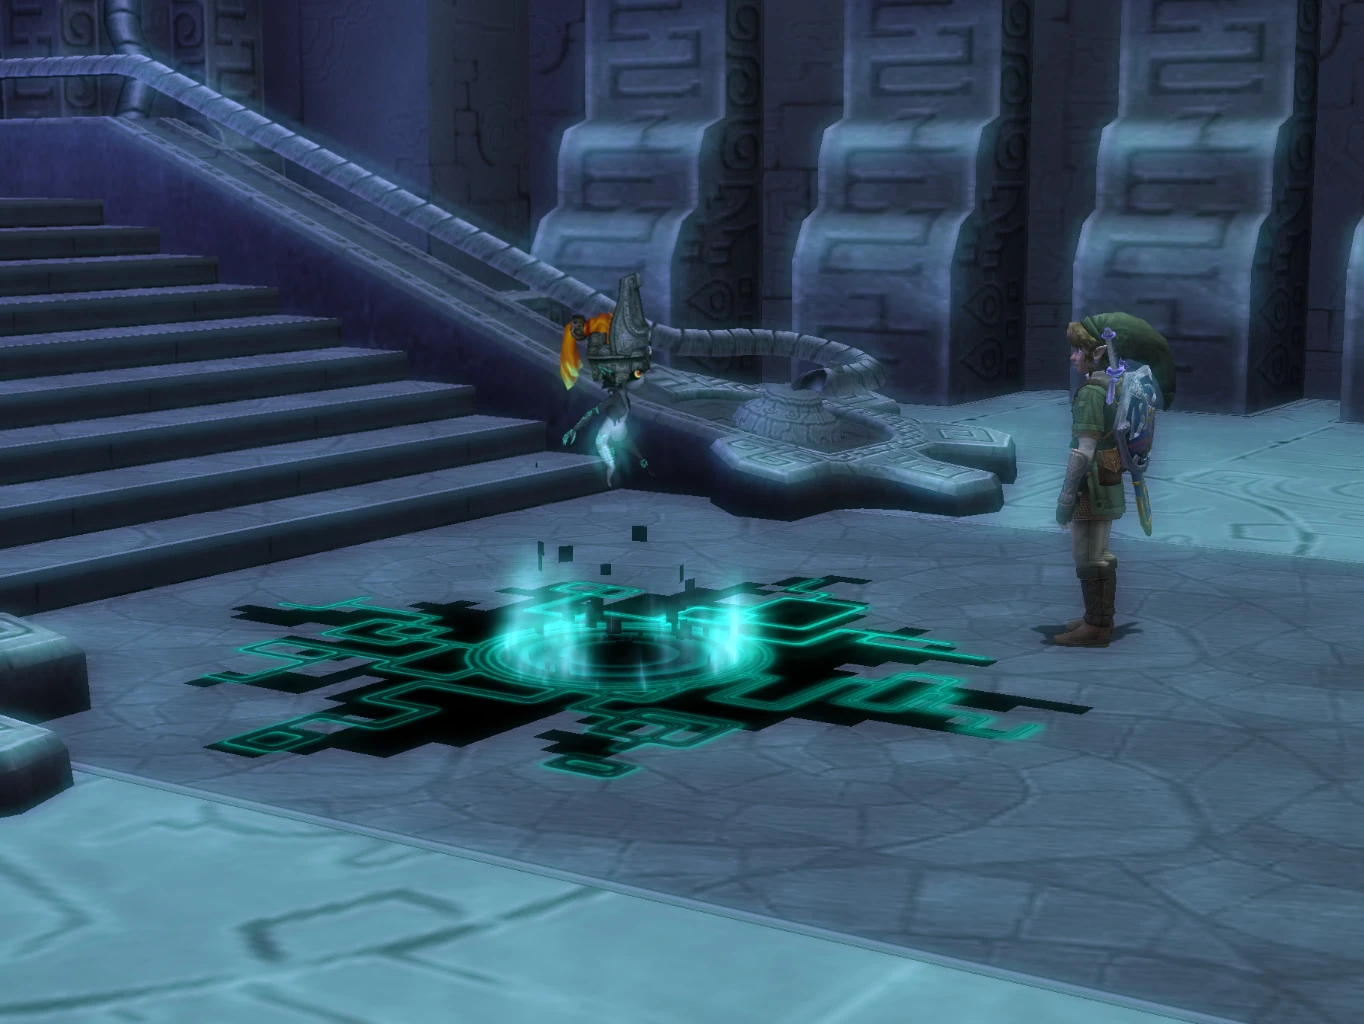
- Midna Portal.jpg
Midna summoning a portal to leave the Forest Temple

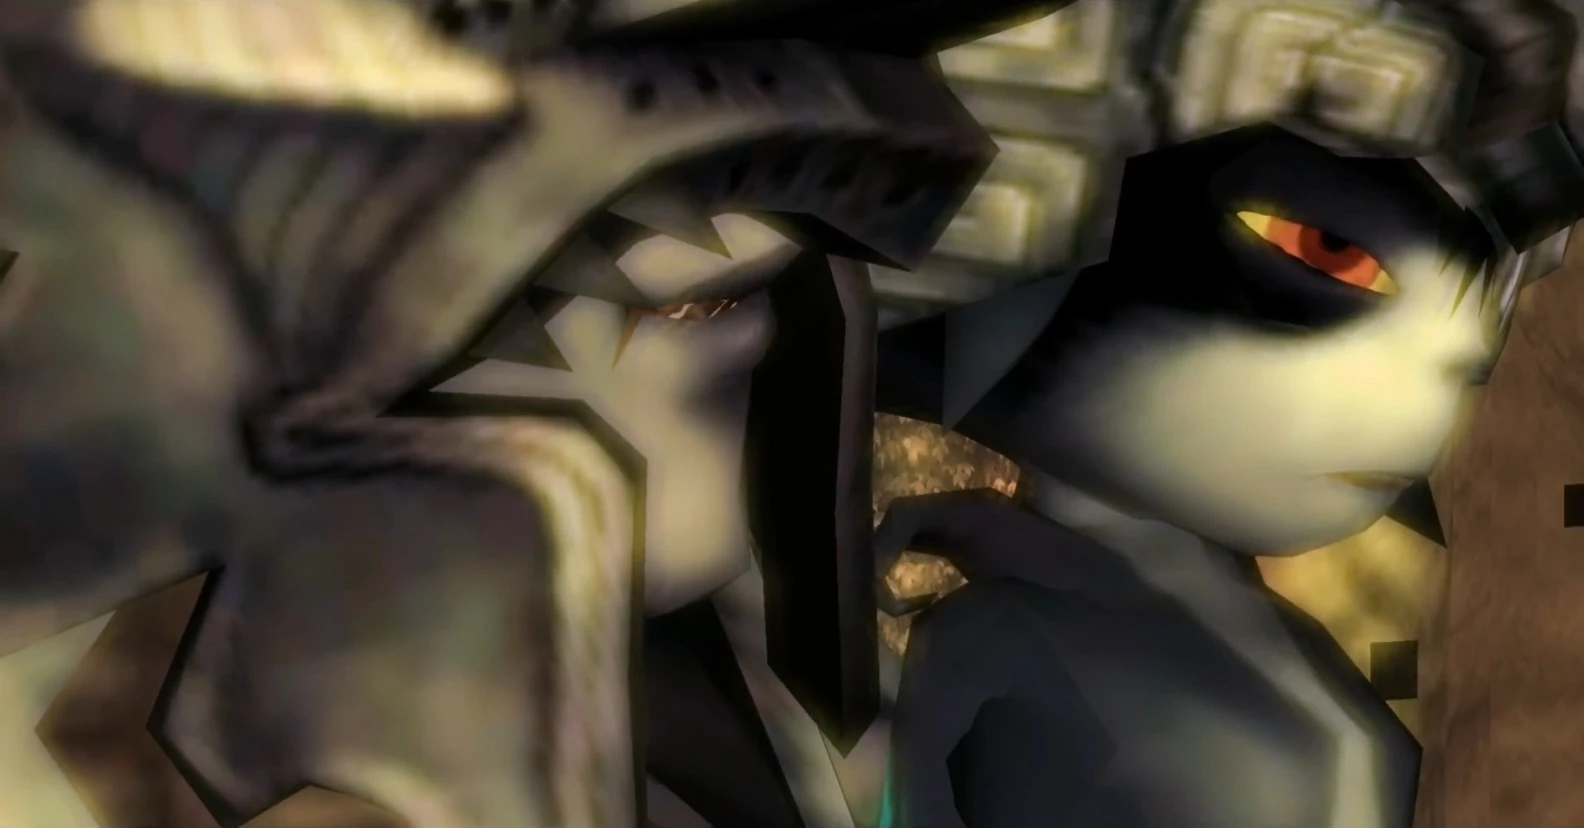
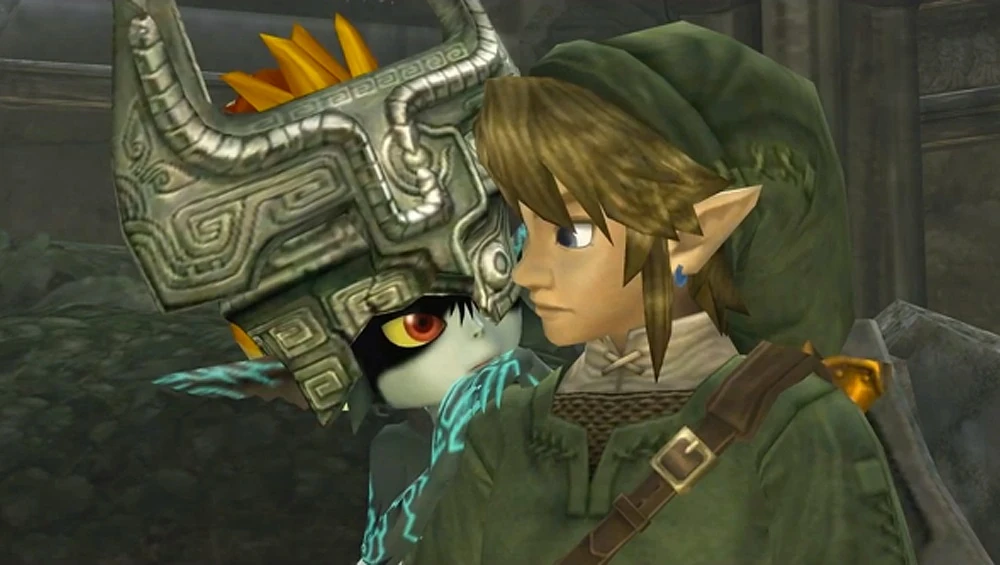
Zant whispering to Midna
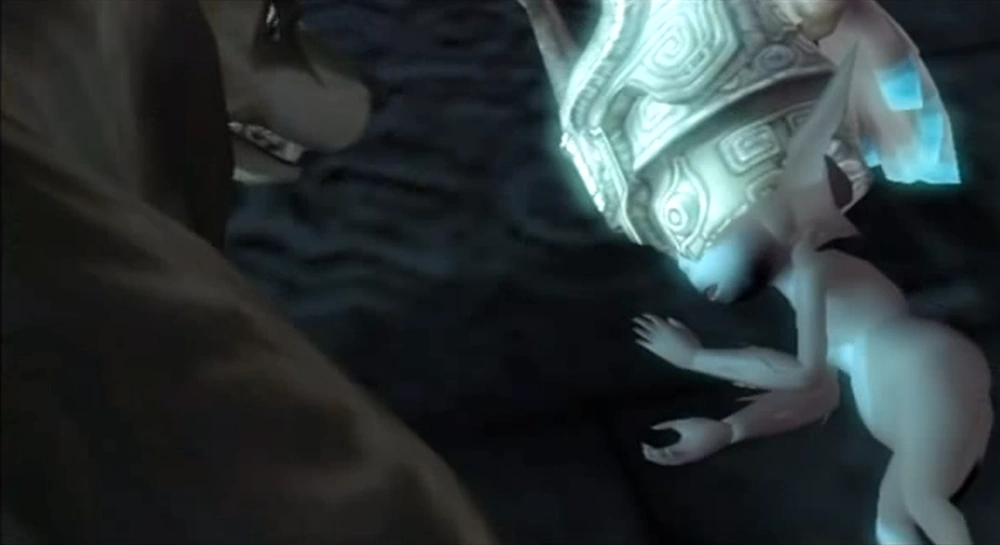
Midna having been Injured by Lanaryu
Injured Midna resting
Looking up
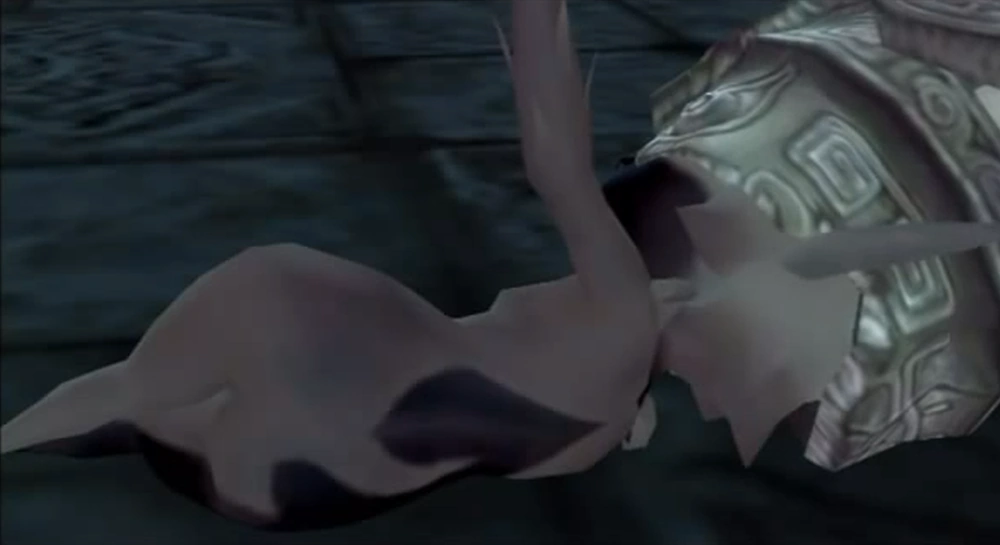
Back side
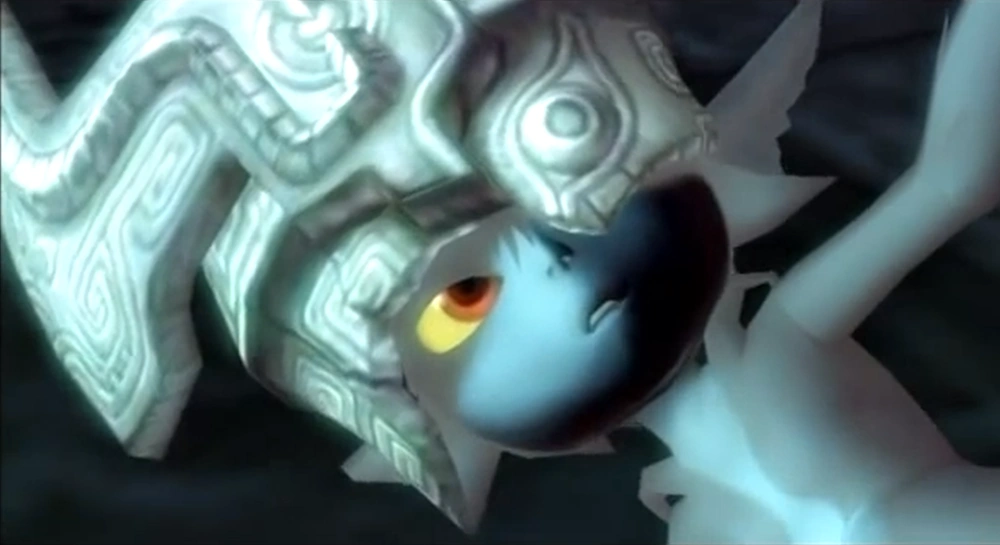
Close up to her face
Midna being healed by Zelda's power
Midna being healed by Zelda's power
Midna after Zelda sacrifices herself to save her
Midna holding the Shadow Crystal
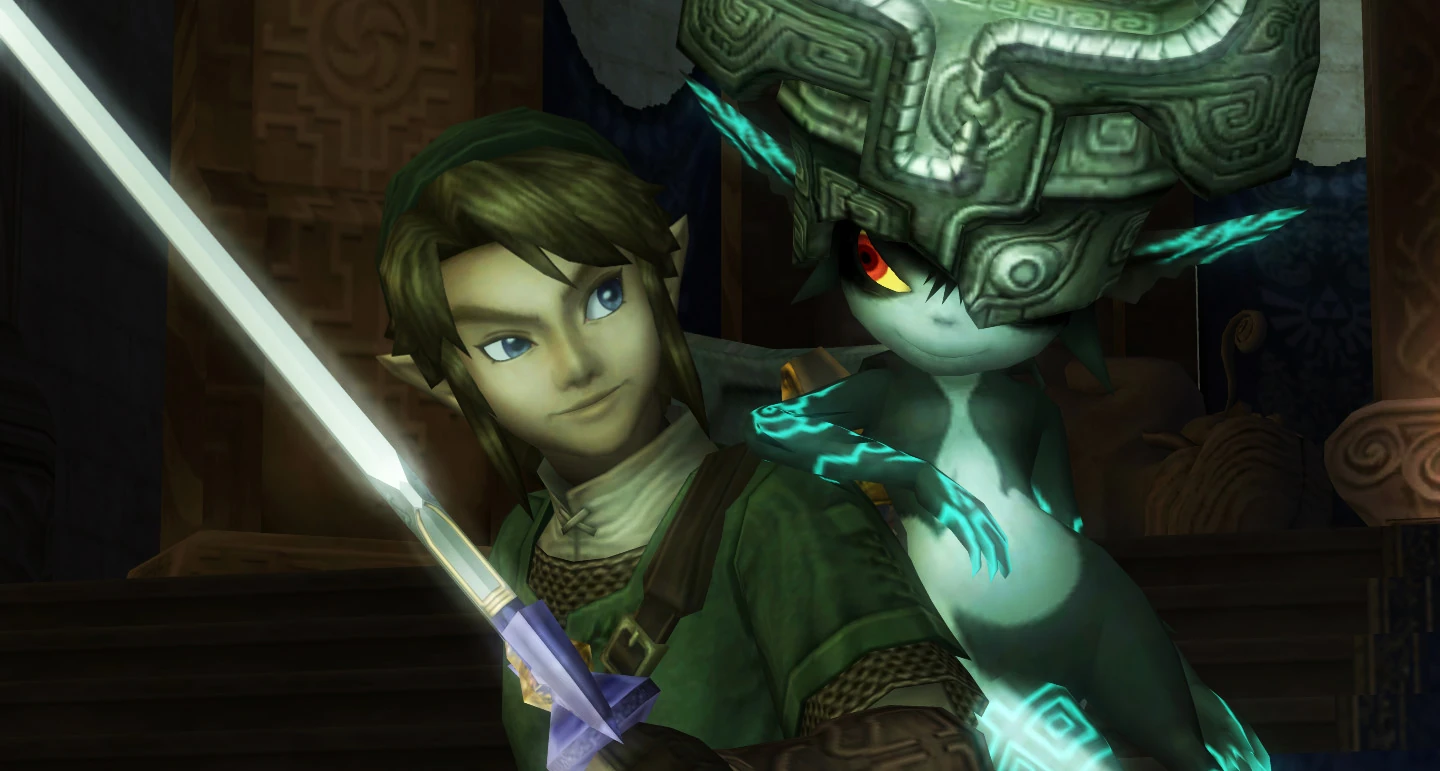
Link and Midna in the Sacred Grove
Midna assembling the Fused Shadow
Midna using the Fused Shadow to kill Zant
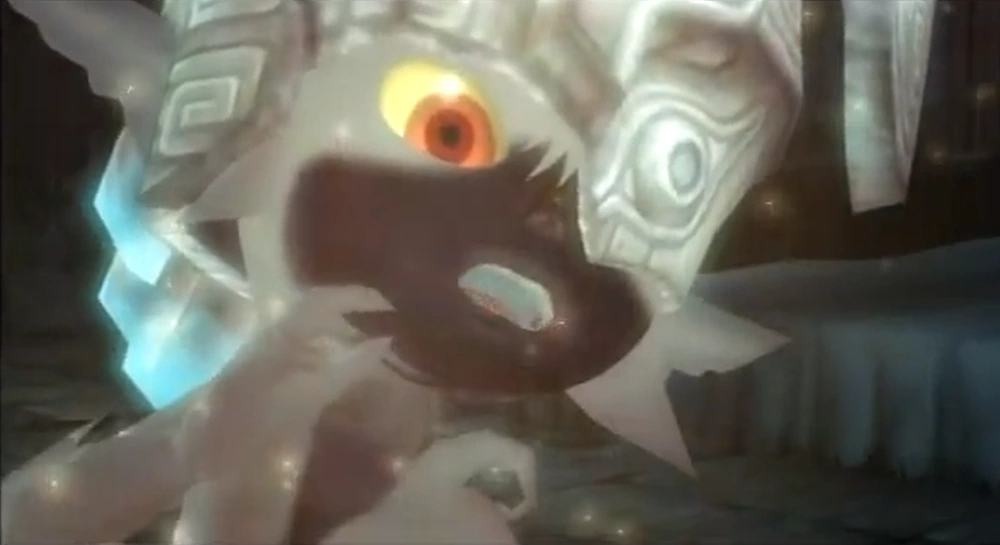
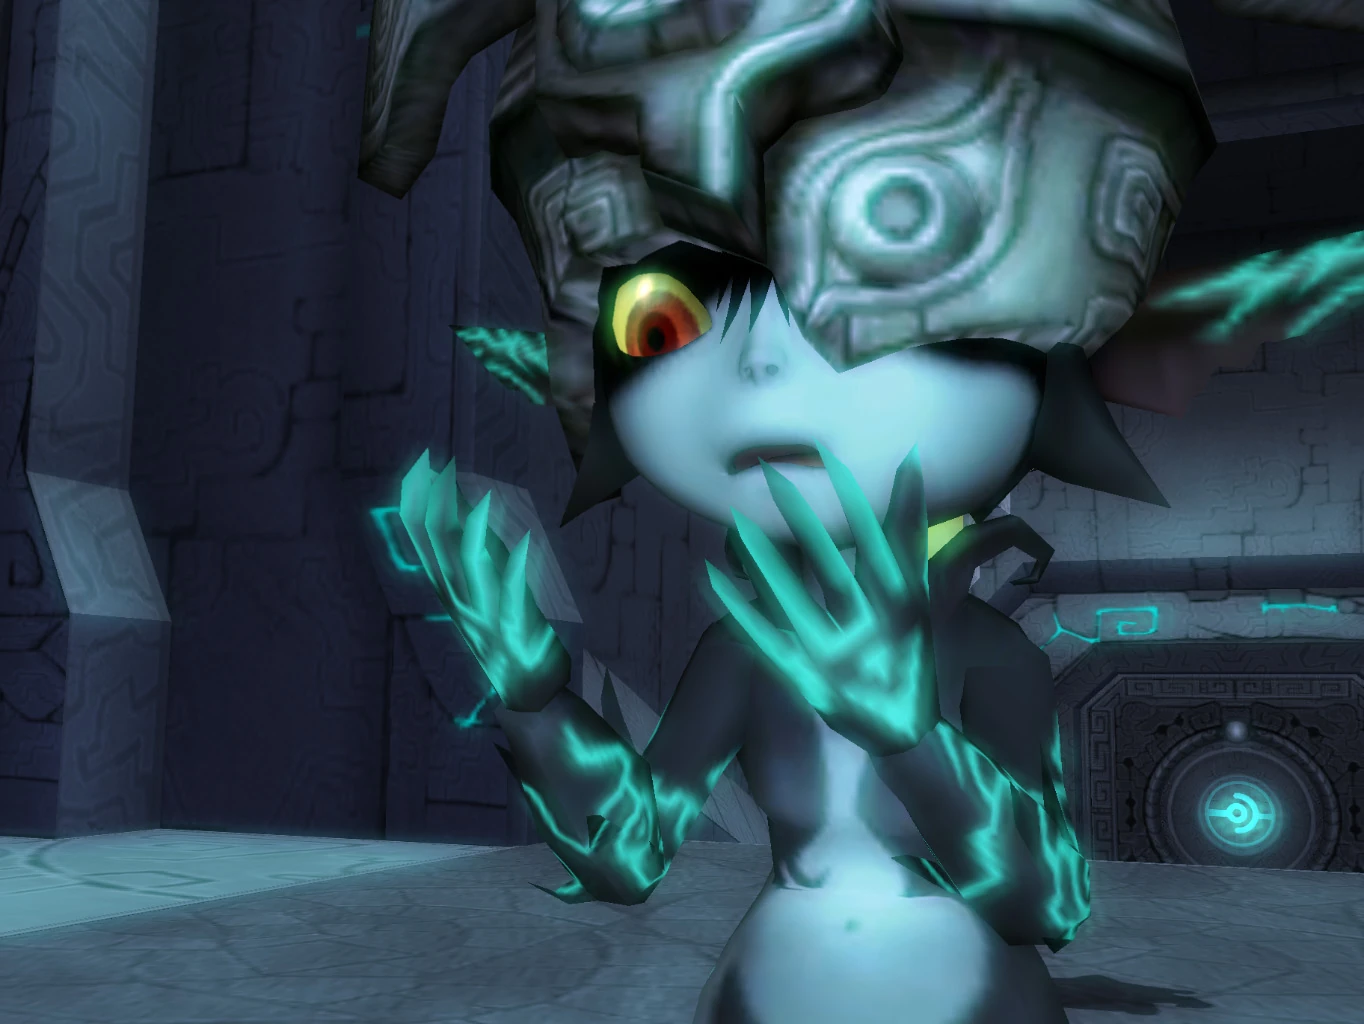
Midna in fear of the Fused Shadow's power
Midna after killing Zant
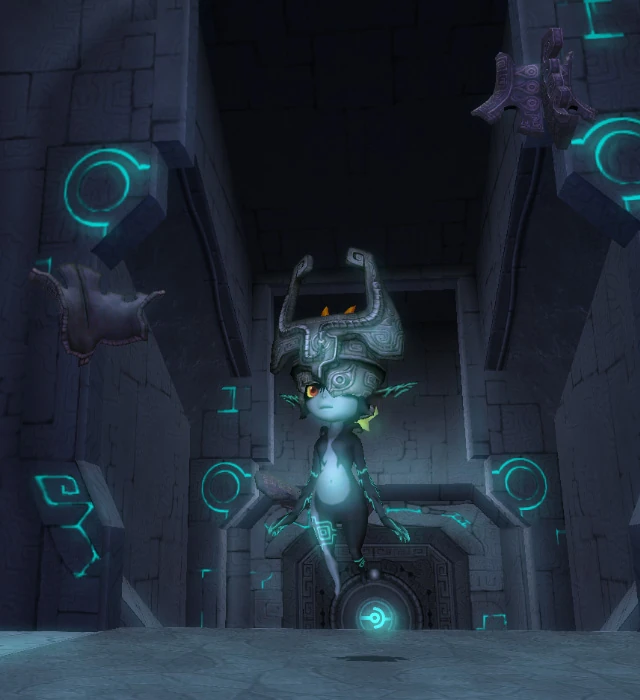
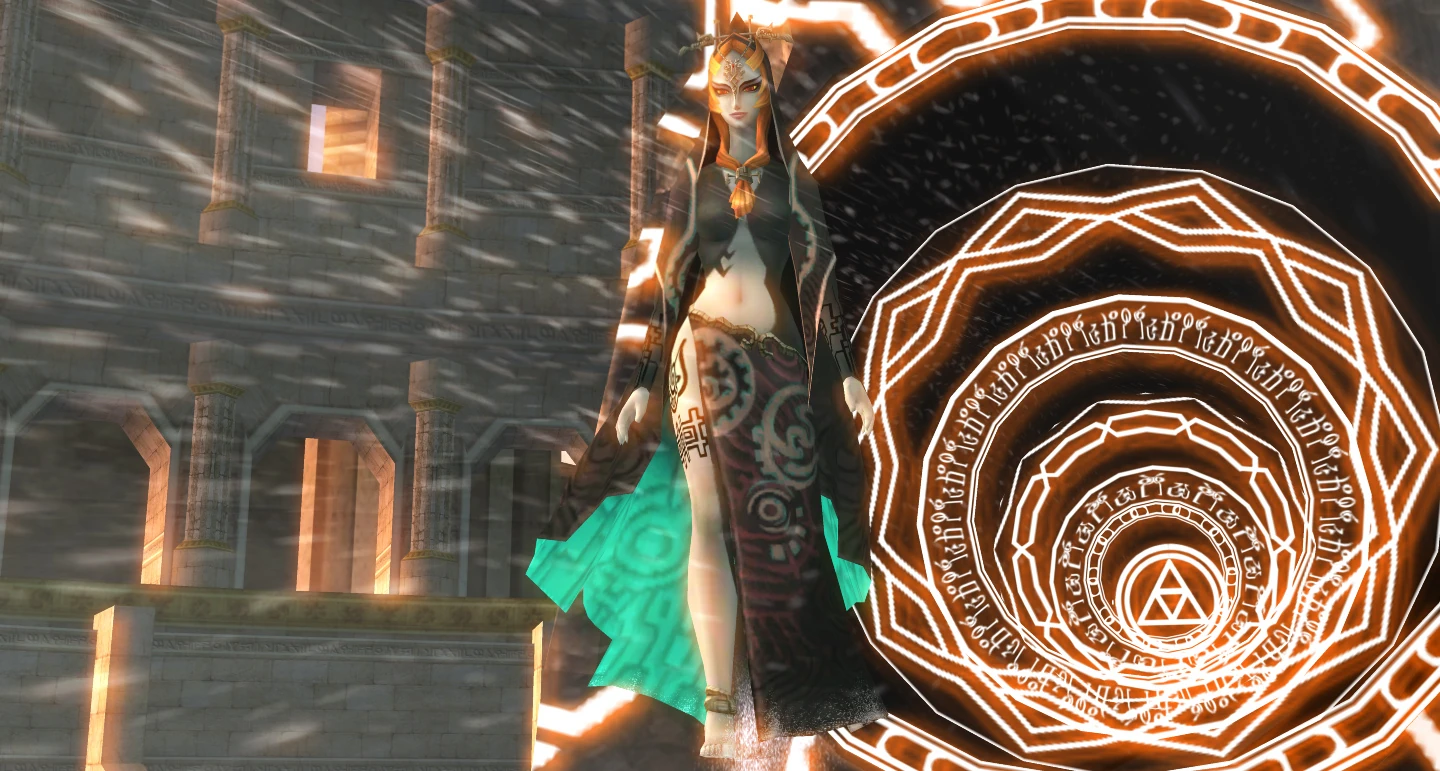
Midna summoning a portal to leave the Palace of Twilight
Midna and Link preparing to fight Ganondorf
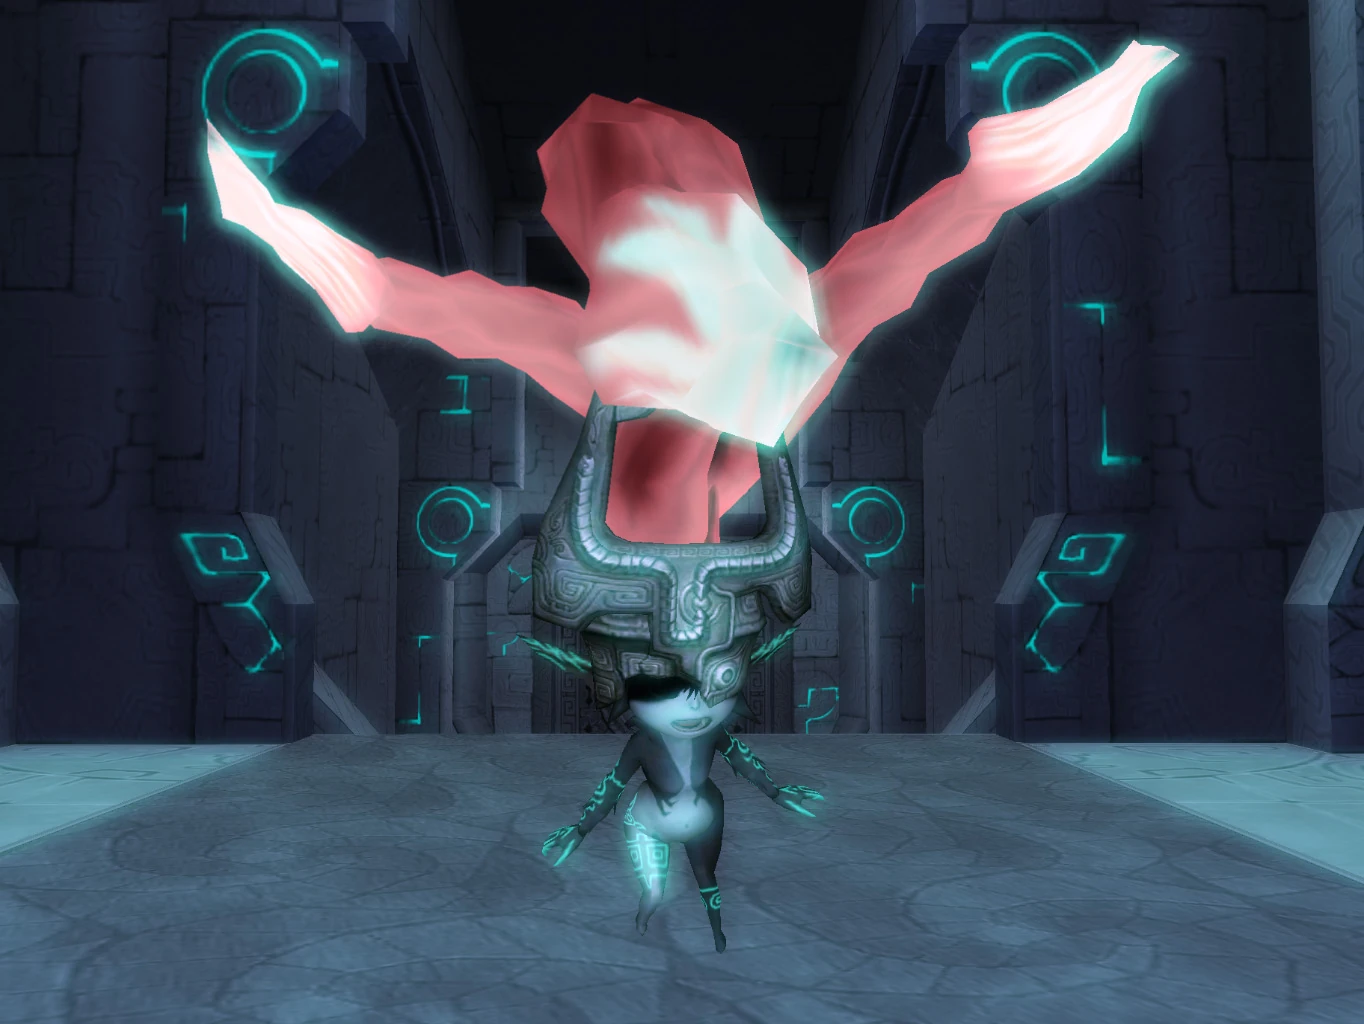
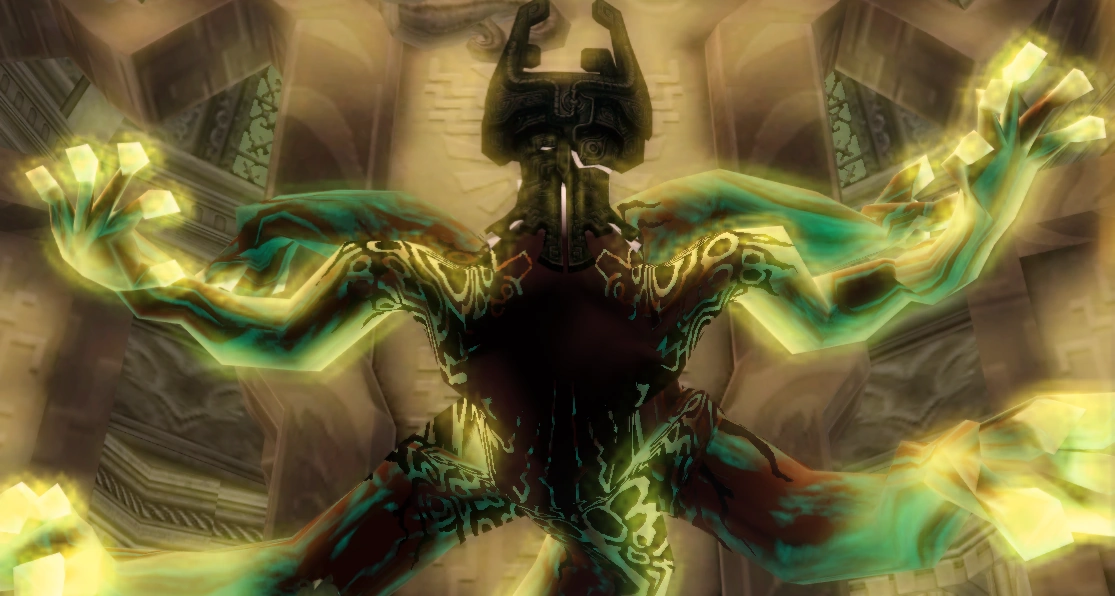
Midna unleashing the full power of the Fused Shadow
Midna trying to use a Trident to kill Ganon
Midna frustrated by Ganondorf for possessing Zelda
- 800px-LinkandMidna.jpg
Early screenshot of Wolf Link and Midna outside Hyrule Castle covered in Twilight
Midna on the official Zelda website

True Form
- MidnaTwiliArt.png
Concept art of Midna's true form
Midna being revived by the Light Spirits
Midna after she is revived by the Light Spirits
Link meeting with Midna after her true form has been restored
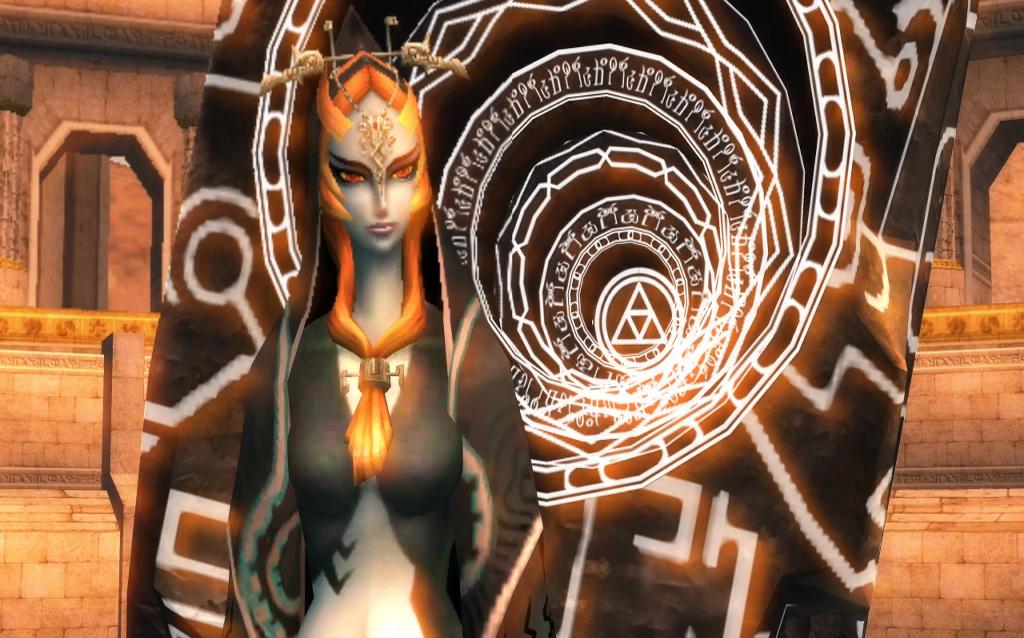
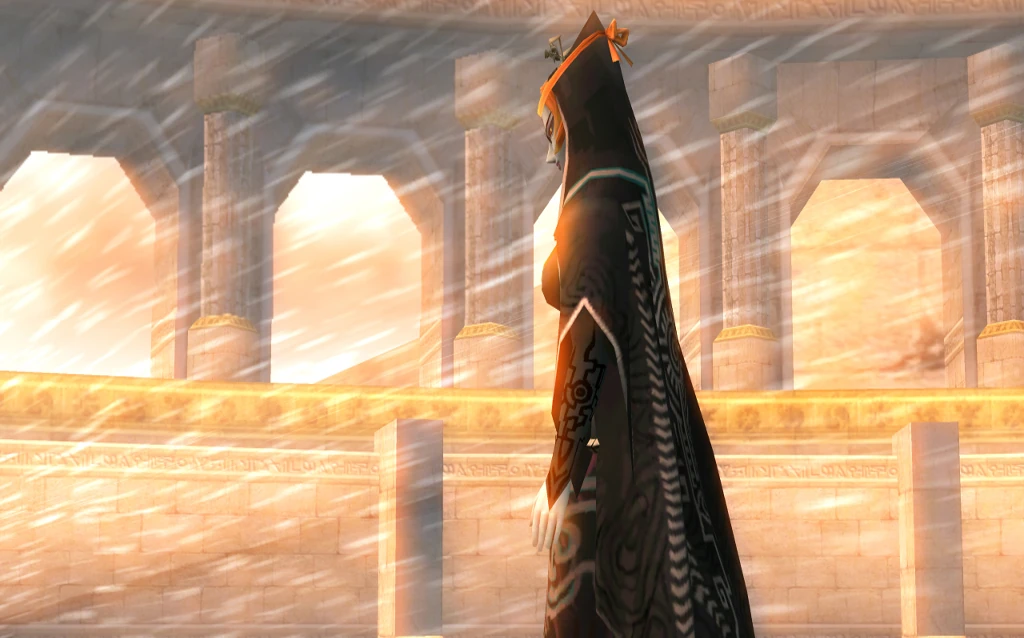
Front view of Midna's restored form
The back of Midna's robe after she reveals her true form
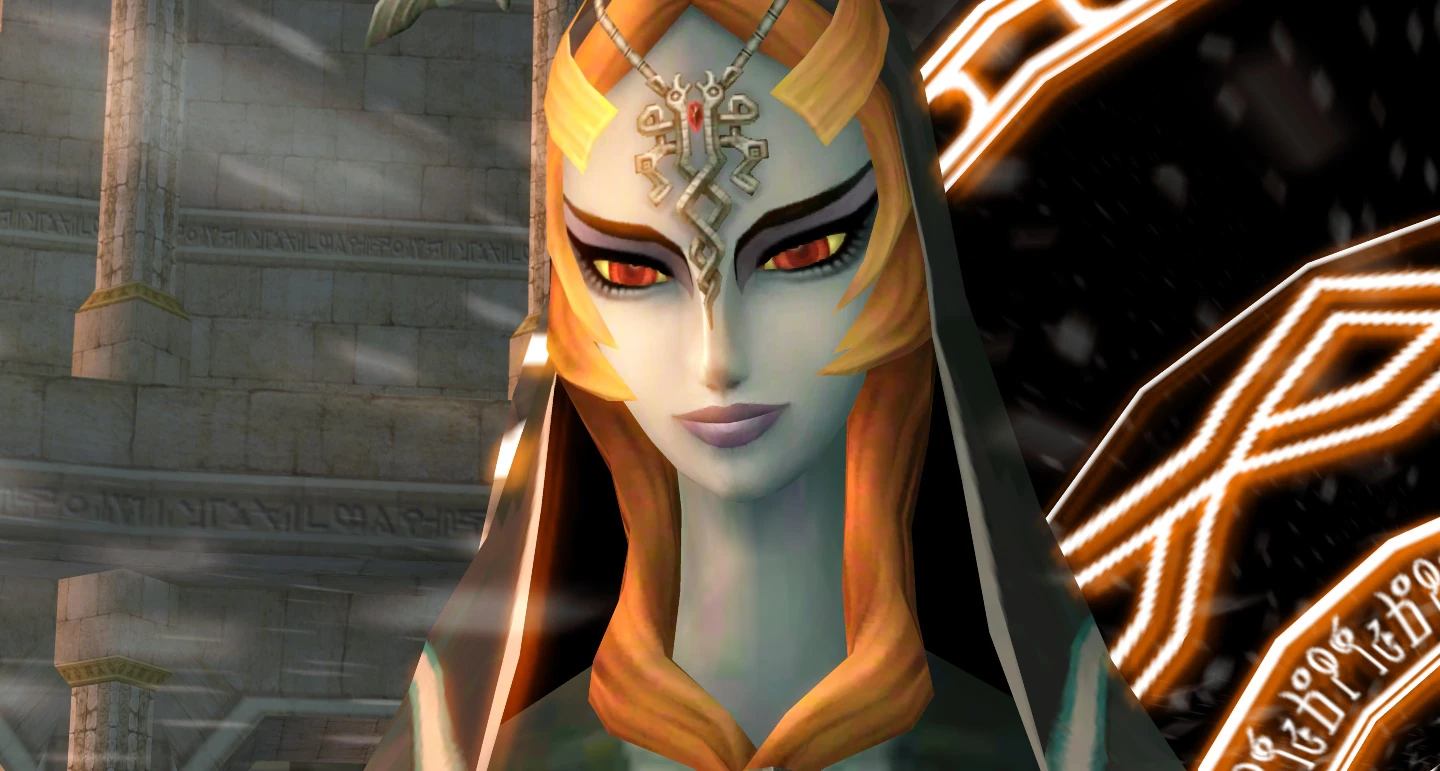
Closeup of Midna's true form
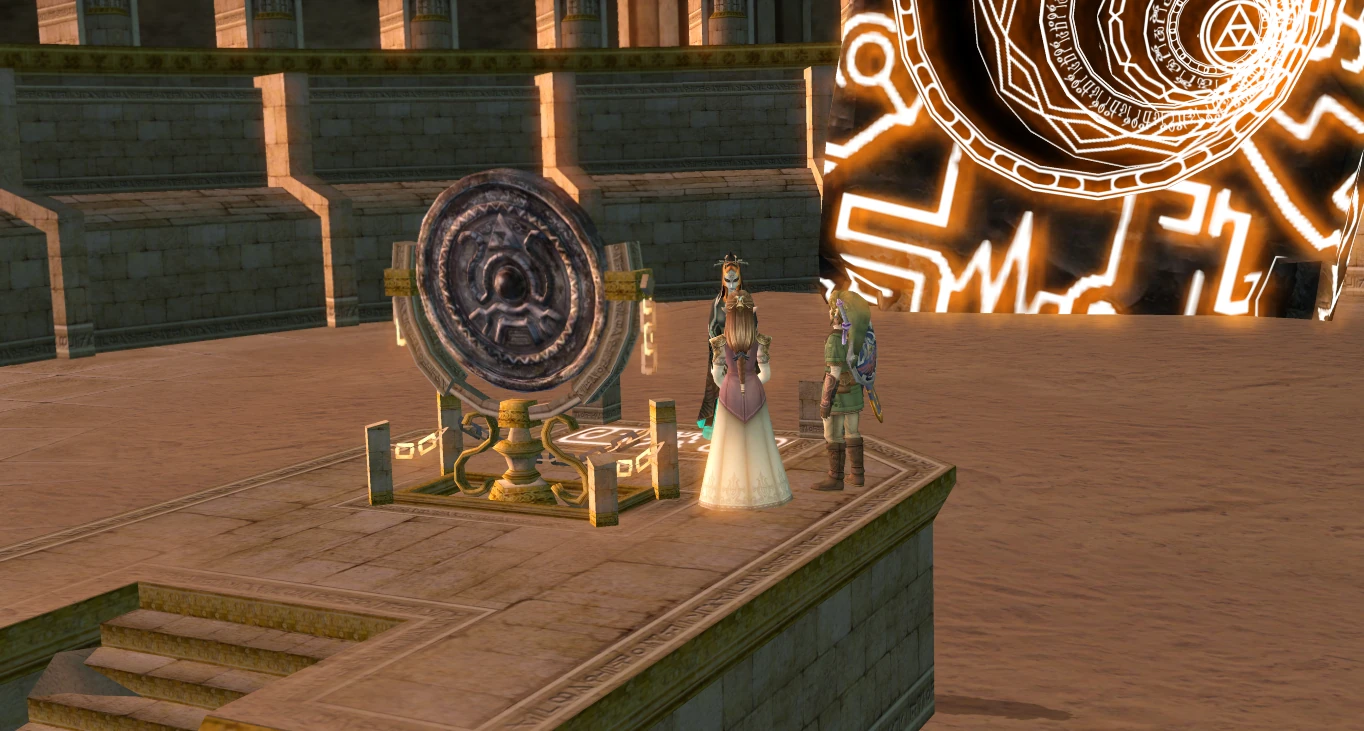
Midna alongside Link and Zelda at the Mirror of Twilight
Midna in front of the Mirror of Twilight
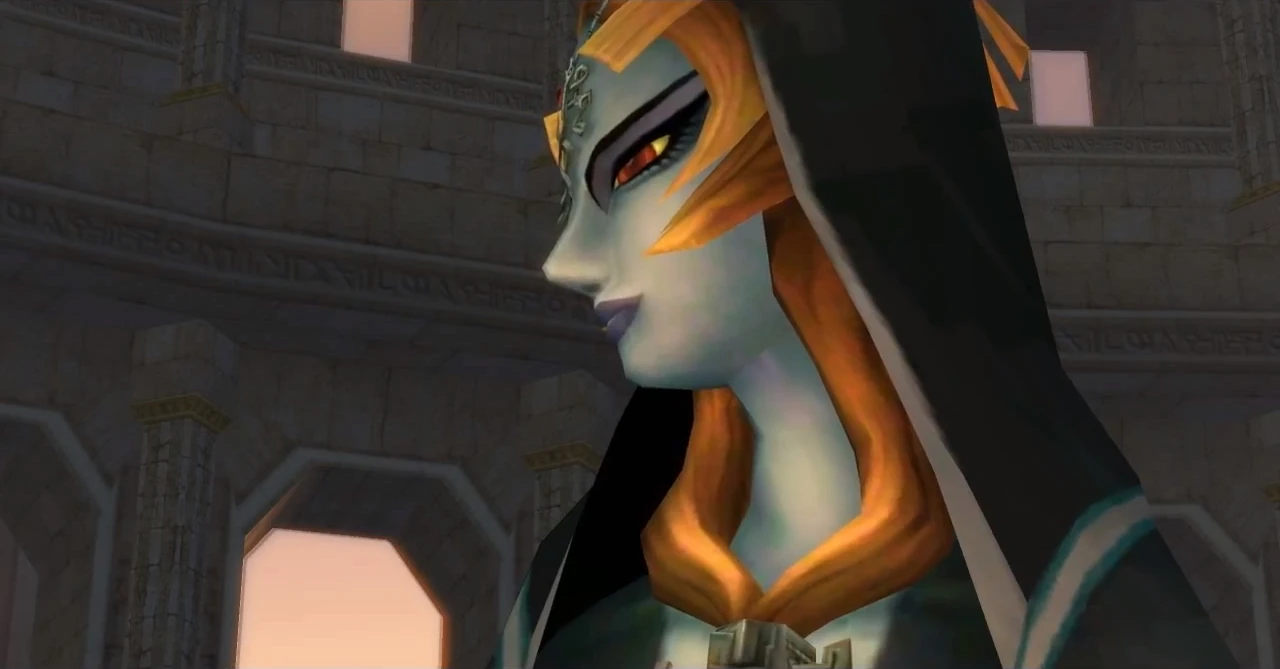
Closeup of Midna at the Mirror of Twilight
Midna bidding farewell to Link
Midna leaving through the Mirror of Twilight
Midna returning to the Palace of Twilight

Non-Canon Appearances
Super Smash Bros. for Nintendo 3DS / Wii U
Midna's Assist Trophy
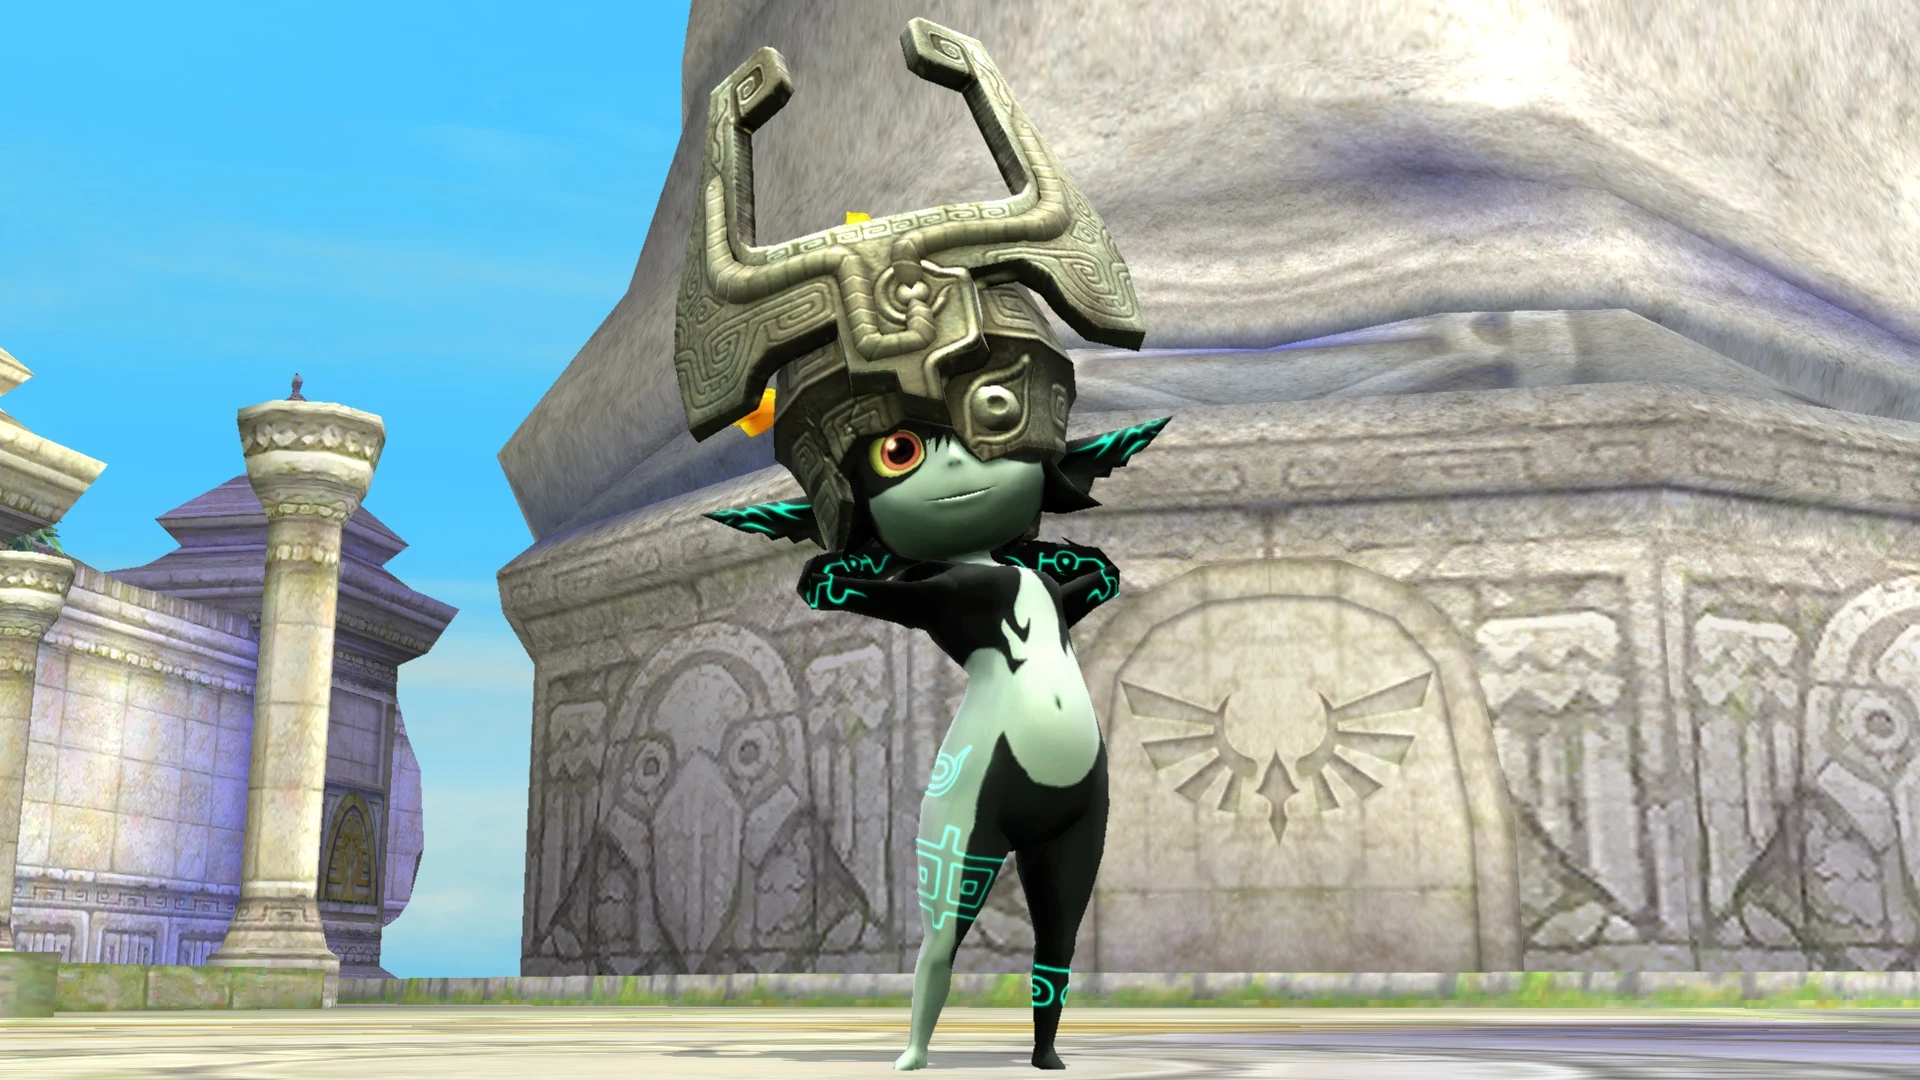
Hyrule Warriors
- Imp
- HW Midna.png
Midna
Midna riding a Twilit Wolf
- HW Midna - Standard Outfit (Master Quest).png
Costume based on the Shadow Beast from the Master Quest DLC Pack
- HW Midna - Standard Outfit (Twilight).png
Costume from the Twilight Princess DLC Pack
Midna's Fused Shadow transformation
- Twili
- HW Twili Midna - Standard Outfit.png
Twili Midna
Twili Midna wielding the Mirror of Twilight
Twili Midna using the Mirror of Twilight
Video Gallery
| Shackles gameplay |