TriforceTony (talk | contribs) No edit summary |
(Specifying that they don't appear in the GC version) |
||
| Line 1: | Line 1: | ||
| + | '''Gallery of Enemies in ''[[The Legend of Zelda: Twilight Princess]]''''' |
||
| − | {{Character |
||
| − | |name = Auru |
||
| − | |type = |
||
| − | |image = [[File:Auru.png|x300px]] |
||
| − | |race = [[Hylian]] |
||
| − | |gender = Male |
||
| − | |game = {{TP}} |
||
| − | |era = [[Zelda Timeline#The Era of Twilight|Era of Twilight]] |
||
| − | |family = |
||
| − | }} |
||
| − | '''Auru''' is a character in {{TP}}. |
||
| ⚫ | |||
| − | ==Biography== |
||
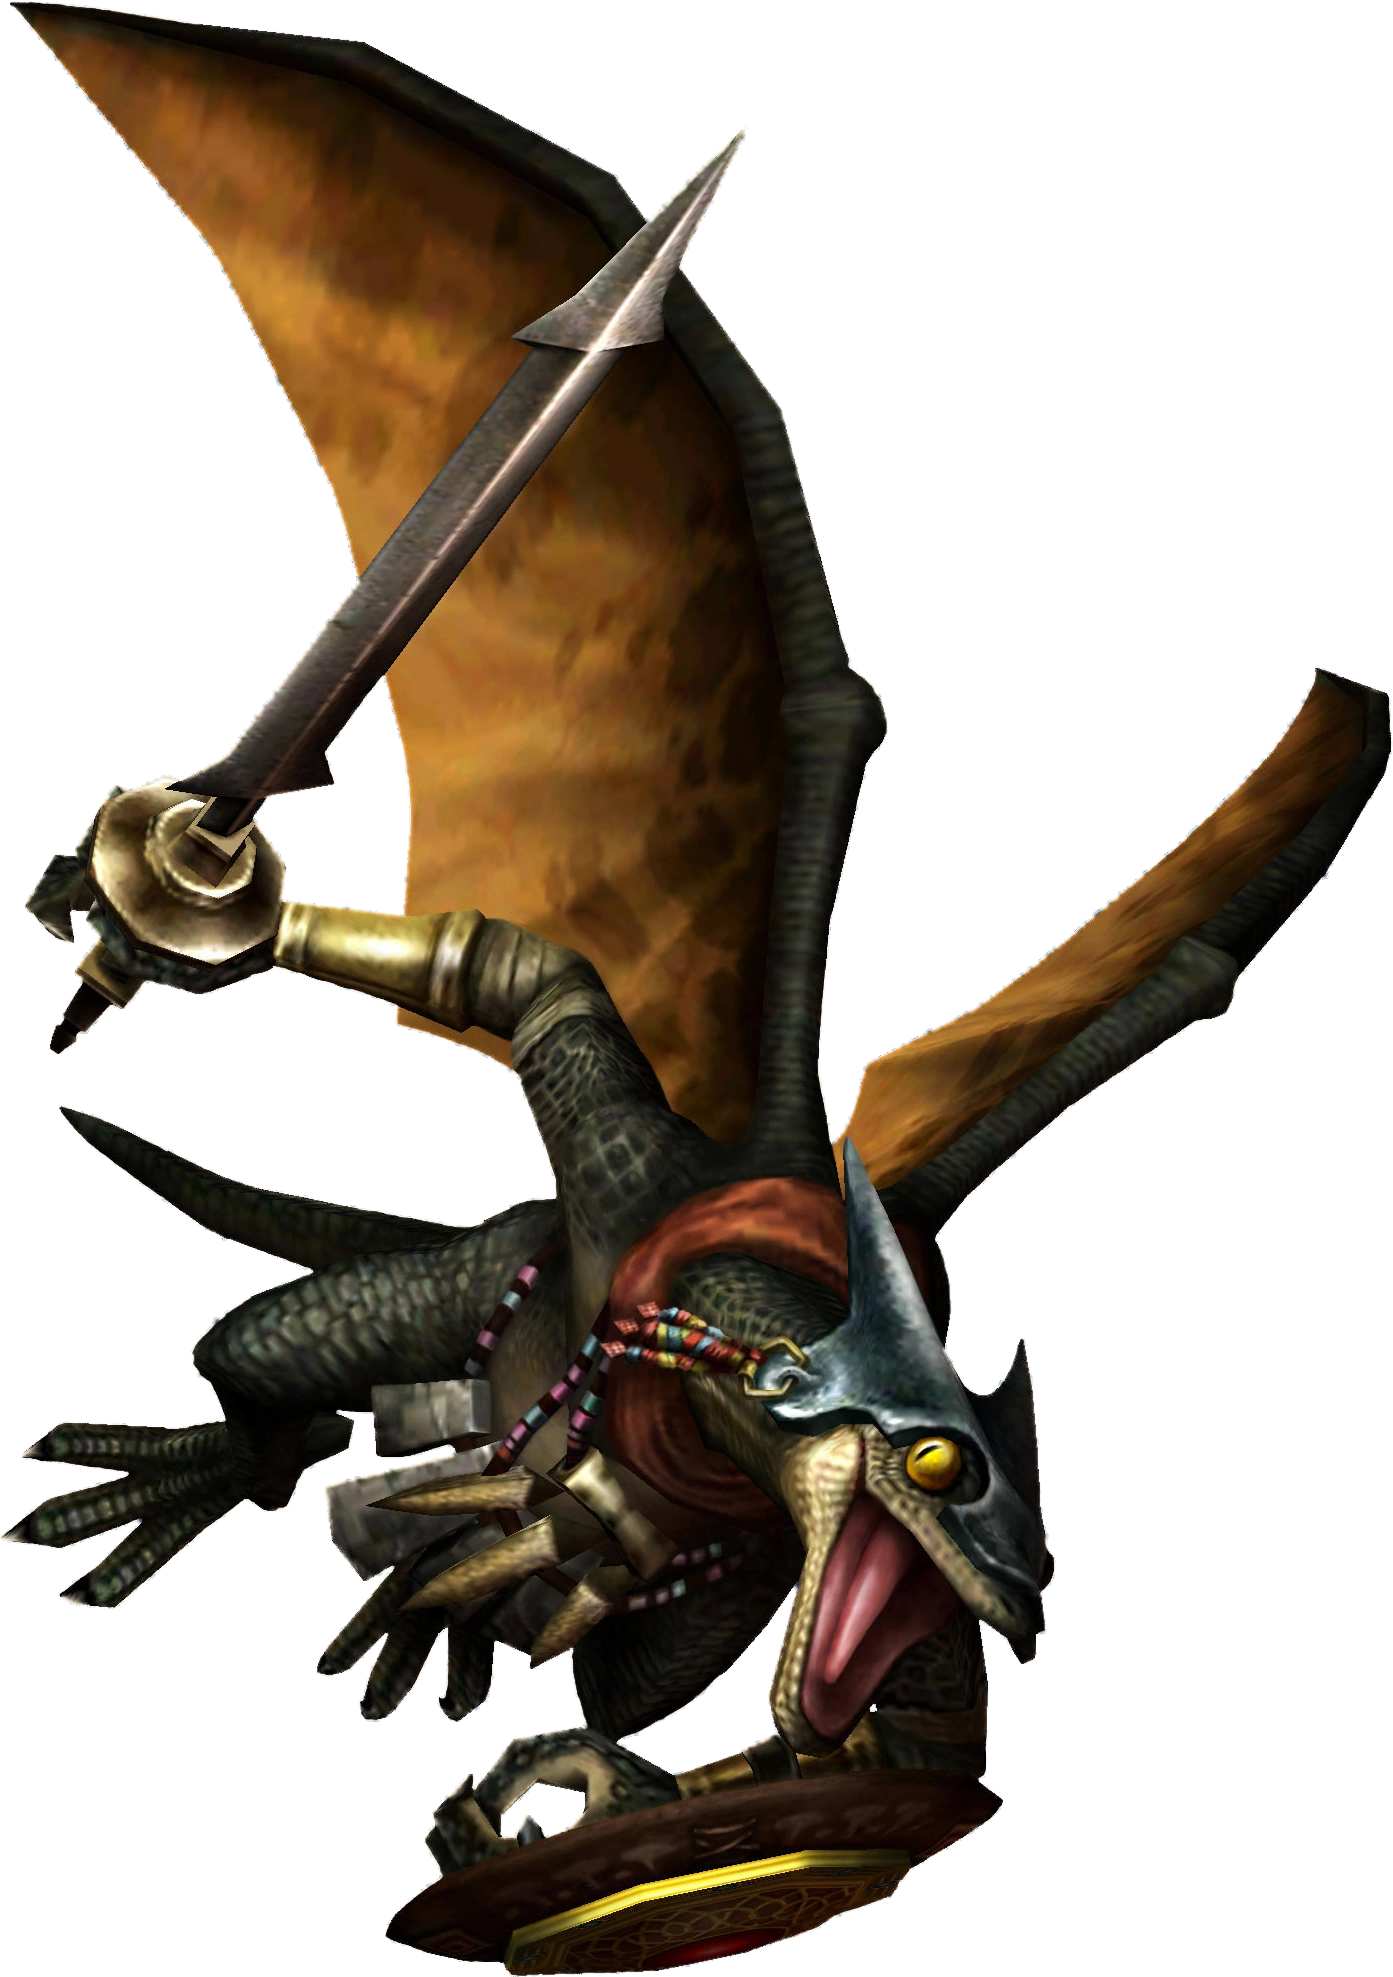
| + | File:Airalfos.png|[[Aeralfos]] |
||
| − | Auru is one of the members of the [[Resistance]], and could be called the oldest out of them.<ref>{{cite|I am Auru. I am part of the group that Telma kindly allows to meet at her bar.|Auru|TP}}</ref> He is fairly knowledgeable about the [[Gerudo Desert|desert]] and the evils that it used to house (or, indeed, still does),<ref name=desert>{{cite|You do know, don't you, Master Link? The Gerudo Desert once held a prison built to hold the worst criminals this land has ever known... The criminals who were sentenced to death were sent directly to the underworld by a cursed mirror that was kept in the prison... Now that prison is condemned, and even the road leading to the desert is impassable. This desert at world's end... It still holds the cursed mirror and the malice of the doomed inmates... These old bones know that the evil currently plaguing Hyrule is related to this wicked place. So I have come to learn the truth...|Auru|TP}}</ref> and appears to have known the sages who guard the [[Mirror of Twilight]] at some point; aside from knowing that they once tutored the young [[Princess Zelda]], it was apparently they who first told him of the mirror and its location.<ref>{{cite|Tell me, did you find anything of interest at the Arbiter's Grounds in the desert? The sages... Those sages once served the royal family, actually. They were appointed as tutors to the young Princess Zelda. It was from them that I first heard tales of the accursed mirror in the Arbiter's Grounds.|Auru|TP}}</ref> It could be inferred that he himself has had links to the [[Royal Family of Hyrule]] at some point. |
||
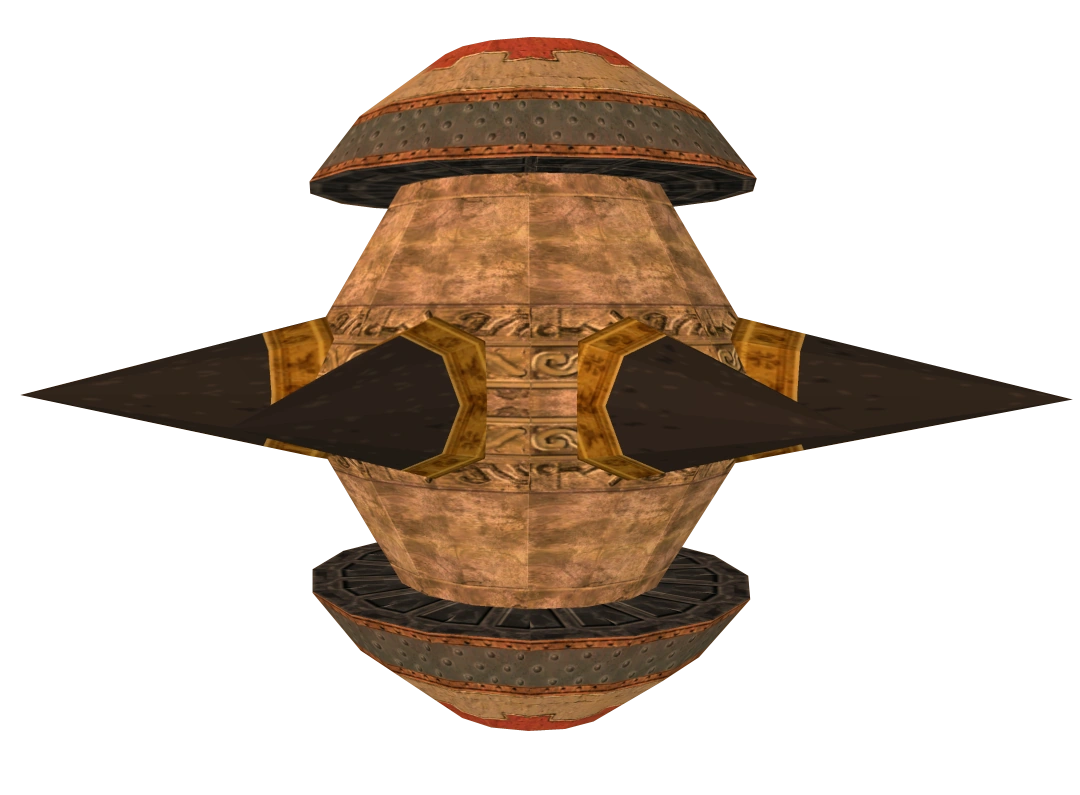
| + | File:Twilightarmos.png|[[Armos]] |
||
| + | File:Baba serpent.png|[[Baba Serpent]] |
||
| − | Link first meets up with him in southwestern [[Lake Hylia]] at the top of a tall lookout tower.<ref>{{cite|Listen, honey, if you're puzzled about what you ought to be doing, why not go see our friend Auru? There's a man who knows things! He's out checking the eastern desert of Hyrule. If you need detailed directions, just take a peek at that map on the table. That old codger Auru is at Lake Hylia, studying the desert.|[[Telma]]|TP}}</ref> He will tell Link that he believes the evil currently plaguing [[Hyrule]] is related to the desert - specifically, the [[Arbiter's Grounds]], a prison formerly used to house "the worst criminals this land (Hyrule) has ever known" and is also, as it happens, the resting place of a cursed mirror supposedly used to send criminals sentenced to death directly to the [[Twilight Realm|underworld]].<ref name=desert></ref> Whilst he tells Link that the road leading to the desert is impassable, he helps Link get there through use of [[Fyer]]'s cannon. The [[Auru's Memo|memo]] he gives Link instructs Fyer to send Link to the desert for free, a request Fyer cannot refuse due to Auru's saving Fyer's life a long time ago.<ref>{{cite|You see Lake Hylia below us? A man named Fyer runs an amusement ride of sorts there. Give him this. See, long ago, I saved this man Fyer's life, and now he cannot refuse me if I ask a favor.|Auru|TP}}</ref> It is in such a way that Link gains access to the Gerudo Desert and, eventually, the Mirror of Twilight. After completion of the Arbiter's Grounds, Auru can be met at any time in [[Telma's Bar]]. |
||
| + | File:Baby Gohma(TP).png|[[Baby Gohma]] |
||
| + | File:Bari.png|[[Bari]] |
||
| + | File:Beamos TP.png|[[Beamos]] |
||
| + | File:Beamostp.png|[[Beamos]] |
||
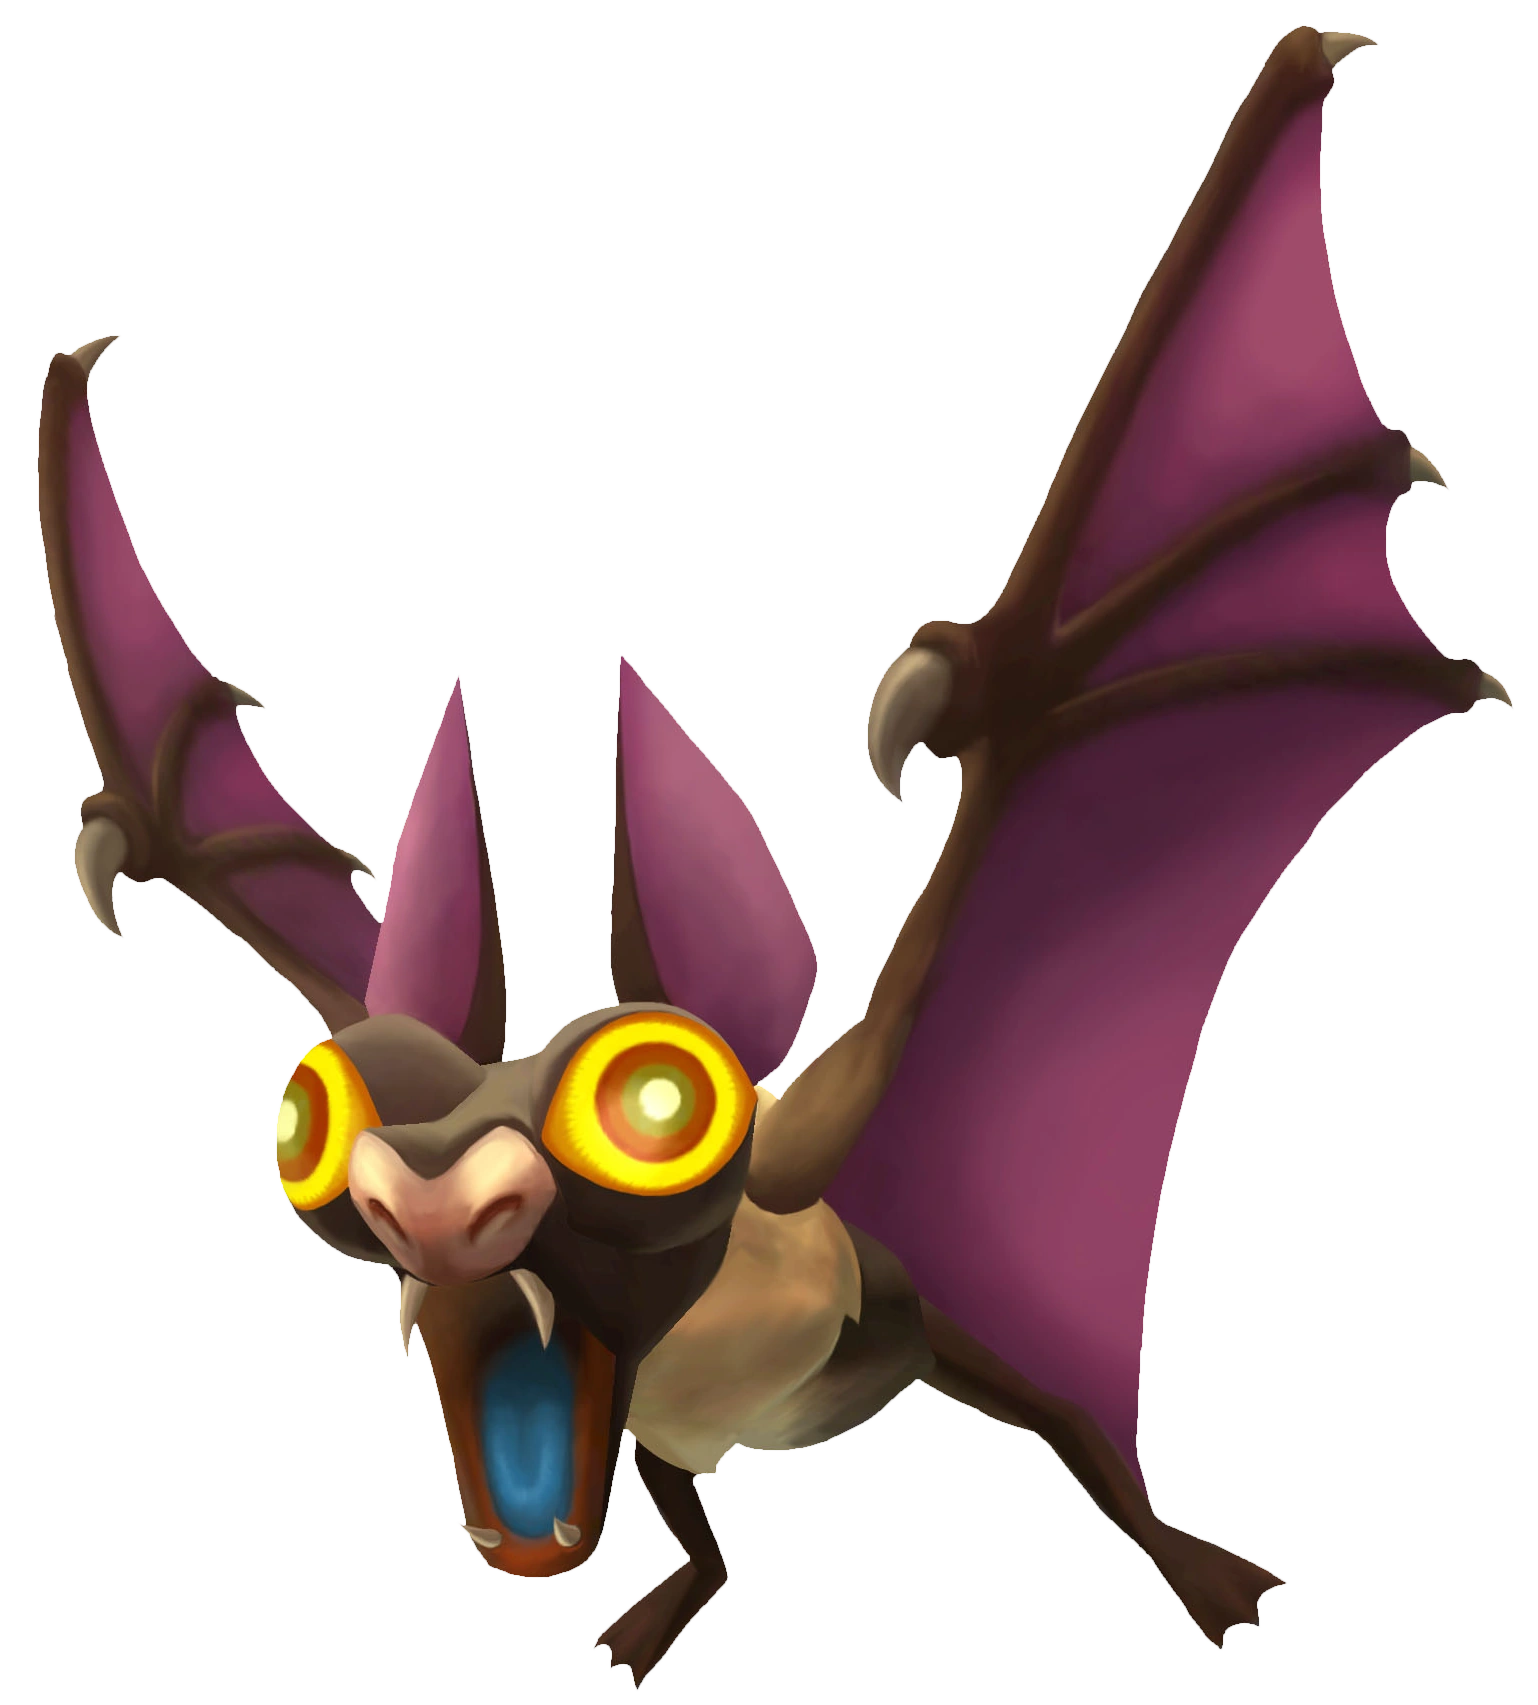
| + | File:Beetp.png|[[Bee]] |
||
| + | File:Bigdeku.png|[[Big Baba]] |
||
| + | File:Blue Chu.png|[[Chuchu#Twilight Princess|Blue Chuchu]] |
||
| + | File:Bokoblin Sword.png|[[Bokoblin]] |
||
| + | File:TP Bokoblin Red.png|[[Bokoblin]] |
||
| + | File:Bombfish.png|[[Bombfish]] |
||
| + | File:Bombling.png|[[Bombling]] |
||
| + | File:Bomskit.png|[[Bomskit]] |
||
| + | File:Bubble.png|[[Bubble]] |
||
| + | File:Bulblin.png|[[Bulblin]] |
||
| + | File:BulblinArcherTP.png|[[Bulblin|Bulblin Archer]] |
||
| + | File:TP Bullbo.png|[[Bullbo]] |
||
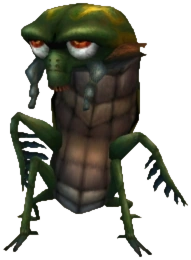
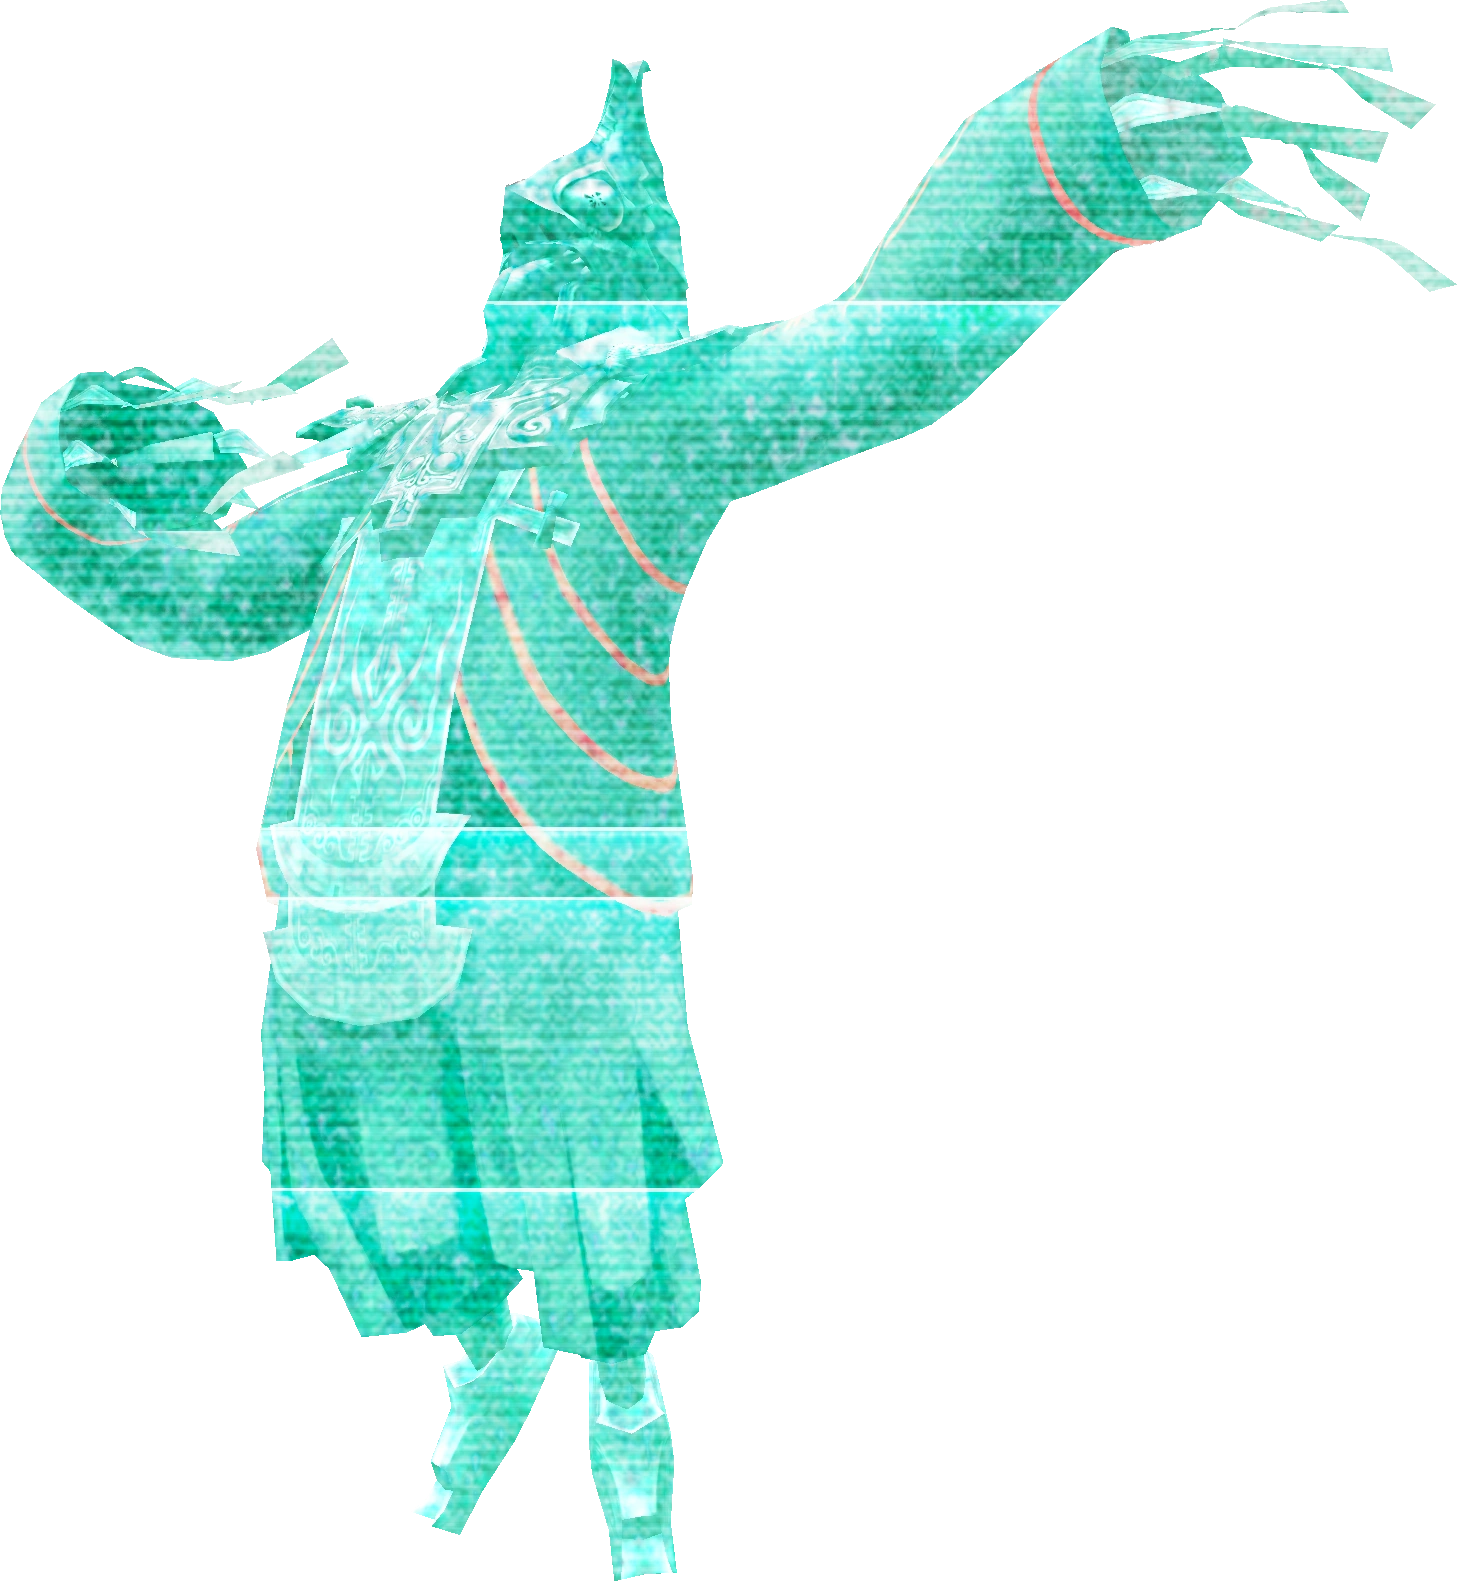
| + | File:Chilfos.png|[[Chilfos]] |
||
| − | ==Trivia== |
||
| + | File:TPHD Chu Worm Model.png|[[Chu Worm]] |
||
| − | *In the Japanese version of {{TP}}, he was Princess Zelda's tutor.<ref>{{cite|The truth is, I used to serve the Hyrule Royal Family by being the one appointed to educate Princess Zelda when she was young.|Auru (Japanese {{TP}})}}</ref> |
||
| − | *Aside from his name bearing a resemblance to [[Rauru]] (which could also be said to be on account of his wise and elderly nature), the emblem of the [[Triforce]] is visible on the front of his clothing. |
||
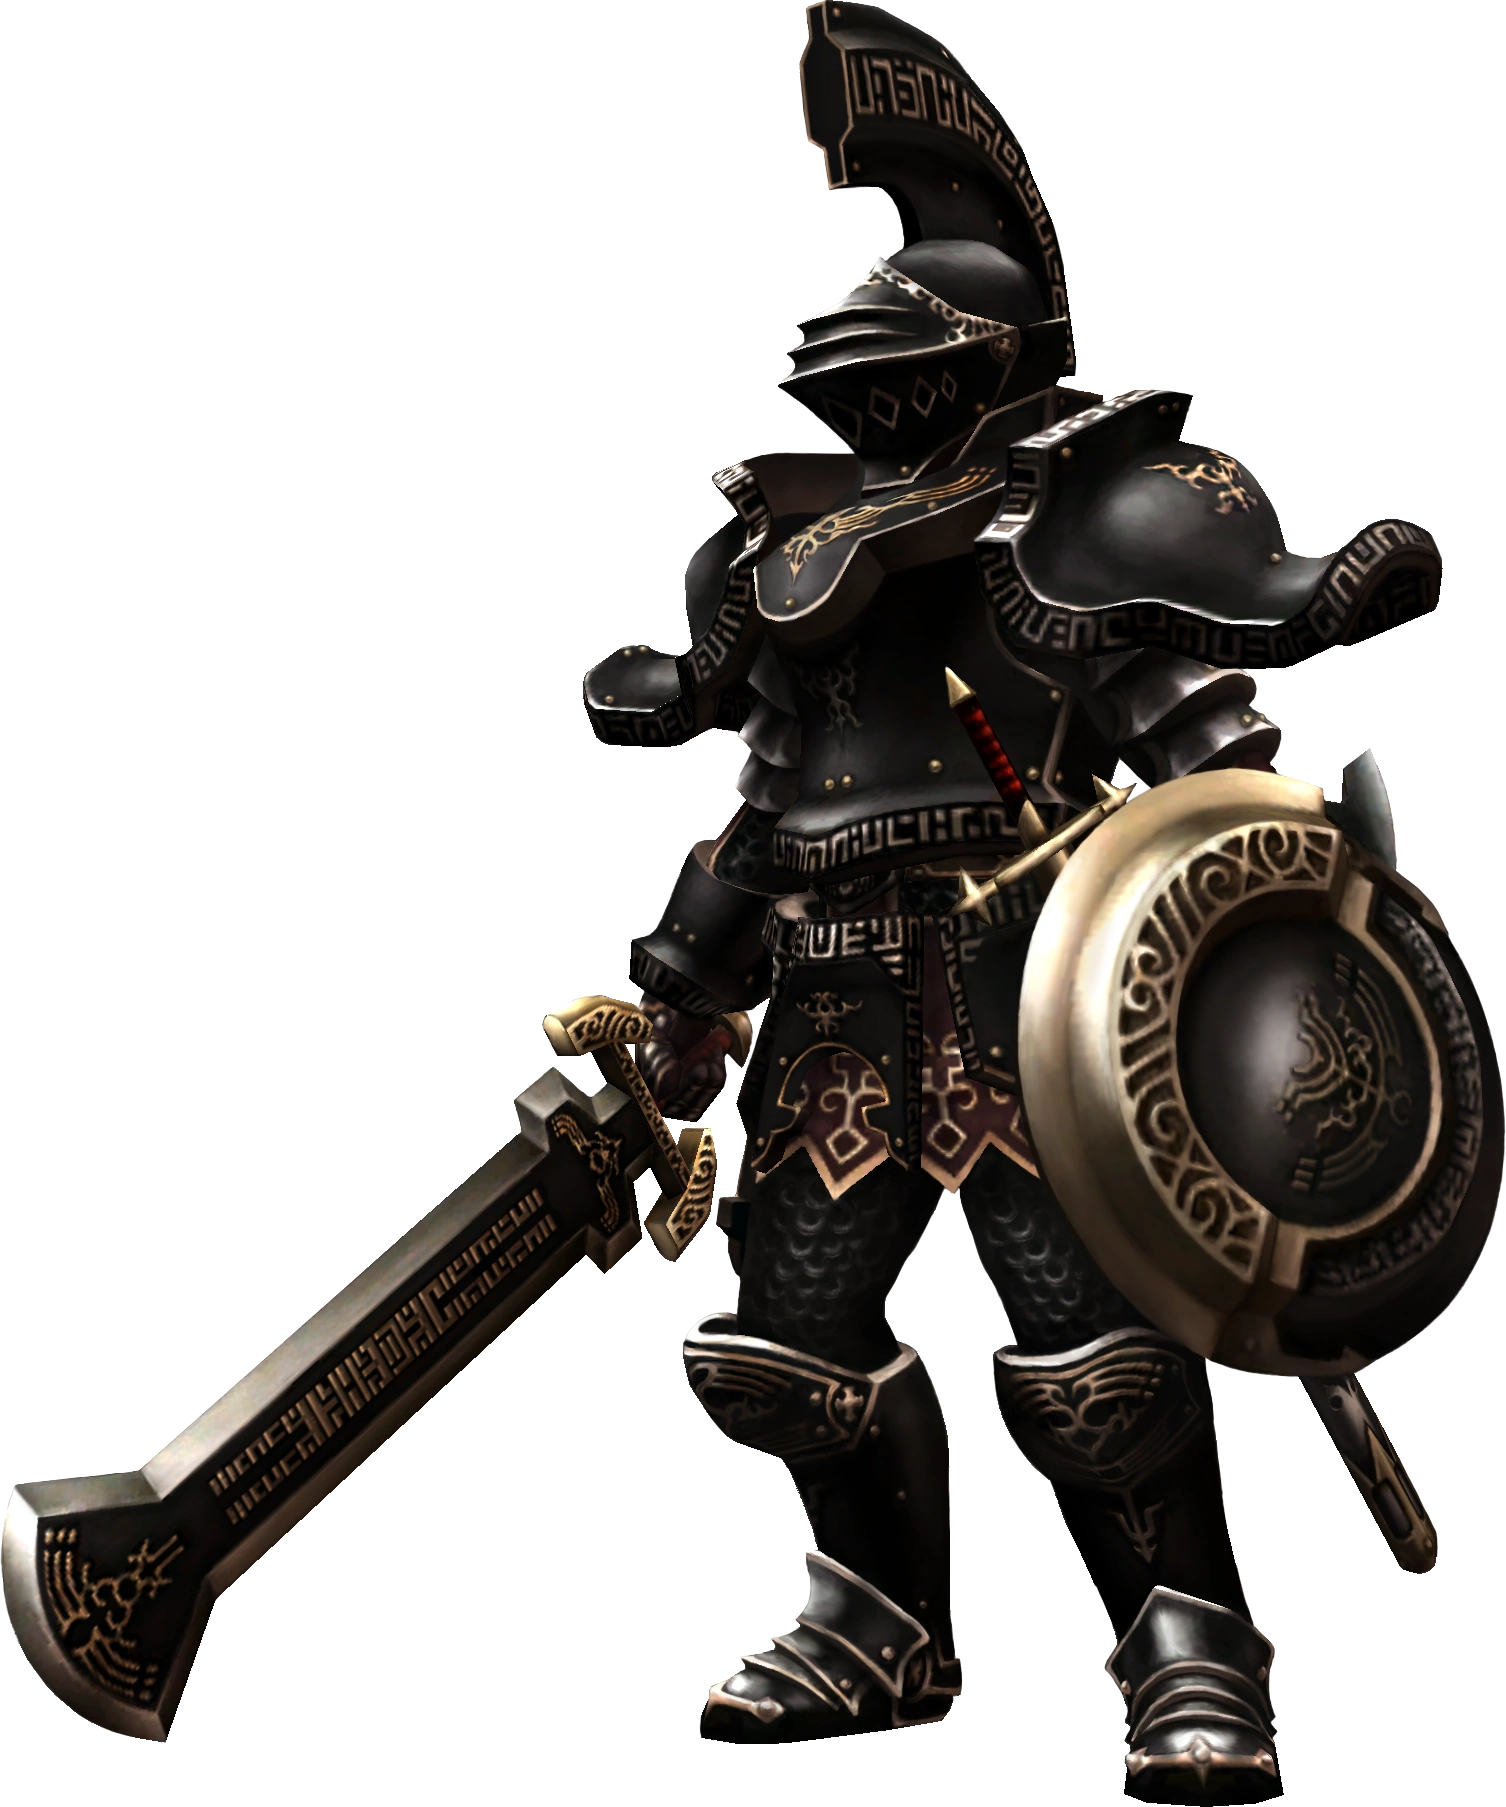
| + | File:Darknut.png|[[Darknut]] |
||
| − | ==Gallery== |
||
| + | File:Deku Baba.png|[[Deku Baba]] |
||
| ⚫ | |||
| + | File:Deku Like.png|[[Deku Like]] |
||
| − | File:AuruConceptArt.jpg|Character Art |
||
| + | File:DodongoTP.png|[[Dodongo]] |
||
| ⚫ | |||
| + | File:Dinolfos TP.png|[[Dynalfos]] |
||
| + | File:FireBubbleTP.png|[[Fire Bubble]] |
||
| − | {{Ref}} |
||
| + | File:FireKeeseTP.png|[[Fire Keese]] |
||
| − | {{Names |
||
| + | File:Fire Toadpoli TP.png|[[Fire Toadpoli]] |
||
| − | |en= |
||
| + | File:Freezard TP 3.png|[[Freezard]] |
||
| − | |enM= |
||
| + | |||
| − | |ja= {{Japanese|ラフレル|Rafureru||1}} |
||
| + | File:TPGoron.png|[[Goron]] |
||
| − | |jaM= Rafrel |
||
| + | File:TPGhoulRat.png|[[Ghoul Rat]] |
||
| − | |es= |
||
| + | File:No Image.png|[[Chuchu#Twilight Princess|Green Chuchu]] {{Exp|Wii and HD versions only}} |
||
| − | |esM= |
||
| + | File:TPGuay.png|[[Guay]] |
||
| − | |esS= Perícleo |
||
| + | |||
| − | |esSM= |
||
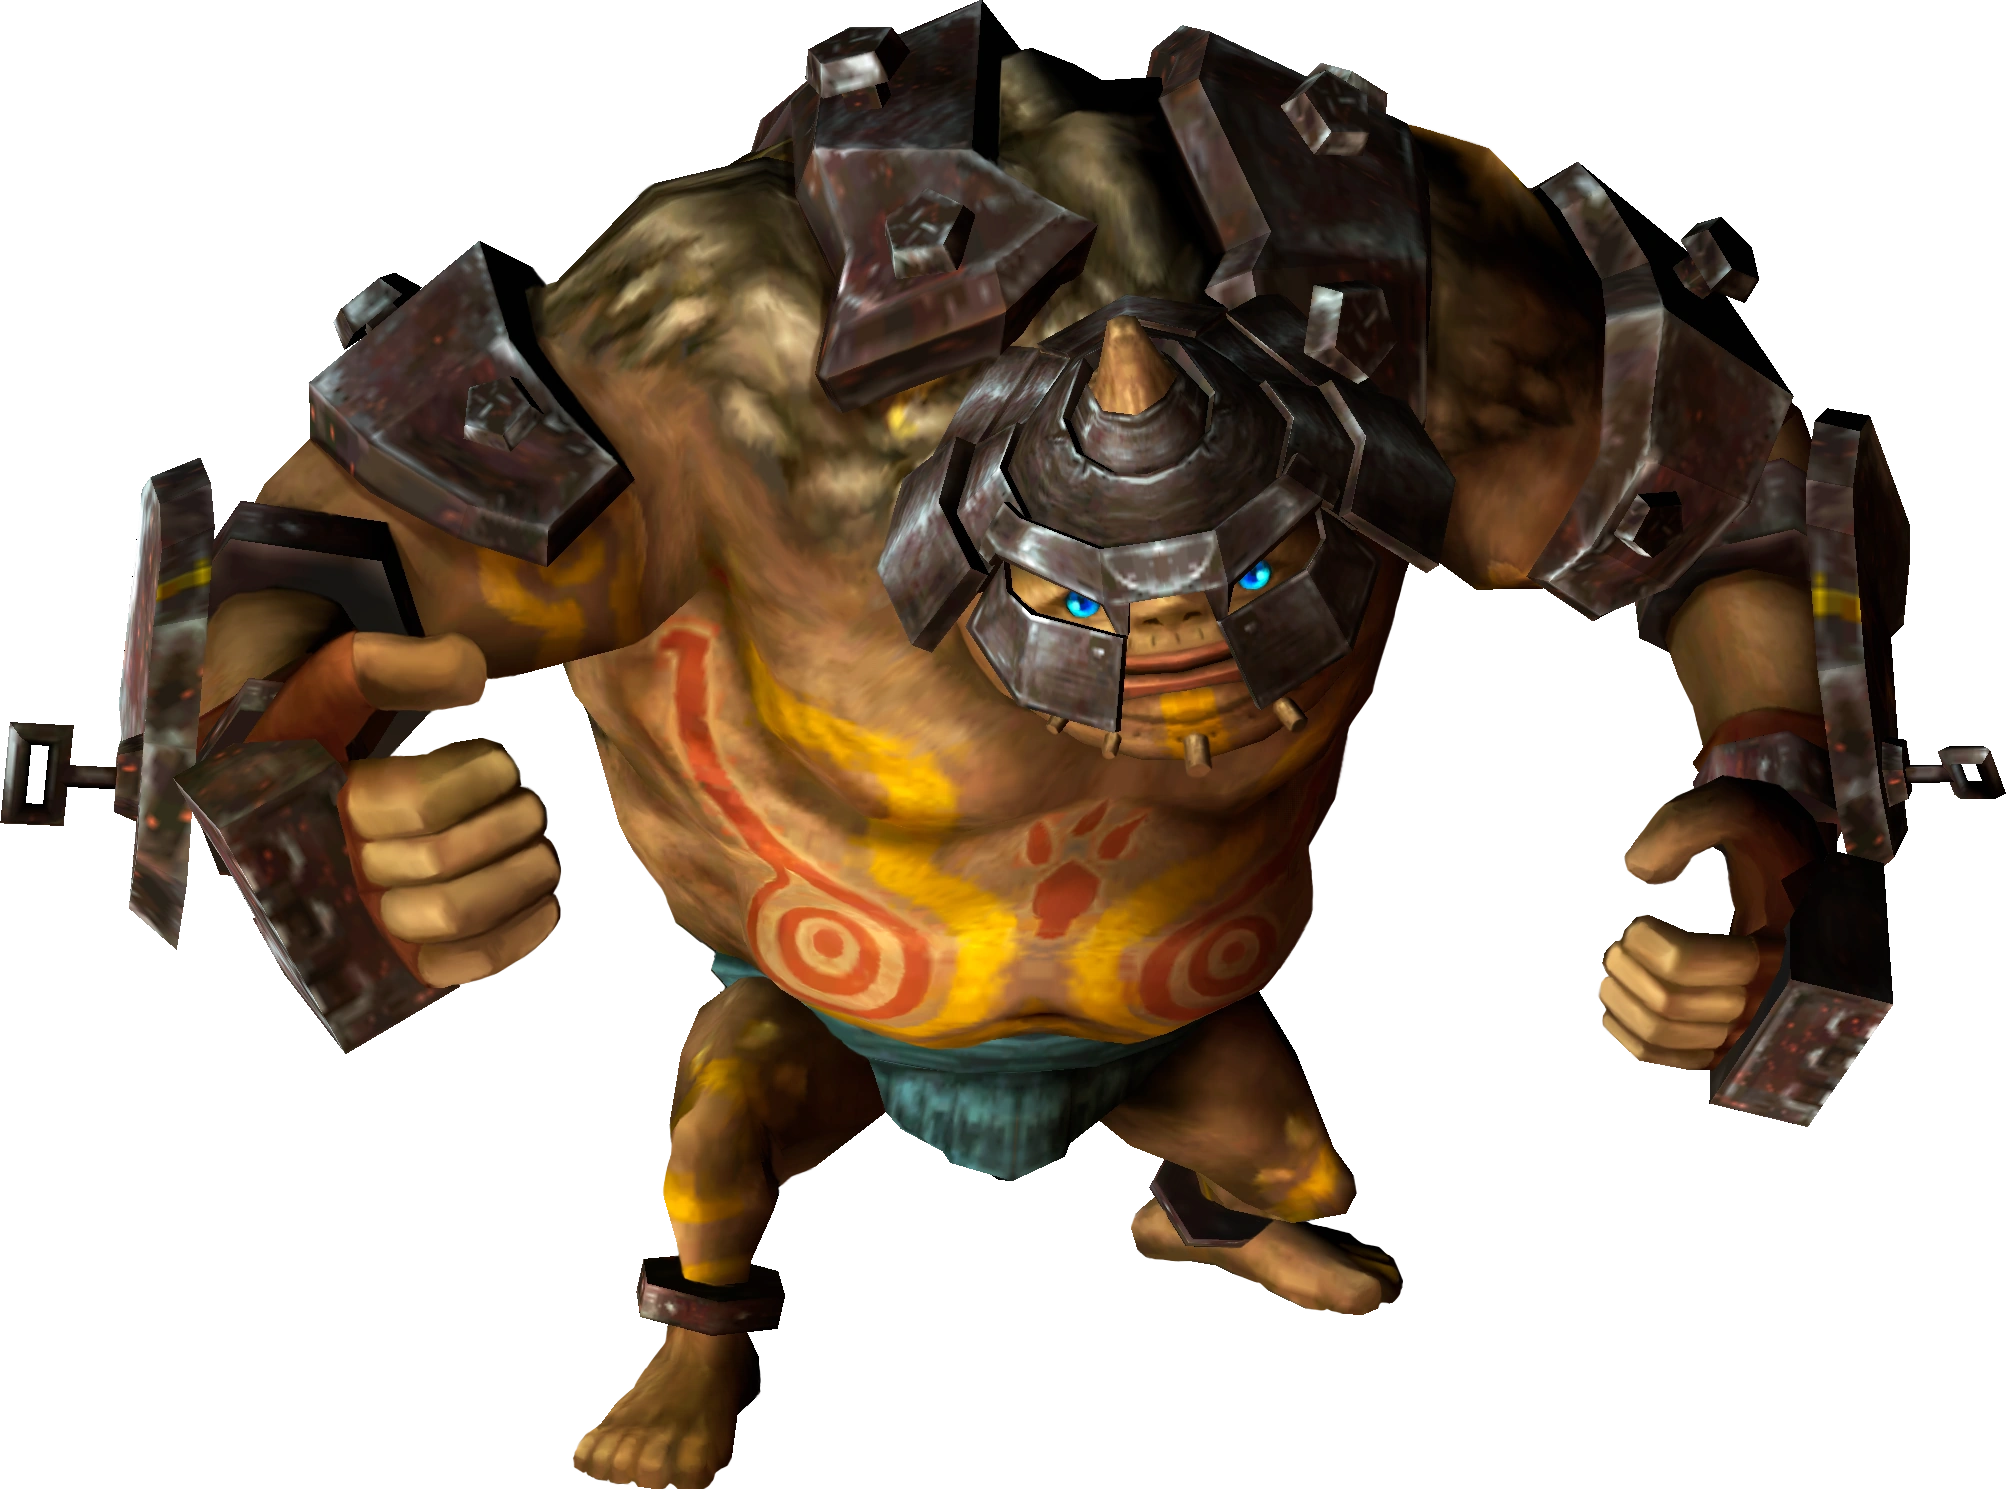
| + | File:Helmasaur.png|[[Helmasaur]] |
||
| − | |esL= |
||
| + | File:Helmasaurus.png|[[Helmasaurus]] |
||
| − | |esLM= |
||
| + | |||
| − | |fr= Lafrel |
||
| + | File:IceBubbleTP.png|[[Ice Bubble]] |
||
| − | |frM= |
||
| + | File:Ice Keese.png|[[Ice Keese]] |
||
| − | |frF= |
||
| + | File:ImpPoe.png|[[Imp Poe]] |
||
| − | |frFM= |
||
| + | |||
| − | |frC= |
||
| + | File:TP Kargarok Model.png|[[Kargarok]] |
||
| − | |frCM= |
||
| + | File:TP Keese.png|[[Keese]] |
||
| − | |de= {{de|Raffler}} |
||
| + | |||
| − | |deM= |
||
| + | File:TP Leever.png|[[Leever]] |
||
| − | |it= Rafael |
||
| + | File:Twilightlizalfos.png|[[Lizalfos]] |
||
| − | |itM= |
||
| + | File:MaskedLizalfosTP.png|[[Lizalfos]] |
||
| − | |pt= |
||
| + | |||
| − | |ptM= |
||
| + | File:Mini_Freezard(TP).png|[[Mini Freezard]] |
||
| − | |ptP= |
||
| + | File:TP Moldorm.png|[[Moldorm]] |
||
| − | |ptPM= |
||
| + | |||
| − | |ptB= |
||
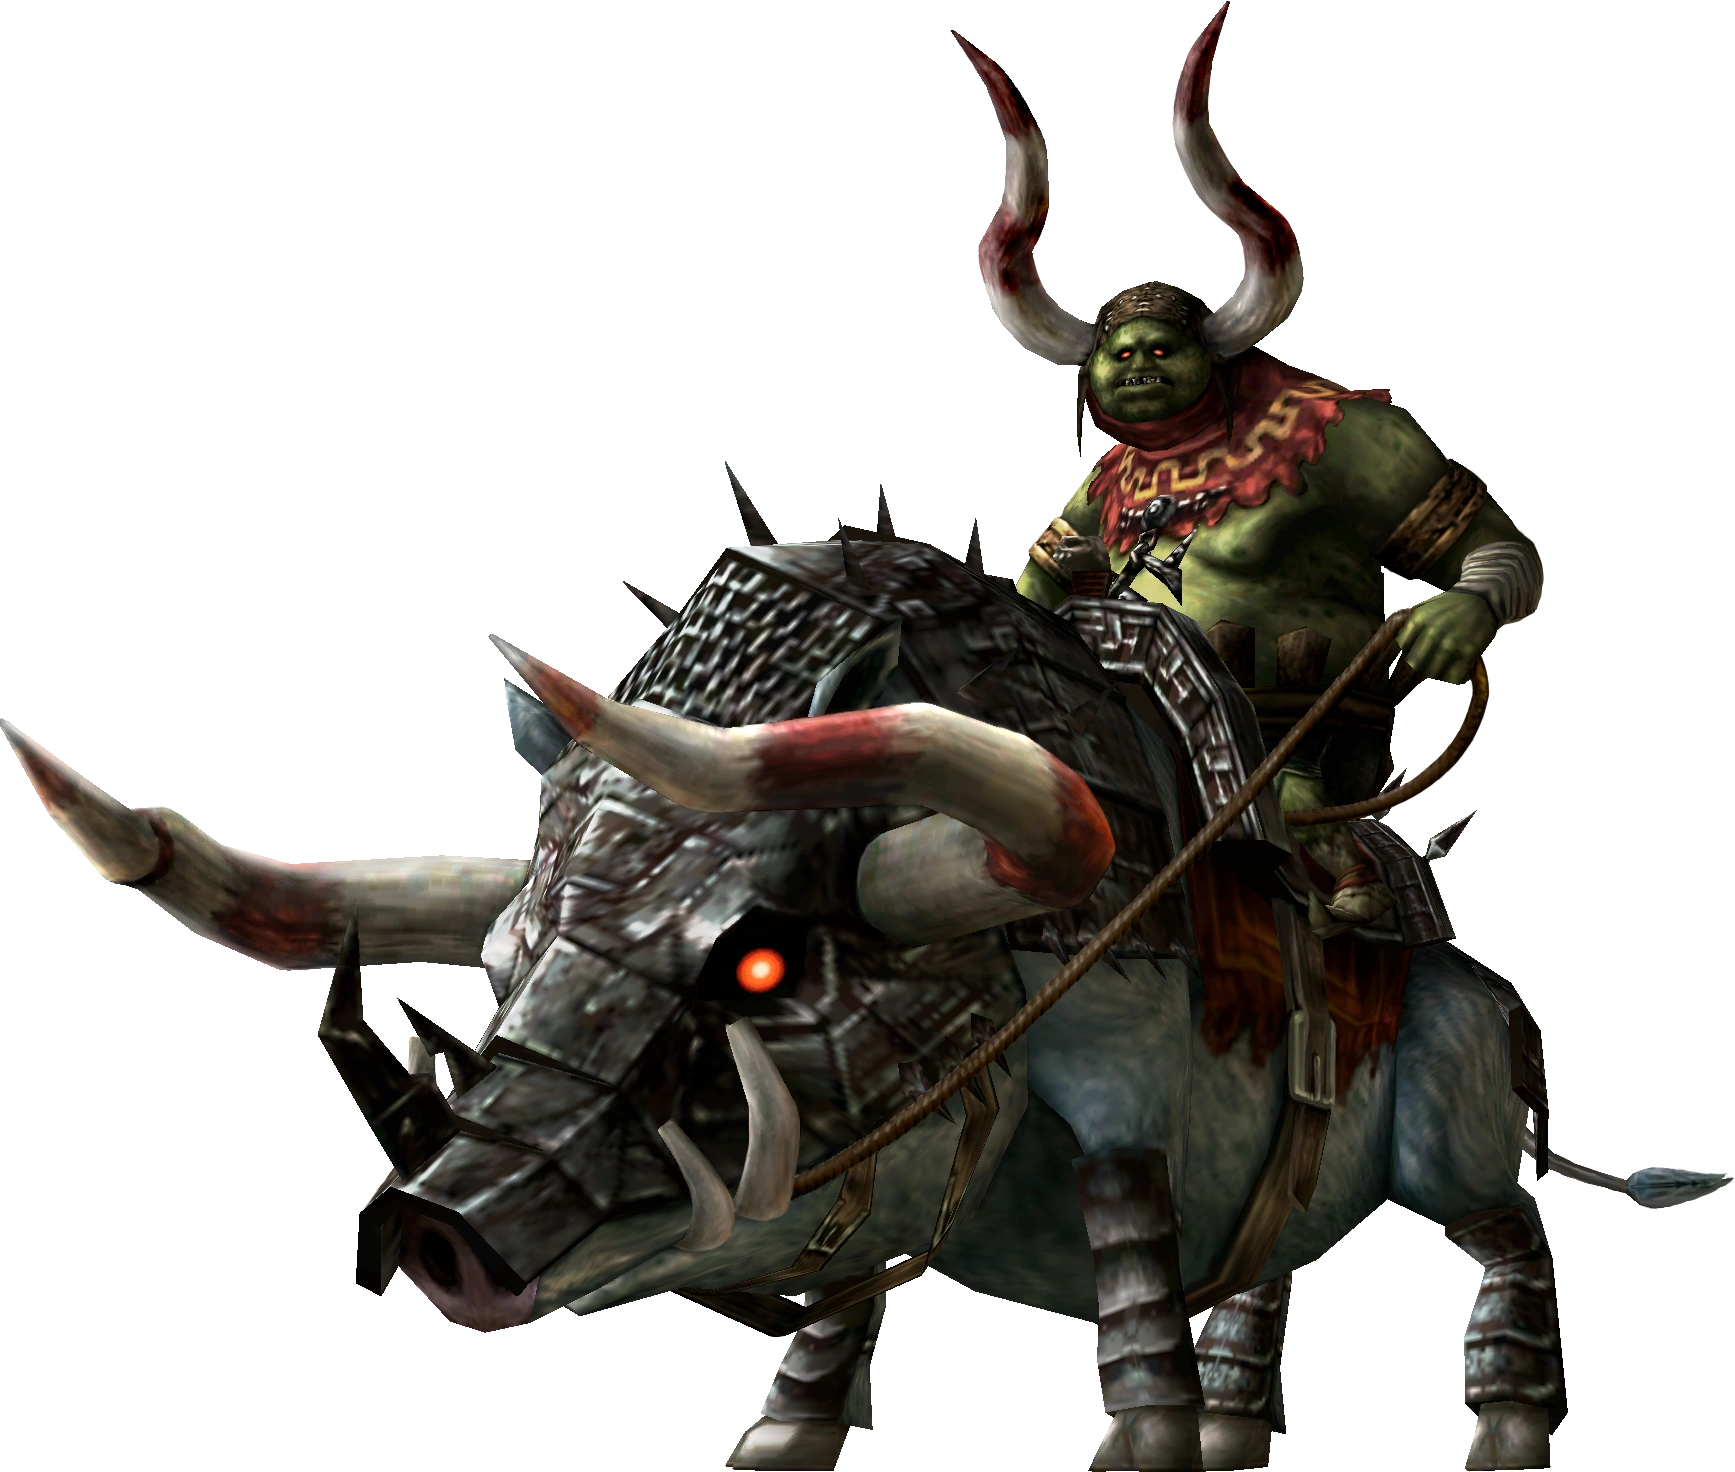
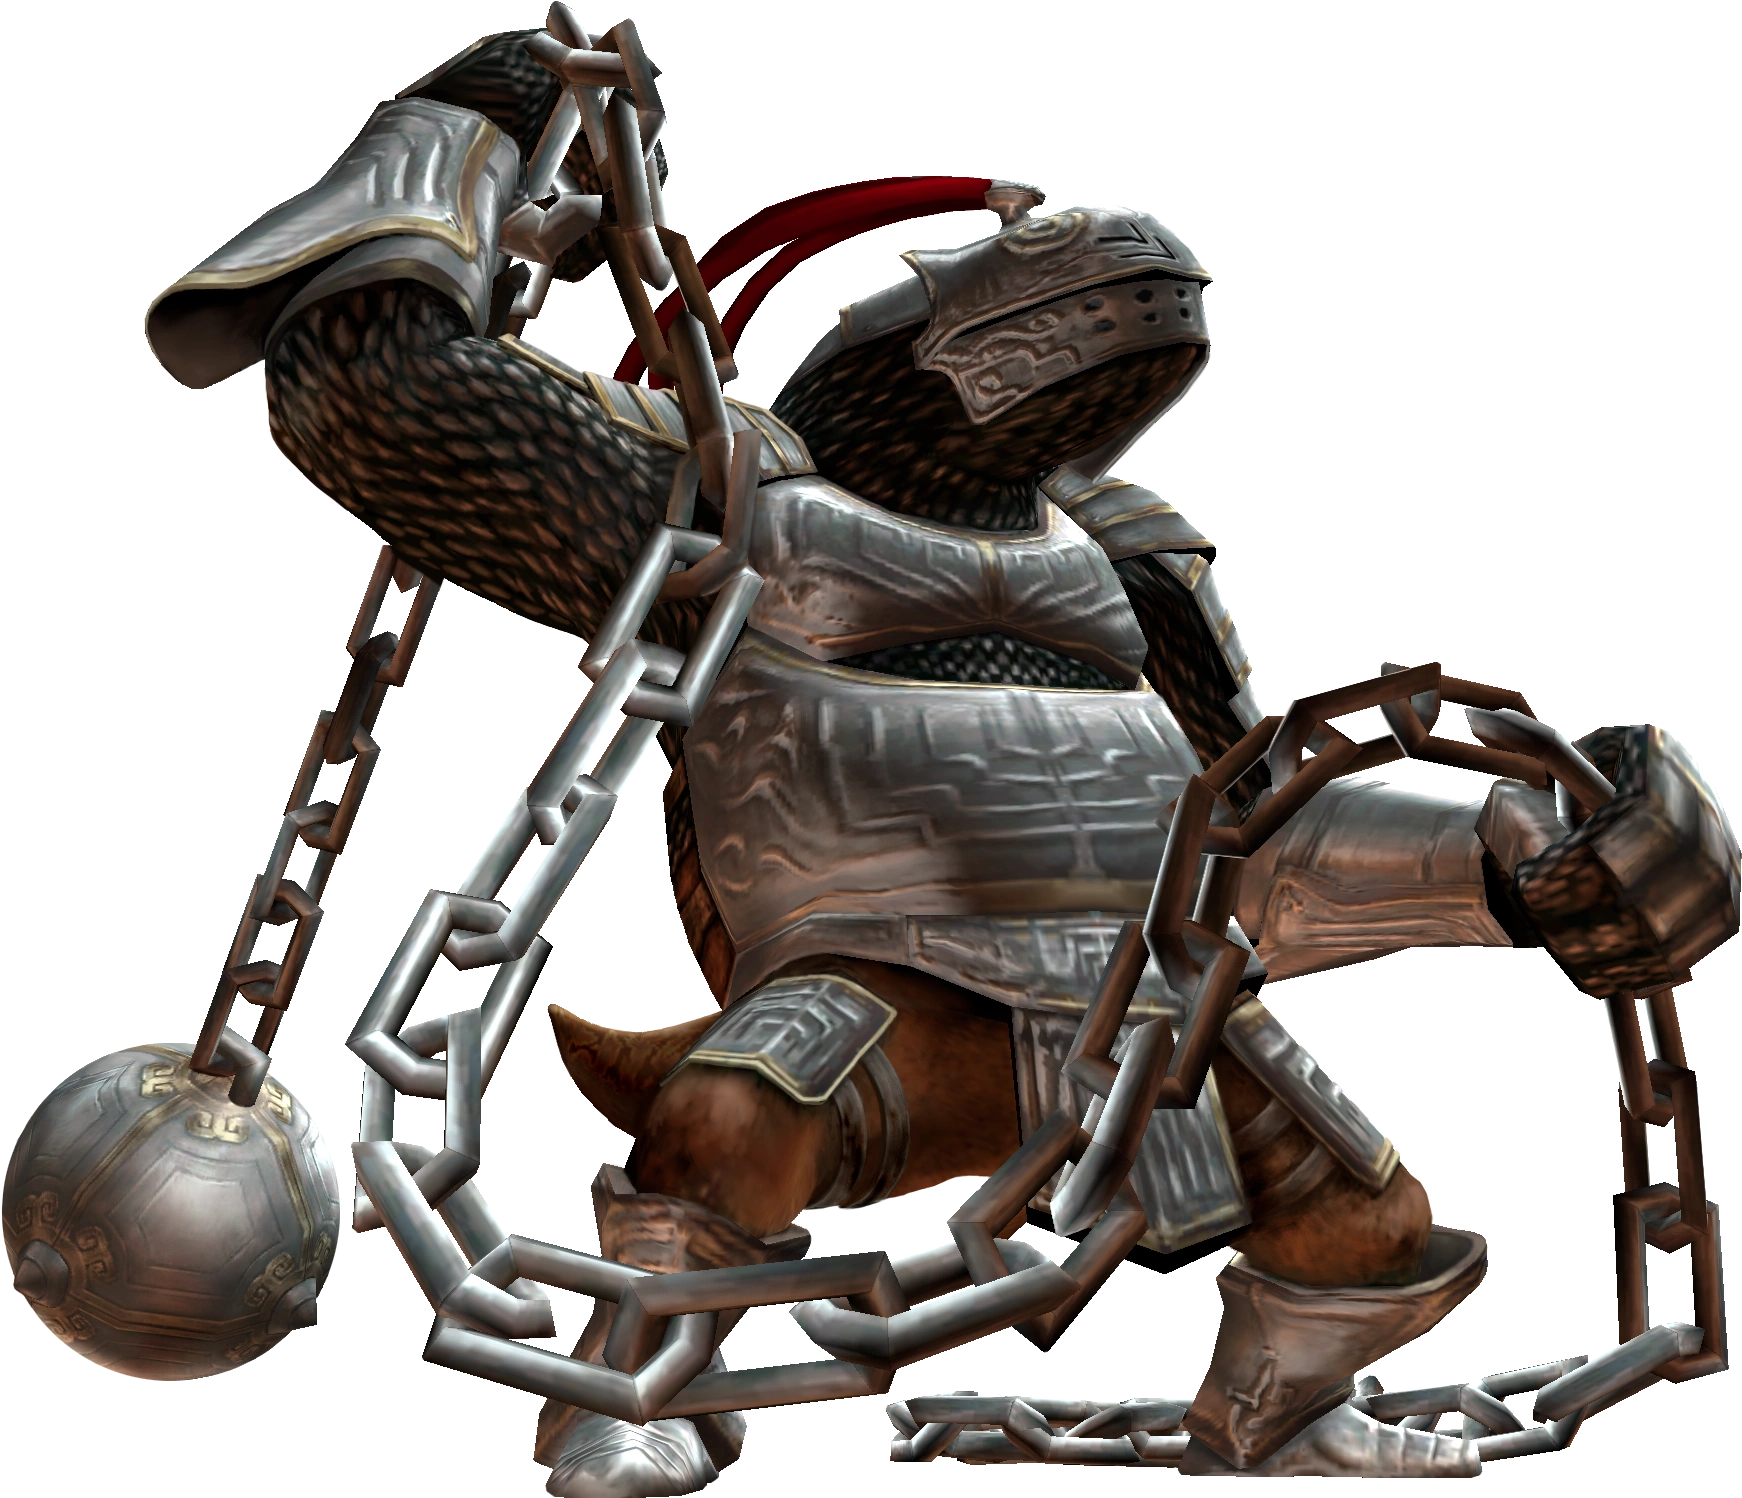
| + | File:Phantom Rider.png|[[Phantom Rider]] |
||
| − | |ptBM= |
||
| + | File:Twilightbigpoe.png|[[Poe]] |
||
| − | |nl= |
||
| + | File:Poison Mite.png|[[Poison Mite]] |
||
| − | |nlM= |
||
| + | File:Puppet.png|[[Puppet]] |
||
| − | |ru= |
||
| + | File:Purple Chu.png|[[Chuchu#Twilight Princess|Purple Chuchu]] |
||
| − | |ruM= |
||
| + | |||
| − | |ko= |
||
| + | File:Rare Chu.png|[[Chuchu#Twilight Princess|Rare Chuchu]] |
||
| − | |koM= |
||
| + | File:TP Rat.png|[[Rat]] |
||
| − | |ch= |
||
| + | File:Red Chu.png|[[Chuchu#Twilight Princess|Red ChuChu]] |
||
| − | |chM= |
||
| + | File:ReDead Knight.png|[[ReDead Knight]] |
||
| − | |chT= |
||
| + | |||
| − | |chTM= |
||
| + | File:ShadowDekuBaba.png|[[Baba Serpent#Shadow Baba Serpent|Shadow Baba Serpent]] |
||
| − | |chS= |
||
| + | File:Shadow Beast.png|[[Shadow Beast]] |
||
| − | |chSM= |
||
| + | File:Shadowbulblinclub.png|[[Bulblin|Shadow Bulblin]] |
||
| − | }} |
||
| + | File:ShadowBulblinArcherTP.png|[[Bulblin|Shadow Bulblin Archer]] |
||
| ⚫ | |||
| + | File:ShadowDekuBaba.png|[[Deku Baba#Shadow Deku Baba|Shadow Deku Baba]] |
||
| − | [[Category: Hylians]] |
||
| + | File:TP Ground Shadow Insect.png|[[Shadow Insect]] |
||
| − | [[Category:Hyruleans]] |
||
| + | File:TP Shadow Kargarok Model.png|[[Kargarok|Shadow Kargarok]] |
||
| ⚫ | |||
| + | File:Shadowkeese.png|[[Shadow Keese]] |
||
| + | File:ShadowVermin.png|[[Shadow Vermin]] |
||
| + | File:Shellblade.png|[[Shell Blade]] |
||
| + | File:TP Skullfish.png|[[Skullfish]] |
||
| + | File:TP Skulltula 1.png|[[Skulltula]] |
||
| + | File:TP Skulltula 2.png|[[Skulltula]] |
||
| + | File:Skullwalltula TP.png|[[Skullwalltula#Twilight Princess|Skullwalltula]] |
||
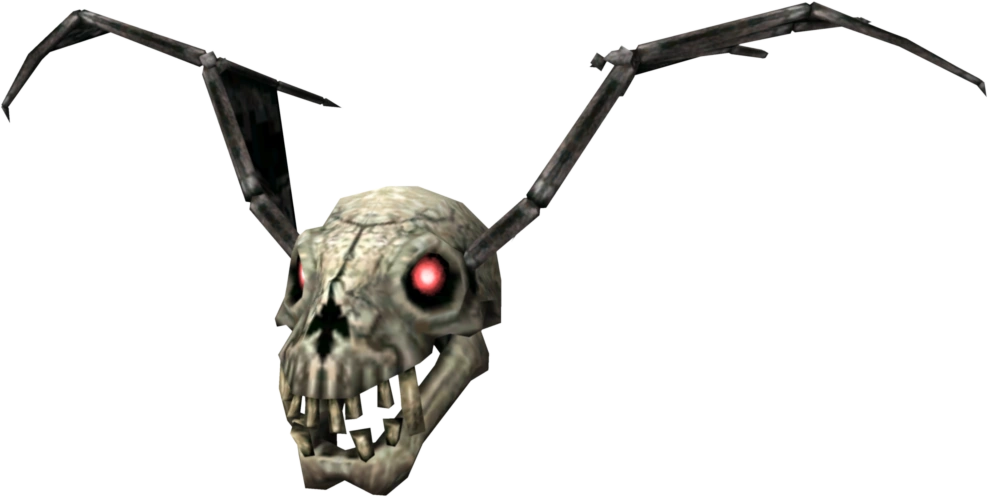
| + | File:TP Stalfos.png|[[Stalfos]] |
||
| + | File:Stalhound.png|[[Stalhound]] |
||
| + | File:Stalkin.png|[[Stalkin]] |
||
| + | File:Staltroop.png|[[Staltroop]] |
||
| + | |||
| + | File:Tektite TP.png|[[Tektite]] |
||
| + | File:TPbluetektite.png|[[Tektite]] |
||
| + | File:Tile Worm.png|[[Tile Worm]] |
||
| + | File:Toado.png|[[Toado]] |
||
| + | |||
| + | File:Torch Slug.png|[[Torch Slug]] |
||
| + | File:Toadpoli.png|[[Water Toadpoli]] |
||
| + | File:White Wolfos TP.png|[[White Wolfos]] |
||
| + | |||
| + | File:Yellow Chu.png|[[Chuchu#Twilight Princess|Yellow Chuchu]] |
||
| + | File:Young Gohma.png|[[Gohma Larva#Twilight Princess|Young Gohma]] |
||
| + | |||
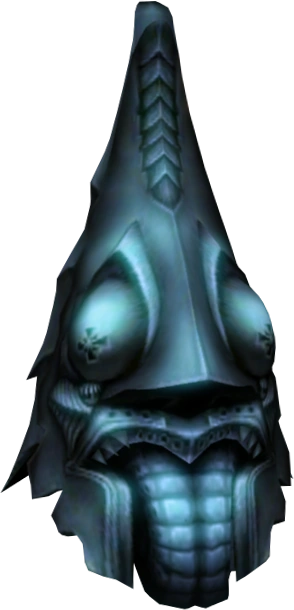
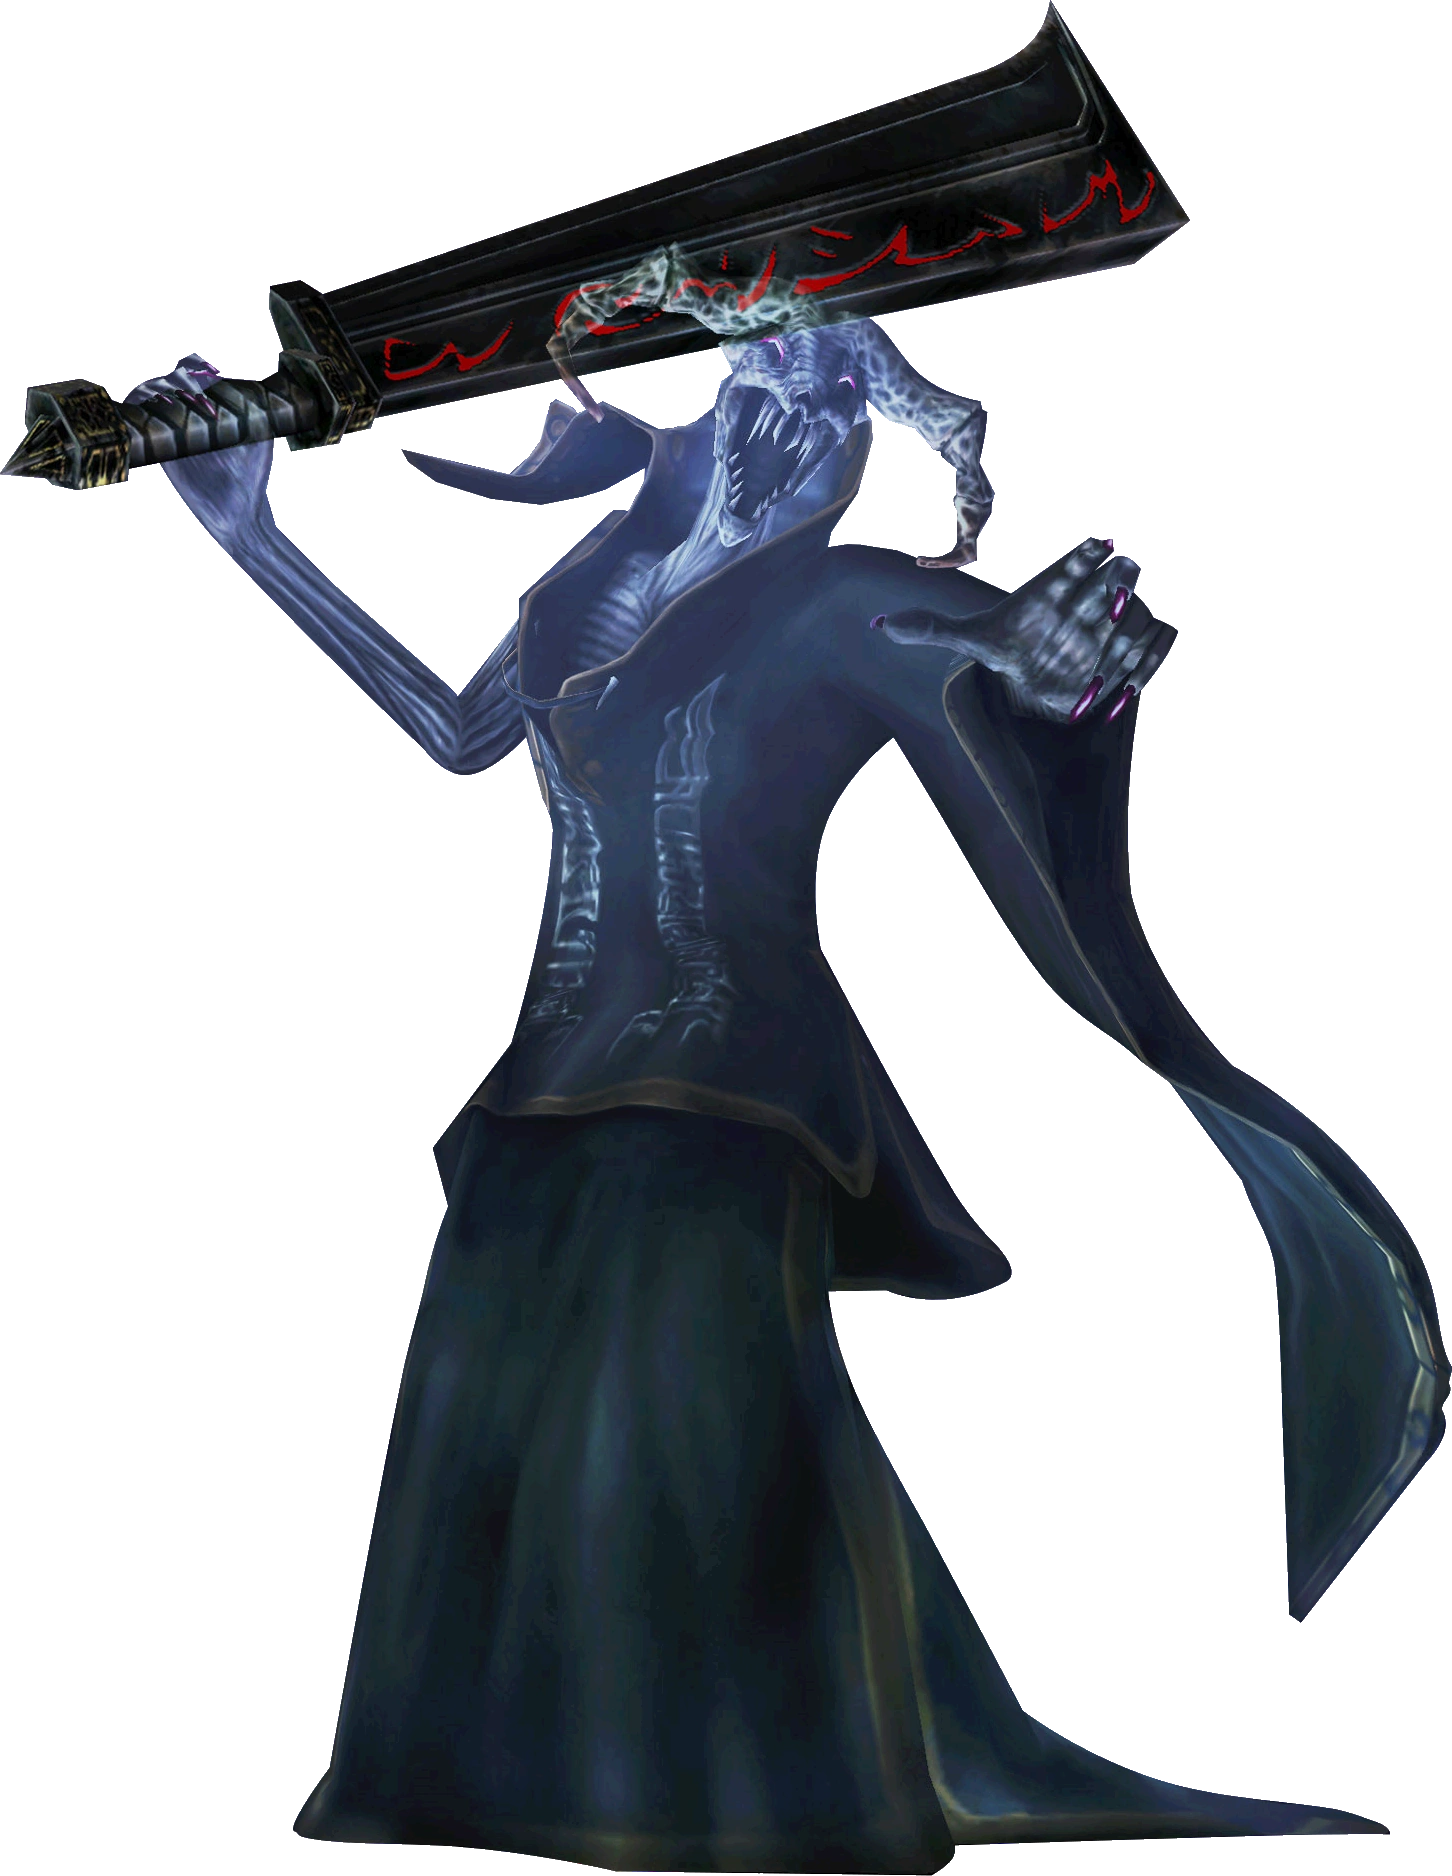
| + | File:Zant's Mask.png|[[Zant Mask]] |
||
| + | File:TPZantsHand.png|[[Zant's Hand]] |
||
| + | </gallery></center> |
||
| + | |||
| + | ==Traps== |
||
| ⚫ | |||
| + | File:Toge Trap TP 1.png|[[Blade Trap]] |
||
| + | File:Toge Trap TP 3.png|[[Blade Trap]] |
||
| + | File:Toge Trap TP 2.png|[[Blade Trap]] |
||
| + | File:Floor Spikes.png|[[Floor Spikes]] |
||
| + | File:TP Dark Fog.png|[[Fog]] |
||
| + | File:TPHD Pendulum Model.png|[[Pendulum]] |
||
| + | File:TPHD Spike Rollers.png|[[Rolling Spike Trap]] |
||
| + | </gallery></center> |
||
| + | |||
| ⚫ | |||
| + | |||
| + | {{EnemyNav}} |
||
| ⚫ | |||
Revision as of 20:40, 4 December 2016
Gallery of Enemies in The Legend of Zelda: Twilight Princess
- Airalfos.png
- Twilightarmos.png
- Baba serpent.png
- Baby Gohma(TP).png
- Bari.png
- Beamos TP.png
- Beamostp.png
- Beetp.png
- Bigdeku.png
- Blue Chu.png
- Bokoblin Sword.png
- TP Bokoblin Red.png
- Bombfish.png
- Bombling.png
- Bomskit.png
- Bulblin.png
- BulblinArcherTP.png
- TP Bullbo.png
- Chilfos.png
- Darknut.png
- Deku Baba.png
- Deku Like.png
- DodongoTP.png
- Dinolfos TP.png
- FireBubbleTP.png
- FireKeeseTP.png
- Fire Toadpoli TP.png
- Freezard TP 3.png
- TPGoron.png
- TPGhoulRat.png
- TPGuay.png
- Helmasaur.png
- Helmasaurus.png
- IceBubbleTP.png
- Ice Keese.png
- ImpPoe.png
- TP Keese.png
- TP Leever.png
- Twilightlizalfos.png
- MaskedLizalfosTP.png
- Mini Freezard(TP).png
- TP Moldorm.png
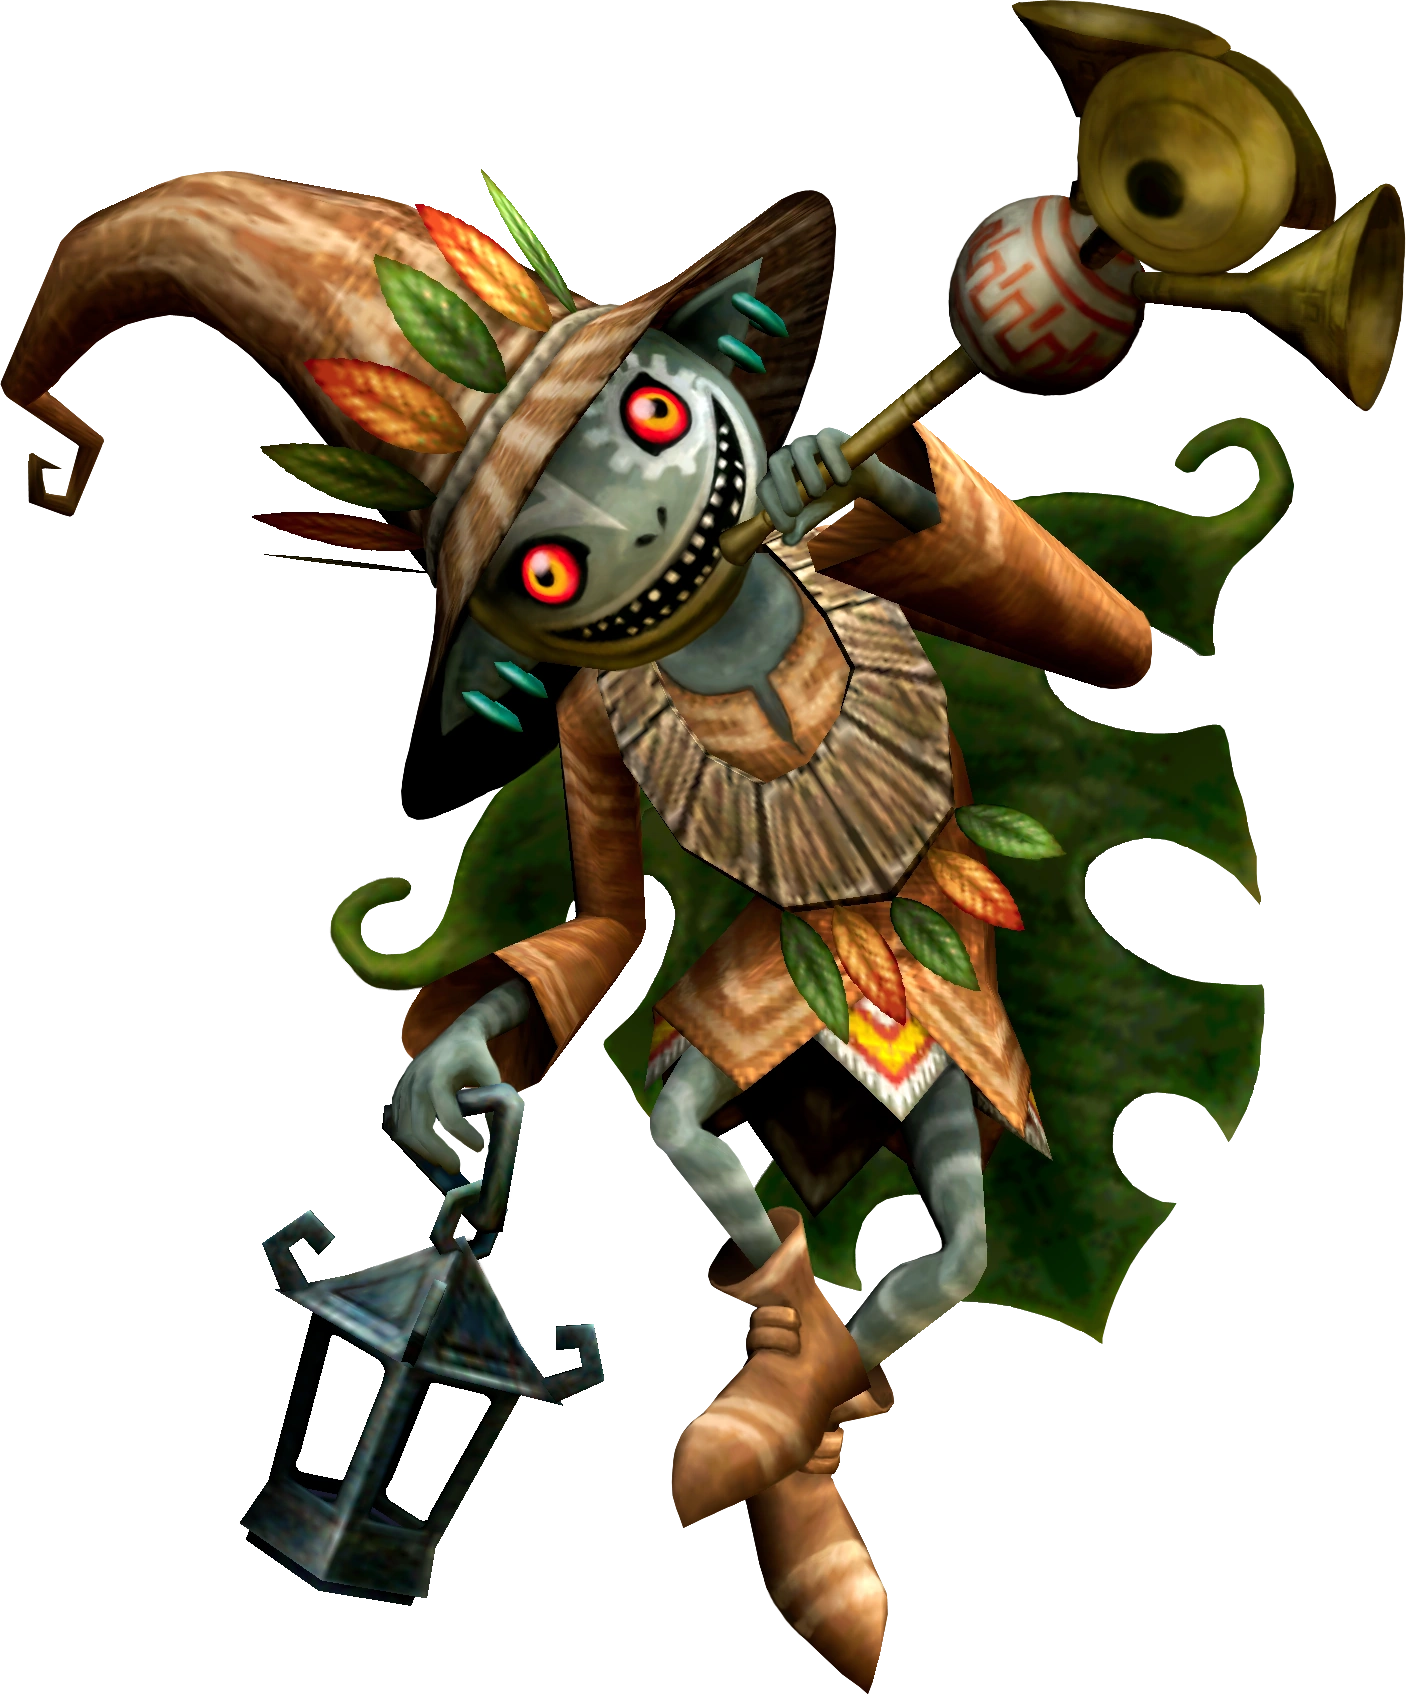
- Phantom Rider.png
- Twilightbigpoe.png
- Poison Mite.png
- Puppet.png
- Purple Chu.png
- Rare Chu.png
- TP Rat.png
- Red Chu.png
- ReDead Knight.png
- ShadowDekuBaba.png
- Shadow Beast.png
- Shadowbulblinclub.png
- ShadowBulblinArcherTP.png
- ShadowDekuBaba.png
- TP Ground Shadow Insect.png
- TP Shadow Kargarok Model.png
- Shadowkeese.png
- ShadowVermin.png
- Shellblade.png
- TP Skullfish.png
- TP Skulltula 1.png
- TP Skulltula 2.png
- Skullwalltula TP.png
- TP Stalfos.png
- Stalhound.png
- Stalkin.png
- Staltroop.png
- Tektite TP.png
- TPbluetektite.png
- Tile Worm.png
- Toado.png
- Torch Slug.png
- Toadpoli.png
- White Wolfos TP.png
- Yellow Chu.png
- Young Gohma.png
- TPZantsHand.png

Traps
- Floor Spikes.png
- TPHD Spike Rollers.png
Middle Bosses

Bosses

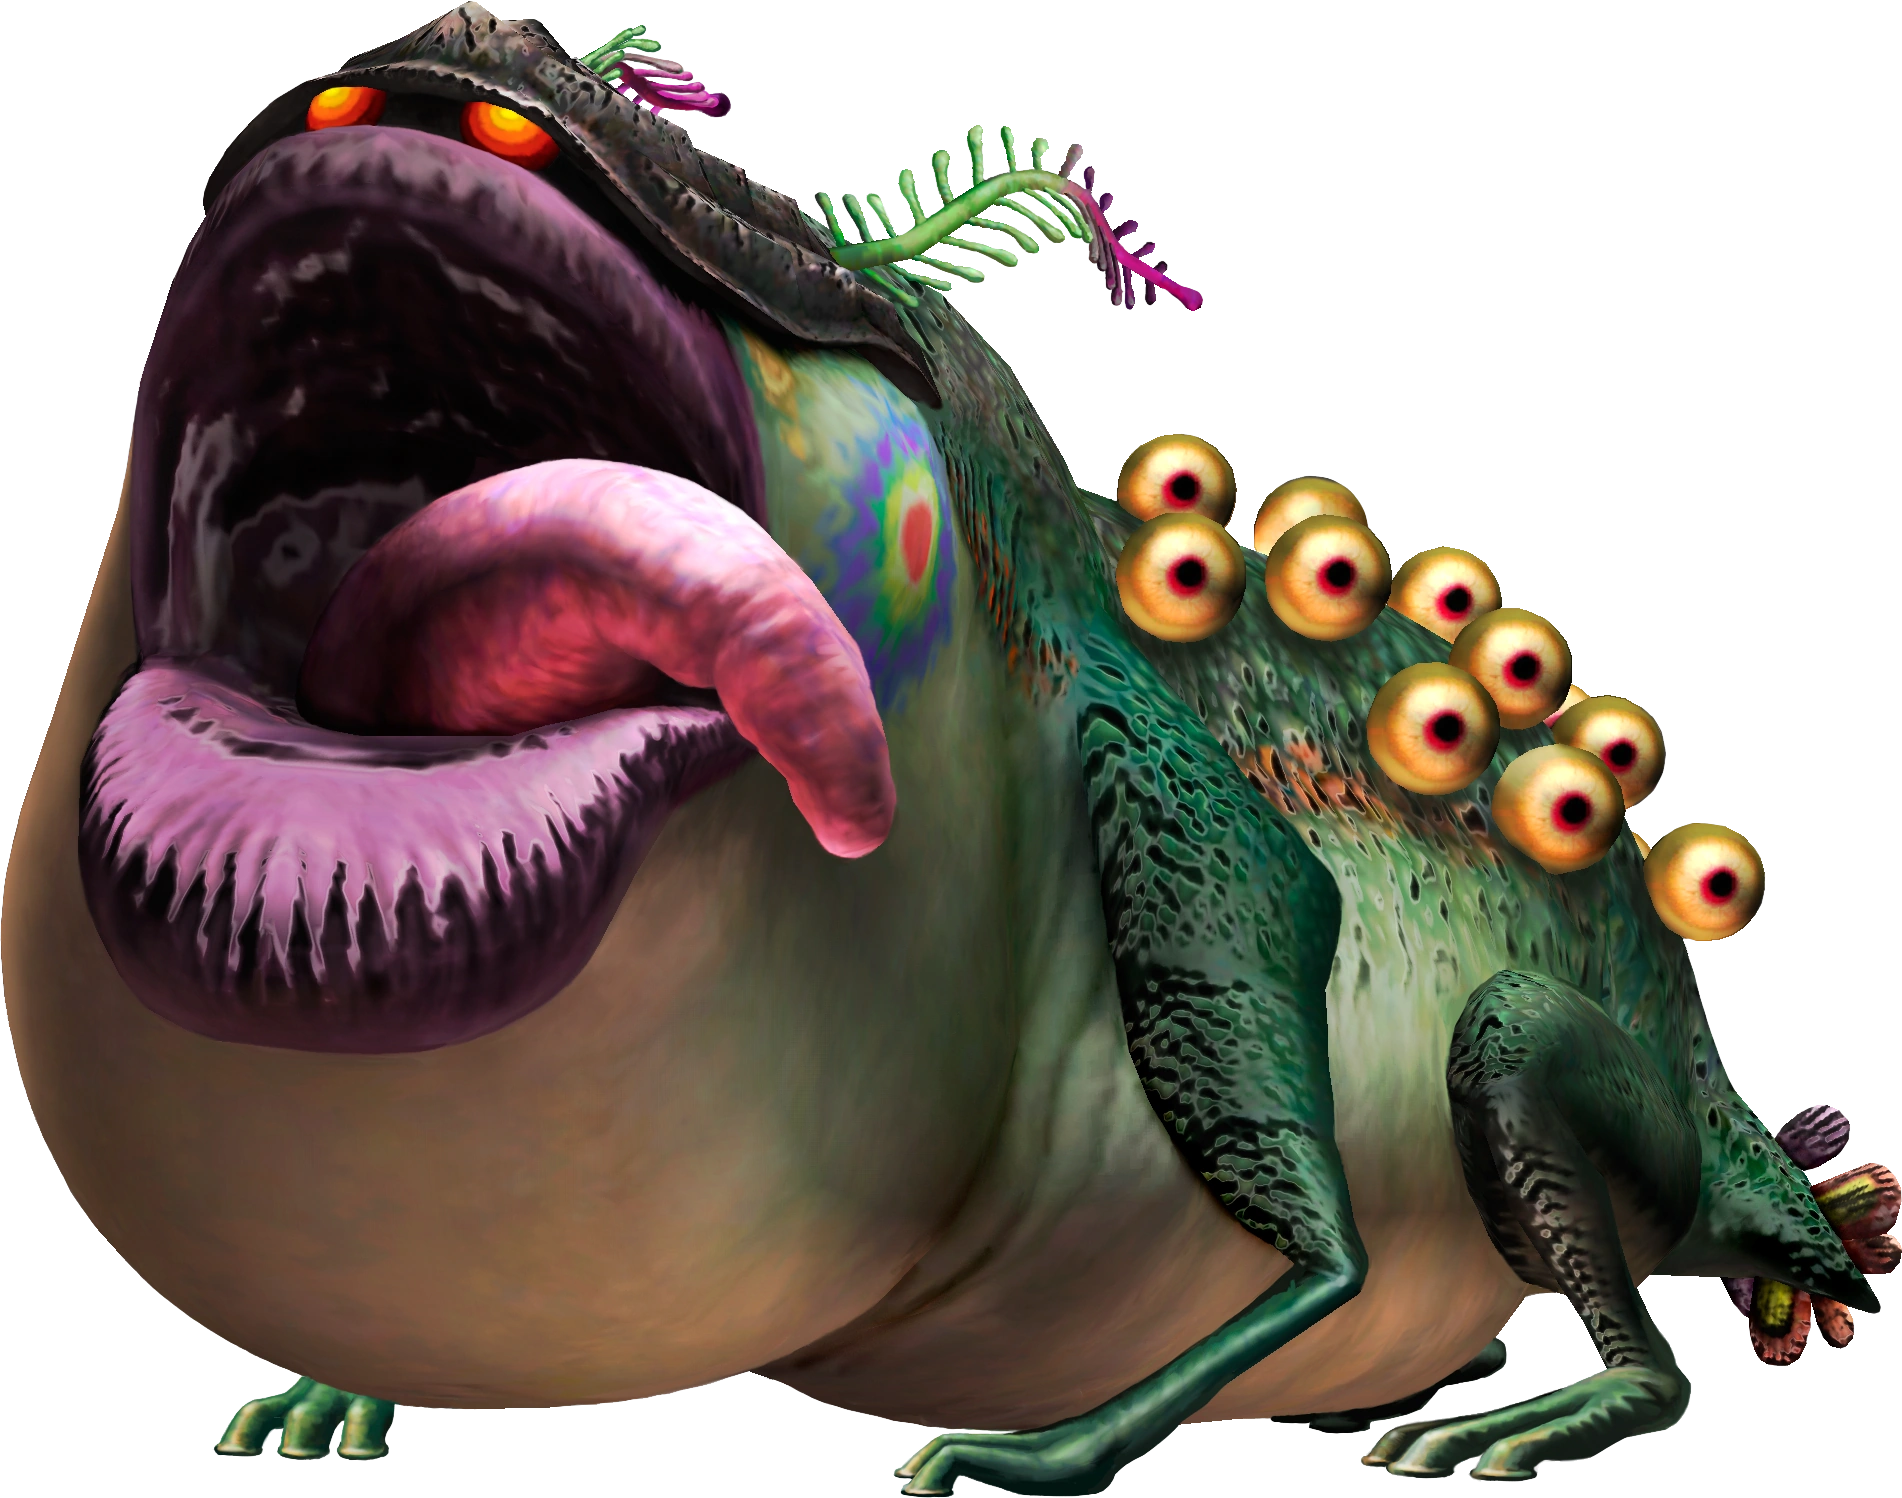
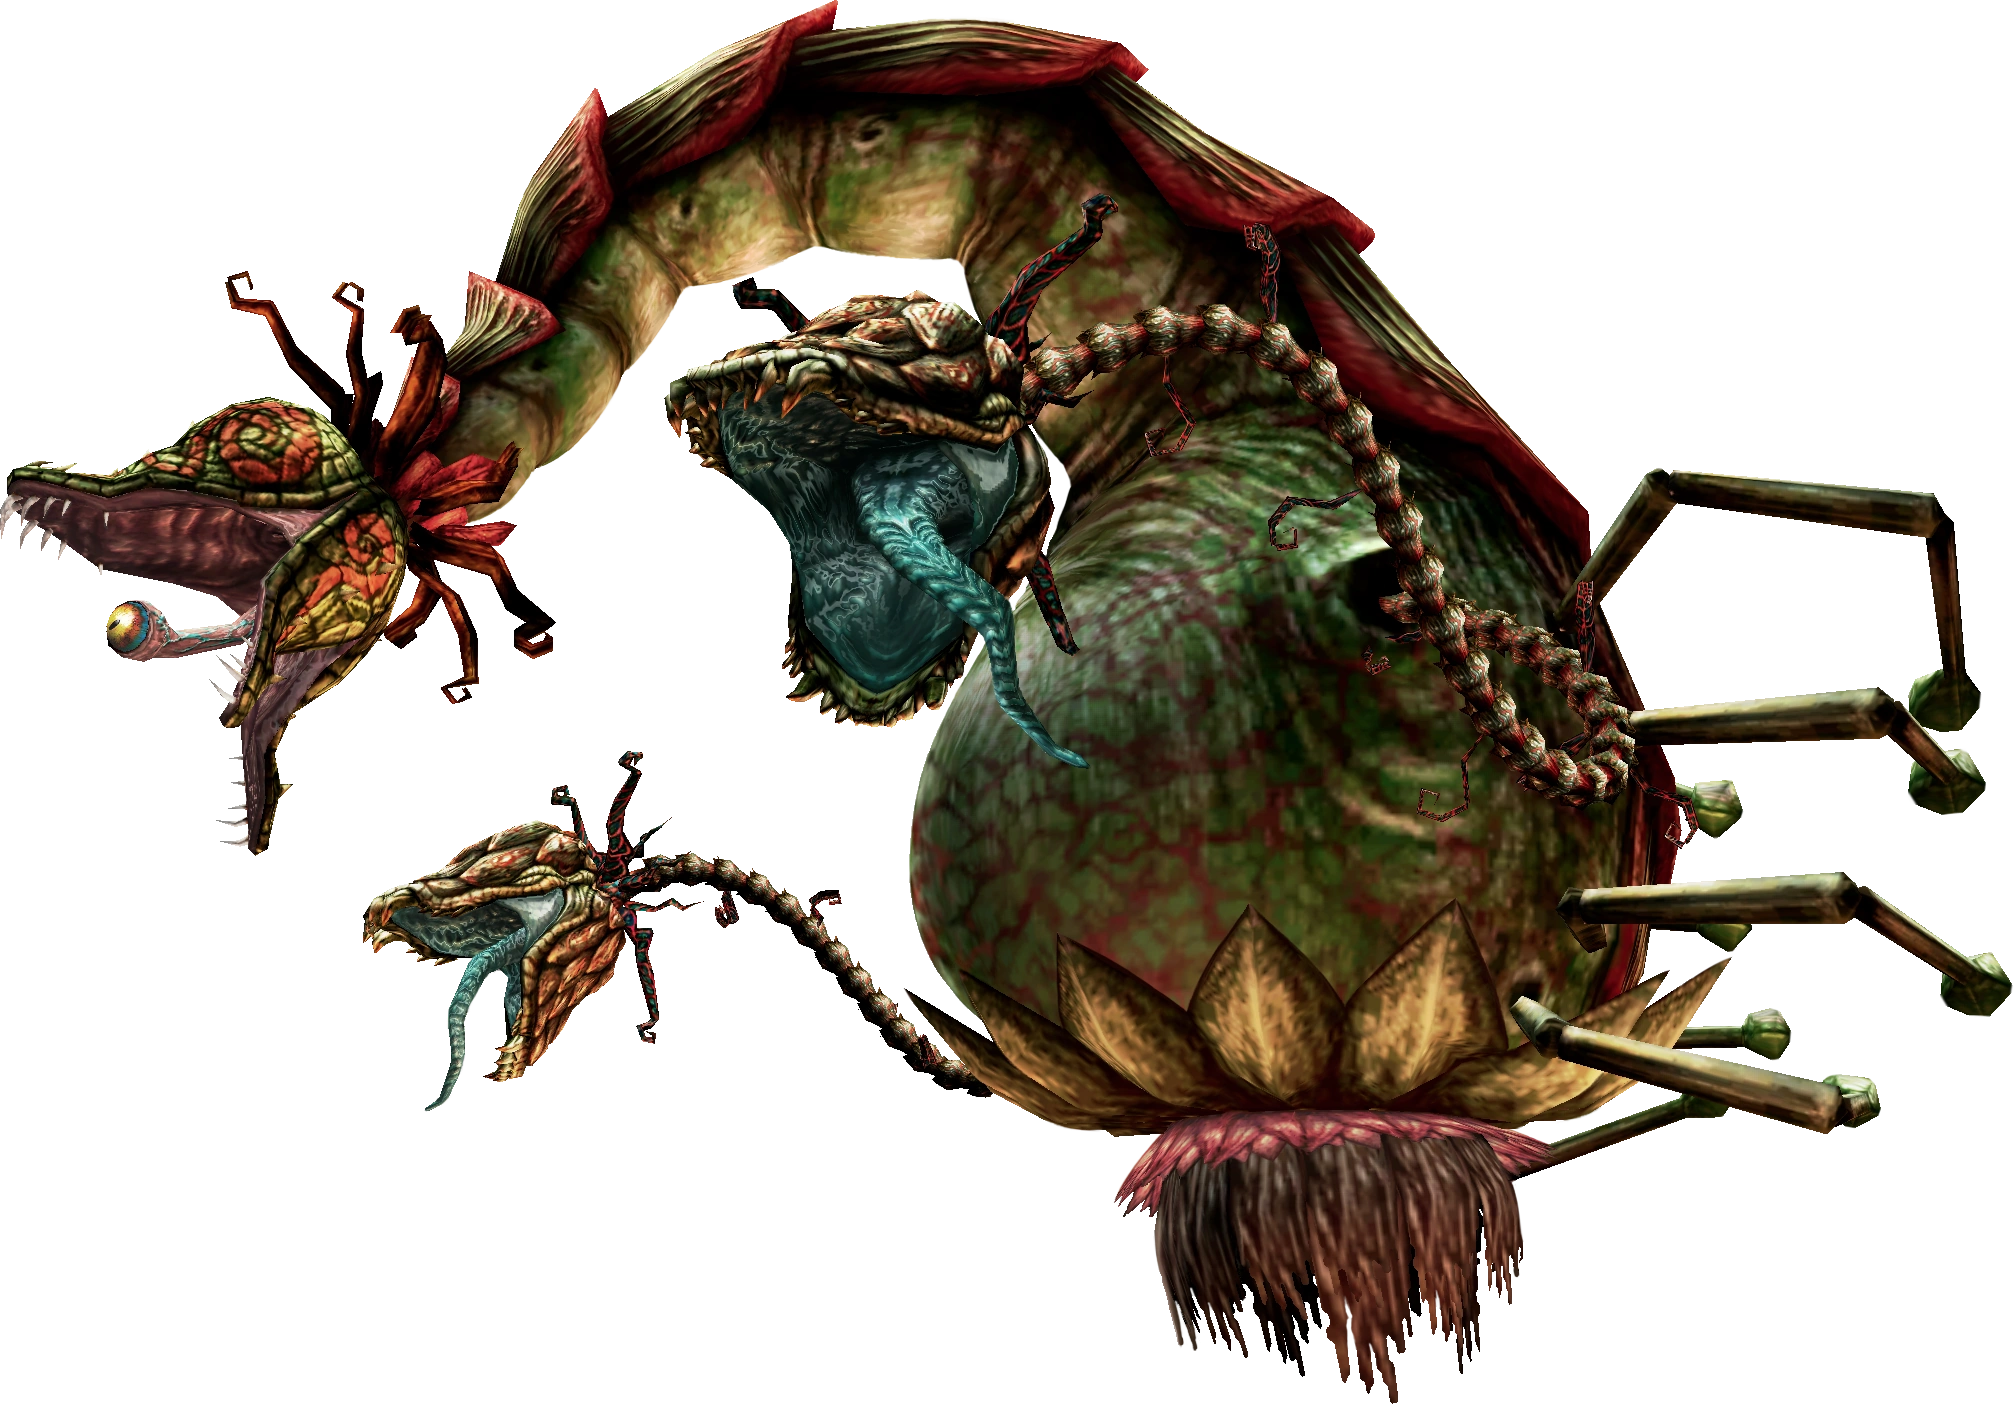
Twilit Parasite: Diababa
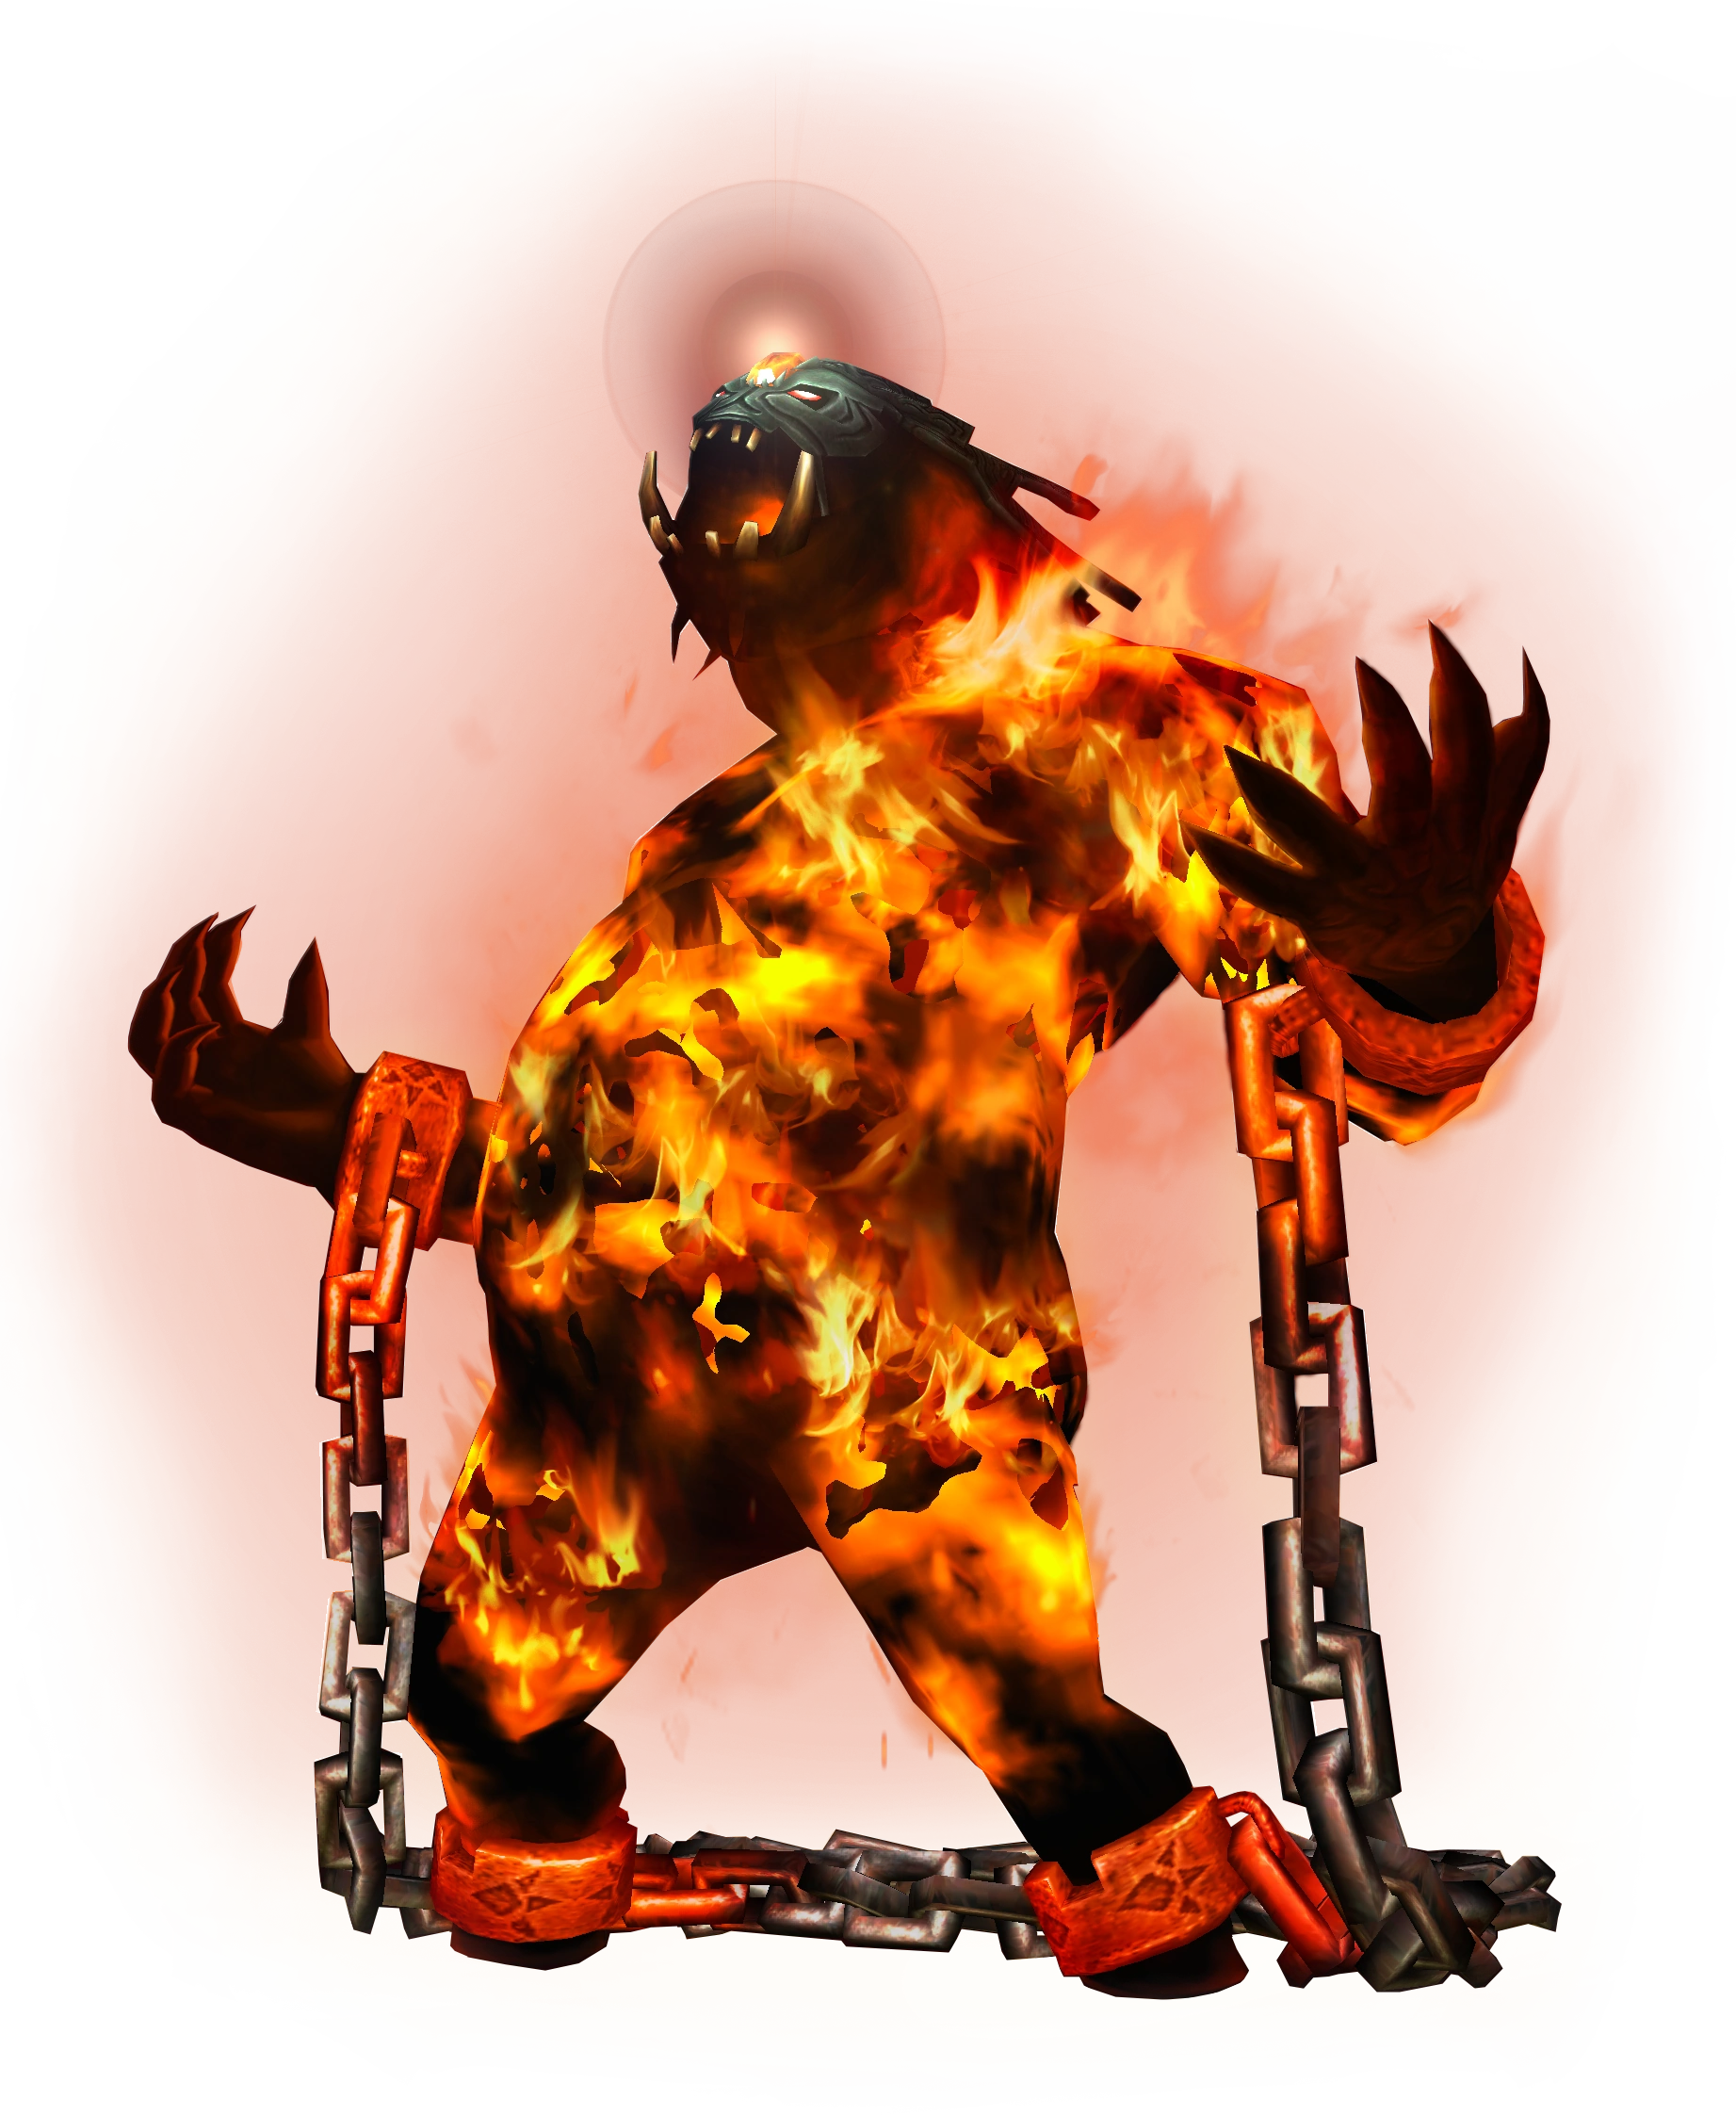
(Forest Temple)Twilit Igniter: Fyrus
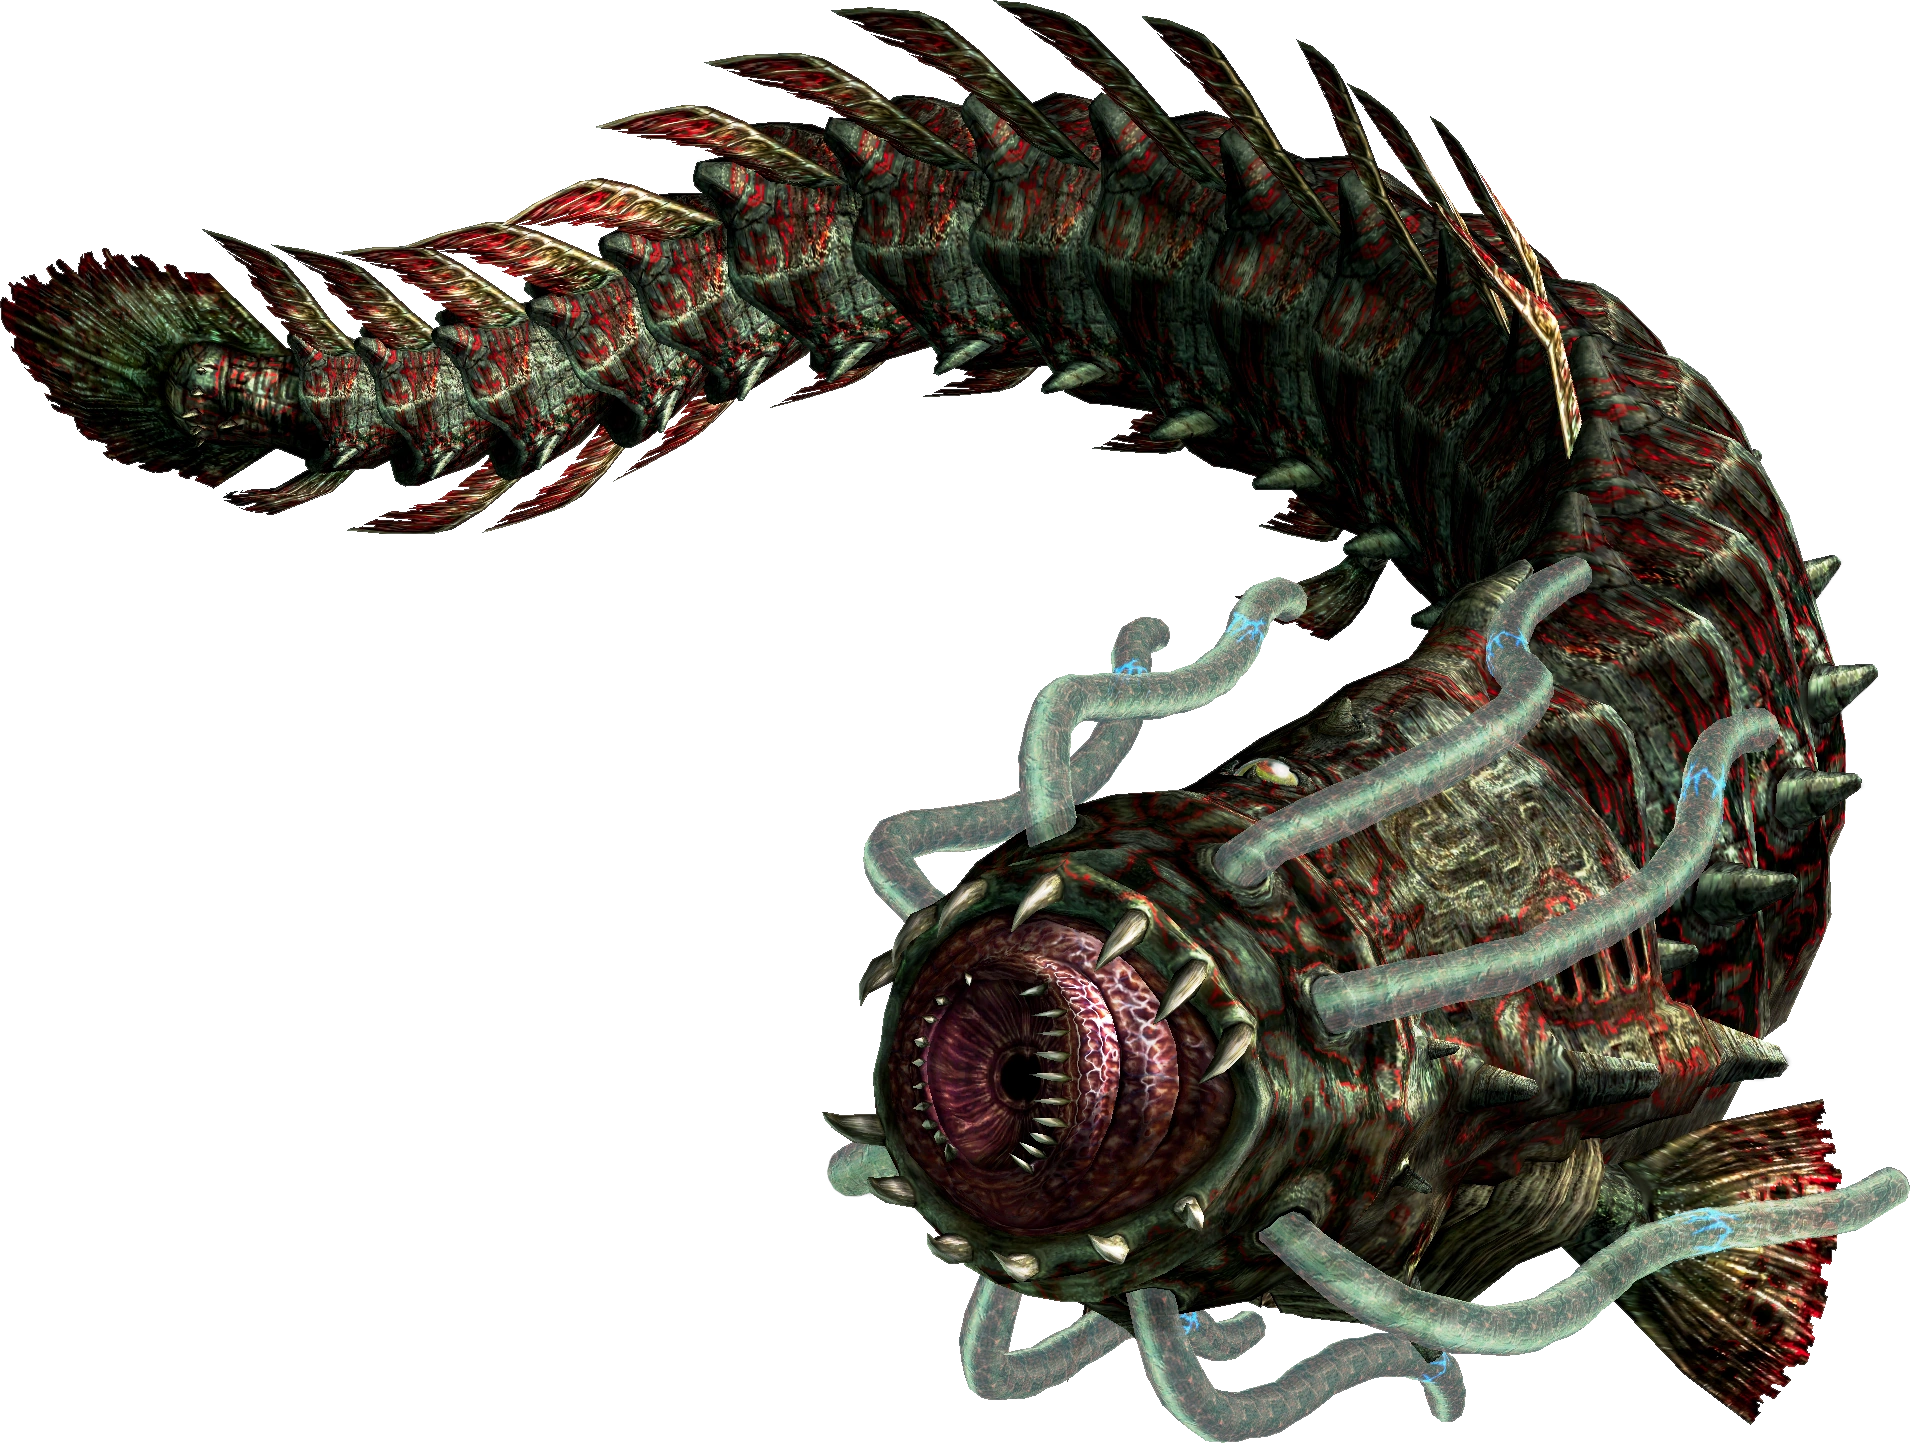
(Goron Mines)Twilit Aquatic: Morpheel
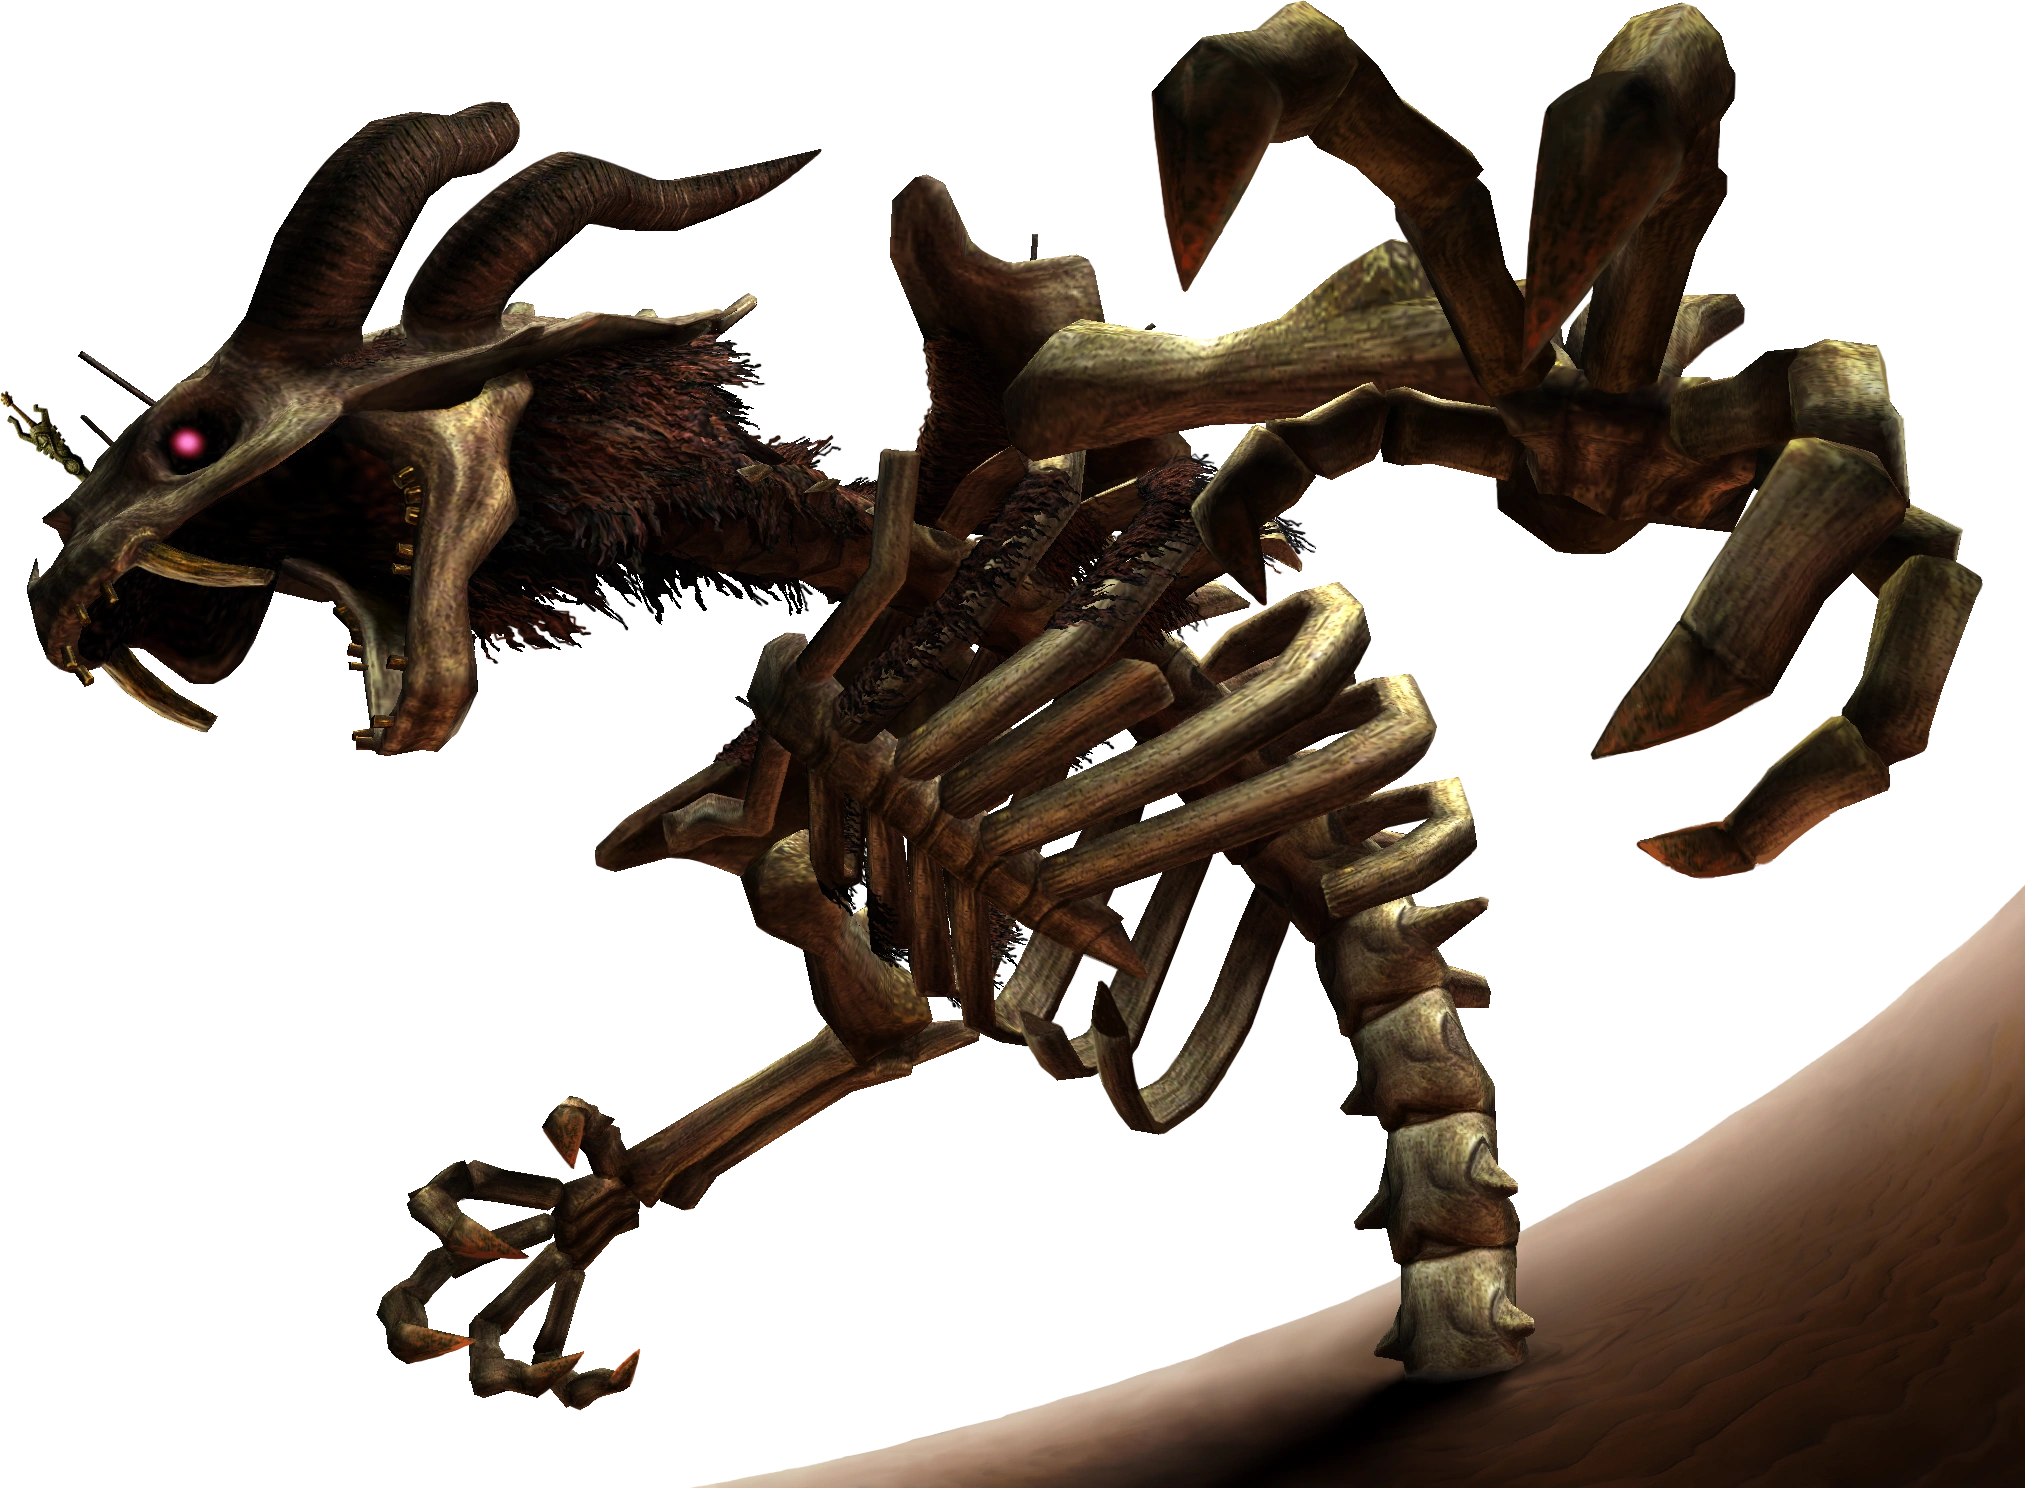
(Lakebed Temple)Twilit Fossil: Stallord
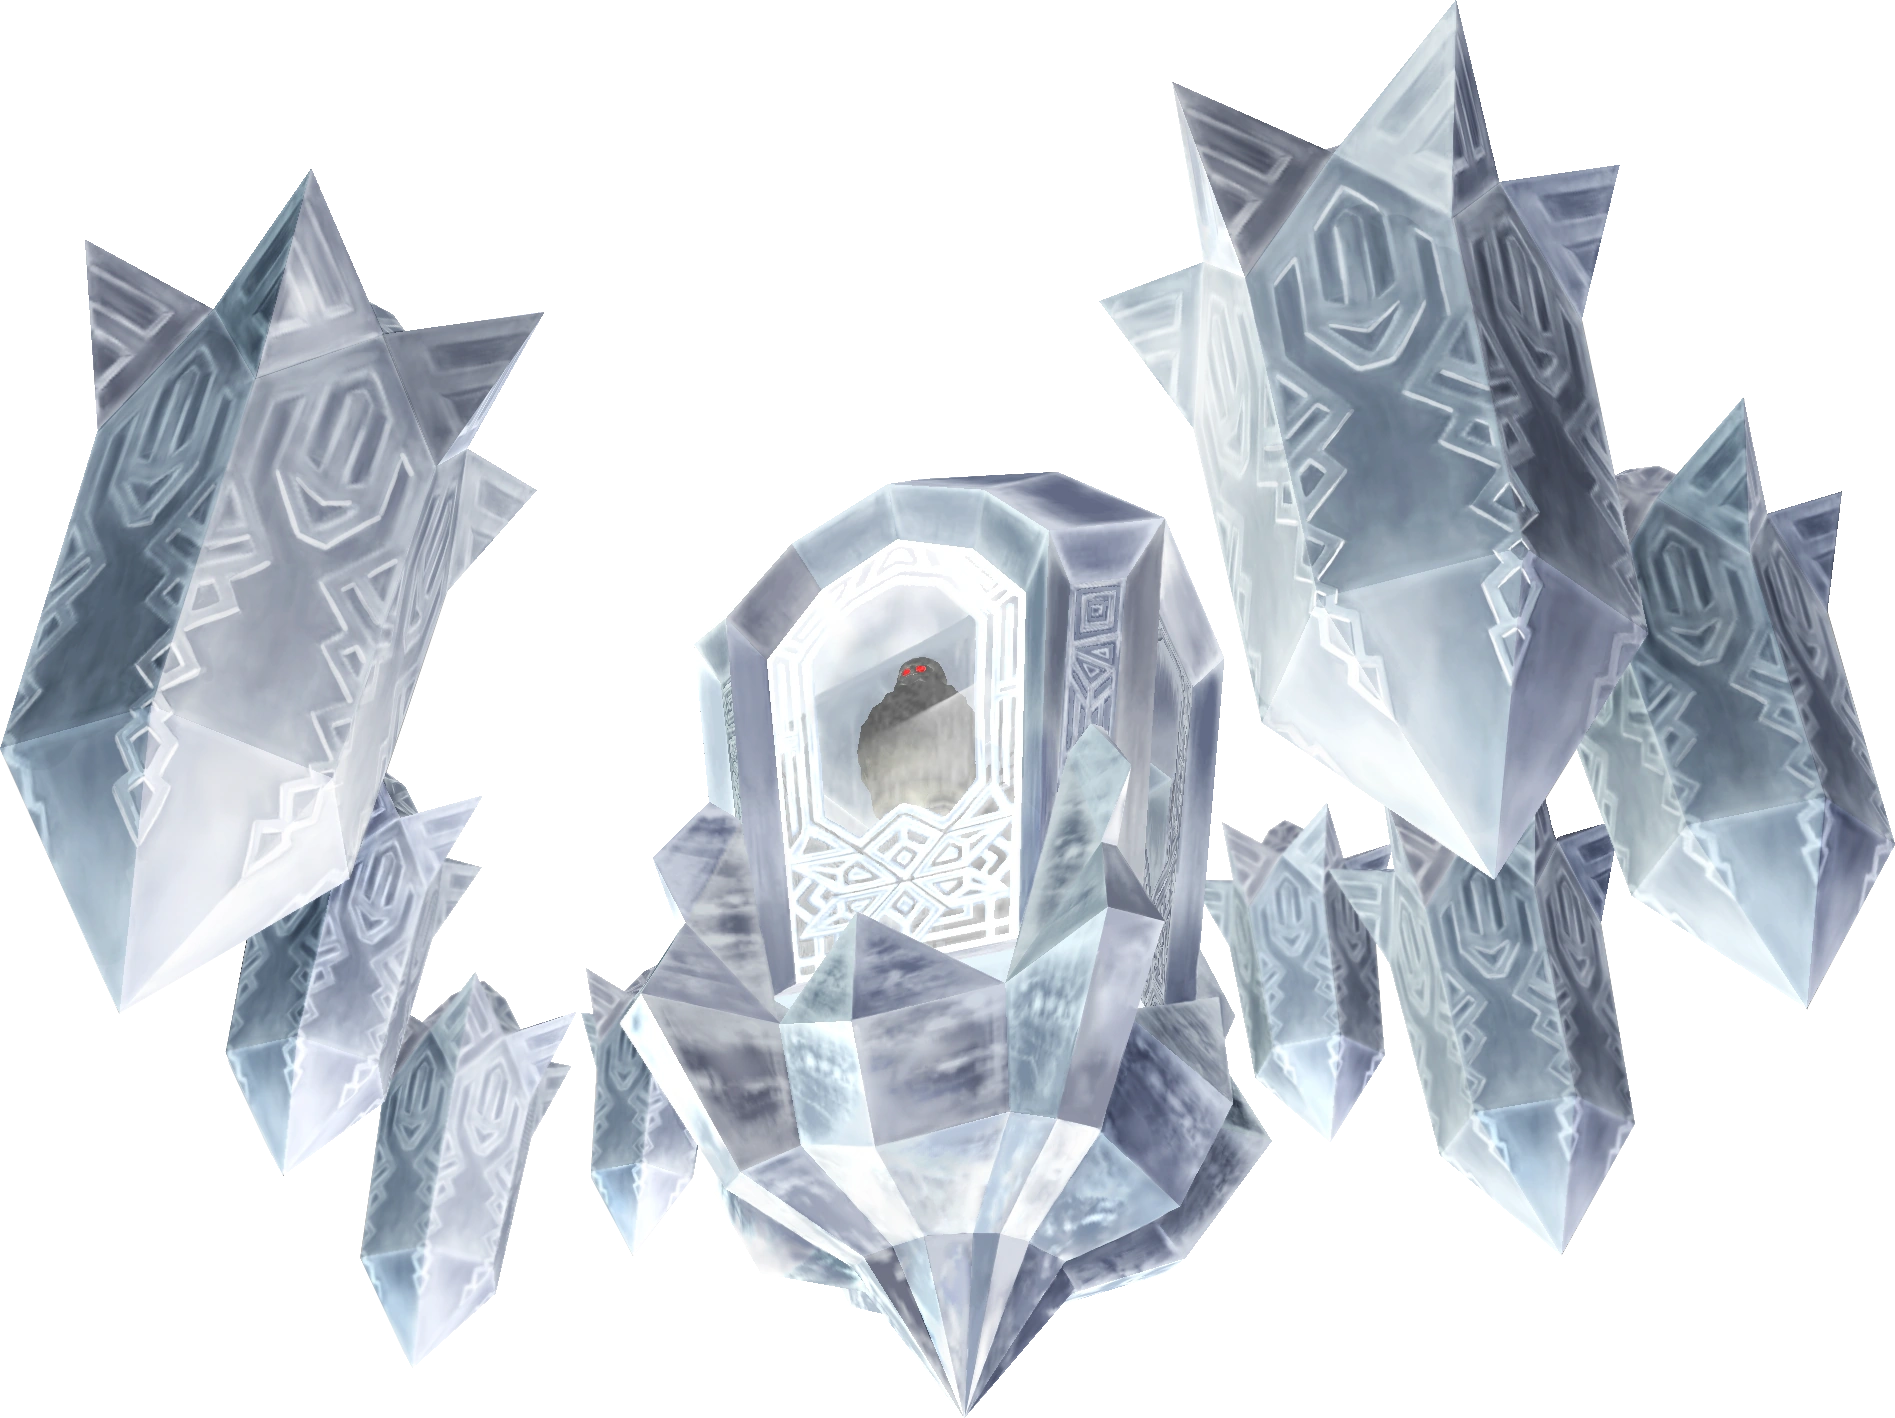
(Arbiter's Grounds)Twilit Ice Mass: Blizzeta
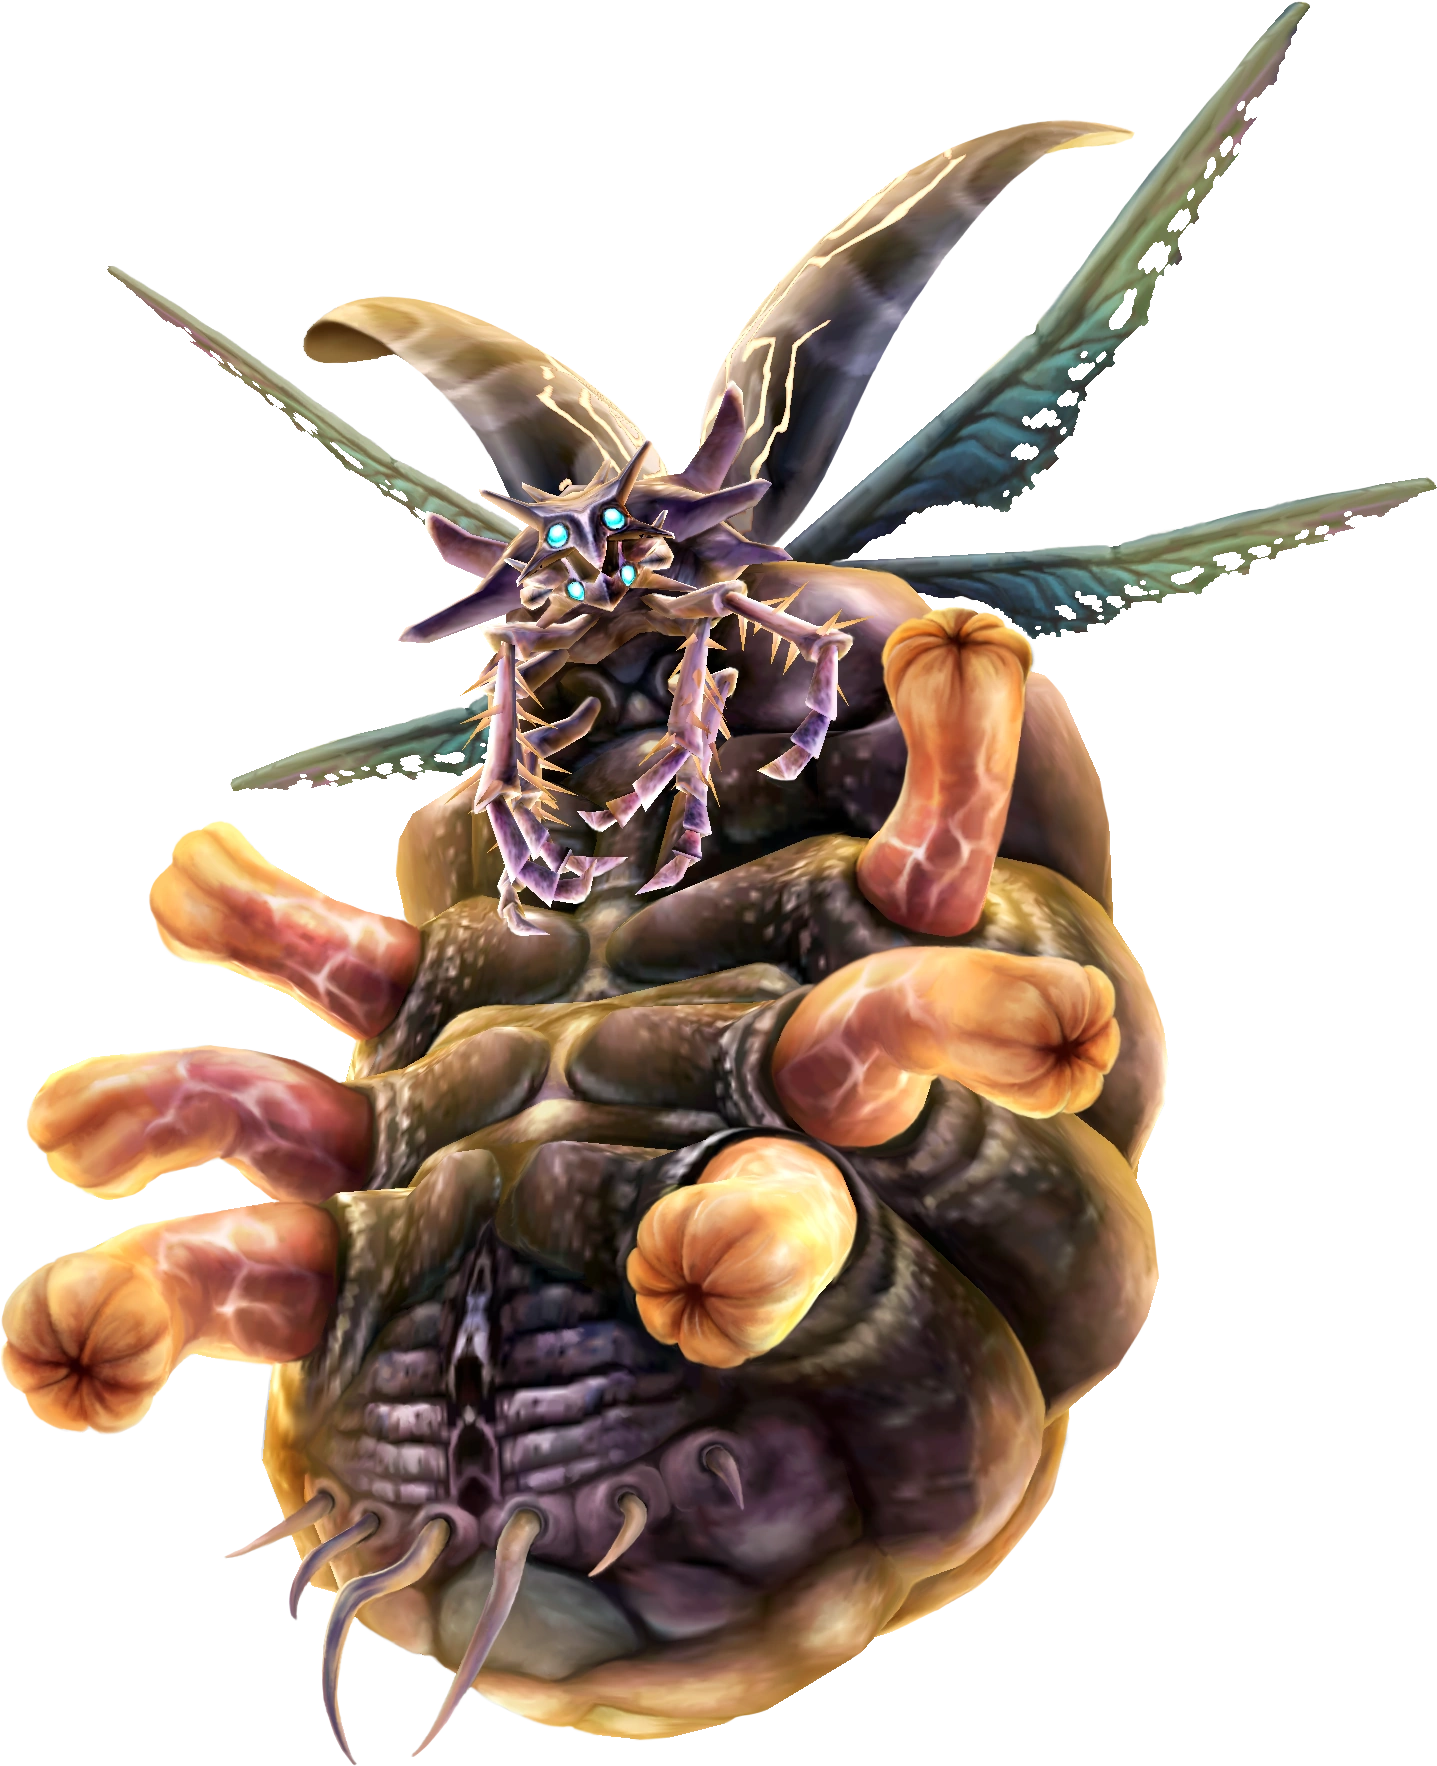
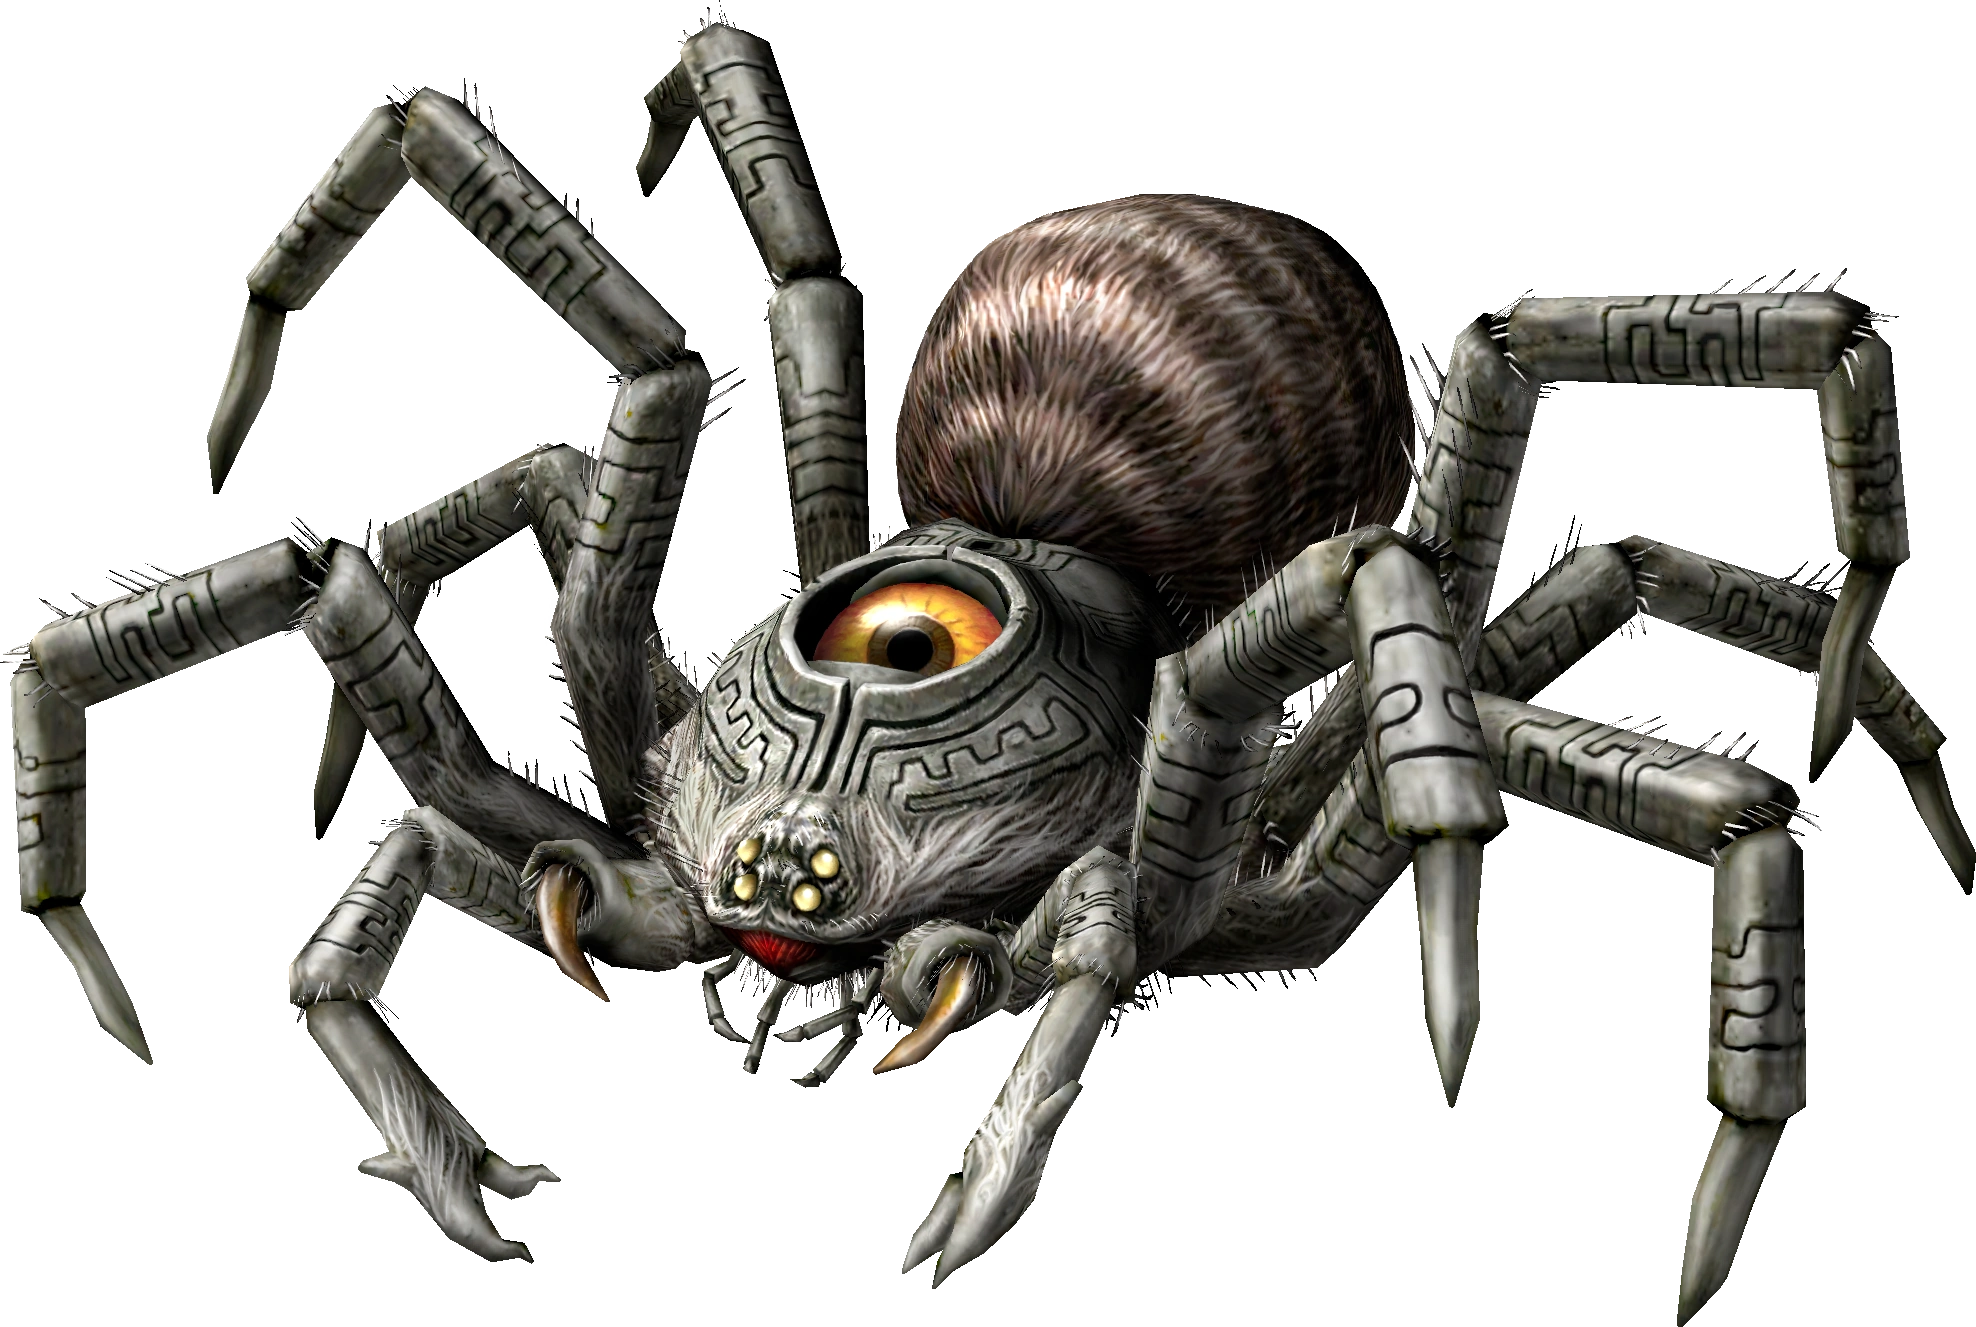
(Snowpeak Ruins)Twilit Arachnid: Armogohma
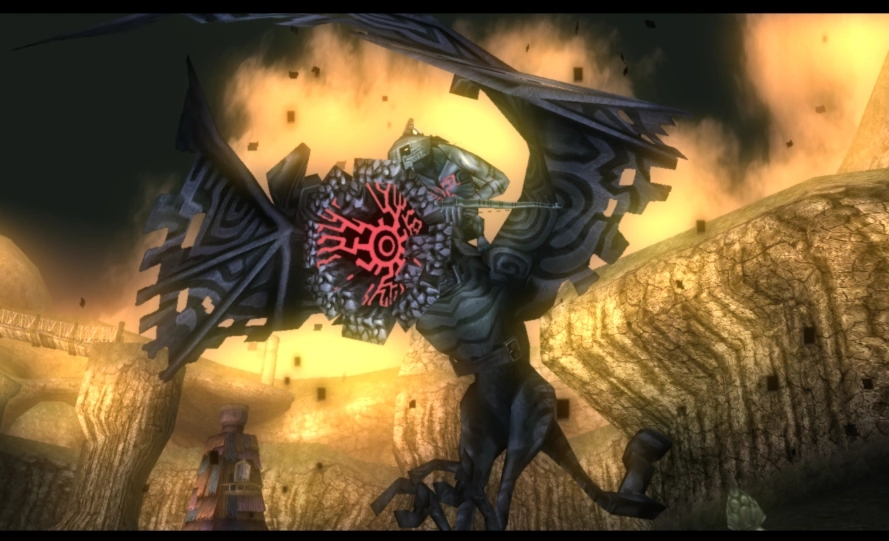
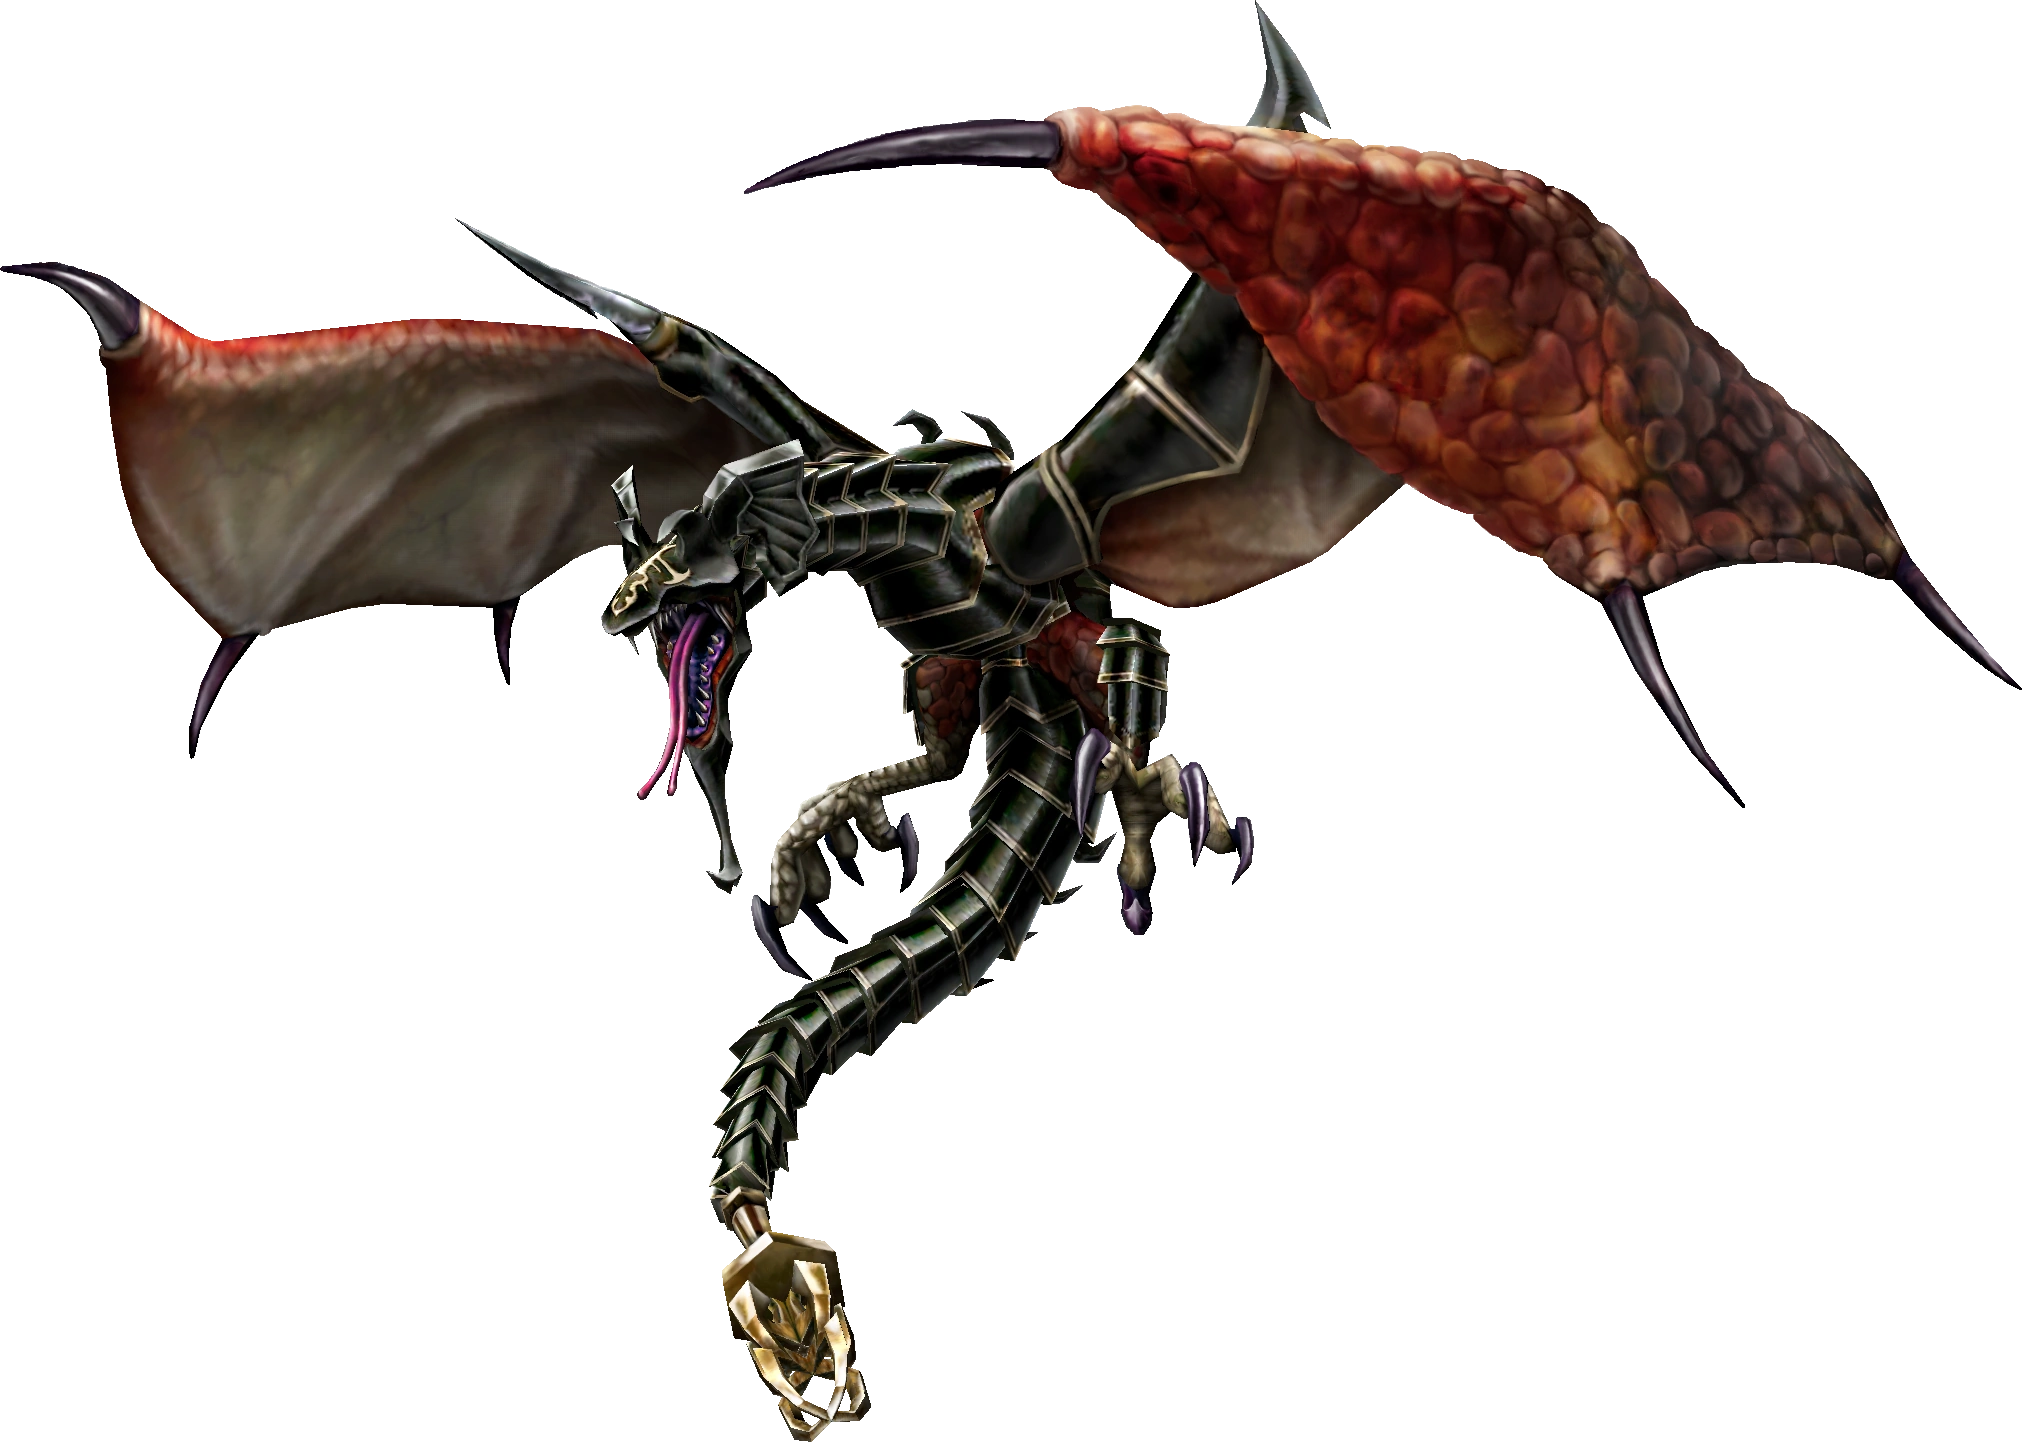
(Temple of Time)Twilit Dragon: Argorok
(City in the Sky)Usurper King: Zant
(Palace of Twilight)
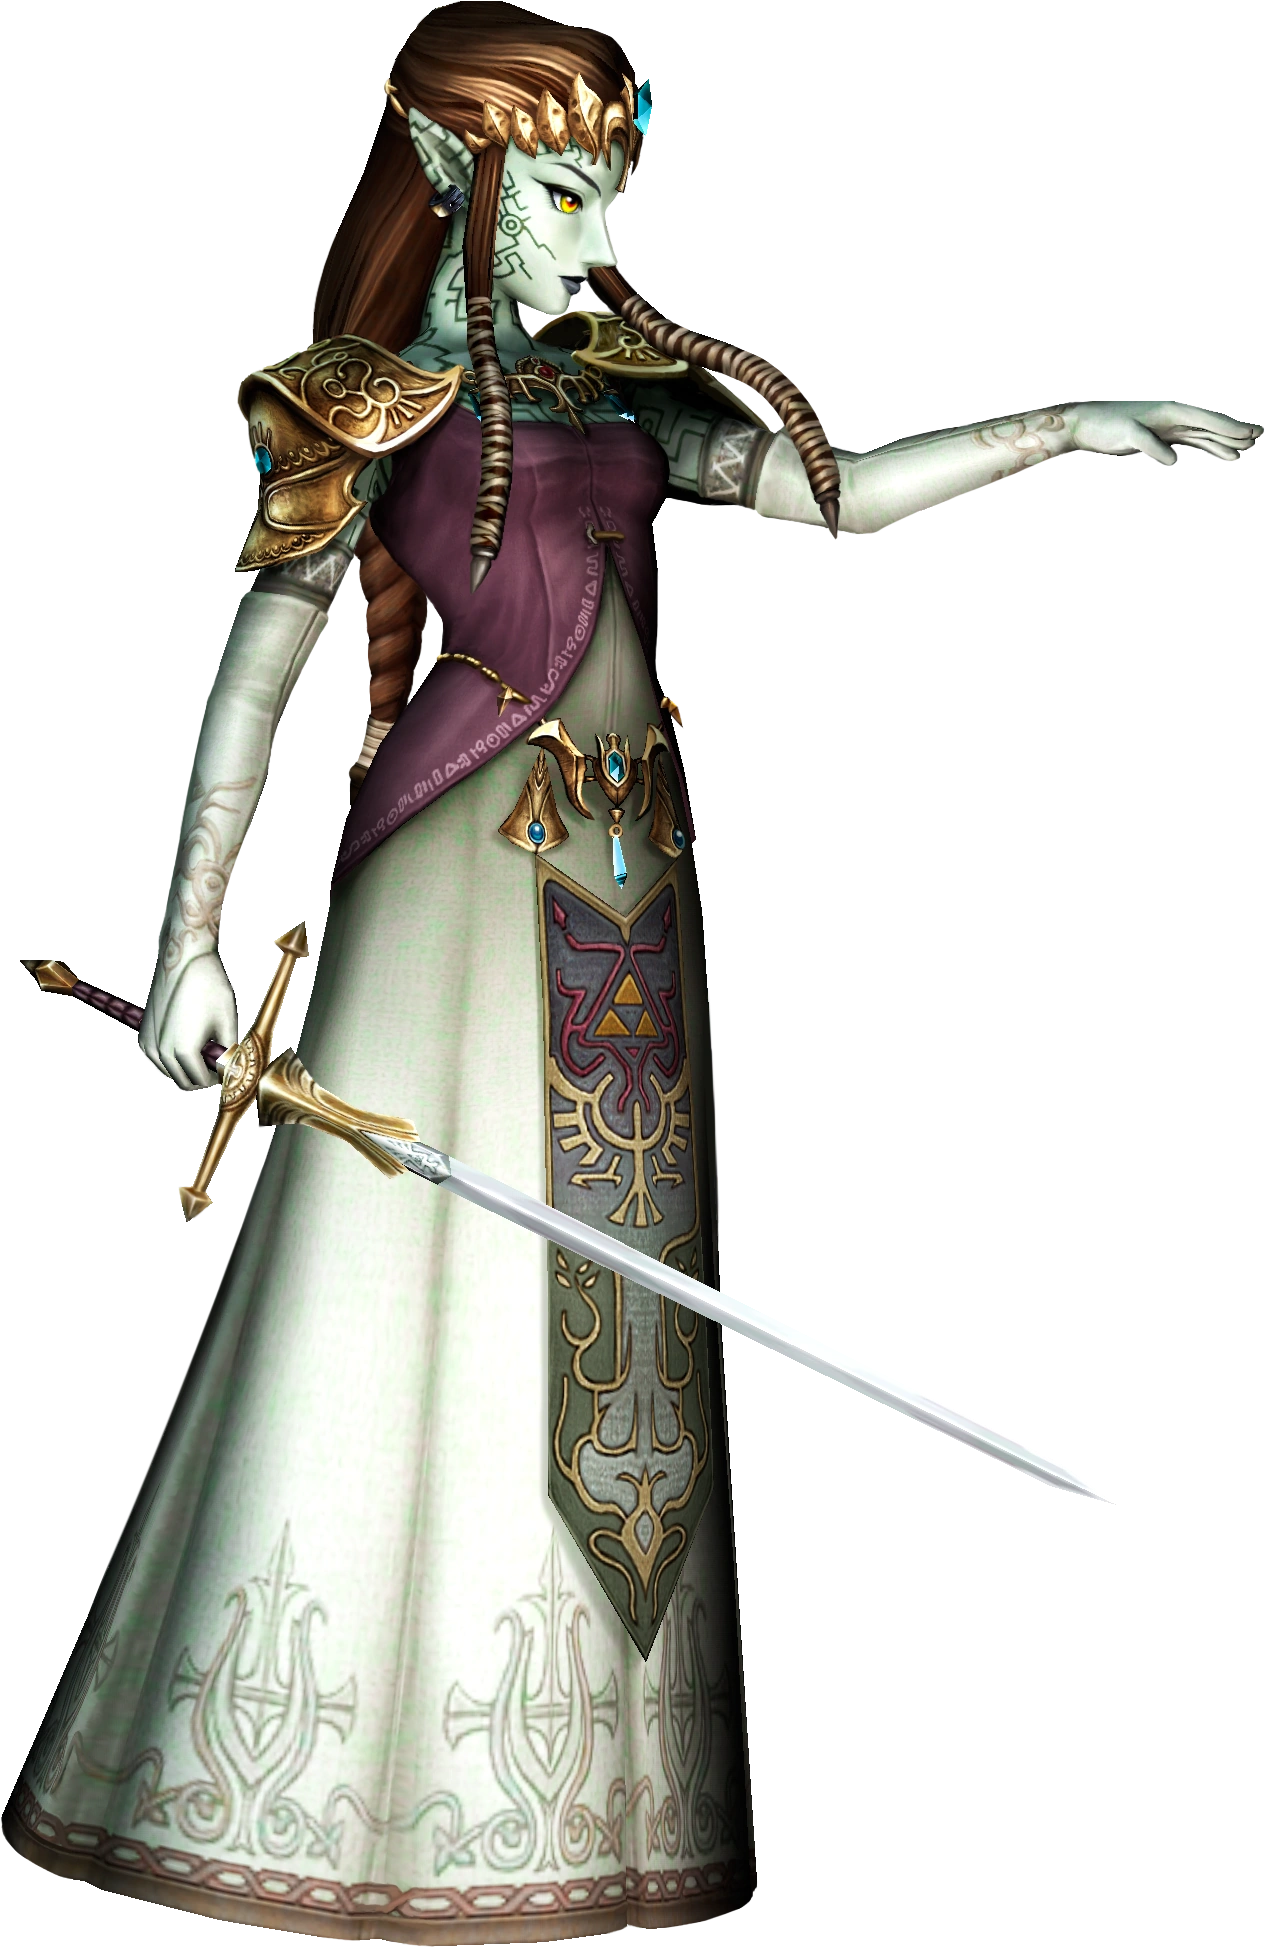
Ganon's Puppet: Zelda
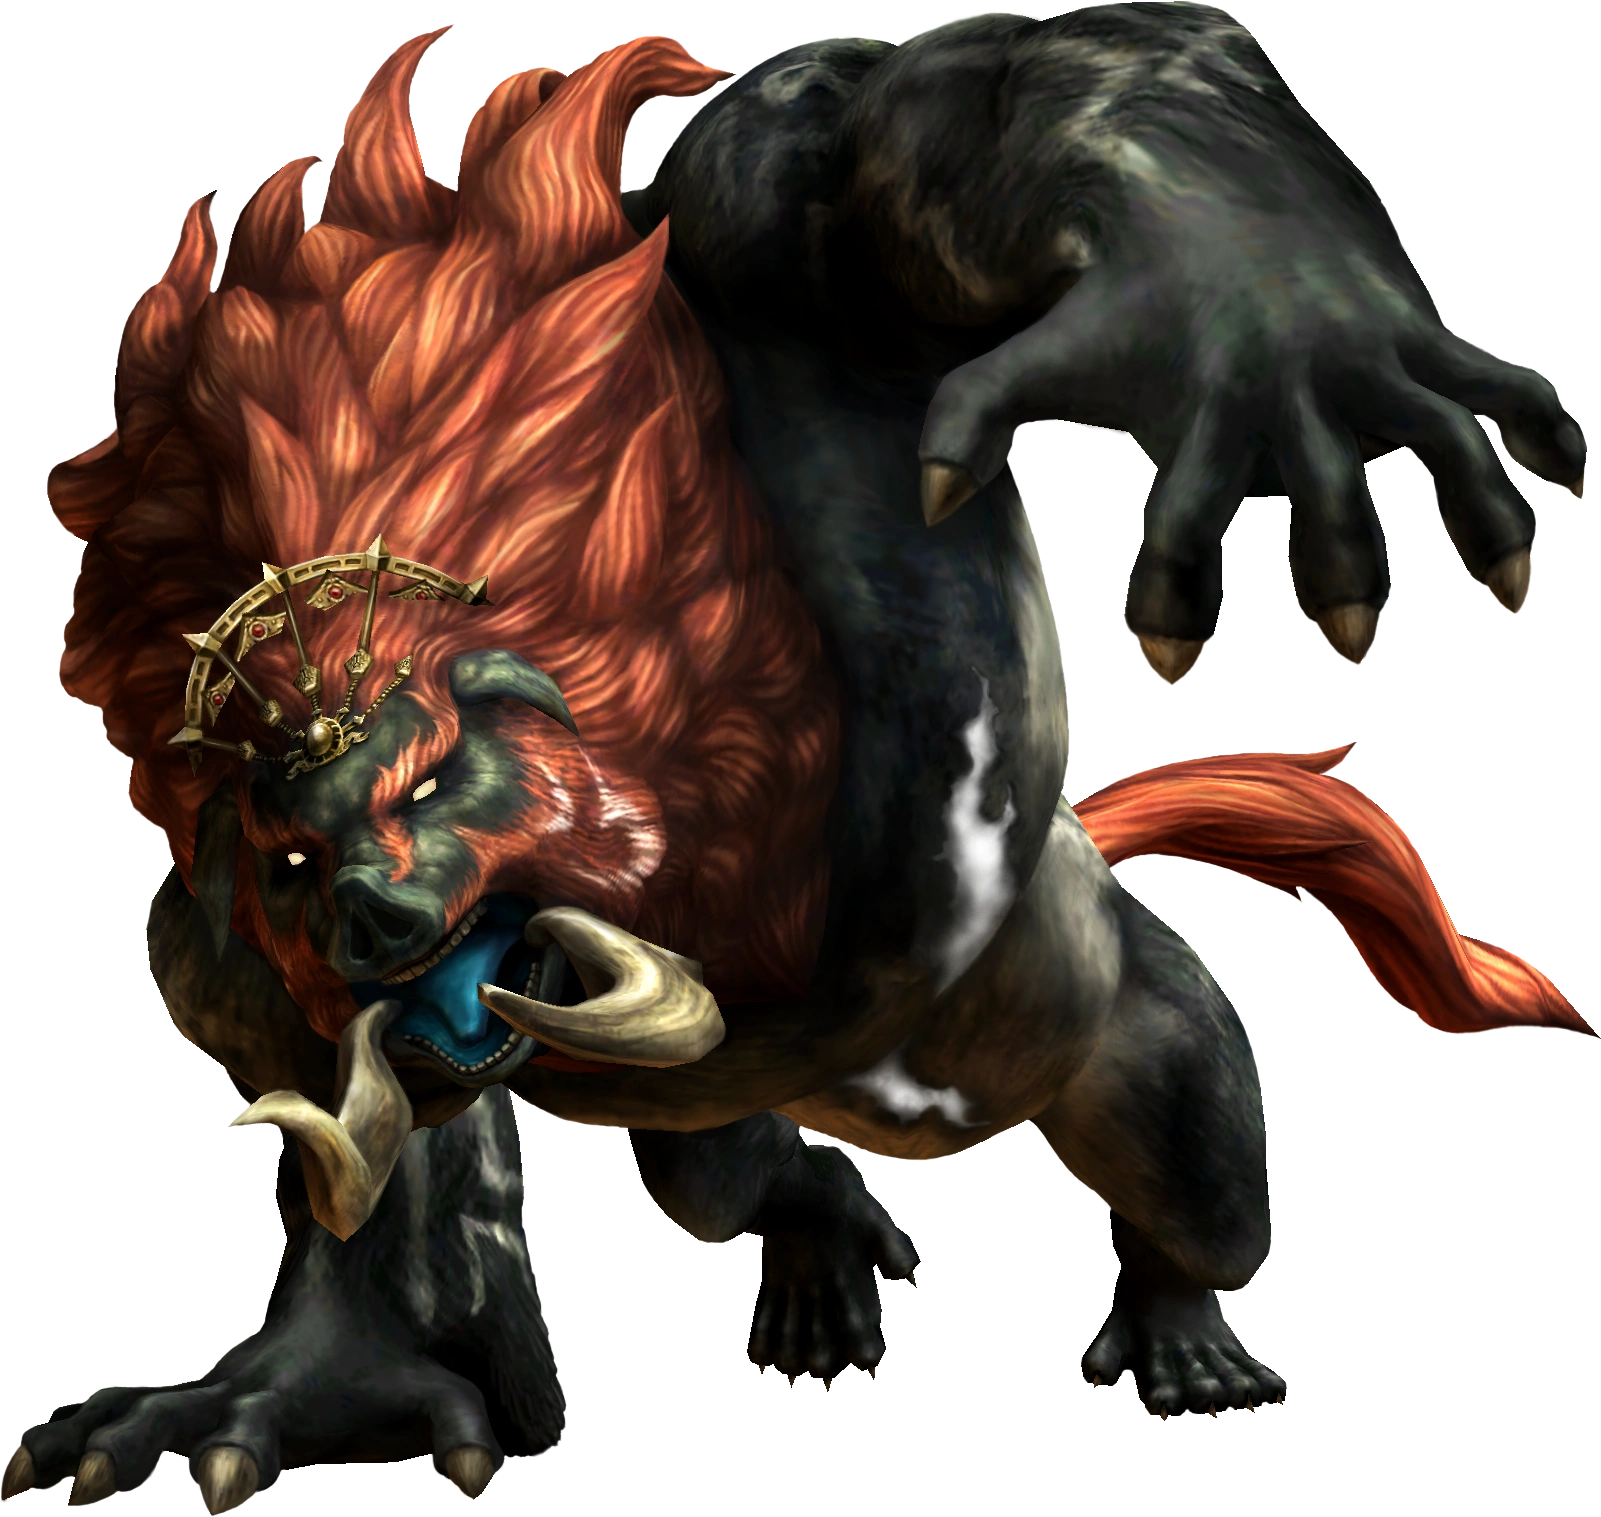
(Hyrule Castle)Dark Beast: Ganon
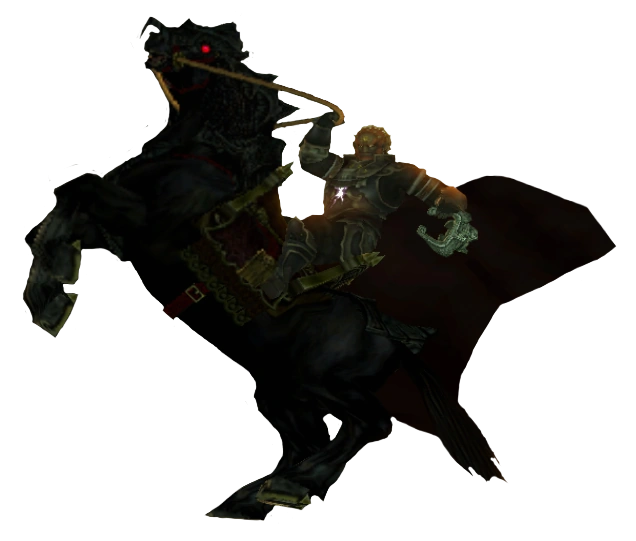
(Hyrule Castle)Dark Rider: Ganondorf
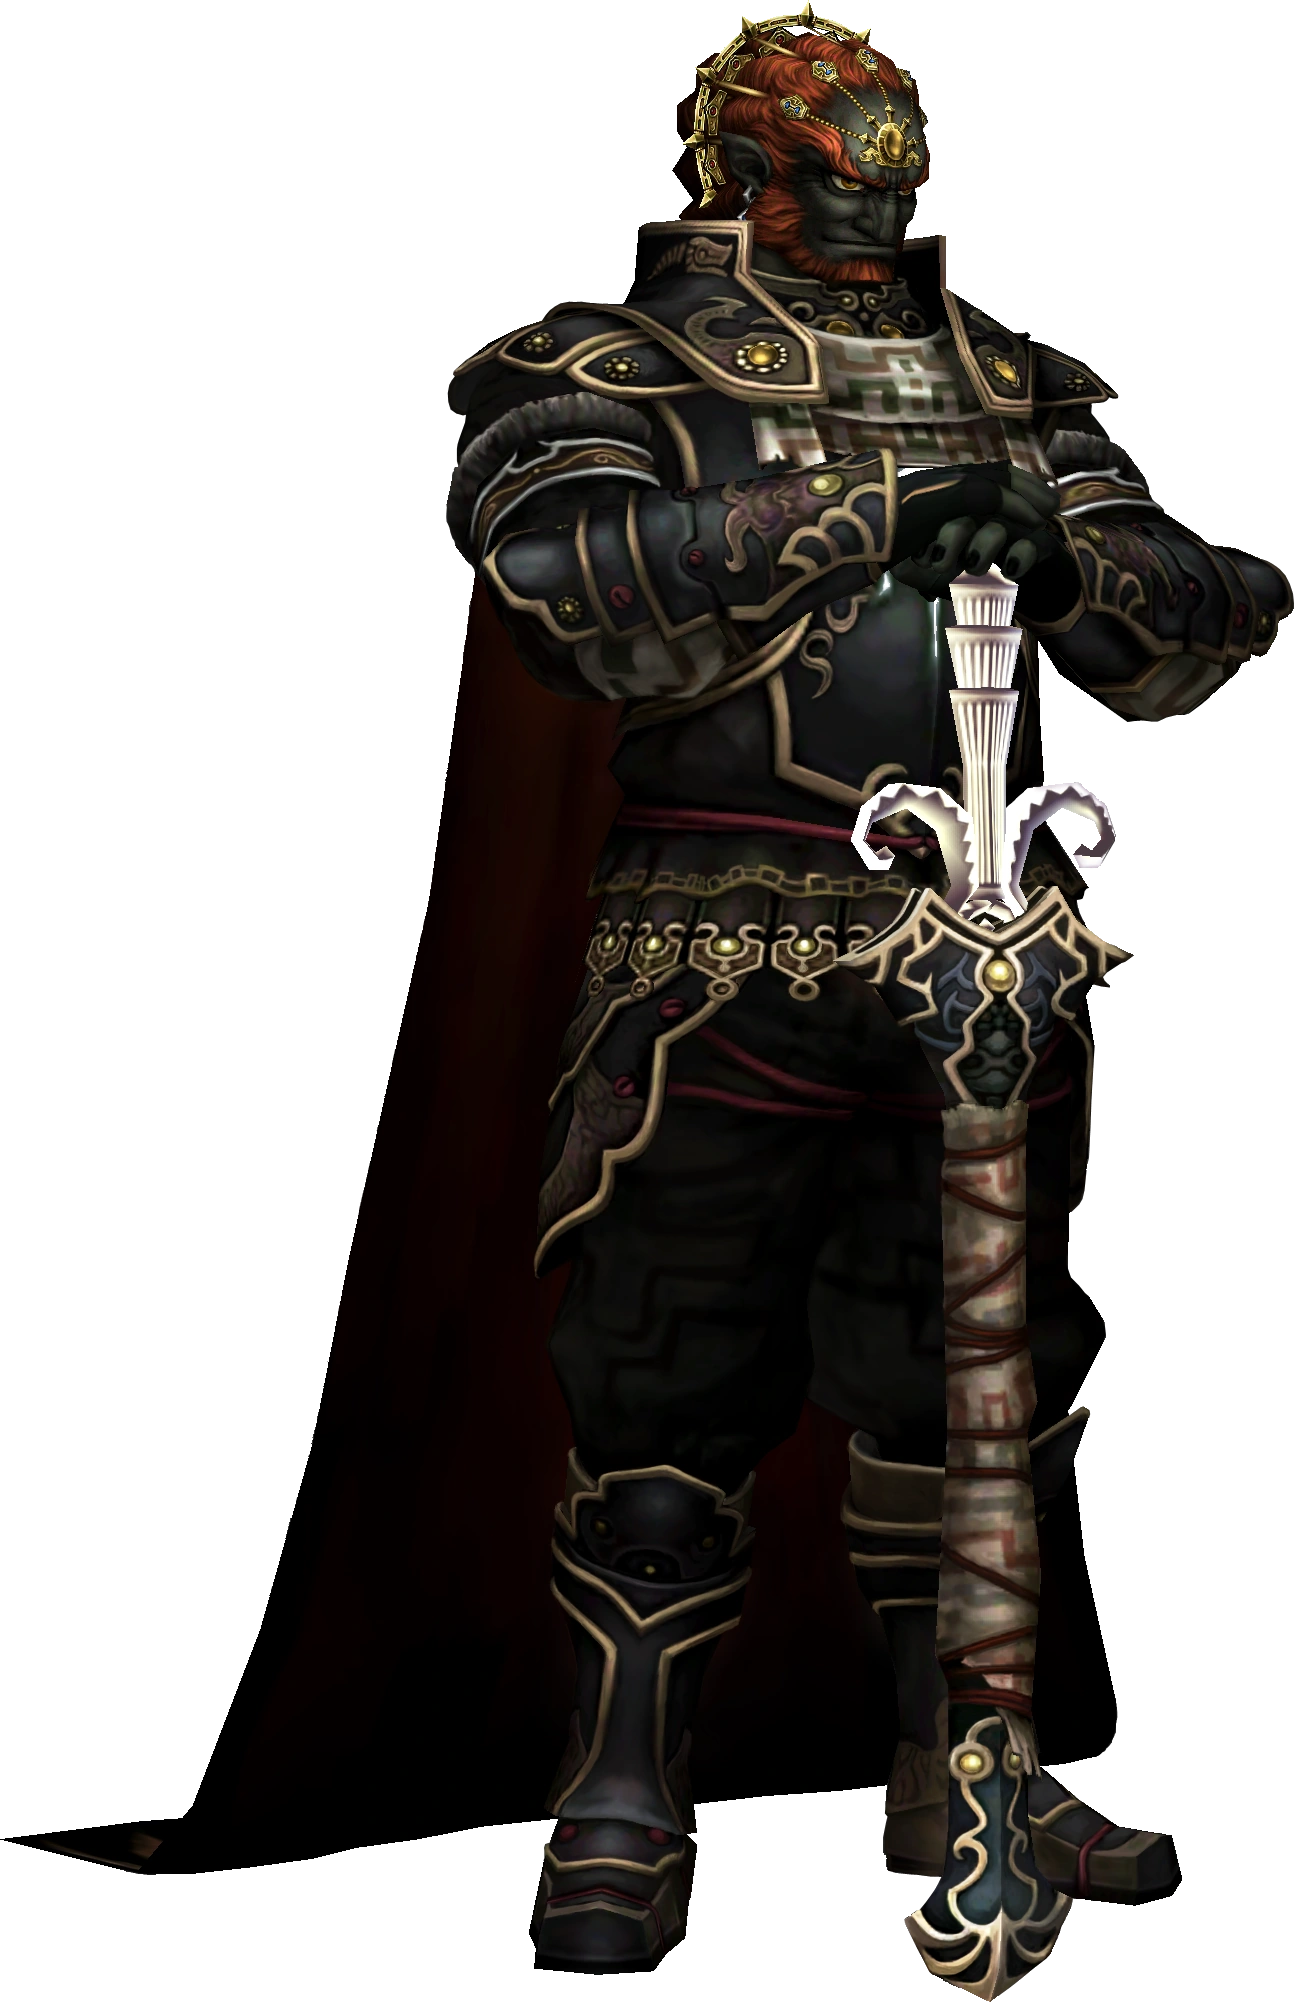
(Hyrule Field)Dark Lord: Ganondorf
(Hyrule Field)