No edit summary |
|||
| Line 1: | Line 1: | ||
| + | {{BasePageLink|Hyrule Warriors Legends}} |
||
| − | {{Dungeons |
||
| + | This is a gallery page featuring promotional and pre-release media from and relating to {{HWL}}. |
||
| − | |name = Infinity Dunes |
||
| − | |type = level |
||
| − | |image = [[File:TFH Infinity Dunes Stage 1.png|300px]] |
||
| − | |caption = |
||
| − | |location = [[Drablands#The Dunes|The Dunes]] |
||
| − | |game = {{TFH}} |
||
| − | |item = |
||
| − | |quest = |
||
| − | |mini-boss = |
||
| − | |boss = |
||
| − | |theme music = |
||
| − | |strategy = |
||
| − | }} |
||
| − | '''Infinity Dunes''', known as '''Dunes of Infinity''' in the PAL release, is a Level in {{TFH}}. It is the first Level of [[Drablands#The Dunes|The Dunes]] area. |
||
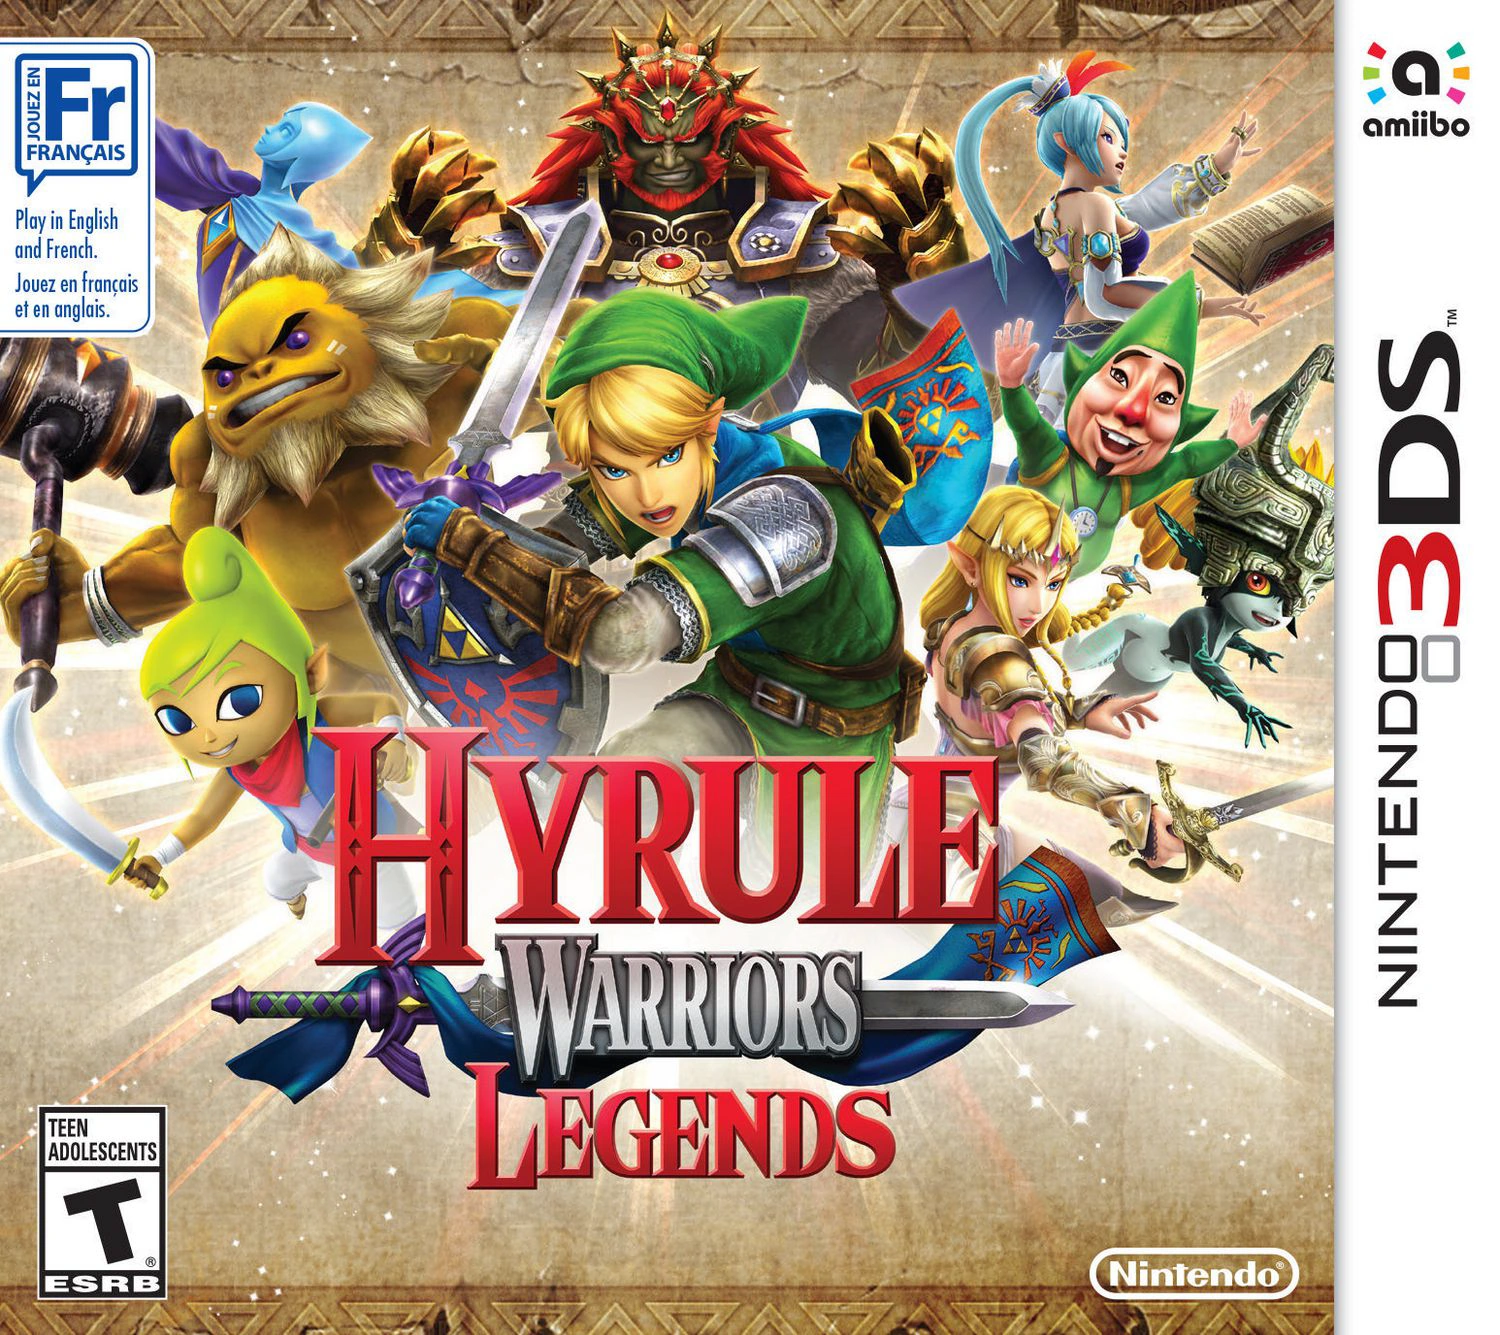
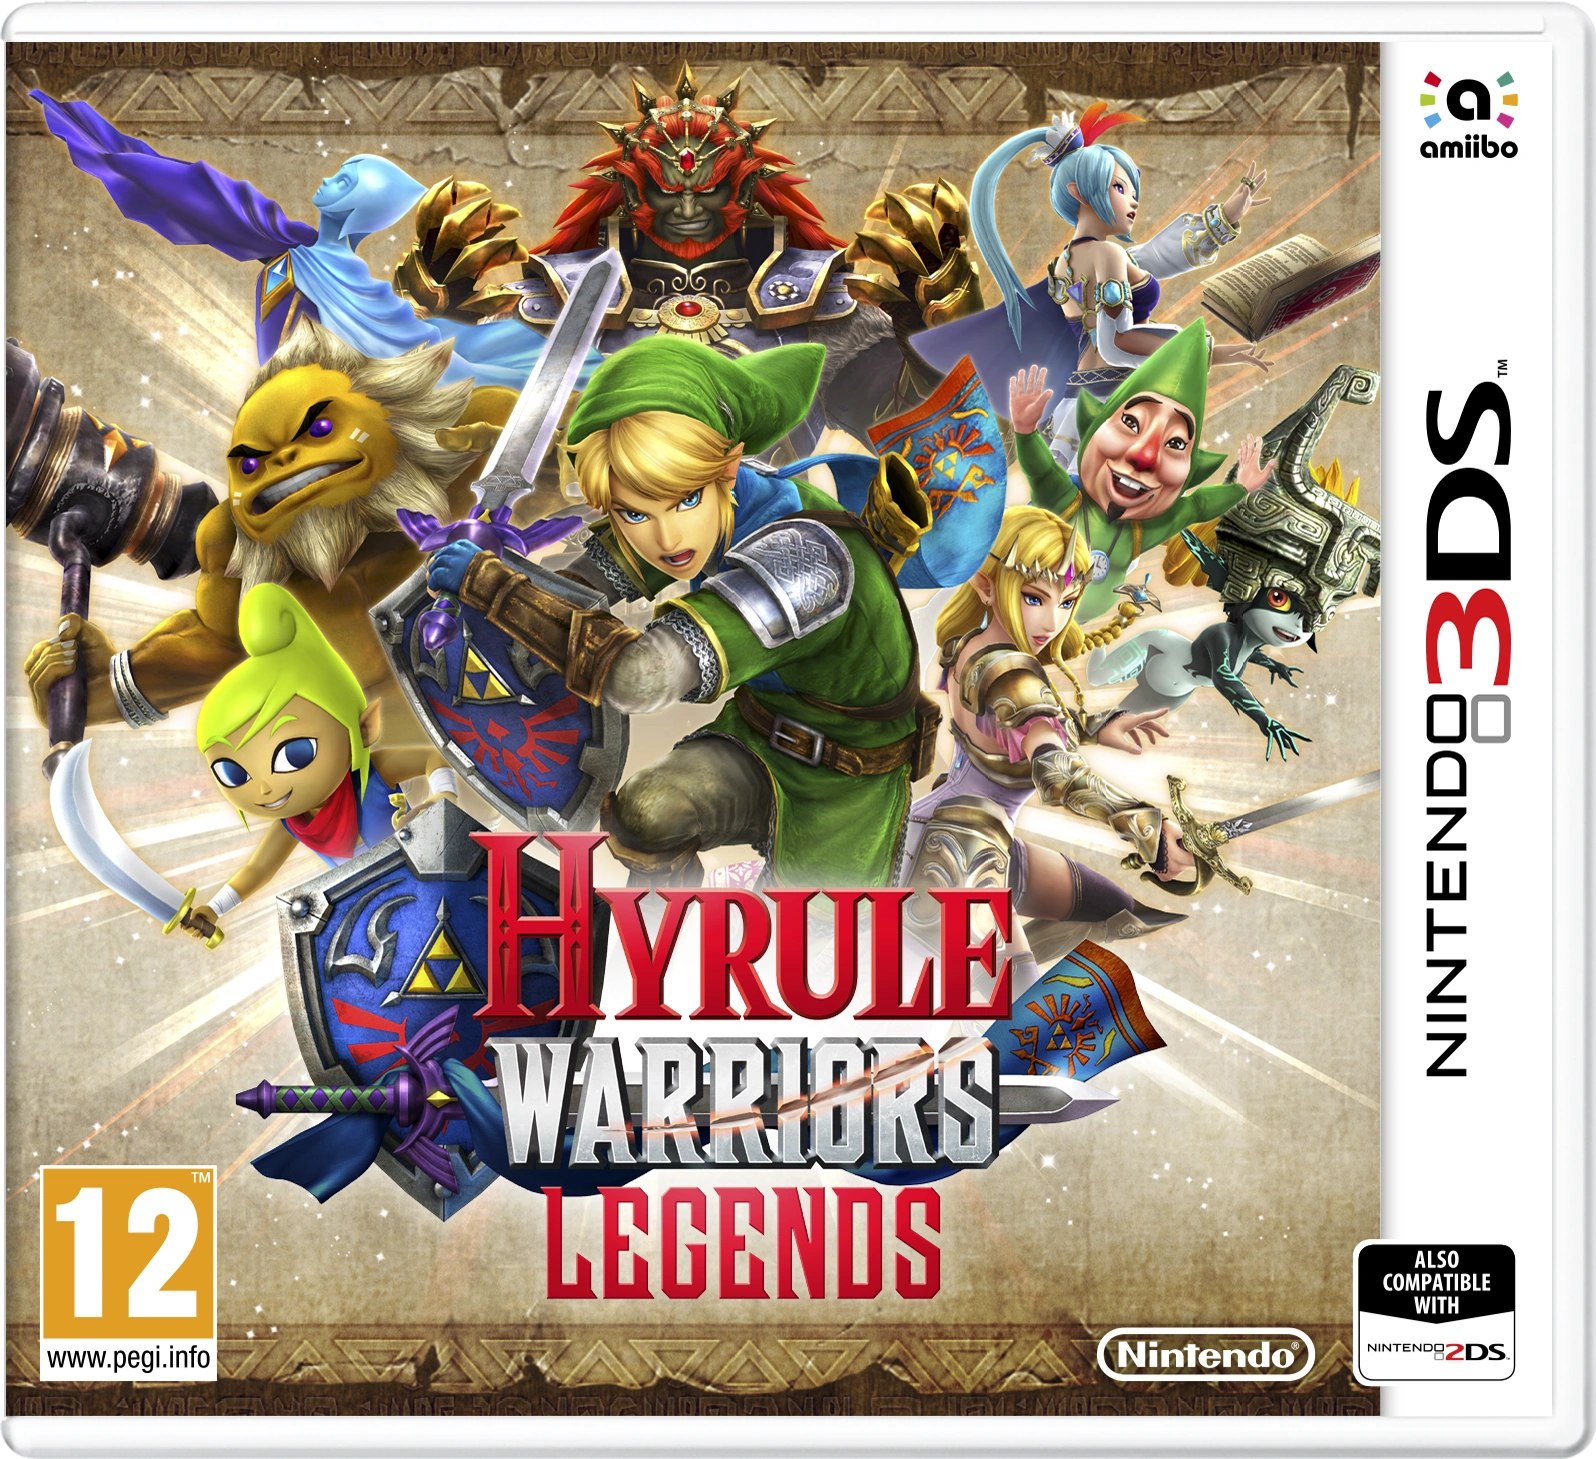
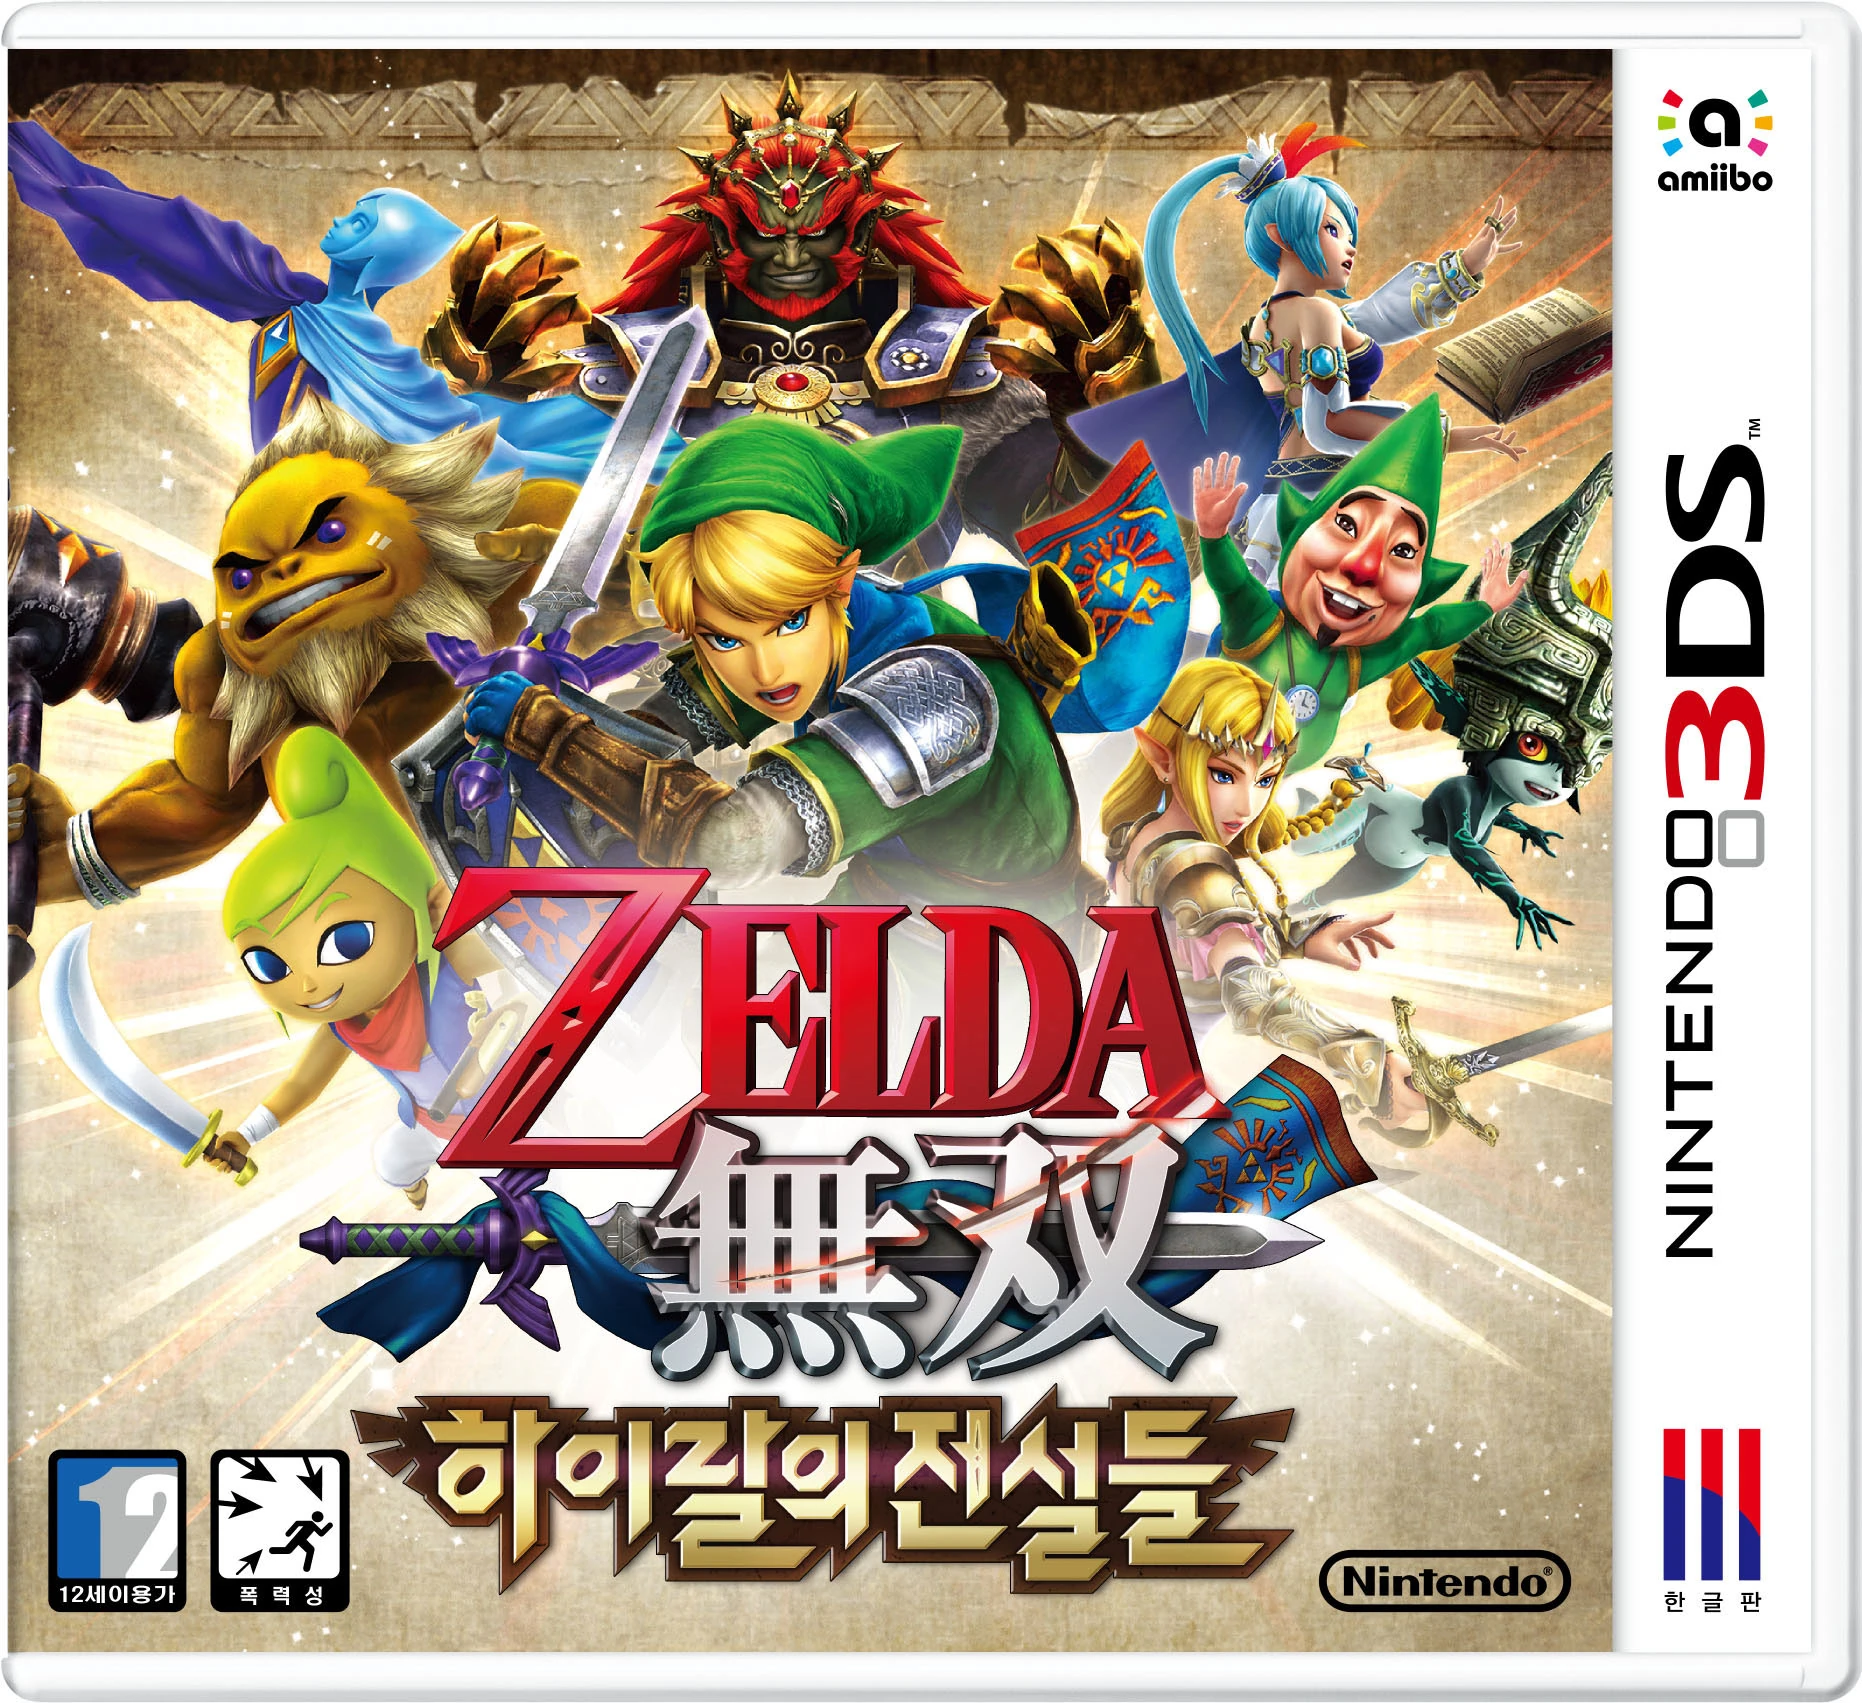
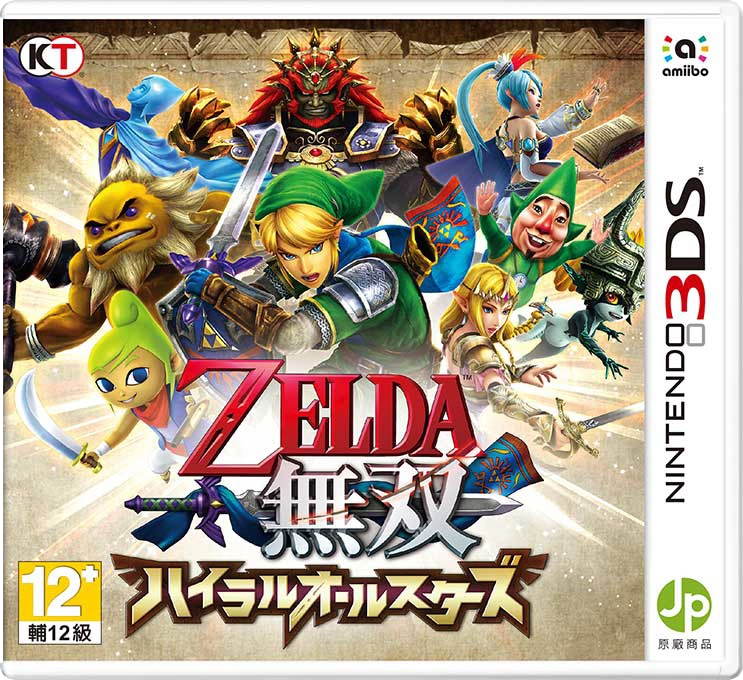
| + | ==[[Gallery:Box Art|Box Art]]== |
||
| − | ==Themes and Navigation== |
||
| + | {{#section:Gallery:Box Art|HWL}} |
||
| − | Infinity Dunes takes place in a large desert consisting of temple ruins. The Level is densely covered in quicksand, which the [[Links]] will sink through if they stand on it for too long. Because of this, the [[Dunewalker Duds]], when crafted, becomes useful in this Level. |
||
| + | ==Artwork== |
||
| − | In '''Stage 1''', the Links appear close to a small desert oasis, where two [[Gust Jar]]s and a [[Water Rod]] can be found. East of the oasis is the sand-covered desert. Several mounds of sand can be found here, which can be removed by either using the Water Rod or Gust Jar on them, which may reveal [[Rupee]]s or [[Heart]]s. There are a few tiled paths provided, which the Links can safely walk on to avoid standing in and sinking in the sand. [[Leever]]s will pop out as the Links make their way across. To the north is a fast-moving river of sand. The Links can cross it either by propelling each other across using the Gust Jars or use the Water Rod to create a bridge of water spouts. The next area has [[Sandfish]] swimming in the sand, which will quickly respawn if the Links try to destroy them. At the far end are three [[Switch]]es: one is beneath a mound of sand, and another is on a ledge also covered by sand. Pressing all three creates a bridge to the cliff wall, where the Triforce Gateway is found. |
||
| + | ===Characters=== |
||
| ⚫ | |||
| + | File:HWL Link Master Sword Artwork.png|[[Link]] wielding the [[Master Sword]] and [[Hylian Shield]] |
||
| + | File:HWL Ganondorf Trident Artwork.png|[[Ganon]]dorf wielding the Trident |
||
| + | File:HWL Linkle Artwork.png|[[Linkle]] |
||
| + | File:HWL Linkle Crossbow Artwork.png|Linkle wielding the Crossbow |
||
| + | File:HWL Skull Kid Artwork.png|[[Skull Kid]] |
||
| + | File:HWL Skull Kid Ocarina Artwork.png|Skull Kid wielding the [[Ocarina]] |
||
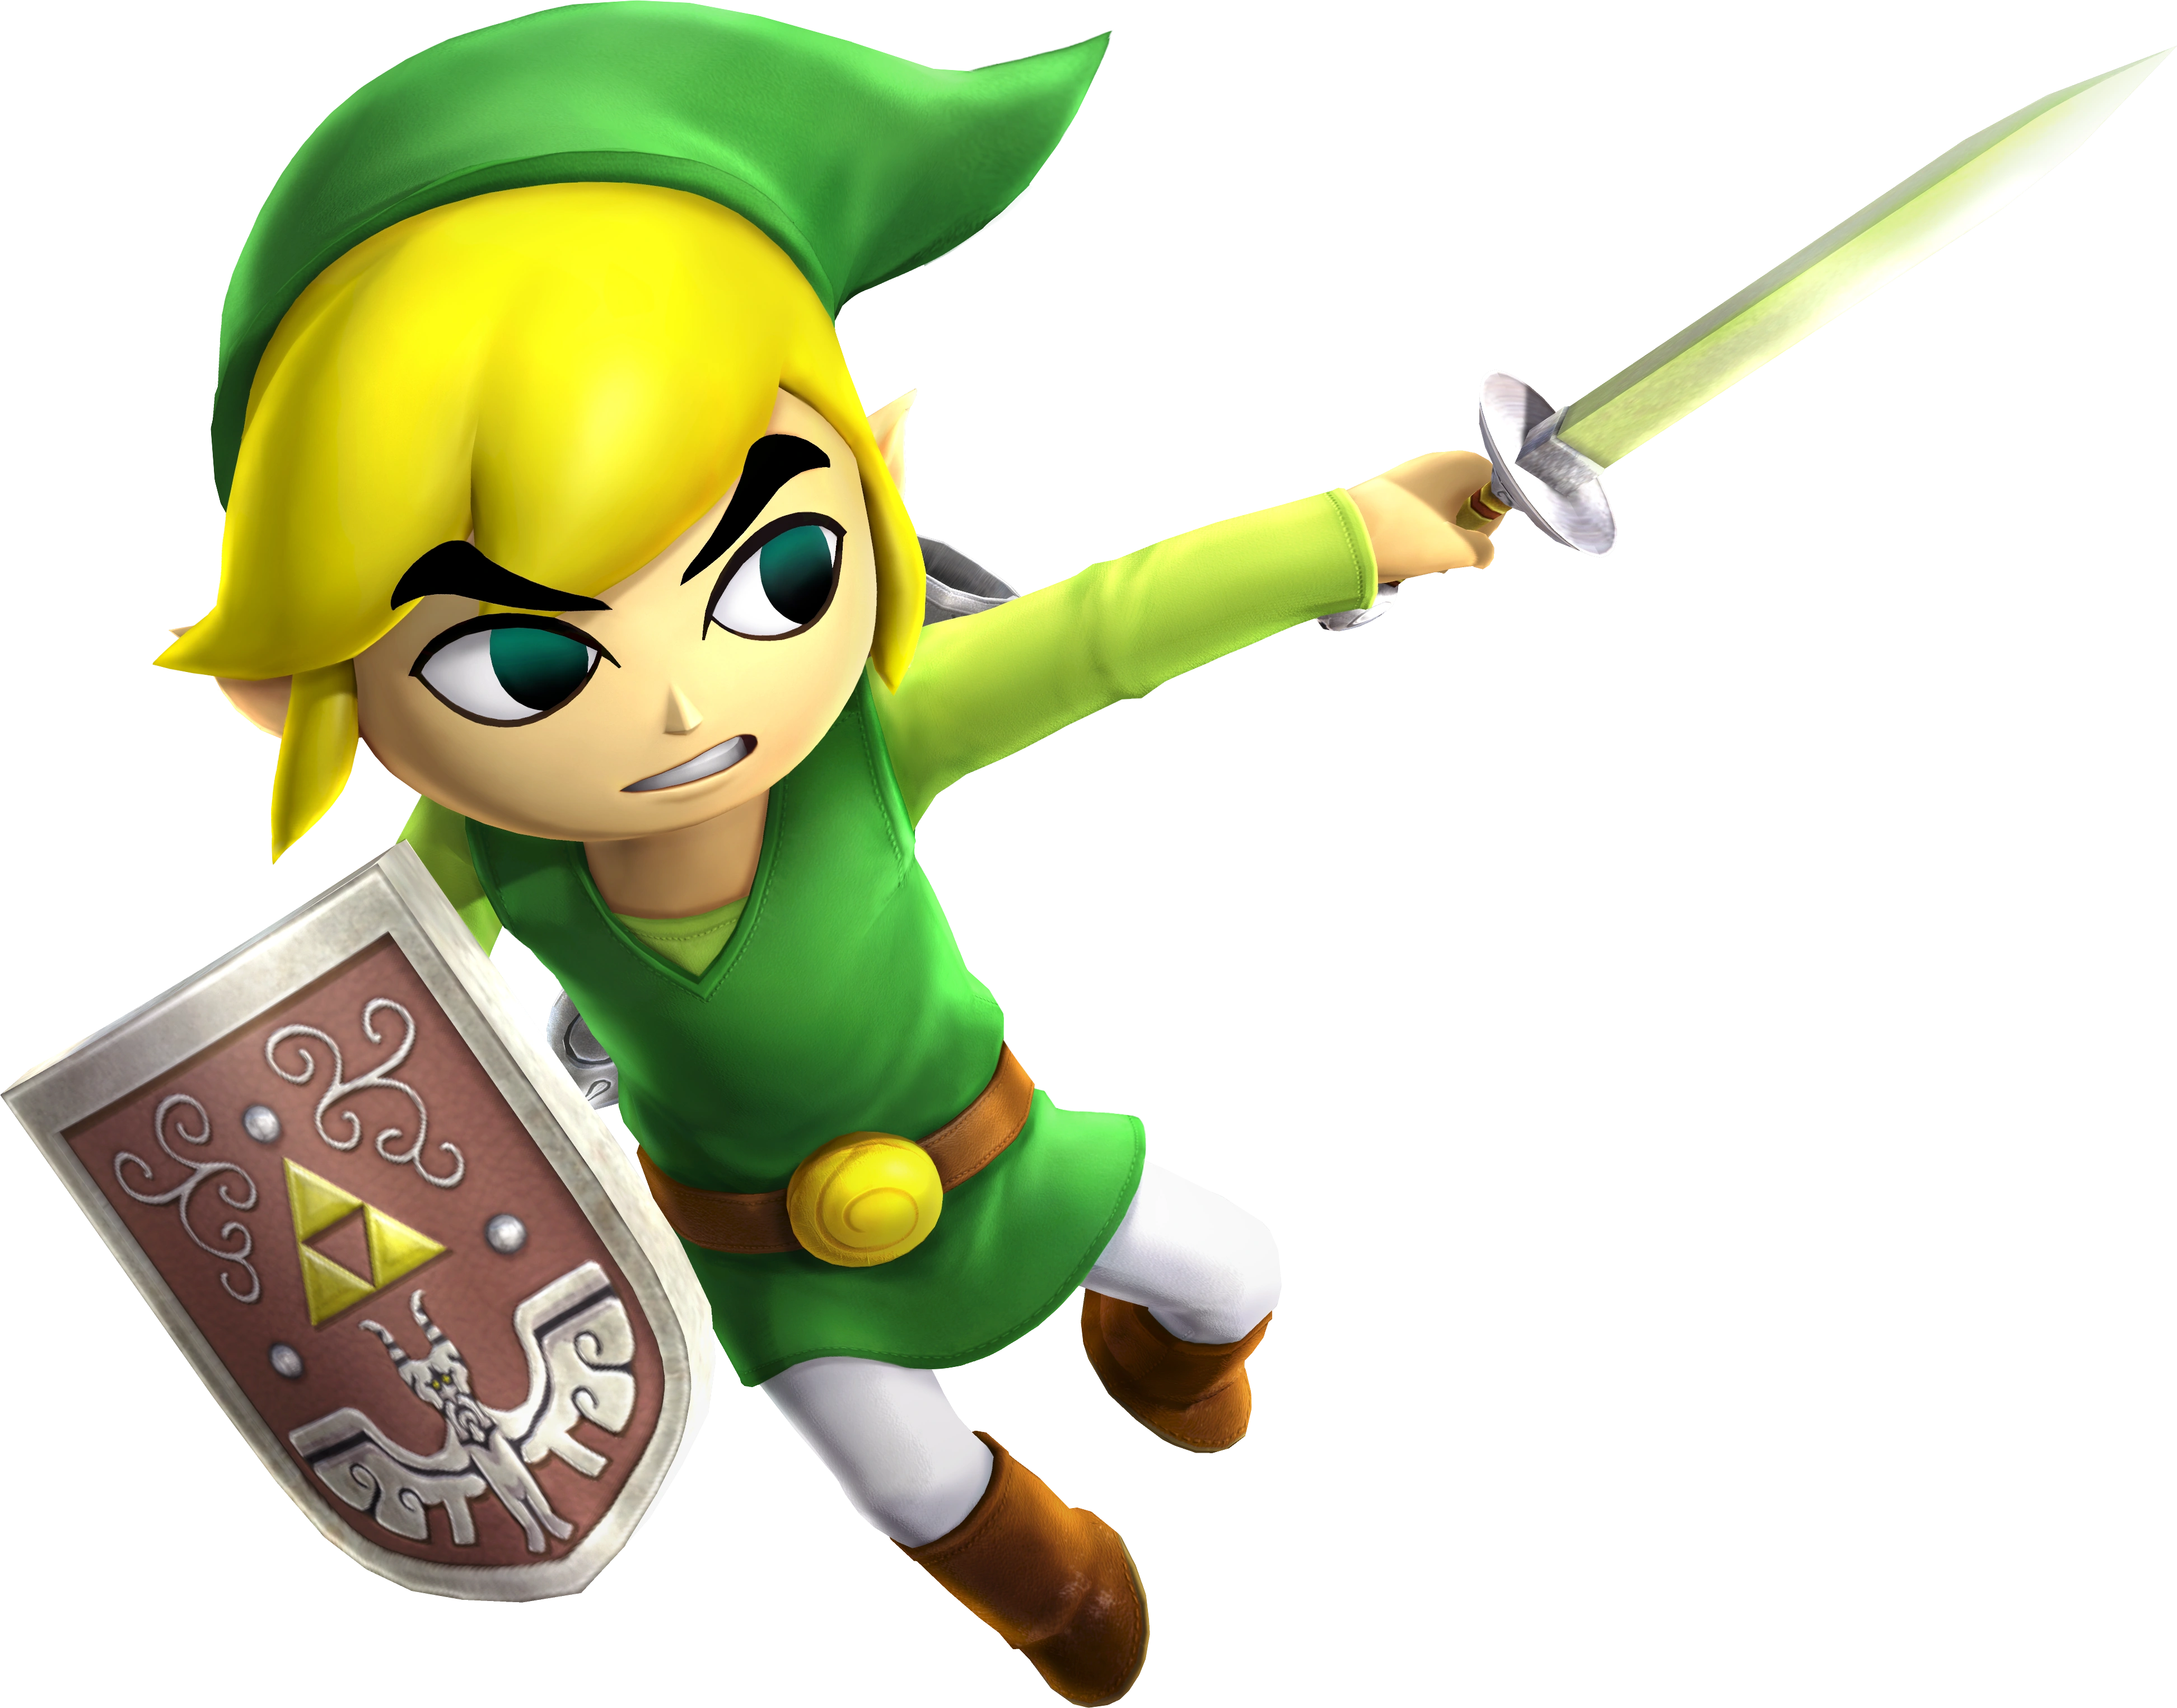
| + | File:HWL Toon Link Artwork.png|[[Toon Link]] |
||
| + | File:HWL Toon Link Sword Artwork.png|Toon Link wielding the One-handed [[Sword]] |
||
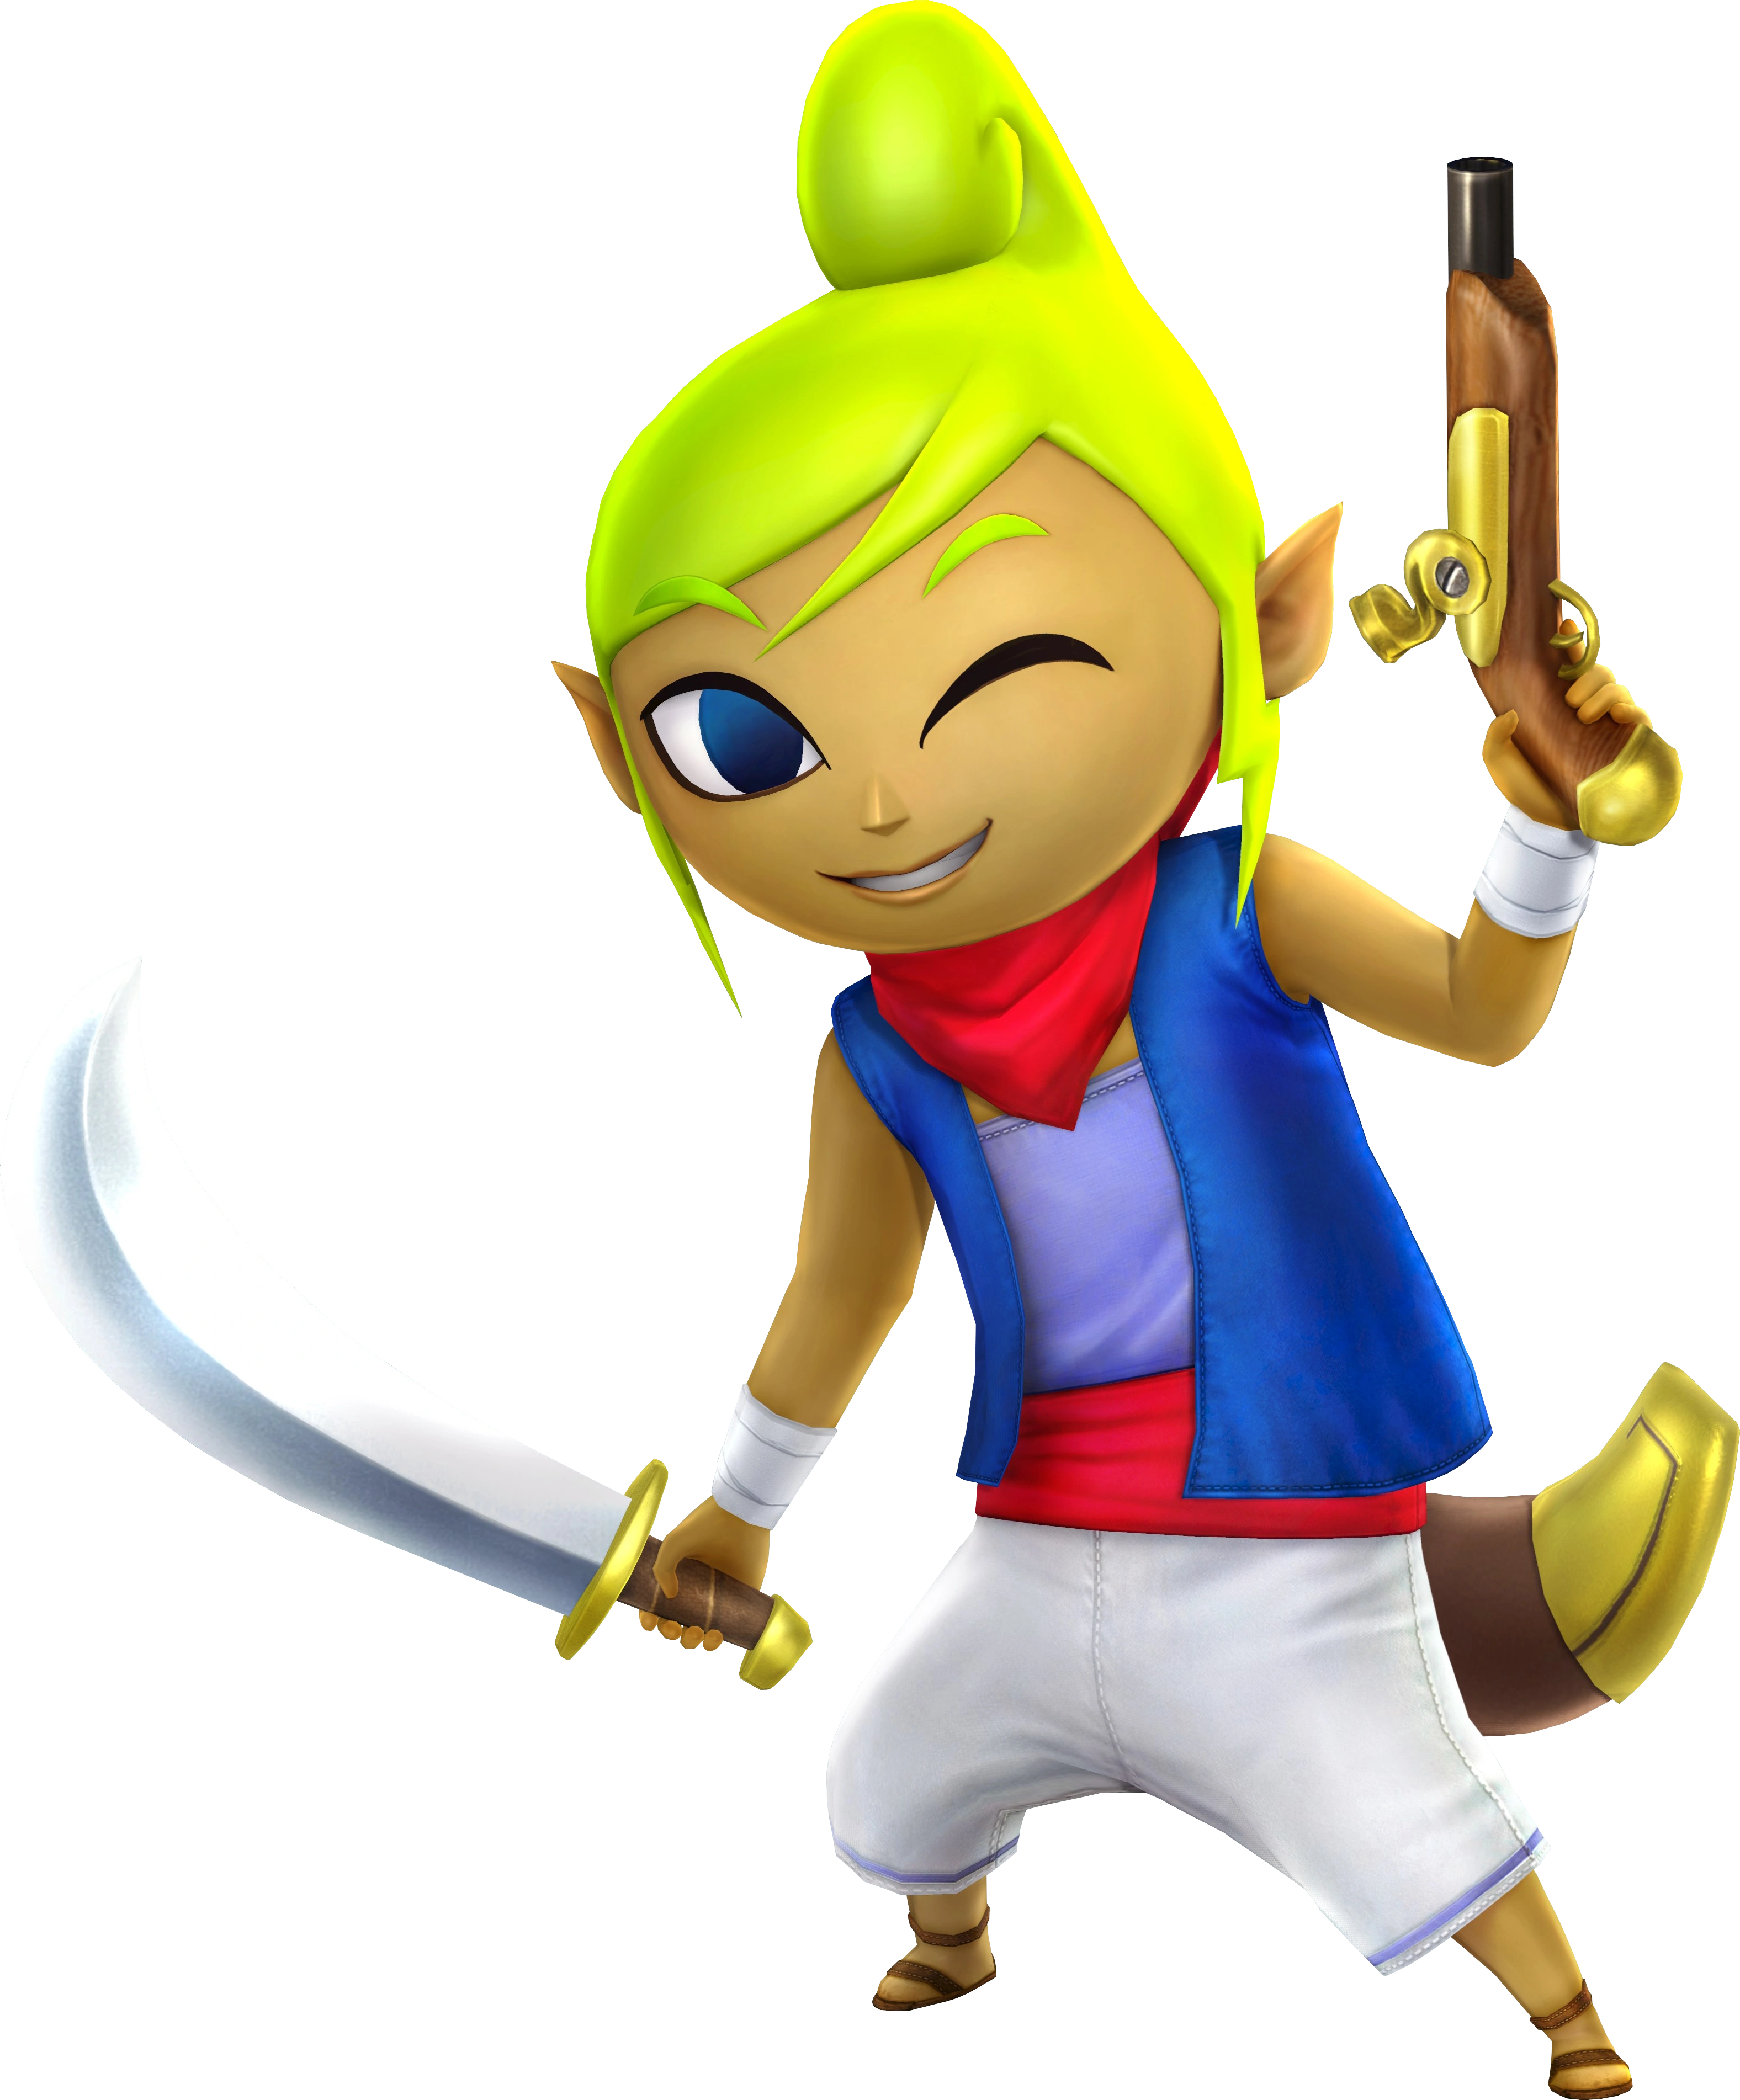
| ⚫ | |||
| + | File:HWL Tetra Pistol Artwork.png|Tetra wielding the Cutlass |
||
| + | File:HWL Daphnes Artwork.png|[[Daphnes Nohansen Hyrule|King of Hyrule]] |
||
| ⚫ | |||
| + | ===Bosses=== |
||
| − | In '''Stage 2''', the Links appear in a sand-filled pit where immediately they fight off [[Vulture]]s, Leevers and [[Life Like]]s. To the left and right side of the arena are plant sprouts, which can be watered with the Water Rod to grow [[Bomb Flower]]s. These can then be thrown at the Life Likes to easily defeat them. After they are all defeated, a pair of doors open to the next Triforce Gateway. |
||
| + | <gallery> |
||
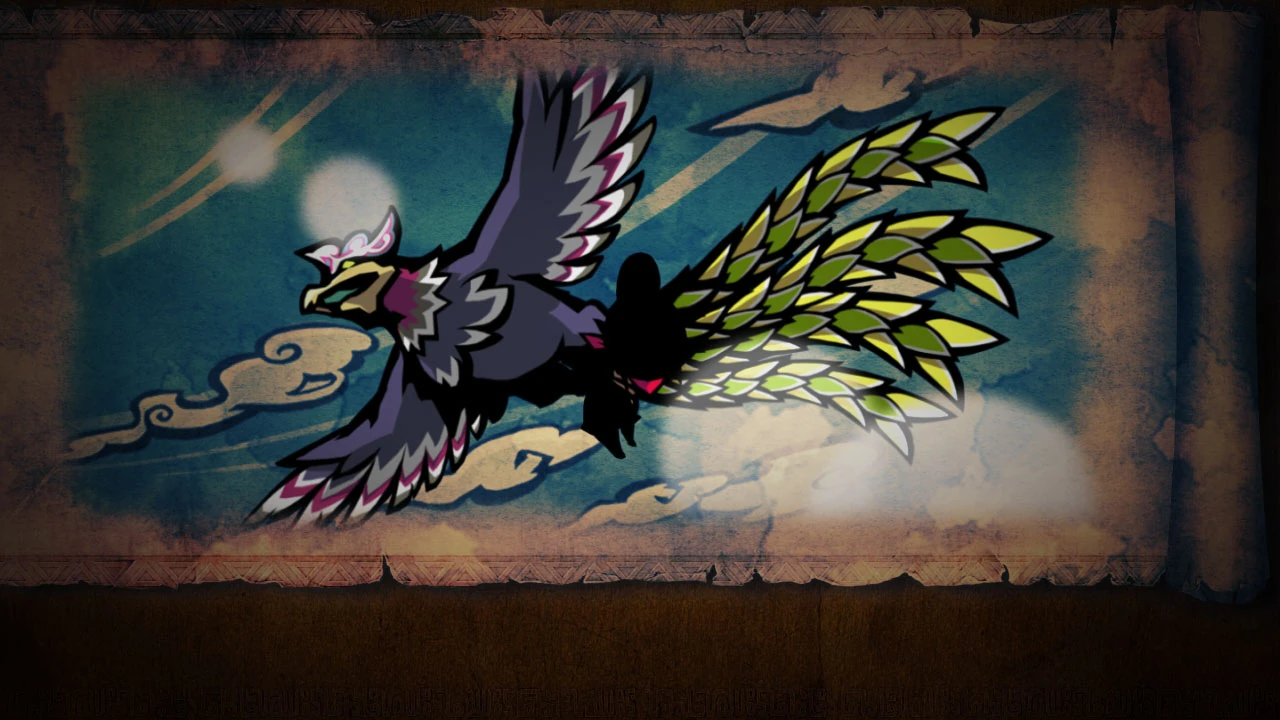
| + | File:HWL Helmaroc King Artwork.png|[[Helmaroc King]] |
||
| + | File:HWL Phantom Ganon Artwork.png|[[Phantom Ganon]] |
||
| + | </gallery> |
||
| + | ===Other=== |
||
| − | In '''Stage 3''', the Links appear in front of a tomb with the Triforce Gateway inside. Its two doors immediately close as the Links enter the area, forcing them to search for ways to open them. To the west is a sprout between a group of bushes, which watering turns into a giant leaf that will lift the Links to the ledge above. Another plant sprout that will grow into a leaf, plus a [[Squiddy]], can be found there. On the next set of ledges, the Links come across a Switch; however, it will close if the Links try to approach it. Across the river of sand are a pair of sprouts, which can only be reached by propelling the Links across using the Gust Jar. These sprouts produce a Bomb Flowers, however because the gap is too wide to throw them over, one Link will have to propel one Bomb across using his own Gust Jar. The Link on the other side can then throw it at the Switch before it explodes. Activating the Switch opens one of the tomb's doors. |
||
| + | <gallery> |
||
| + | File:Hyrule Warriors Legends Artwork.png|Promotional artwork |
||
| + | File:HWL Tetra and Link Cutscene.jpg|Tetra and Link |
||
| + | File:HWL Helmaroc King Cutscene.jpg|The Helmaroc King with Tetra |
||
| + | File:HWL Skull Kid Cutscene.jpg|Skull Kid with [[Tatl]] and [[Tael]] |
||
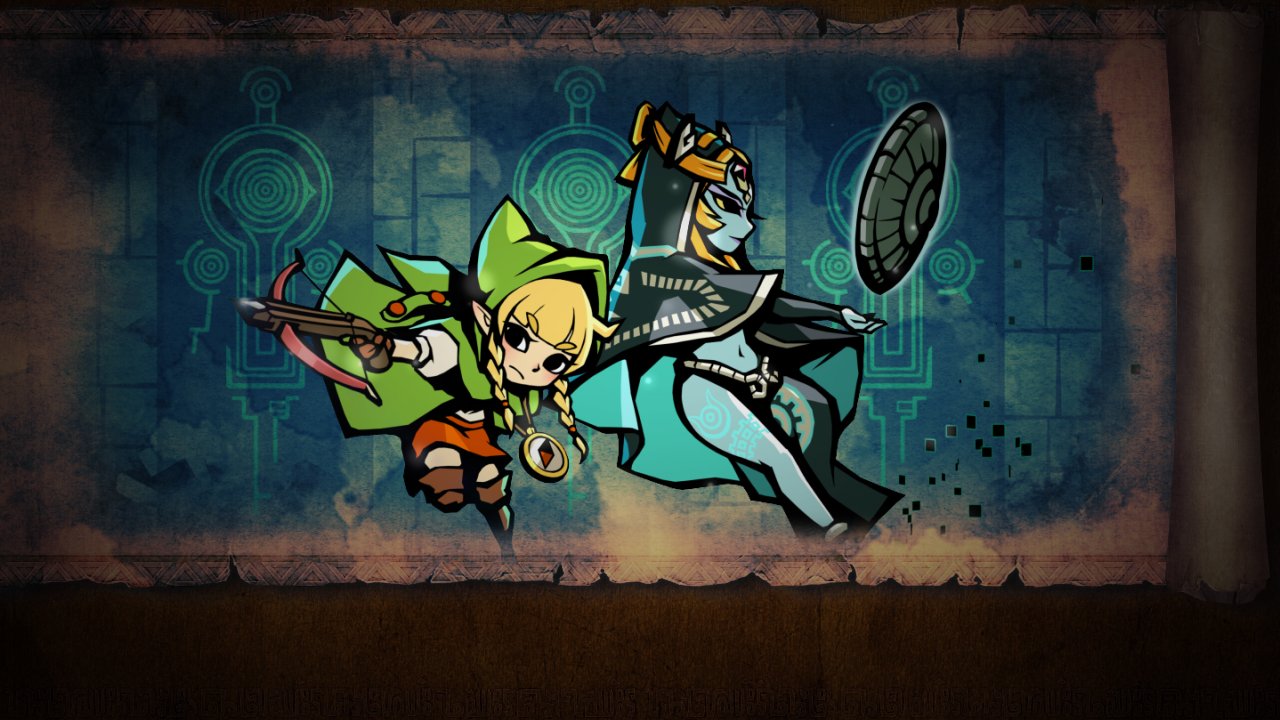
| + | File:HWL Linkle and Twili Midna Cutscene.jpg|Linkle and [[Twili Midna]] |
||
| + | </gallery> |
||
| + | ===Logos=== |
||
| − | The next ledge requires one Link to be pushed across by the Gust Jar. Another Switch can be found on top of a ledge, next to a river of sand, which will also close if approached. To hit this Switch, the Link on the second ledge will have to propel one of the Bomb Flowers over. The other Link will then have to quickly create a water pillar to the Switch, and grab and throw the Bomb to it before it explodes. This switch can be activated more easily if one Link creates a water pillar in front of the switch, picks one of the Links that is equipped with the Gust Jar, and lets him shoot the switch with it from atop the water pillar.This Switch opens the last of the doors, allowing the Links to drop down and reach the Triforce Gateway. If they drop down near the falls of sand, they can find Rupees sitting on small ledges, as well as a [[Treasure Chest|Chest]] containing a silver Rupee on the rightmost side. |
||
| + | <gallery> |
||
| + | File:HWL US Logo.png|North American logo |
||
| + | File:HWL EU Logo.png|European logo |
||
| + | File:HWL JP Logo.png|Japanese logo |
||
| + | </gallery> |
||
| + | ==Screenshots== |
||
| − | In '''Stage 4''', the Links drop into a walled enclosure filled with sand. A [[Hokkubokku]] immediately rises from the sand after they fall in. The enemy can be defeated either by forming a full [[Totem]] and striking its head, or by using the Water Rod to reach it. The Links can also strike the body of the Hokkubokku, but the segments will bounce around the room when struck, so this is a riskier option. Whichever strategy they choose, the Links must also be careful of where they stand, as the sand is still hazardous. After the first Hokkubokku is defeated, three more will appear. Their defeat opens the doors to the last Triforce Gateway. |
||
| + | <gallery> |
||
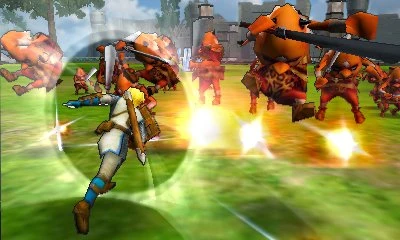
| + | File:Linklegends.jpg|Link fighting a group of enemies |
||
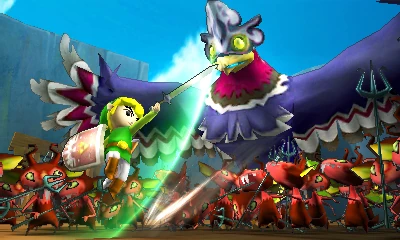
| + | File:HWL Versus Helmaroc King.jpg|Toon Link fighting [[Miniblin]]s and the Helmaroc King |
||
| + | </gallery> |
||
| + | ==Video Gallery== |
||
| − | ===Drablands Challenge=== |
||
| + | {{Youtube|zGDEUPZNlh8|200|Reveal Trailer}} |
||
| − | Infinity Dunes includes the following [[Drablands Challenge]]s: "[[Drablands Challenge#Fewer Heart Containers!|Fewer Heart Containers!]]", "[[Drablands Challenge#Guard the Orb!|Guard the Orb!]]", and "[[Drablands Challenge#Adventure in the dark!|Adventure in the dark!]]". |
||
| + | {{Youtube|UnkQQybW6_s|200|9/16/15 Niconico Event Gameplay}} |
||
| + | {{Youtube|BgSex5oCGmc|200|''The Wind Waker'' Campaign Trailer}} |
||
| + | {{Youtube|pzQ0Xl91cHU|200|European Limited Edition Trailer}} |
||
| + | {{Youtube|pPYjT5mfSVM|200|Promotional Trailer}} |
||
| + | {{clear}} |
||
| − | ===Materials=== |
||
| − | At the end of the Stage, three [[Treasure Chest|chest]]s can be opened. Two contain the same [[Material]], and one contains another. |
||
| − | === |
+ | ===Character Exhibition Videos=== |
| + | {{Youtube|KUfhOE78LFA|200|Ganondorf – Trident}} |
||
| − | *2 [[Palm Cone]]s |
||
| + | {{Youtube|r9mQo2qIgi8|200|Linkle – Crossbows}} |
||
| − | *1 [[Ancient Fin]] |
||
| + | {{Youtube|D-XRyAu71gI|200|Skull Kid – Ocarina}} |
||
| − | |||
| + | {{Youtube|-3KWX4fw3jg|200|Toon Link – Short Sword}} |
||
| − | ===="Adventure in the dark!"==== |
||
| + | {{Youtube|AXG_gk_UiIc|200|Tetra – Cutlass and Pistol}} |
||
| − | *2 [[Palm Cone]]s |
||
| + | {{Youtube|yfSeYwSNNtM|200|King of Hyrule – Sail}} |
||
| − | *1 [[Vintage Linen]] |
||
| − | |||
| − | ===="Guard the orb!"==== |
||
| − | *2 [[Ancient Fin]]s |
||
| − | *1 [[Gibdo Bandage]] |
||
| − | |||
| − | ===="Fewer Heart Containers!"==== |
||
| − | *2 [[Vintage Linen]]s |
||
| − | *1 [[Stal Skull]] |
||
| − | |||
| − | ===Minor Enemies and Traps=== |
||
| ⚫ | |||
| − | File:TFH Crow Model.png|[[Crow]] {{Exp|Drablands Challenges}} |
||
| − | File:TFH Fire Keeleon.png|[[Fire Keeleon]] {{Exp|Drablands Challenges}} |
||
| − | File:TFH Hokkubokku.png|[[Hokkubokku]] |
||
| ⚫ | |||
| − | File:TFH Life Like.png|[[Life Like]] |
||
| − | File:TFH Sandfish.png|[[Sandfish]] |
||
| − | File:TFH Squiddy Model.png|[[Squiddy]] |
||
| − | File:TFH Vulture.png|[[Vulture]] |
||
| ⚫ | |||
| − | [[Category: |
+ | [[Category:Galleries]] |
Revision as of 07:37, 11 December 2015
This is a gallery page featuring promotional and pre-release media from and relating to Hyrule Warriors Legends.
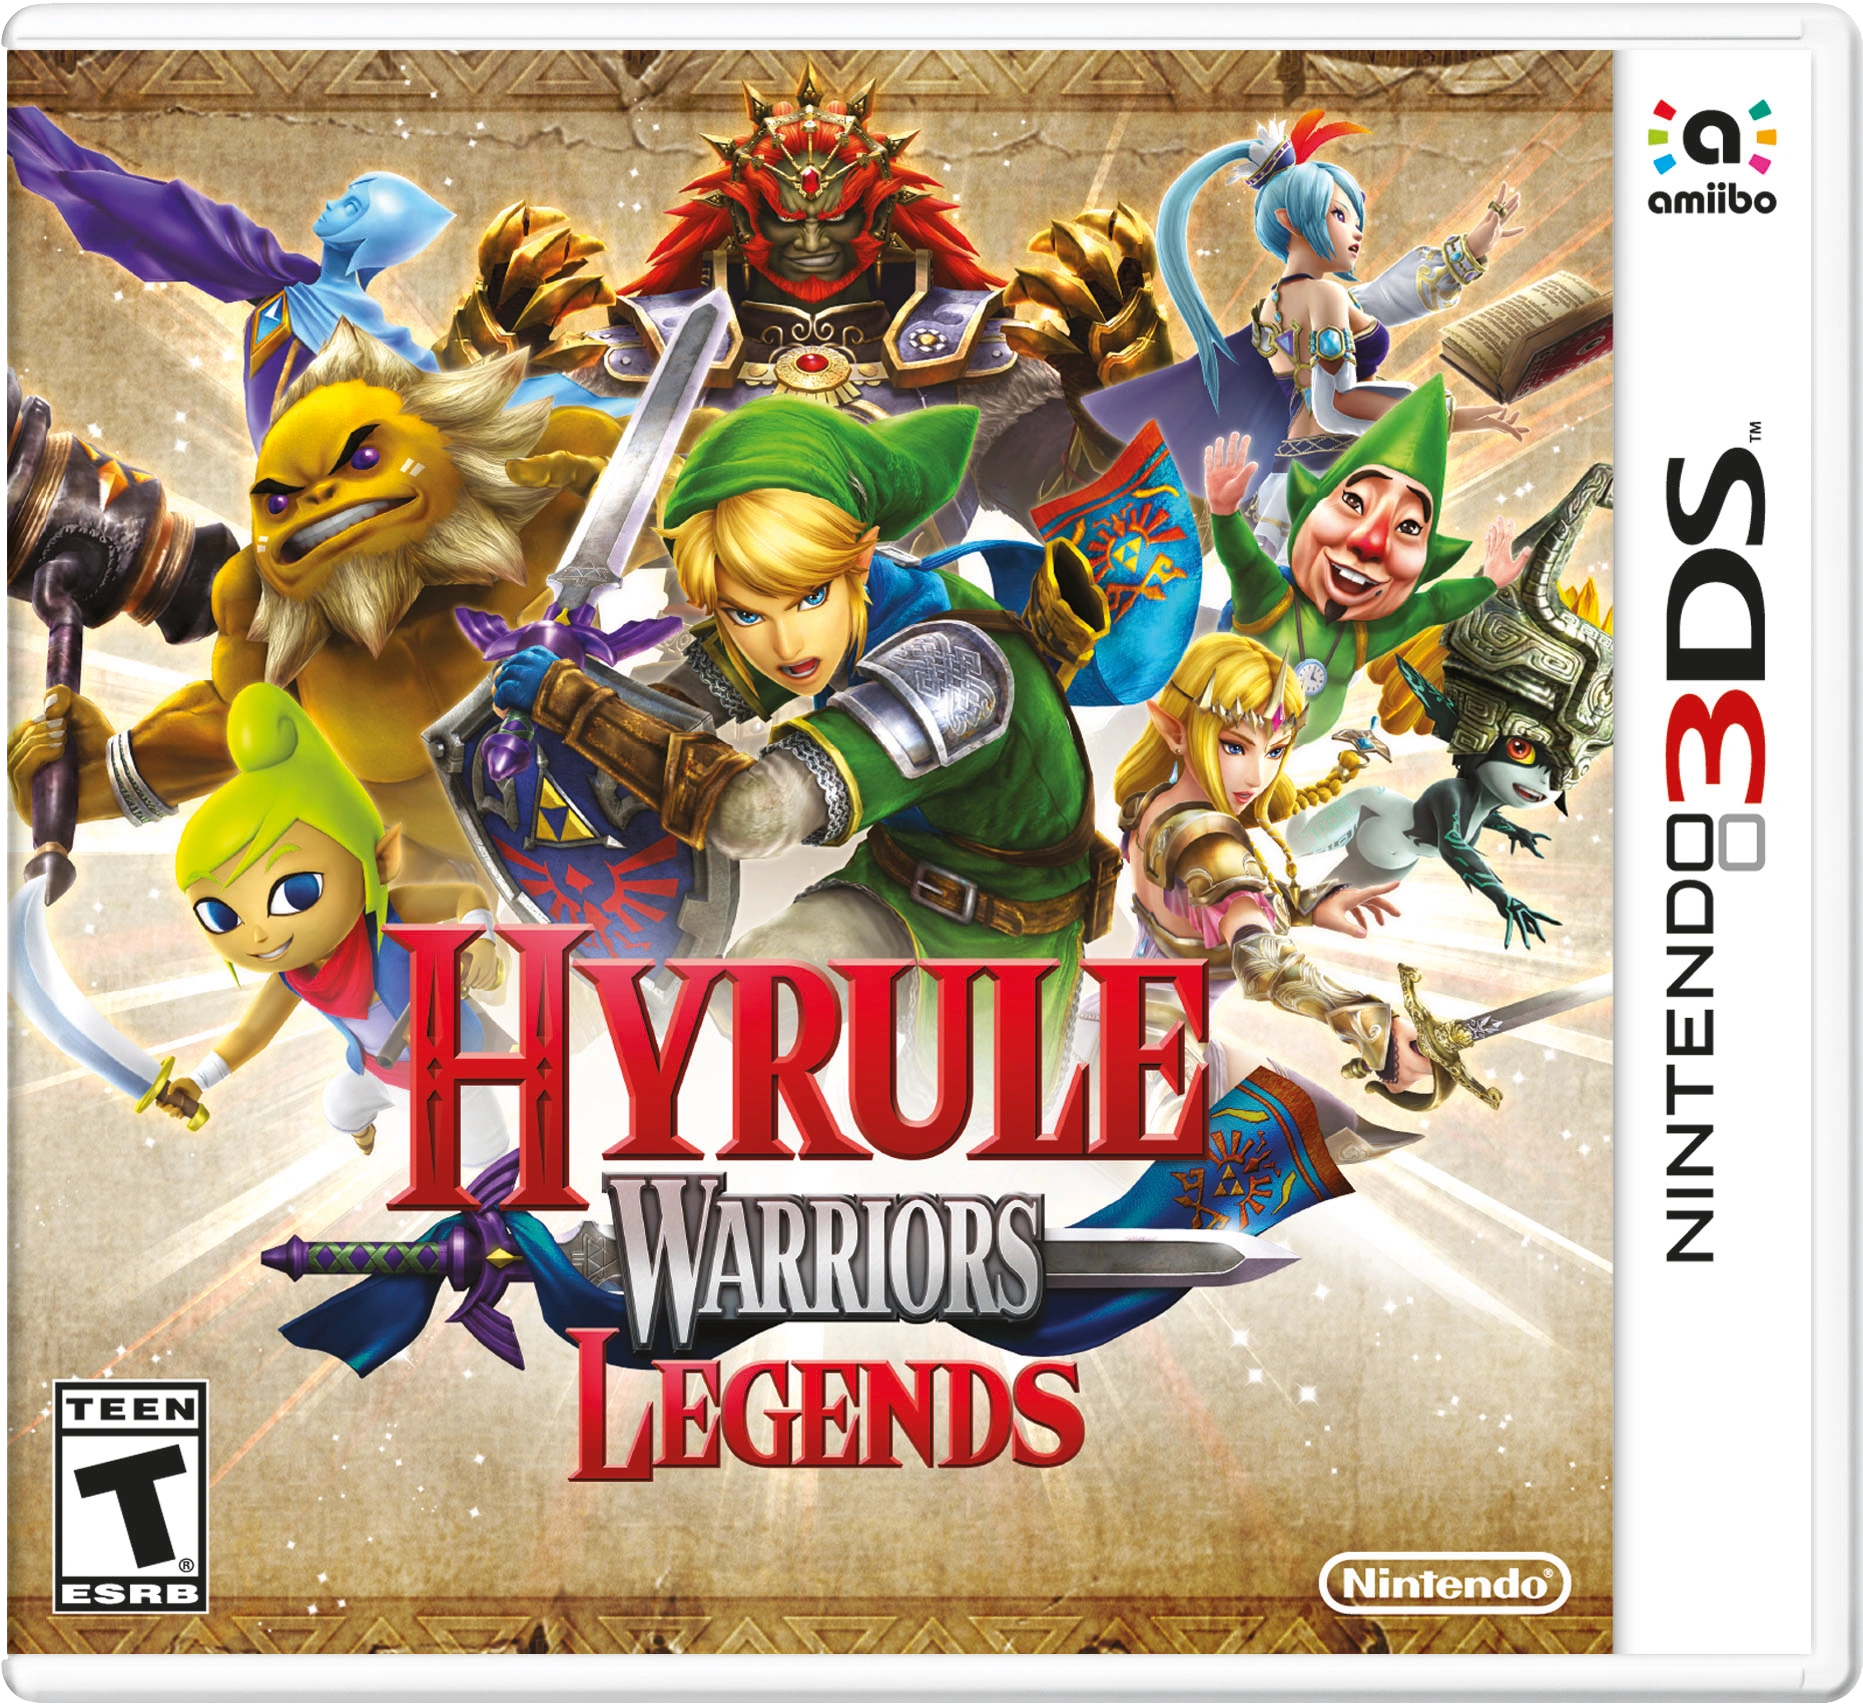
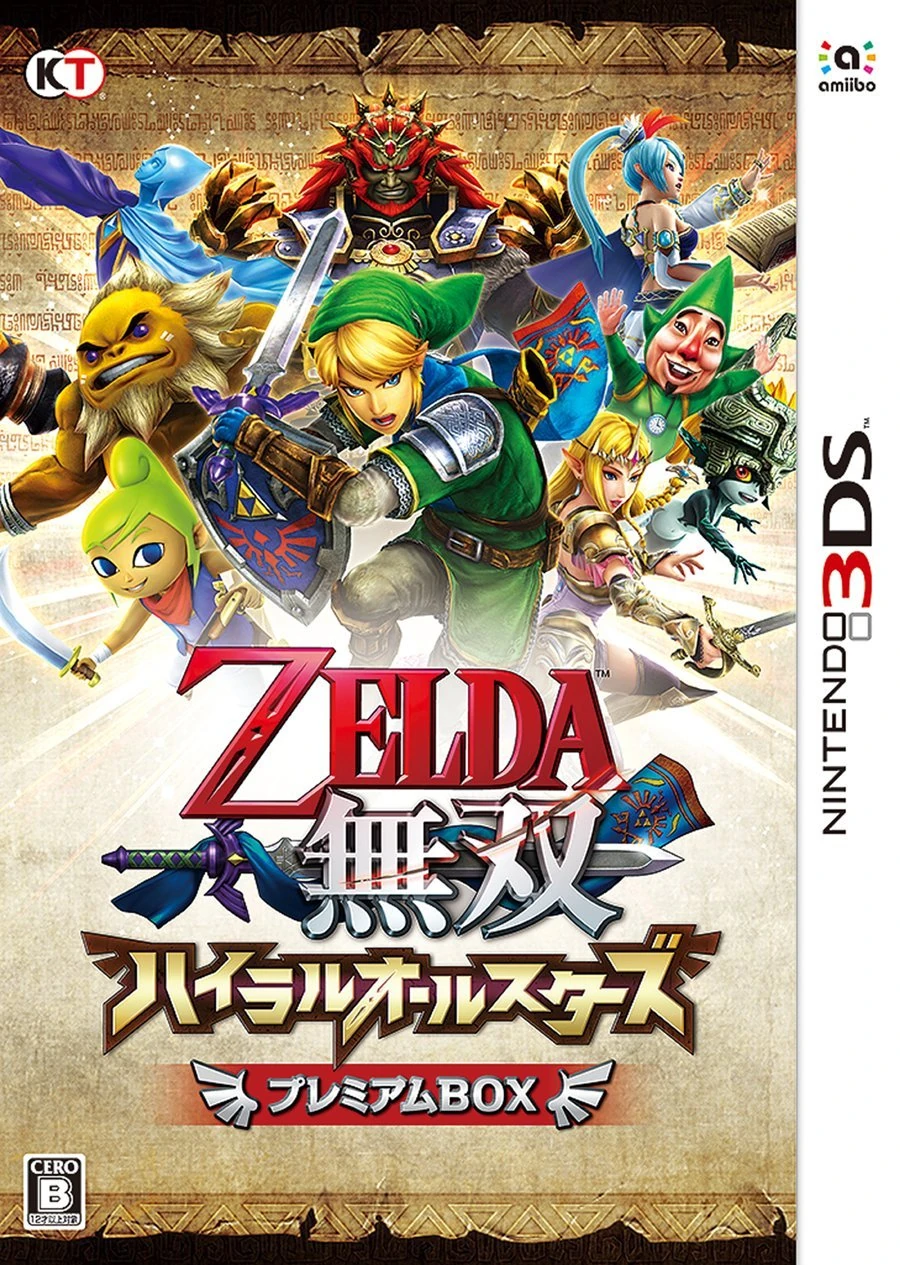
Box Art
American box art
Canadian box art
United Kingdom box art

Japanese box art
Korean box art
Chinese box art

Limited Editions
European Limited Edition box art
Japanese Premium Box art
Japanese Treasure Box art


Artwork
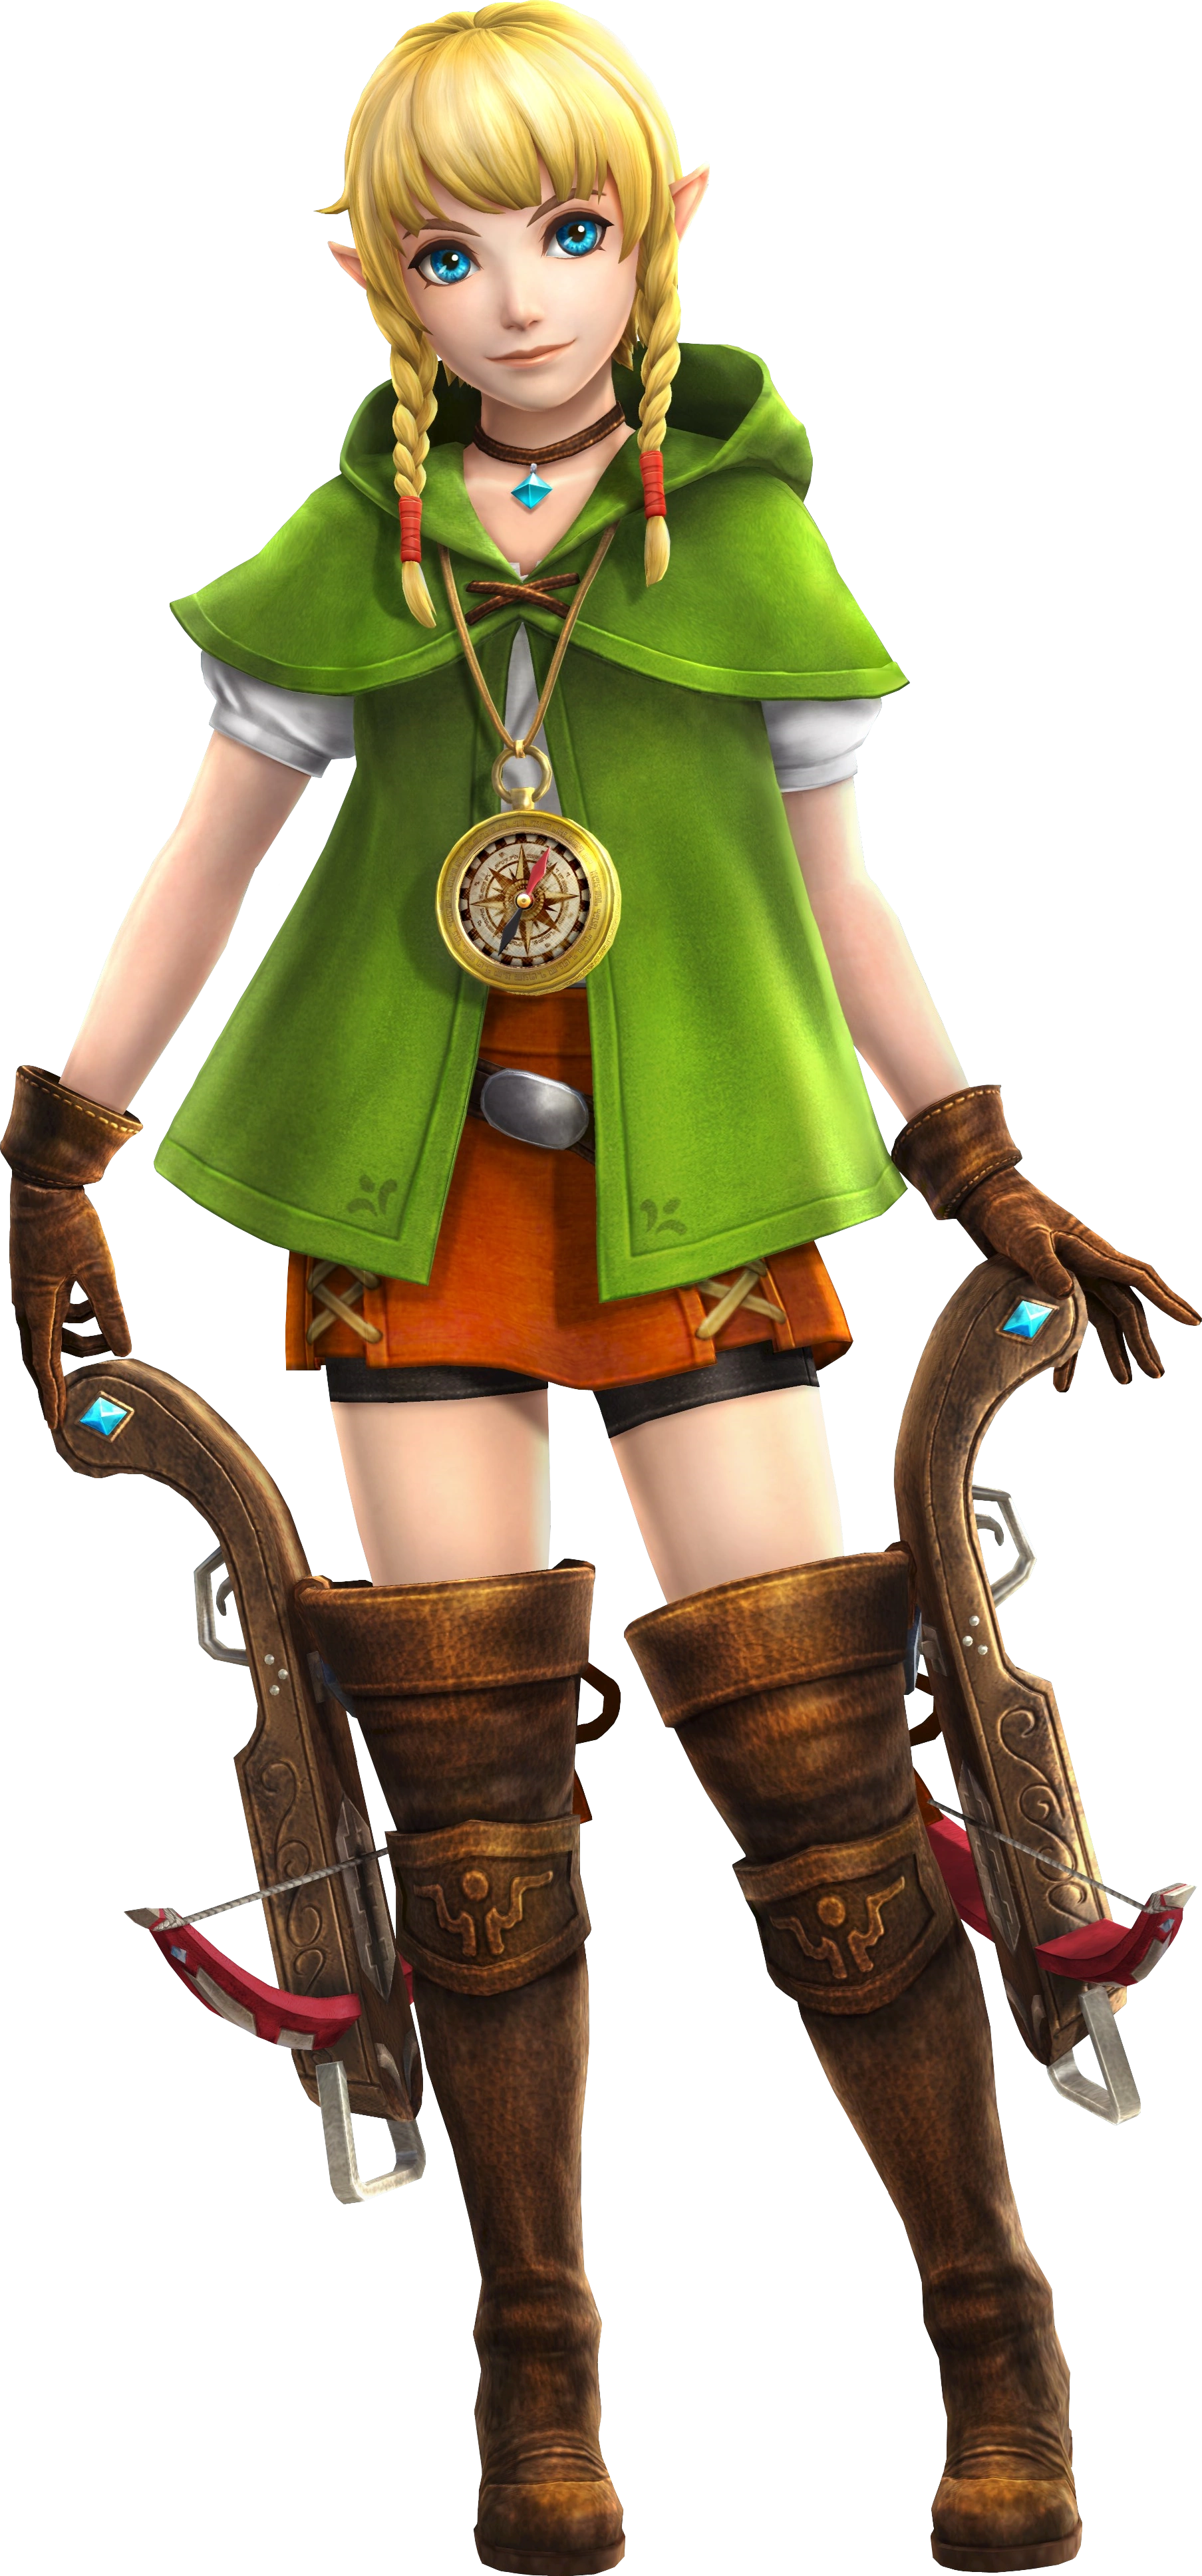
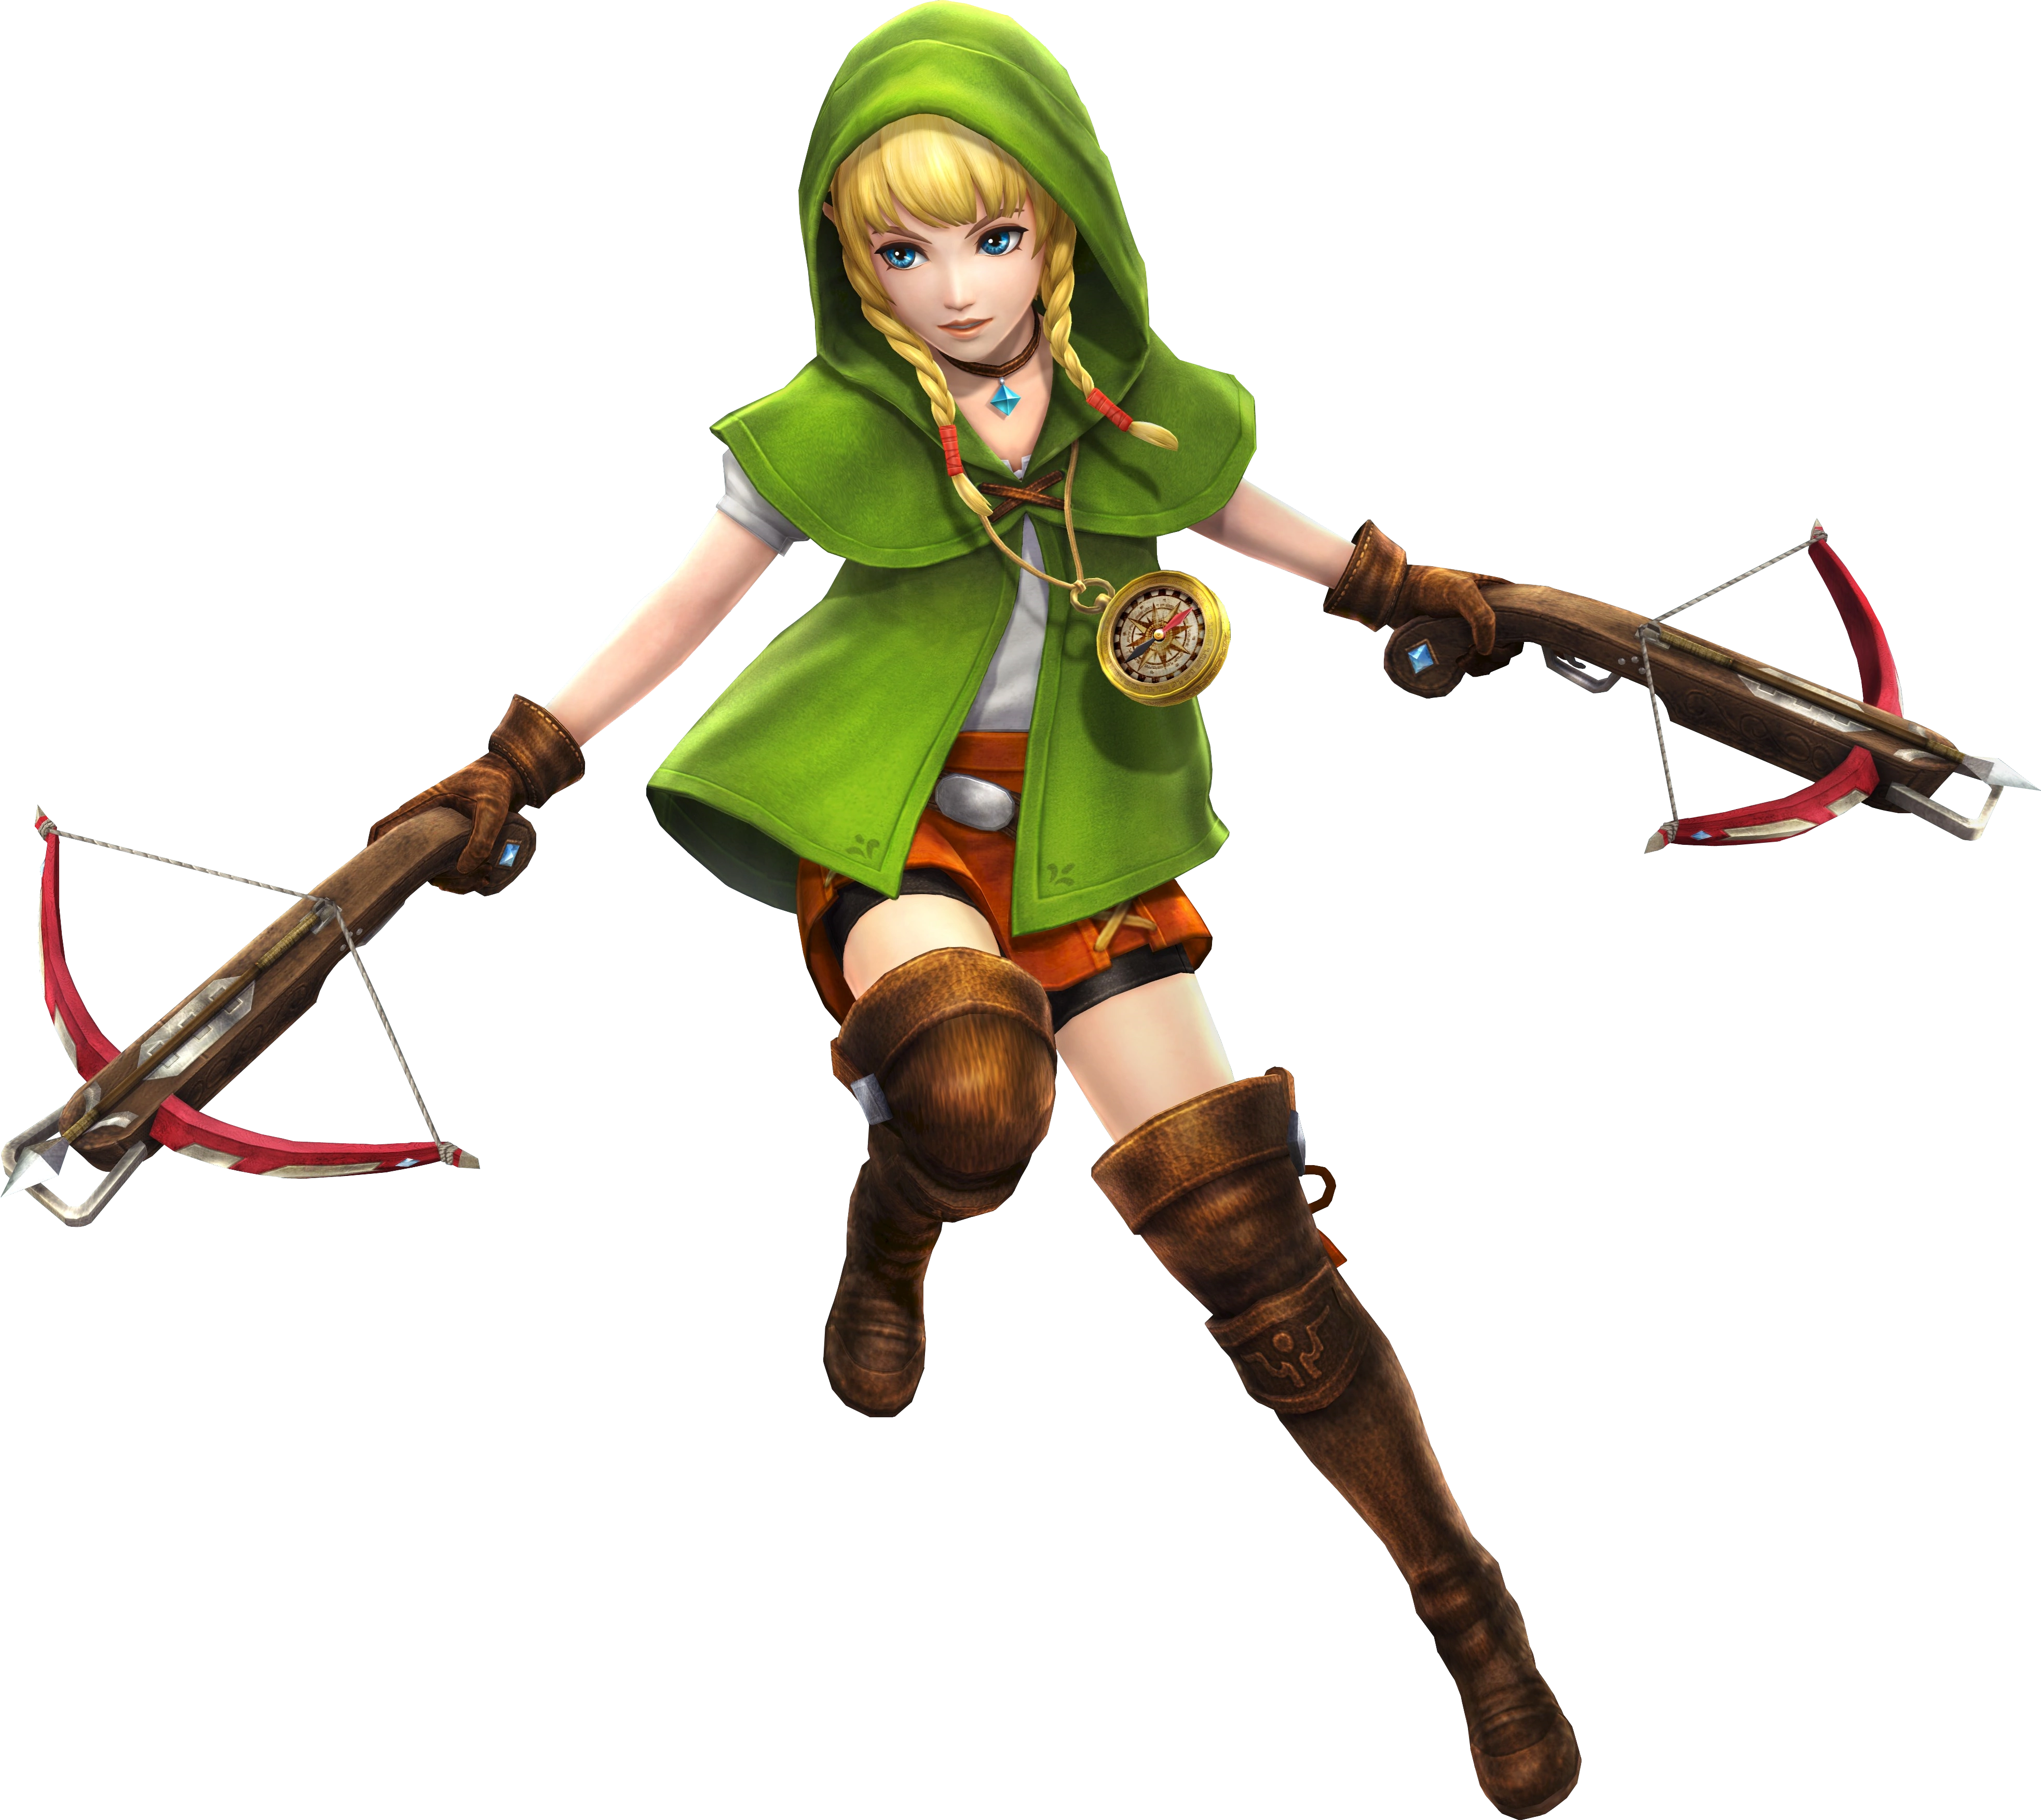
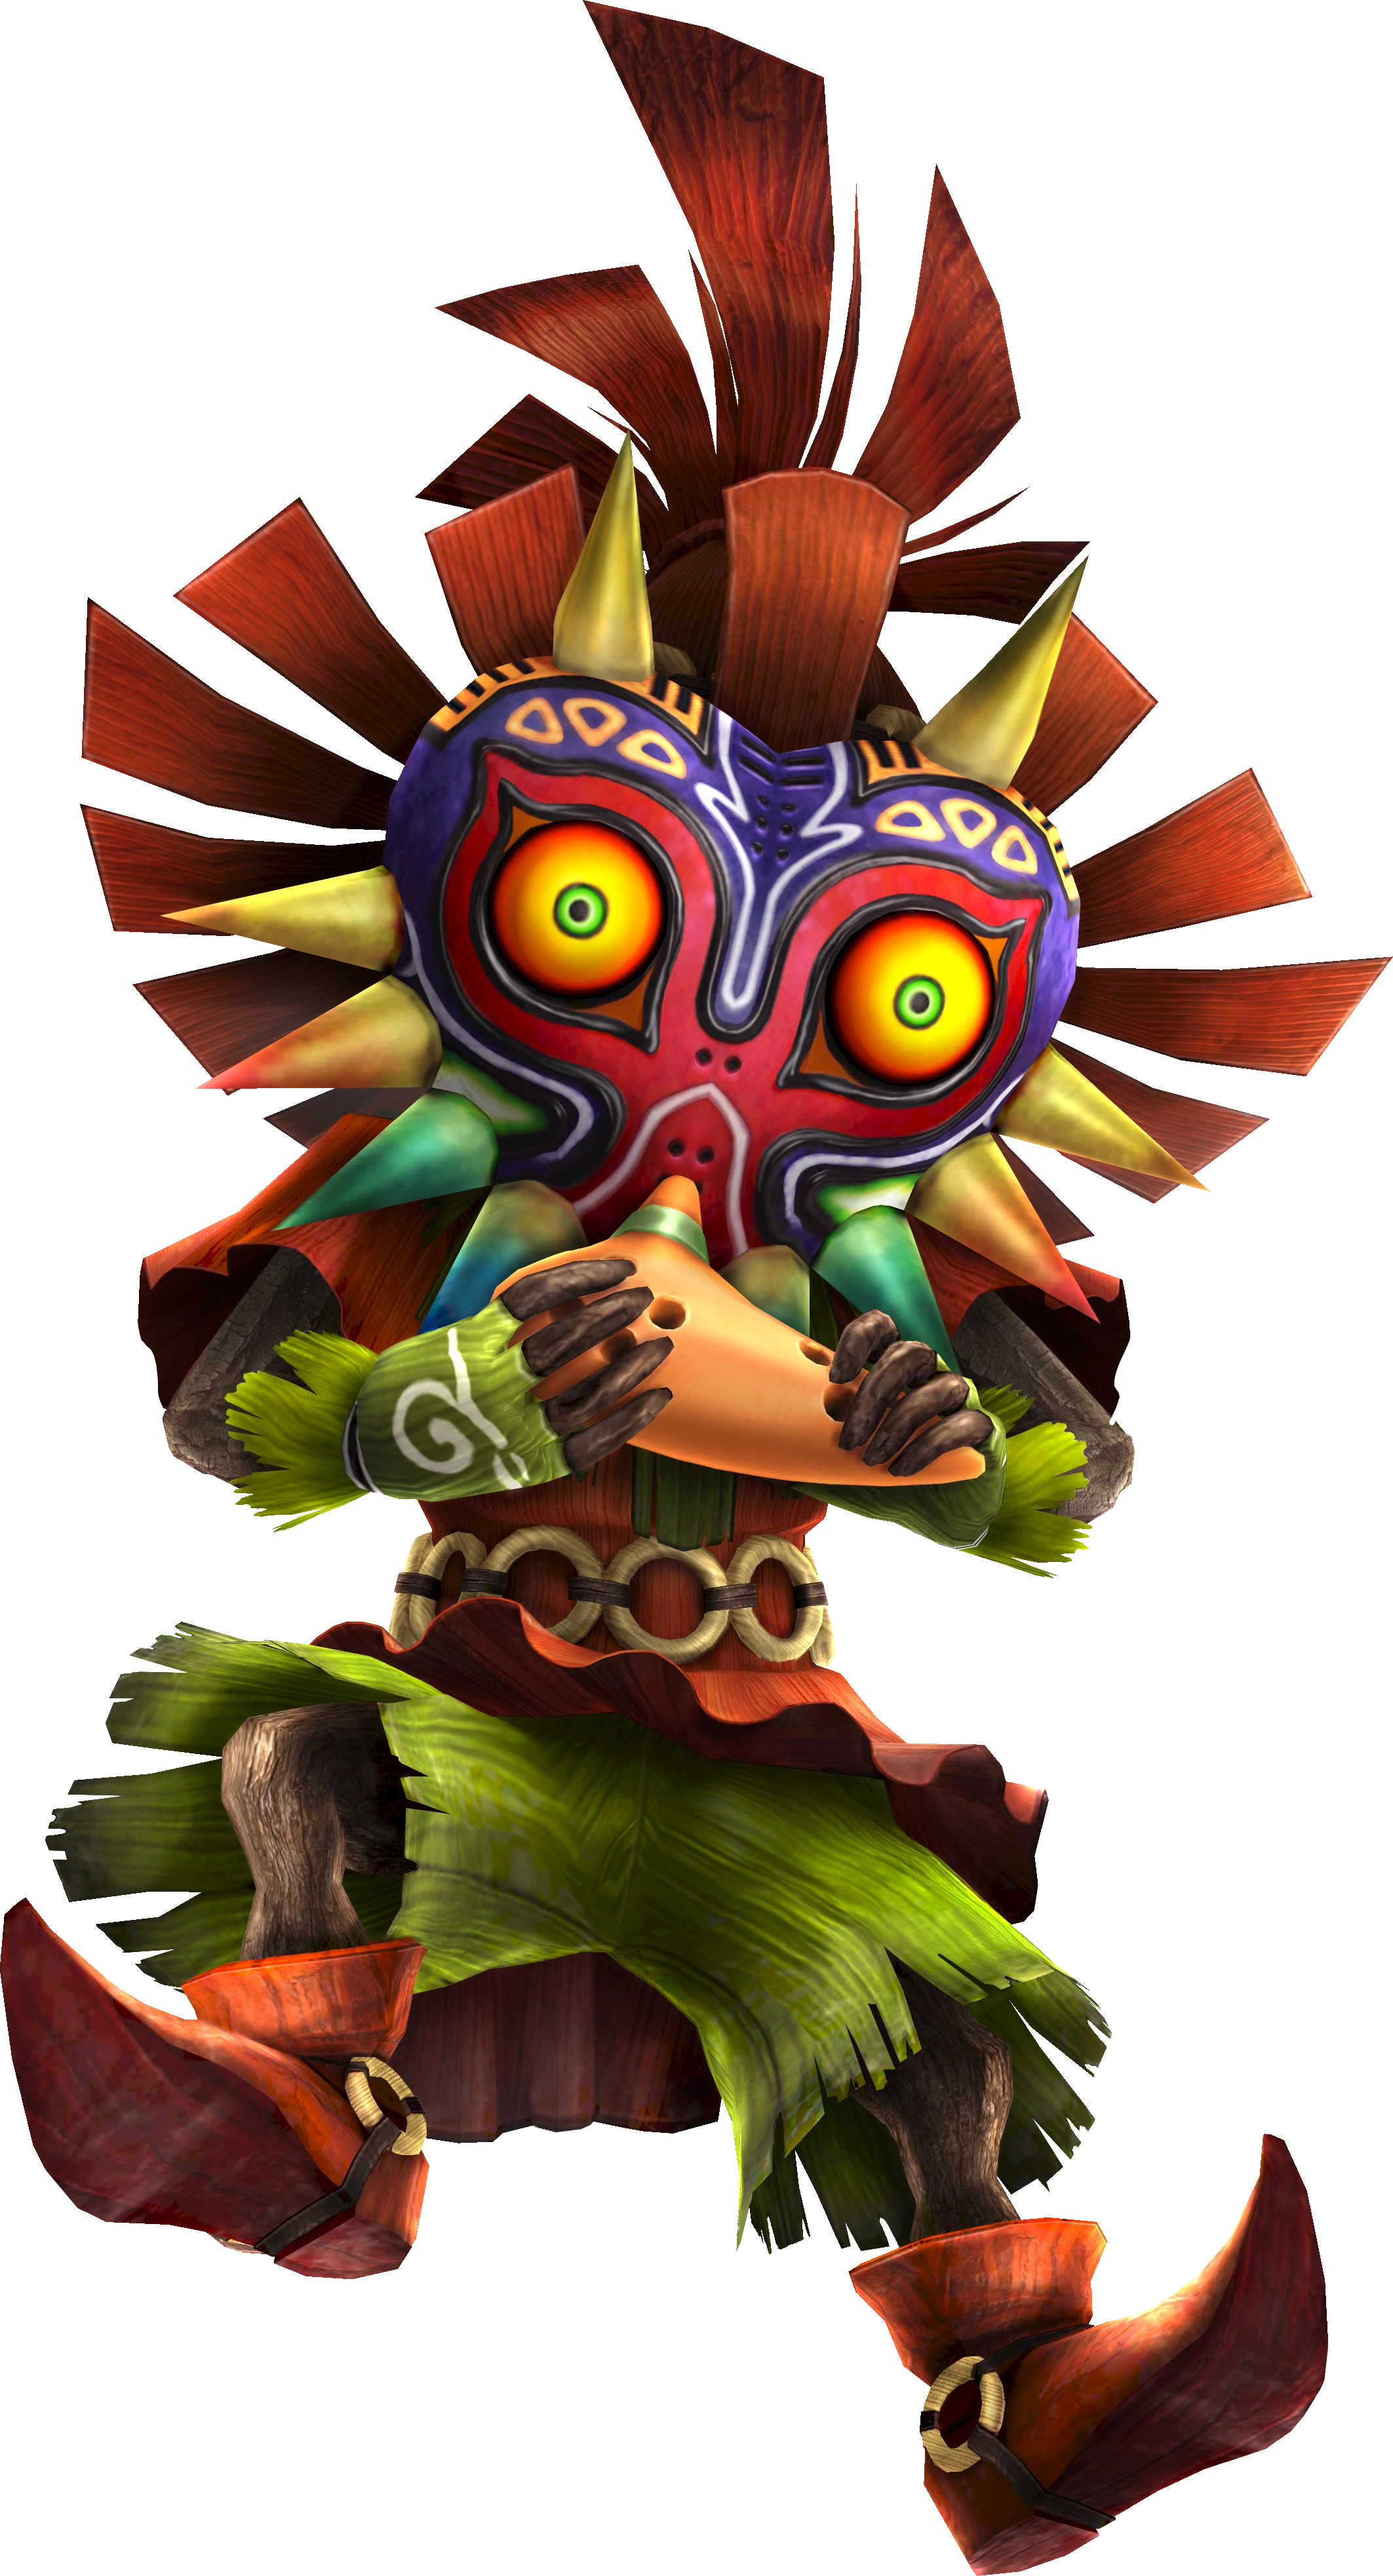
Characters
- HWL Link Master Sword Artwork.png
Link wielding the Master Sword and Hylian Shield
- HWL Ganondorf Trident Artwork.png
Ganondorf wielding the Trident
Linkle wielding the Crossbow
- HWL Skull Kid Artwork.png
Skull Kid wielding the Ocarina
Toon Link wielding the One-handed Sword
Tetra wielding the Cutlass
- HWL Daphnes Artwork.png


Bosses
- HWL Helmaroc King Artwork.png
- HWL Phantom Ganon Artwork.png
Other
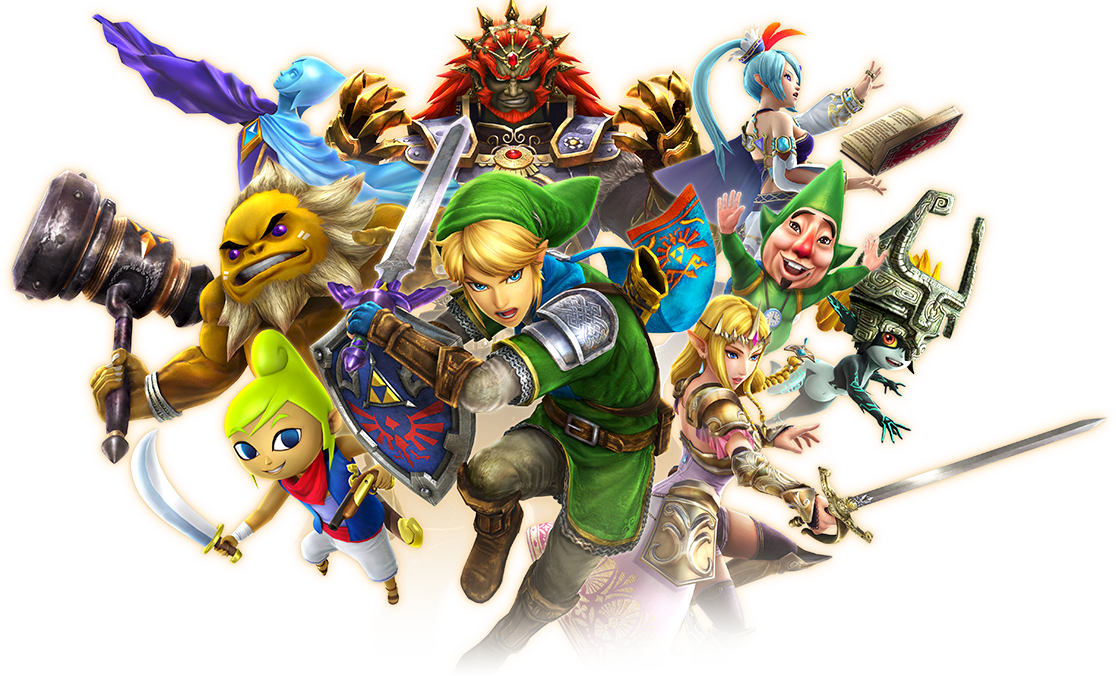
Promotional artwork
Tetra and Link
The Helmaroc King with Tetra
Linkle and Twili Midna

Logos
- HWL US Logo.png
North American logo
- HWL EU Logo.png
European logo
- HWL JP Logo.png
Japanese logo
Screenshots
Link fighting a group of enemies
Toon Link fighting Miniblins and the Helmaroc King
Video Gallery
| Reveal Trailer |
| 9/16/15 Niconico Event Gameplay |
| The Wind Waker Campaign Trailer |
| European Limited Edition Trailer |
| Promotional Trailer |
Character Exhibition Videos
| Ganondorf – Trident |
| Linkle – Crossbows |
| Skull Kid – Ocarina |
| Toon Link – Short Sword |
| Tetra – Cutlass and Pistol |
| King of Hyrule – Sail |