(→Trivia) |
(→Trivia) |
||
| Line 1: | Line 1: | ||
{{Noncanon}} |
{{Noncanon}} |
||
| + | {{Stub}} |
||
{{Item |
{{Item |
||
| − | |name = |
+ | |name = Rapier |
| − | |image = [[File: |
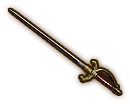
+ | |image = [[File:HW Zelda Polished Rapier.png|x200px]] |
| − | |caption = |
+ | |caption = Zelda wielding the Polished Rapier |
|type = equip |
|type = equip |
||
|game = {{HW}} |
|game = {{HW}} |
||
| Line 9: | Line 10: | ||
|cost = |
|cost = |
||
|location = |
|location = |
||
| − | |uses = |
+ | |uses = |
|comp = |
|comp = |
||
|sample = |
|sample = |
||
|theme music = |
|theme music = |
||
}} |
}} |
||
| − | The ''' |
+ | The '''Rapier''' is a class of Weapon used by [[Zelda]] in {{HW}}. It is associated with [[Elemental Effects|Light]]. |
==Variations== |
==Variations== |
||
| − | The default |
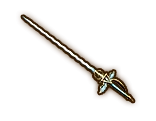
+ | The default Rapier is the '''Polished Rapier'''. The second form of the Rapier is the '''Glittering Rapier''', followed by the '''Gleaming Rapier'''. The Lv.★ form of the Rapier is the '''8-Bit White Sword'''. |
| ⚫ | |||
| − | The '''Sealing Tome''' is a black book with more intricate, silver designs on the cover with small studded jewels and a silvery tassel bookmark. It is obtained from opening the [[Treasure Chest]] that appears after capturing the Lower Level East Keep in "[[The Shadow King]]" while playing as [[Lana]]. |
||
| − | |||
| − | The third form of the Book of Sorcery is the '''Sorceress Tome''', which is a blue book featuring fanciful gold designs with large gemstones and golden feathers decorated upon it. It is obtained from getting an A-Rank on the Adventure Mode square A-11, after using the [[Item Card#Digging Mitts|Digging Mitts]] to find it. |
||
| − | |||
| − | The Lv.★ form of the Book of Sorcery is the '''8-Bit Book of Magic''', which is based on the [[Magic Book]] from {{TLoZ}}. It is obtained by getting an A-Rank on Master Quest Map square H-12, after using a [[Item Card#Water Bomb|Water Bomb]] to find it. |
||
| − | |||
| − | {| class="altrow" style="text-align:center; width:50%;" |
||
|+Weapon Power |
|+Weapon Power |
||
|- |
|- |
||
| Line 38: | Line 33: | ||
! 5 |
! 5 |
||
|- |
|- |
||
| − | | [[File:HW |
+ | | [[File:HW Polished Rapier.png|link=]]<br>'''Polished Rapier''' |
| 80 |
| 80 |
||
| 88 |
| 88 |
||
| Line 46: | Line 41: | ||
| 120 |
| 120 |
||
|- |
|- |
||
| − | | [[File:HW |
+ | | [[File:HW Glittering Rapier.png|link=]]<br>'''Glittering Rapier''' |
| 150 |
| 150 |
||
| 165 |
| 165 |
||
| Line 54: | Line 49: | ||
| 225 |
| 225 |
||
|- |
|- |
||
| − | | [[File:HW |
+ | | [[File:HW Gleaming Rapier.png|link=]]<br>'''Gleaming Rapier''' |
| 280 |
| 280 |
||
| 308 |
| 308 |
||
| Line 62: | Line 57: | ||
| 420 |
| 420 |
||
|- |
|- |
||
| − | | [[File:HW 8-Bit |
+ | | [[File:HW 8-Bit White Sword Icon.png|link=]]<br>'''8-Bit White Sword''' |
| 280 |
| 280 |
||
| 308 |
| 308 |
||
| Line 70: | Line 65: | ||
| 420 |
| 420 |
||
|} |
|} |
||
| − | |||
| − | ==Attack Combinations== |
||
| ⚫ | |||
| − | |- |
||
| − | !Attack Pattern |
||
| − | !Effect |
||
| − | |- |
||
| − | | '''B Y Y Y''' |
||
| − | | Lana dashes forward, casts a spell that creates three white slabs, then slams the two closest slabs together. |
||
| − | |- |
||
| − | | '''B B Y Y Y''' |
||
| − | | Lana makes a small directional wave in front of her which culminates in an electrified slab that attracts lightning. |
||
| − | |- |
||
| − | | '''B B B Y Y Y''' |
||
| − | | Lana casts three bolts of lightning in front of her which turn into slabs that can be pushed forward. |
||
| − | |- |
||
| − | | '''B B B B Y''' |
||
| − | | Lana summons a white cube before jumping on it and riding it a short distance. When she jumps off of it, it emits a small wave that damages any nearby enemies. |
||
| − | |} |
||
| − | |||
| − | ===Weak Point Smash=== |
||
| − | {{Main|Critical Point#Hyrule Warriors}} |
||
| − | Against commander enemies, Lana summons a Magic wall behind the enemy and then slams them into it which causes the wall to explode lightning around it. Against Large Bosses, Lana summons a magic wall to push the Huge monster to face up at her in midair as she charges her magic in her feet and comes down with a double thrust kick at the weak point. Against [[Argorok]], Lana jumps over the dragon and lands on it's back and slam her book rapidly hard at it's weak point. |
||
| − | |||
| − | ===Special Attack=== |
||
| − | {{Main|Special Attack}} |
||
| − | With in a front radius, Lana summons six magic walls before wall jumping to each one tapping any enemies between them, when she lands at the end, Lana causes a lightning chain blast to each wall in the pattern of her wall jumps, causing the walls to explode lightning to nearby enemies. |
||
| − | |||
| − | ===Focus Spirit=== |
||
| − | {{Main|Focus Spirit}} |
||
| − | Upon activation, Lana channels her power in her book and then lets out a burst in Lightning energy. Activating to expose enemies weak point gauge, Lana summons three magic plates and then cast them at the enemies in front of her. When the Focus Spirit comes to an end, Lana charges the rest of the energy in a magic ball in her hand and then slams it at the ground, landing from the jump to quickly turn to the player to give a short victory pose before turning back to the battle. |
||
==Trivia== |
==Trivia== |
||
| − | *In the |
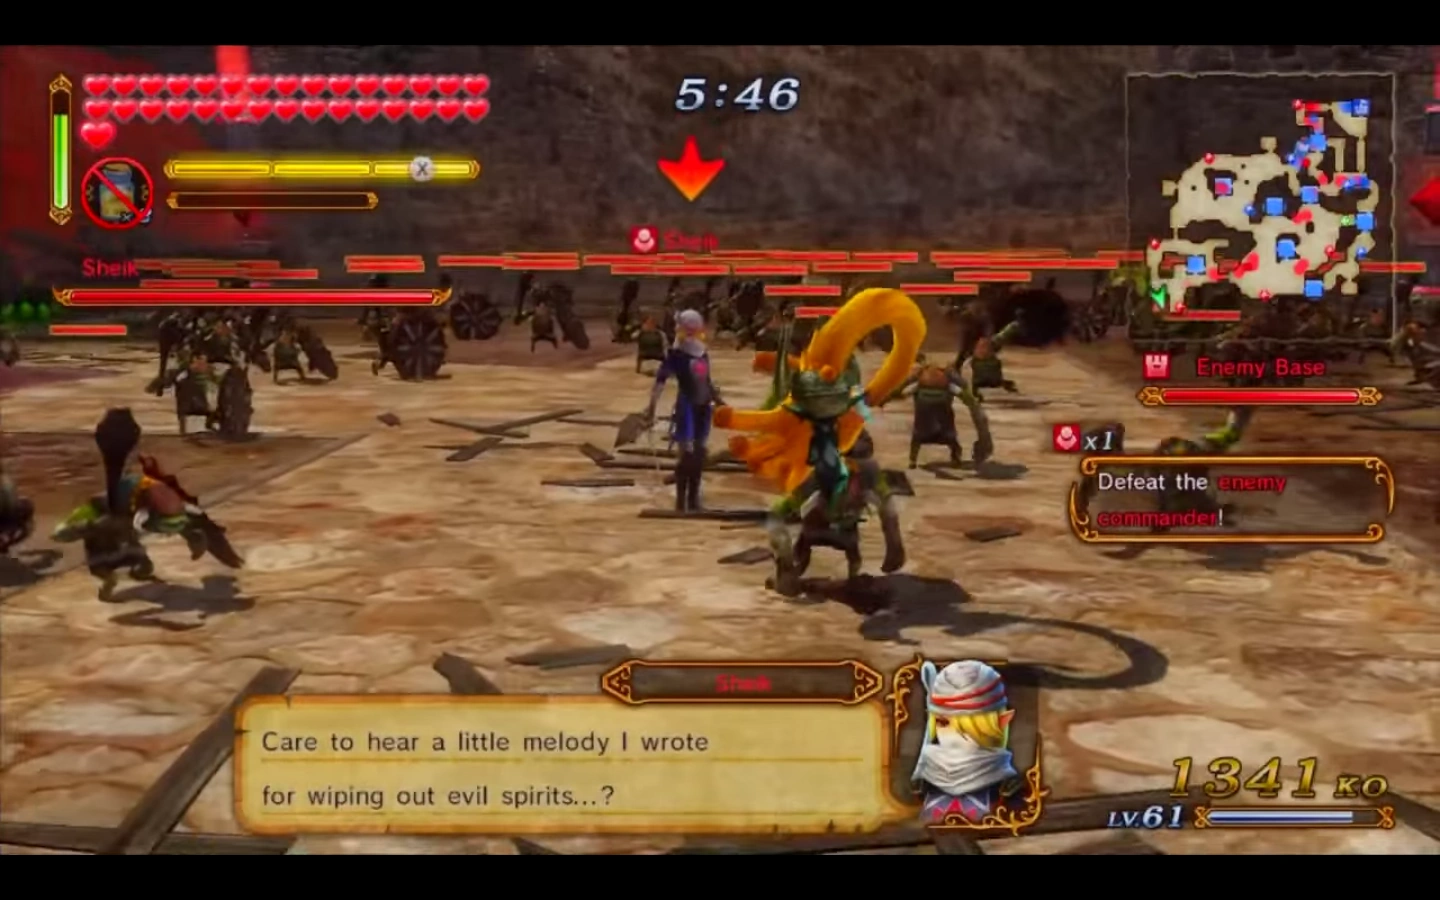
+ | *In the [[Master Quest Map]], other characters uses the Raiper on Squares; |
| − | :* |
+ | :*H-10 - [[Sheik]] |
| − | :* |
+ | :*E-12 - Sheik |
| + | :*F-10 - Sheik |
||
| ⚫ | |||
| − | :* |
+ | :*B-1 - Sheik |
| ⚫ | |||
| − | |||
| + | :*D-13 - Sheik |
||
| − | ==Etymology== |
||
| − | {{Names Table |
||
| − | |align= left |
||
| − | |name1= Book of Sorcery |
||
| − | |name2= Spirit's Tome |
||
| − | |name3= Sealing Tome |
||
| − | |name4= Sorceress Tome |
||
| − | |||
| − | |en1= |
||
| − | |en2= |
||
| − | |en3= |
||
| − | |en4= |
||
| − | |en5= |
||
| − | |||
| − | |ja1= {{Romanize|魔導書|Madōsho|Spellbook}} |
||
| − | |ja2= {{Romanize|魂の魔導書|Tamashī no Madōsho|Spellbook of Souls}} |
||
| − | |ja3= {{Romanize|封印の魔導書|Fūin no Madōsho|Spellbook of Seals}} |
||
| − | |ja4= {{Romanize|天空の魔導書|Tenkū no Madōsho|Spellbook of the Heavens}} |
||
| − | |ja5= {{Romanize|マホウノホン|Mahō no Hon|Magic Book}} |
||
| − | |||
| − | |esS1= |
||
| − | |esS2= |
||
| − | |esS3= |
||
| − | |esS4= |
||
| − | |esS5= |
||
| − | |||
| − | |esL1= |
||
| − | |esL2= |
||
| − | |esL3= |
||
| − | |esL4= |
||
| − | |esL5= |
||
| − | |||
| − | |frF1= |
||
| − | |frF2= |
||
| − | |frF3= |
||
| − | |frF4= |
||
| − | |frF5= |
||
| − | |||
| − | |frC1= |
||
| − | |frC2= |
||
| − | |frC3= |
||
| − | |frC4= |
||
| − | |frC5= |
||
| − | |||
| − | |de1= |
||
| − | |de2= |
||
| − | |de3= |
||
| − | |de4= |
||
| − | |de5= |
||
| − | |||
| − | |it1= |
||
| − | |it2= |
||
| − | |it3= |
||
| − | |it4= |
||
| − | |it5= |
||
| − | |||
| − | |ptP1= |
||
| − | |ptP2= |
||
| − | |ptP3= |
||
| − | |ptP4= |
||
| − | |ptP5= |
||
| − | |||
| − | |ptB1= |
||
| − | |ptB2= |
||
| − | |ptB3= |
||
| − | |ptB4= |
||
| − | |ptB5= |
||
| − | |||
| − | |nl1= |
||
| − | |nl2= |
||
| − | |nl3= |
||
| − | |nl4= |
||
| − | |nl5= |
||
| − | |||
| − | |ru1= |
||
| − | |ru2= |
||
| − | |ru3= |
||
| − | |ru4= |
||
| − | |ru5= |
||
| − | |||
| − | |ko1= |
||
| − | |ko2= |
||
| − | |ko3= |
||
| − | |ko4= |
||
| − | |ko5= |
||
| − | |||
| − | |chT1= |
||
| − | |chT2= |
||
| − | |chT3= |
||
| − | |chT4= |
||
| − | |chT5= |
||
| − | |||
| − | |chS1= |
||
| − | |chS2= |
||
| − | |chS3= |
||
| − | |chS4= |
||
| − | |chS5= }} |
||
==Gallery== |
==Gallery== |
||
<gallery> |
<gallery> |
||
| + | File:Hyrule Warriors Zelda TP Clothes.png|Zelda in her Era of Twilight Costume wielding the Polished Rapier |
||
| − | File:HW Lana Sorceress Tome Model.png|Lana with the Sorceress Tome |
||
| + | File:HW Zelda - Standard Robes (Master Quest).png|Zelda in her ''Master Quest'' Map Standard Robes wielding the Polished Rapier |
||
| − | File:HW Lana Magic Wall.png|One of Lana's magic walls summoned by the Book of Sorcery |
||
| + | File:Sheik Wielding the Rapier.png|Screenshot of Sheik using the Rapier |
||
</gallery> |
</gallery> |
||
===Video Gallery=== |
===Video Gallery=== |
||
| − | {{Youtube| |
+ | {{Youtube|h-cOQcIJGp4|200|Zelda - Rapier gameplay}} |
| + | [[Category:Weapons]] |
||
[[Category:Items in Hyrule Warriors]] |
[[Category:Items in Hyrule Warriors]] |
||
Revision as of 02:37, 29 May 2016
[[File: .png|20x20px]] [[|]]
The Rapier is a class of Weapon used by Zelda in Hyrule Warriors. It is associated with Light.
.png|20x20px]] [[|]]
The Rapier is a class of Weapon used by Zelda in Hyrule Warriors. It is associated with Light.
Variations
The default Rapier is the Polished Rapier. The second form of the Rapier is the Glittering Rapier, followed by the Gleaming Rapier. The Lv.★ form of the Rapier is the 8-Bit White Sword.
| Weapon | Number of Stars | |||||
|---|---|---|---|---|---|---|
| 0 | 1 | 2 | 3 | 4 | 5 | |
 Polished Rapier |
80 | 88 | 96 | 104 | 112 | 120 |
 Glittering Rapier |
150 | 165 | 180 | 195 | 210 | 225 |
 Gleaming Rapier |
280 | 308 | 336 | 364 | 392 | 420 |
| File:HW 8-Bit White Sword Icon.png 8-Bit White Sword |
280 | 308 | 336 | 364 | 392 | 420 |
Trivia
- In the Master Quest Map, other characters uses the Raiper on Squares;
- H-10 - Sheik
- E-12 - Sheik
- F-10 - Sheik
- B-1 - Sheik
- In the Twilight Map, other characters uses the Raiper on Squares;
- D-13 - Sheik
Gallery
- Hyrule Warriors Zelda TP Clothes.png
Zelda in her Era of Twilight Costume wielding the Polished Rapier
- HW Zelda - Standard Robes (Master Quest).png
Zelda in her Master Quest Map Standard Robes wielding the Polished Rapier

Screenshot of Sheik using the Rapier
Video Gallery
| Zelda - Rapier gameplay |