Etiqueta: rte-source |
Sin resumen de edición |
||
| (No se muestran 21 ediciones intermedias de 7 usuarios) | |||
| Línea 1: | Línea 1: | ||
| + | |||
| ⚫ | |||
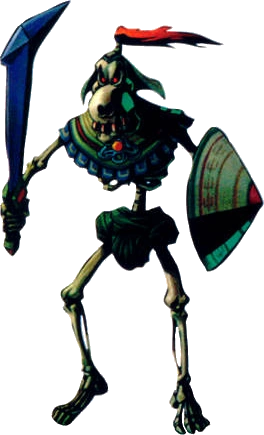
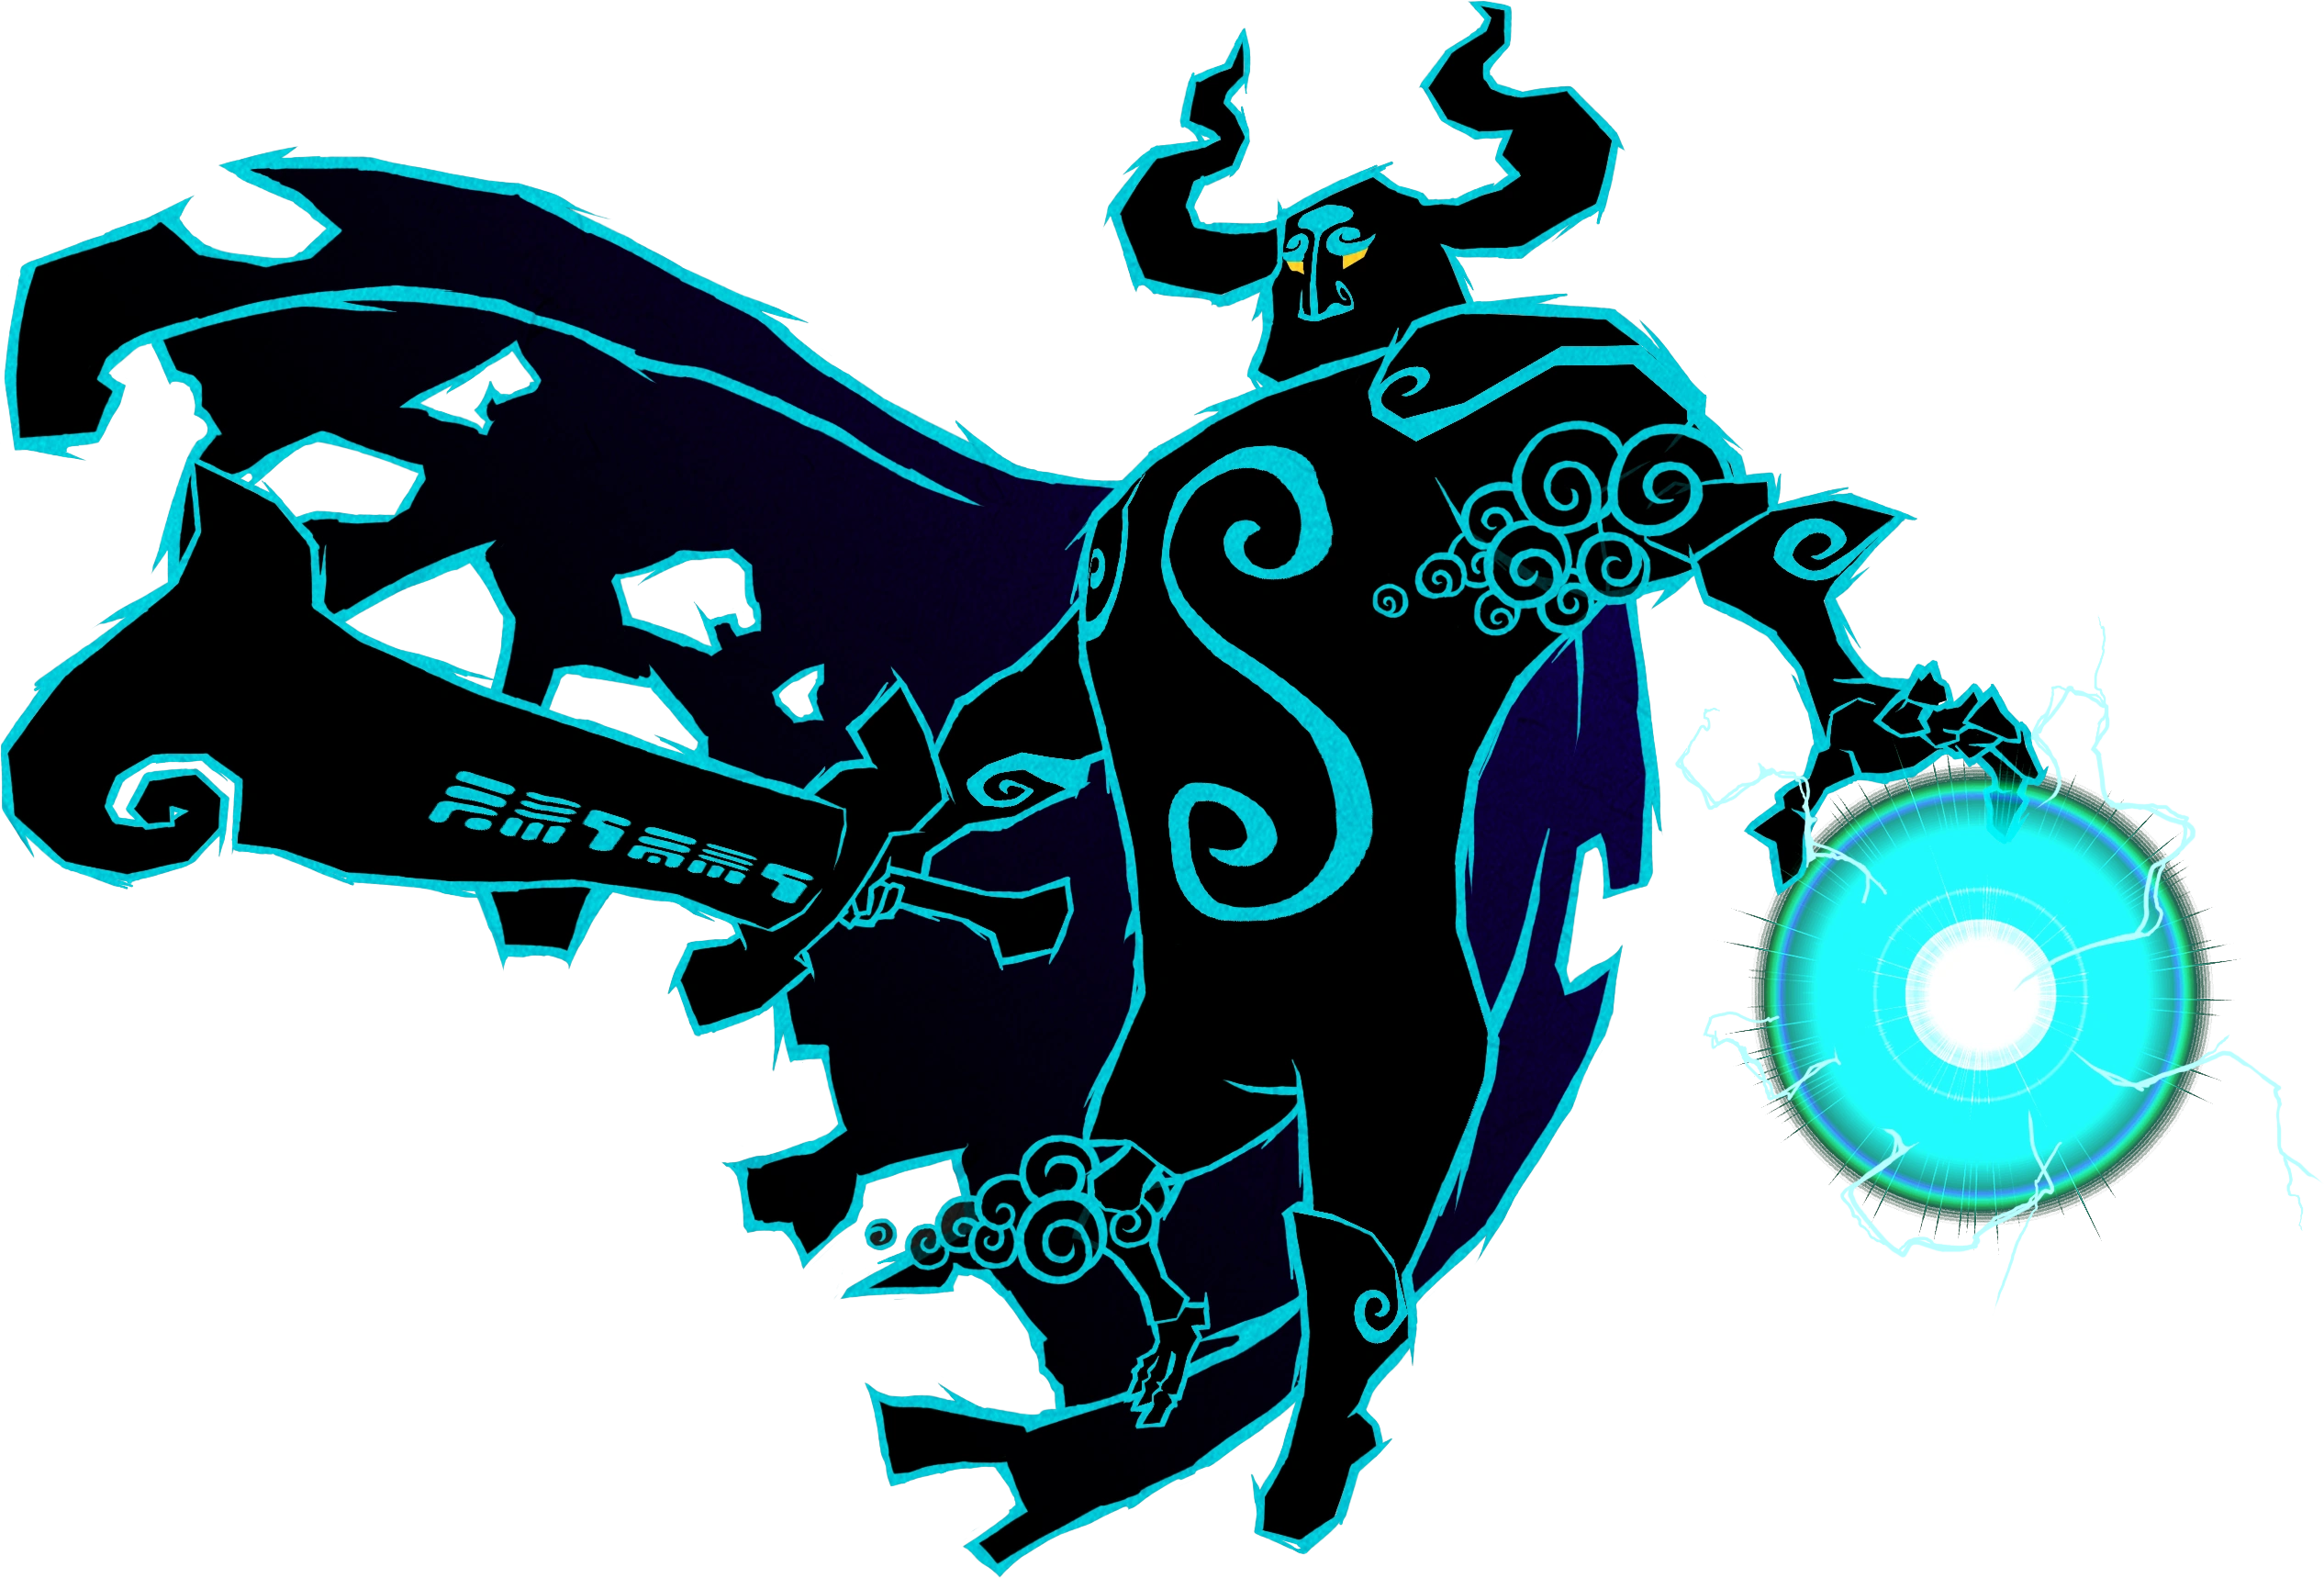
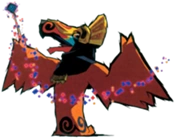
| + | [[Archivo:Dark_Link_(Ocarina_of_Time).png|right|175px]]Un '''subjefe''' (''mini-boss'' en inglés) es un tipo especial de enemigo en la serie de ''[[The Legend of Zelda (saga)|The Legend of Zelda]]''. Por lo general, no es ni un enemigo regular ni un [[jefe]] y la batalla contra él es más duradera que la lucha contra un enemigo regular. A veces, la mazmorra no tiene subjefe. También, en raras ocasiones, una mazmorra puede tener más de un subjefe. |
||
| + | |||
| ⚫ | Los subjefes no aparecen solo en las mazmorras, también sirven como jefe de una minimazmorra y algunos han de ser vencidos a campo abierto. Debido a que muchos enemigos no se confirman como subjefes, la definición del término es comúnmente un aspecto controvertido de la serie. Link usualmente debe vencer a un subjefe para obtener el objeto especial de la mazmorra. A veces, enemigos que a lo largo del juego se convierten en enemigos regulares, pueden servir como subjefes, como en el caso de [[Ferrus]], [[Stalfos]] o [[Lizalfos]]. Aunque es poco frecuente, en algunos juegos hay que combatir por segunda vez con jefes, los cuales en este segundo caso actúan más como un subjefe, que como un jefe. |
||
==Apariciones== |
==Apariciones== |
||
===''[[The Legend of Zelda (juego)|The Legend of Zelda]]''=== |
===''[[The Legend of Zelda (juego)|The Legend of Zelda]]''=== |
||
| + | Este juego cuenta con dos búsquedas, ambas difieren en los enemigos que aparecen dentro de las mazmorras, por lo tanto, poseen listas distintas. |
||
| + | |||
| + | ====Primera búsqueda==== |
||
| + | {{Galería |
||
| + | |Manhandla_TLoZ.png|[[Manhandla (The Legend of Zelda)|Manhanlda]] |
||
| + | |Dodongo TLoZ.png|[[Dodongo (The Legend of Zelda)|Dodongo]] |
||
| + | |Digdogger_TLoZ.png|[[Digdogger (The Legend of Zelda)|Digdogger]] |
||
| + | |Gohma_Azul_TLoZ.png|[[Gohma]] |
||
| + | |Gleeok de 3 cabezas TLoZ.png|[[Gleeok (The Legend of Zelda)|Gleeok]] |
||
| ⚫ | |||
| + | |position = center |
||
| + | |captionalign = center |
||
| + | |width = 120 |
||
| + | |height = 160}} |
||
| + | |||
| + | ====Segunda búsqueda==== |
||
{{Galería |
{{Galería |
||
| + | |Manhandla_TLoZ.png|[[Manhandla (The Legend of Zelda)|Manhanlda]] |
||
| ⚫ | |||
| − | | |
+ | |MoldormRedLoZ.png|[[Moldorm]] |
| + | |Aquamentus TLoZ.png|[[Aquamentus (The Legend of Zelda)|Aquamentus]] |
||
| + | |Digdogger_TLoZ.png|[[Digdogger (The Legend of Zelda)|Digdogger]] |
||
| + | |Gohma_Azul_TLoZ.png|[[Gohma]] |
||
| + | |Gleeok de 3 cabezas TLoZ.png|[[Gleeok (The Legend of Zelda)|Gleeok]] |
||
| + | |Patra_TLoZ.png|[[Patra]] |
||
|position = center |
|position = center |
||
| + | |captionalign = center |
||
|width = 120 |
|width = 120 |
||
|height = 160}} |
|height = 160}} |
||
| Línea 12: | Línea 37: | ||
===[[The Legend of Zelda: Link's Awakening]]=== |
===[[The Legend of Zelda: Link's Awakening]]=== |
||
{{Galería |
{{Galería |
||
| − | |Rolling_Bones_LA.png| |
+ | |Rolling_Bones_LA.png|[[Rolling Bones]] |
| − | |HinoxLA.png| |
+ | |HinoxLA.png|[[Hinox]] |
| − | |Serpiente_Dodongo_LA.png| |
+ | |Serpiente_Dodongo_LA.png|[[Serpiente Dodongo]] |
| − | |Lanmola_LA.png| |
+ | |Lanmola_LA.png|[[Lanmola (Link's Awakening)|Lanmola]] |
| − | |Cue_Ball_LA.png| |
+ | |Cue_Ball_LA.png|[[Cue Ball]] |
| − | |Master_Stalfos_LA.png| |
+ | |Master_Stalfos_LA.png|[[Stalfos Maestro]] |
| − | |Gohma_LA.png| |
+ | |Gohma_LA.png|[[Gohma (Link's Awakening)|Gohma]] |
| − | |Caballero_Armos_LA.png| |
+ | |Caballero_Armos_LA.png|[[Caballero Armos (Link's Awakening)|Caballero Armos]] |
| − | |Smasher LA.png| |
+ | |Smasher LA.png|[[Smasher]] |
| − | |MiniBoss7 Grim Creeper.gif| |
+ | |MiniBoss7 Grim Creeper.gif|[[Grim Creeper]] |
| + | |Cabeza de la tortuga LA.png|[[Cabeza de la tortuga]] |
||
| − | |Miniboss8 Blaino.gif| |
+ | |Miniboss8 Blaino.gif|[[Blaino (Link's Awakening)|Blaino]] |
| − | |Buzzblob_Gigante.gif| |
+ | |Buzzblob_Gigante.gif|[[Buzzblob Gigante]] |
| − | |Hinox_de_Piedra.gif| |
+ | |Hinox_de_Piedra.gif|[[Hinox de Piedra]] |
|position = center |
|position = center |
||
| + | |captionalign = center |
||
|width = 120 |
|width = 120 |
||
|height = 160}} |
|height = 160}} |
||
| Línea 31: | Línea 58: | ||
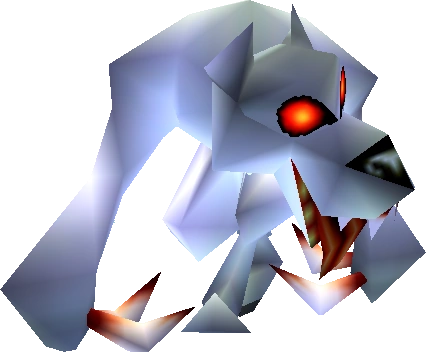
===[[The Legend of Zelda: Ocarina of Time]]=== |
===[[The Legend of Zelda: Ocarina of Time]]=== |
||
{{Galería |
{{Galería |
||
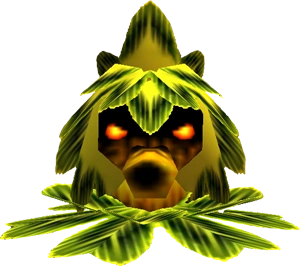
| − | |Matorral Deku OoT.png| |
+ | |Matorral Deku OoT.png|[[Hermanos matorrales Deku]] |
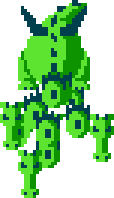
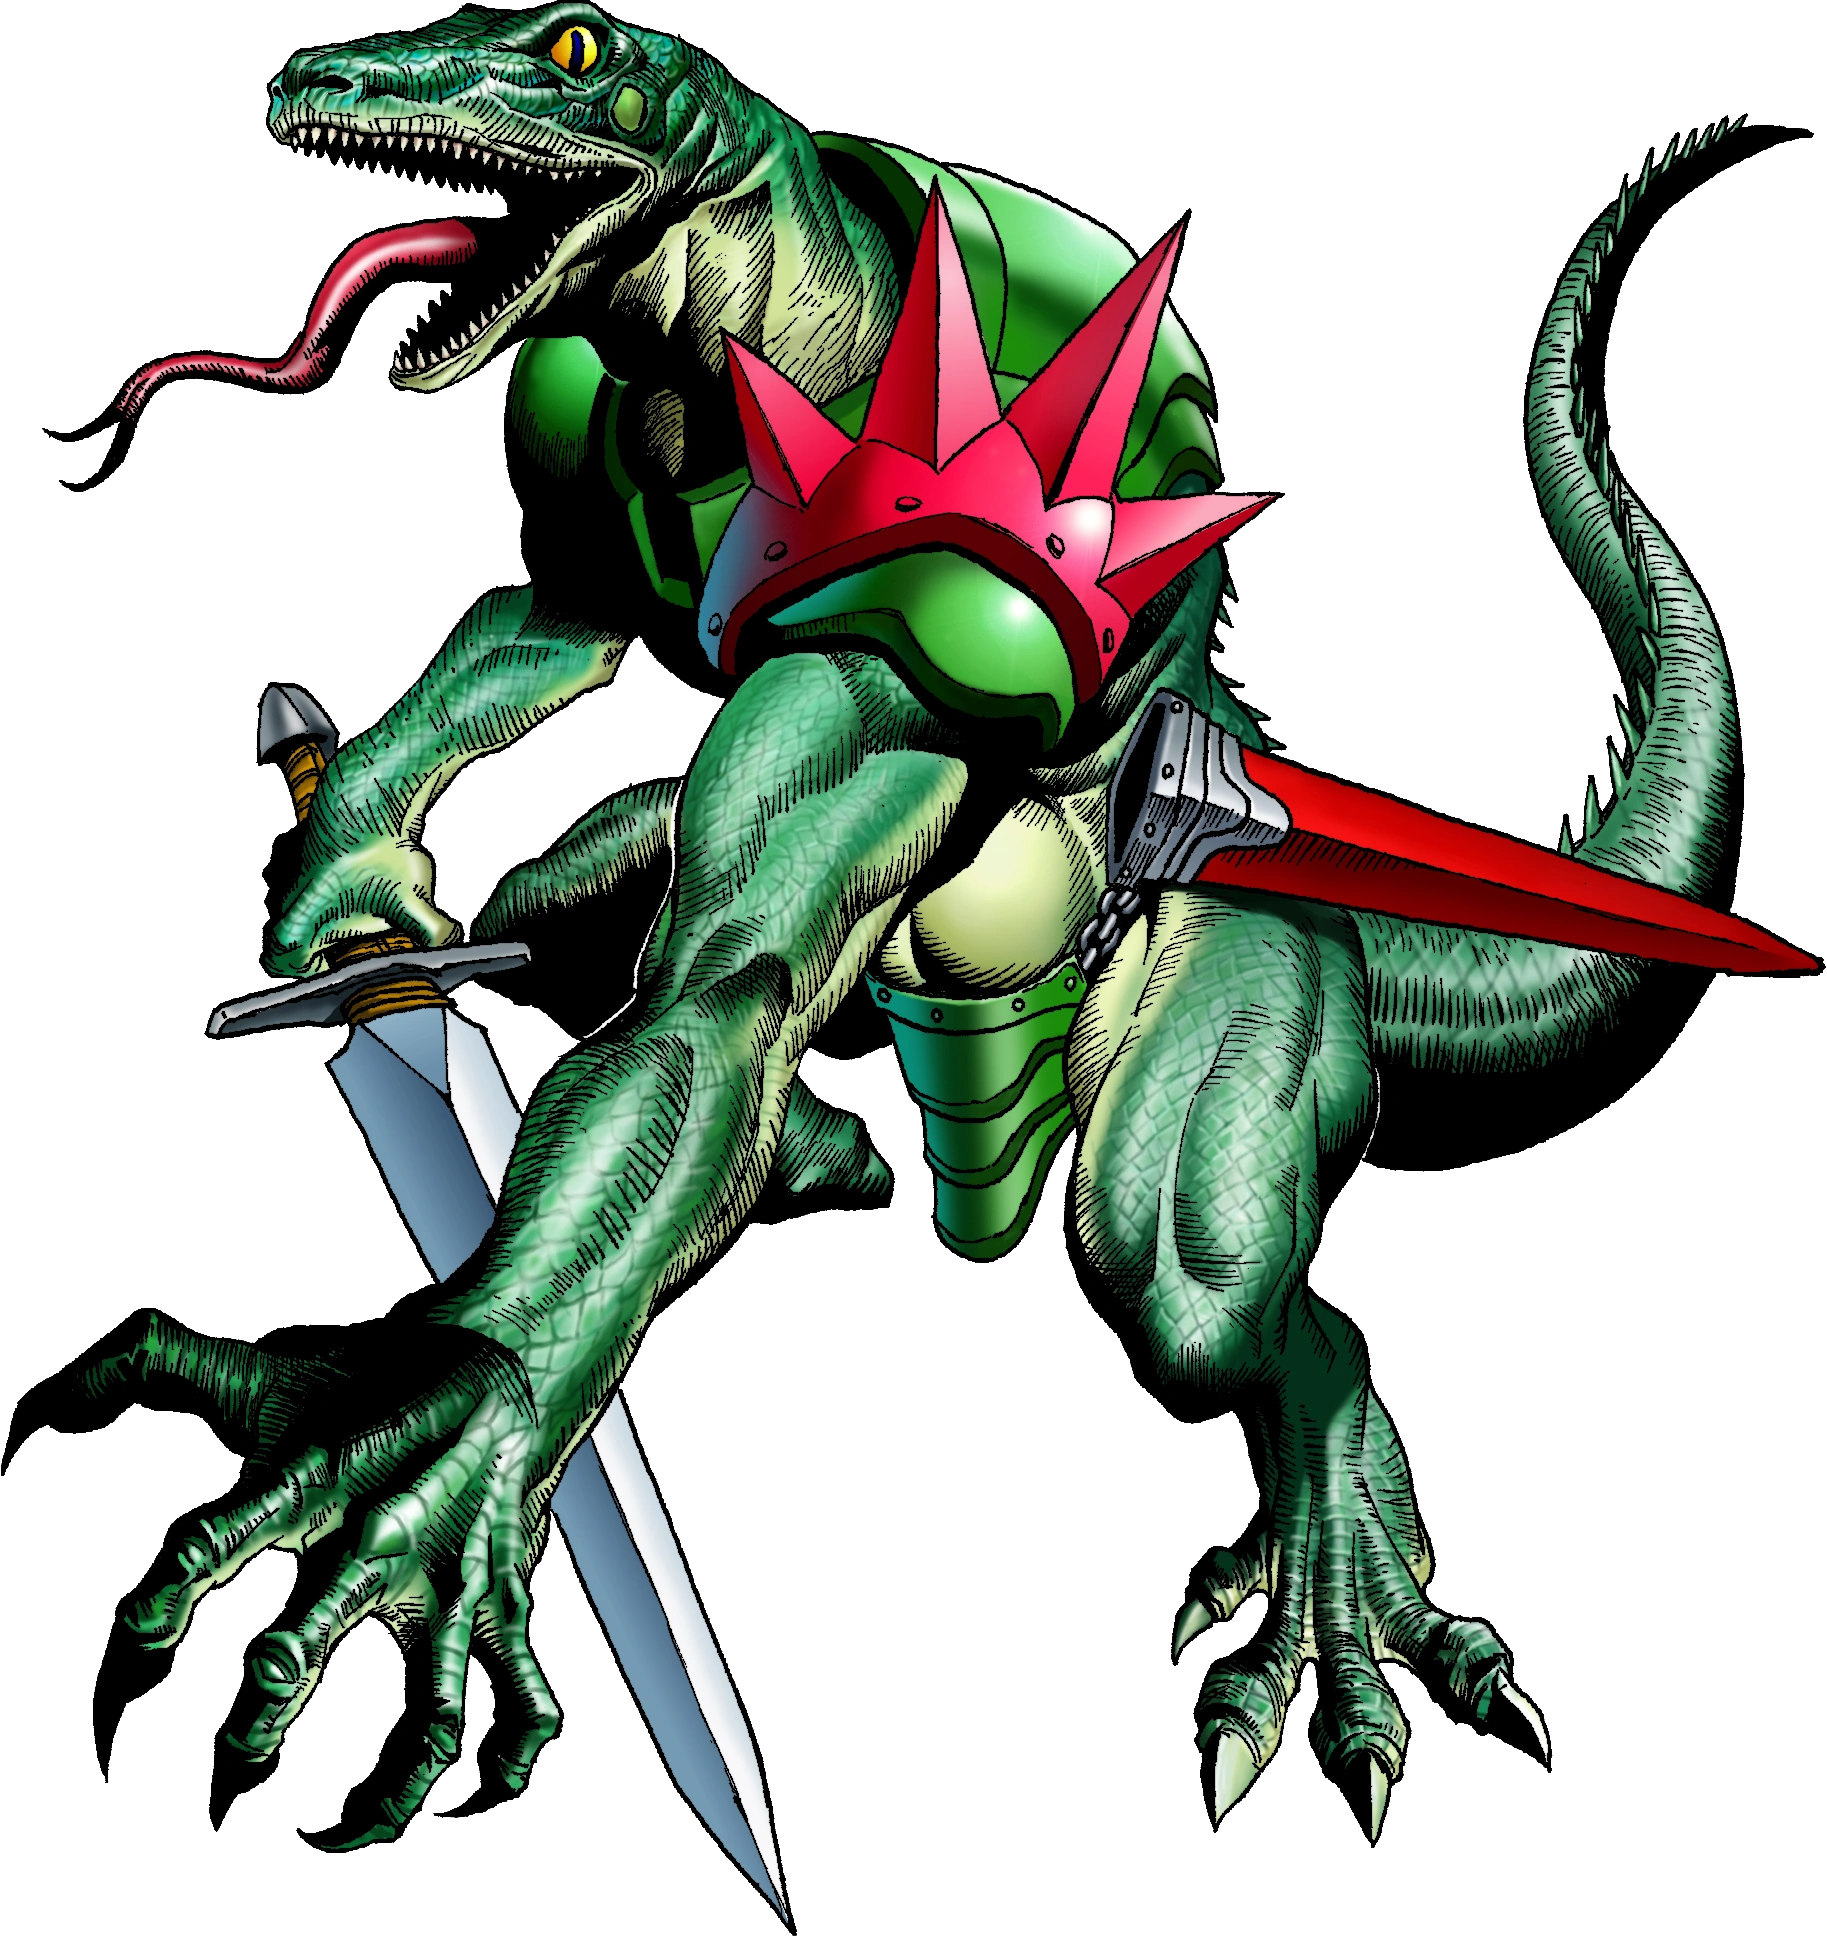
| − | |Lizalfos_Artwork_3d.png| |
+ | |Lizalfos_Artwork_3d.png|[[Lizalfos]] |
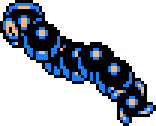
| − | |Bigocto_OoT.png| |
+ | |Bigocto_OoT.png|[[Bigocto]] |
| − | |Stalfos_(Ocarina_of_Time).png| |
+ | |Stalfos_(Ocarina_of_Time).png|[[Stalfos]] |
| − | |Hermanas_Poe_OoT_y_MM.png| |
+ | |Hermanas_Poe_OoT_y_MM.png|[[Hermanas Poe (Ocarina of Time)|Hermanas Poe]] |
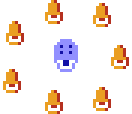
| − | |Bailafuego OoT.png| |
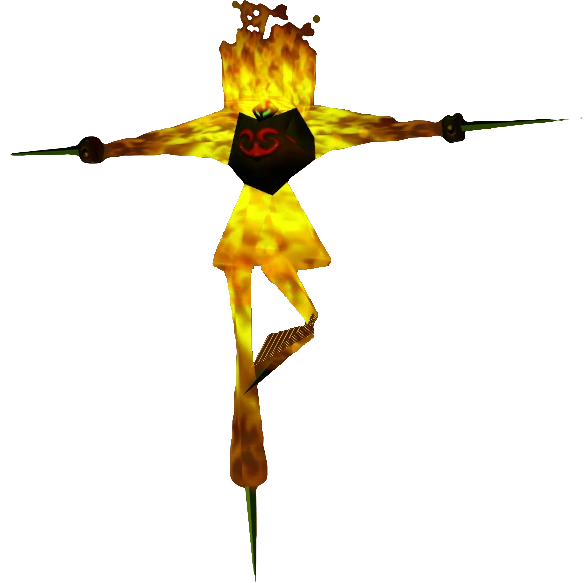
+ | |Bailafuego OoT.png|[[Bailafuego]] |
| − | |Wolfo blanco.png| |
+ | |Wolfo blanco.png|[[Wolfos Blanco]] |
| − | |Dark Link (Ocarina of Time).png| |
+ | |Dark Link (Ocarina of Time).png|[[Link Oscuro]] |
| − | |Mano Muerta OoT.png| |
+ | |Mano Muerta OoT.png|[[Mano Muerta]] |
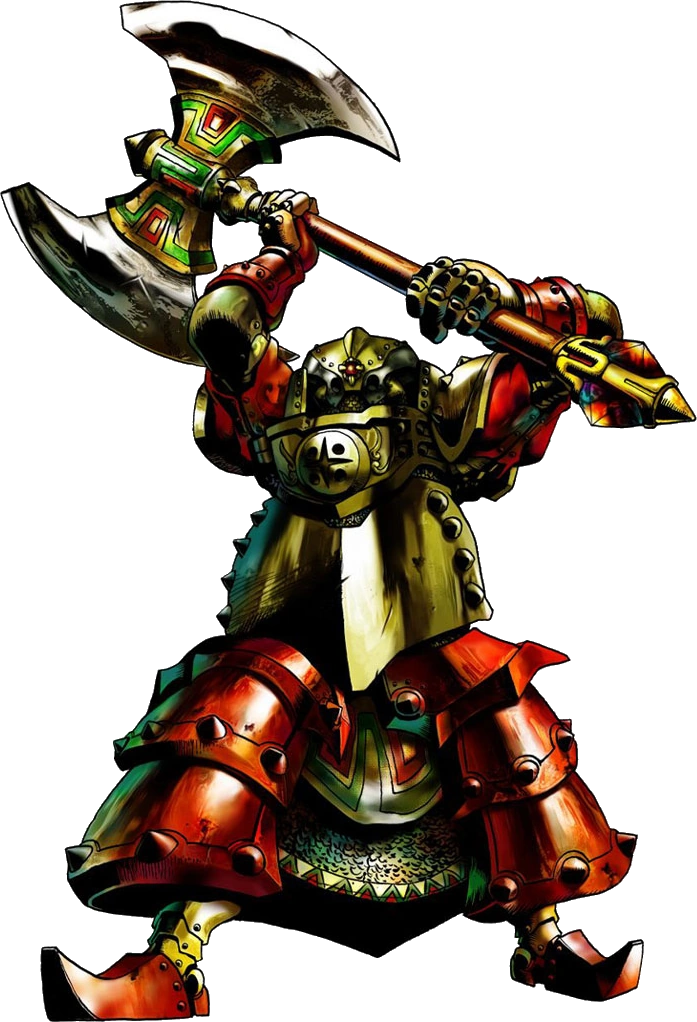
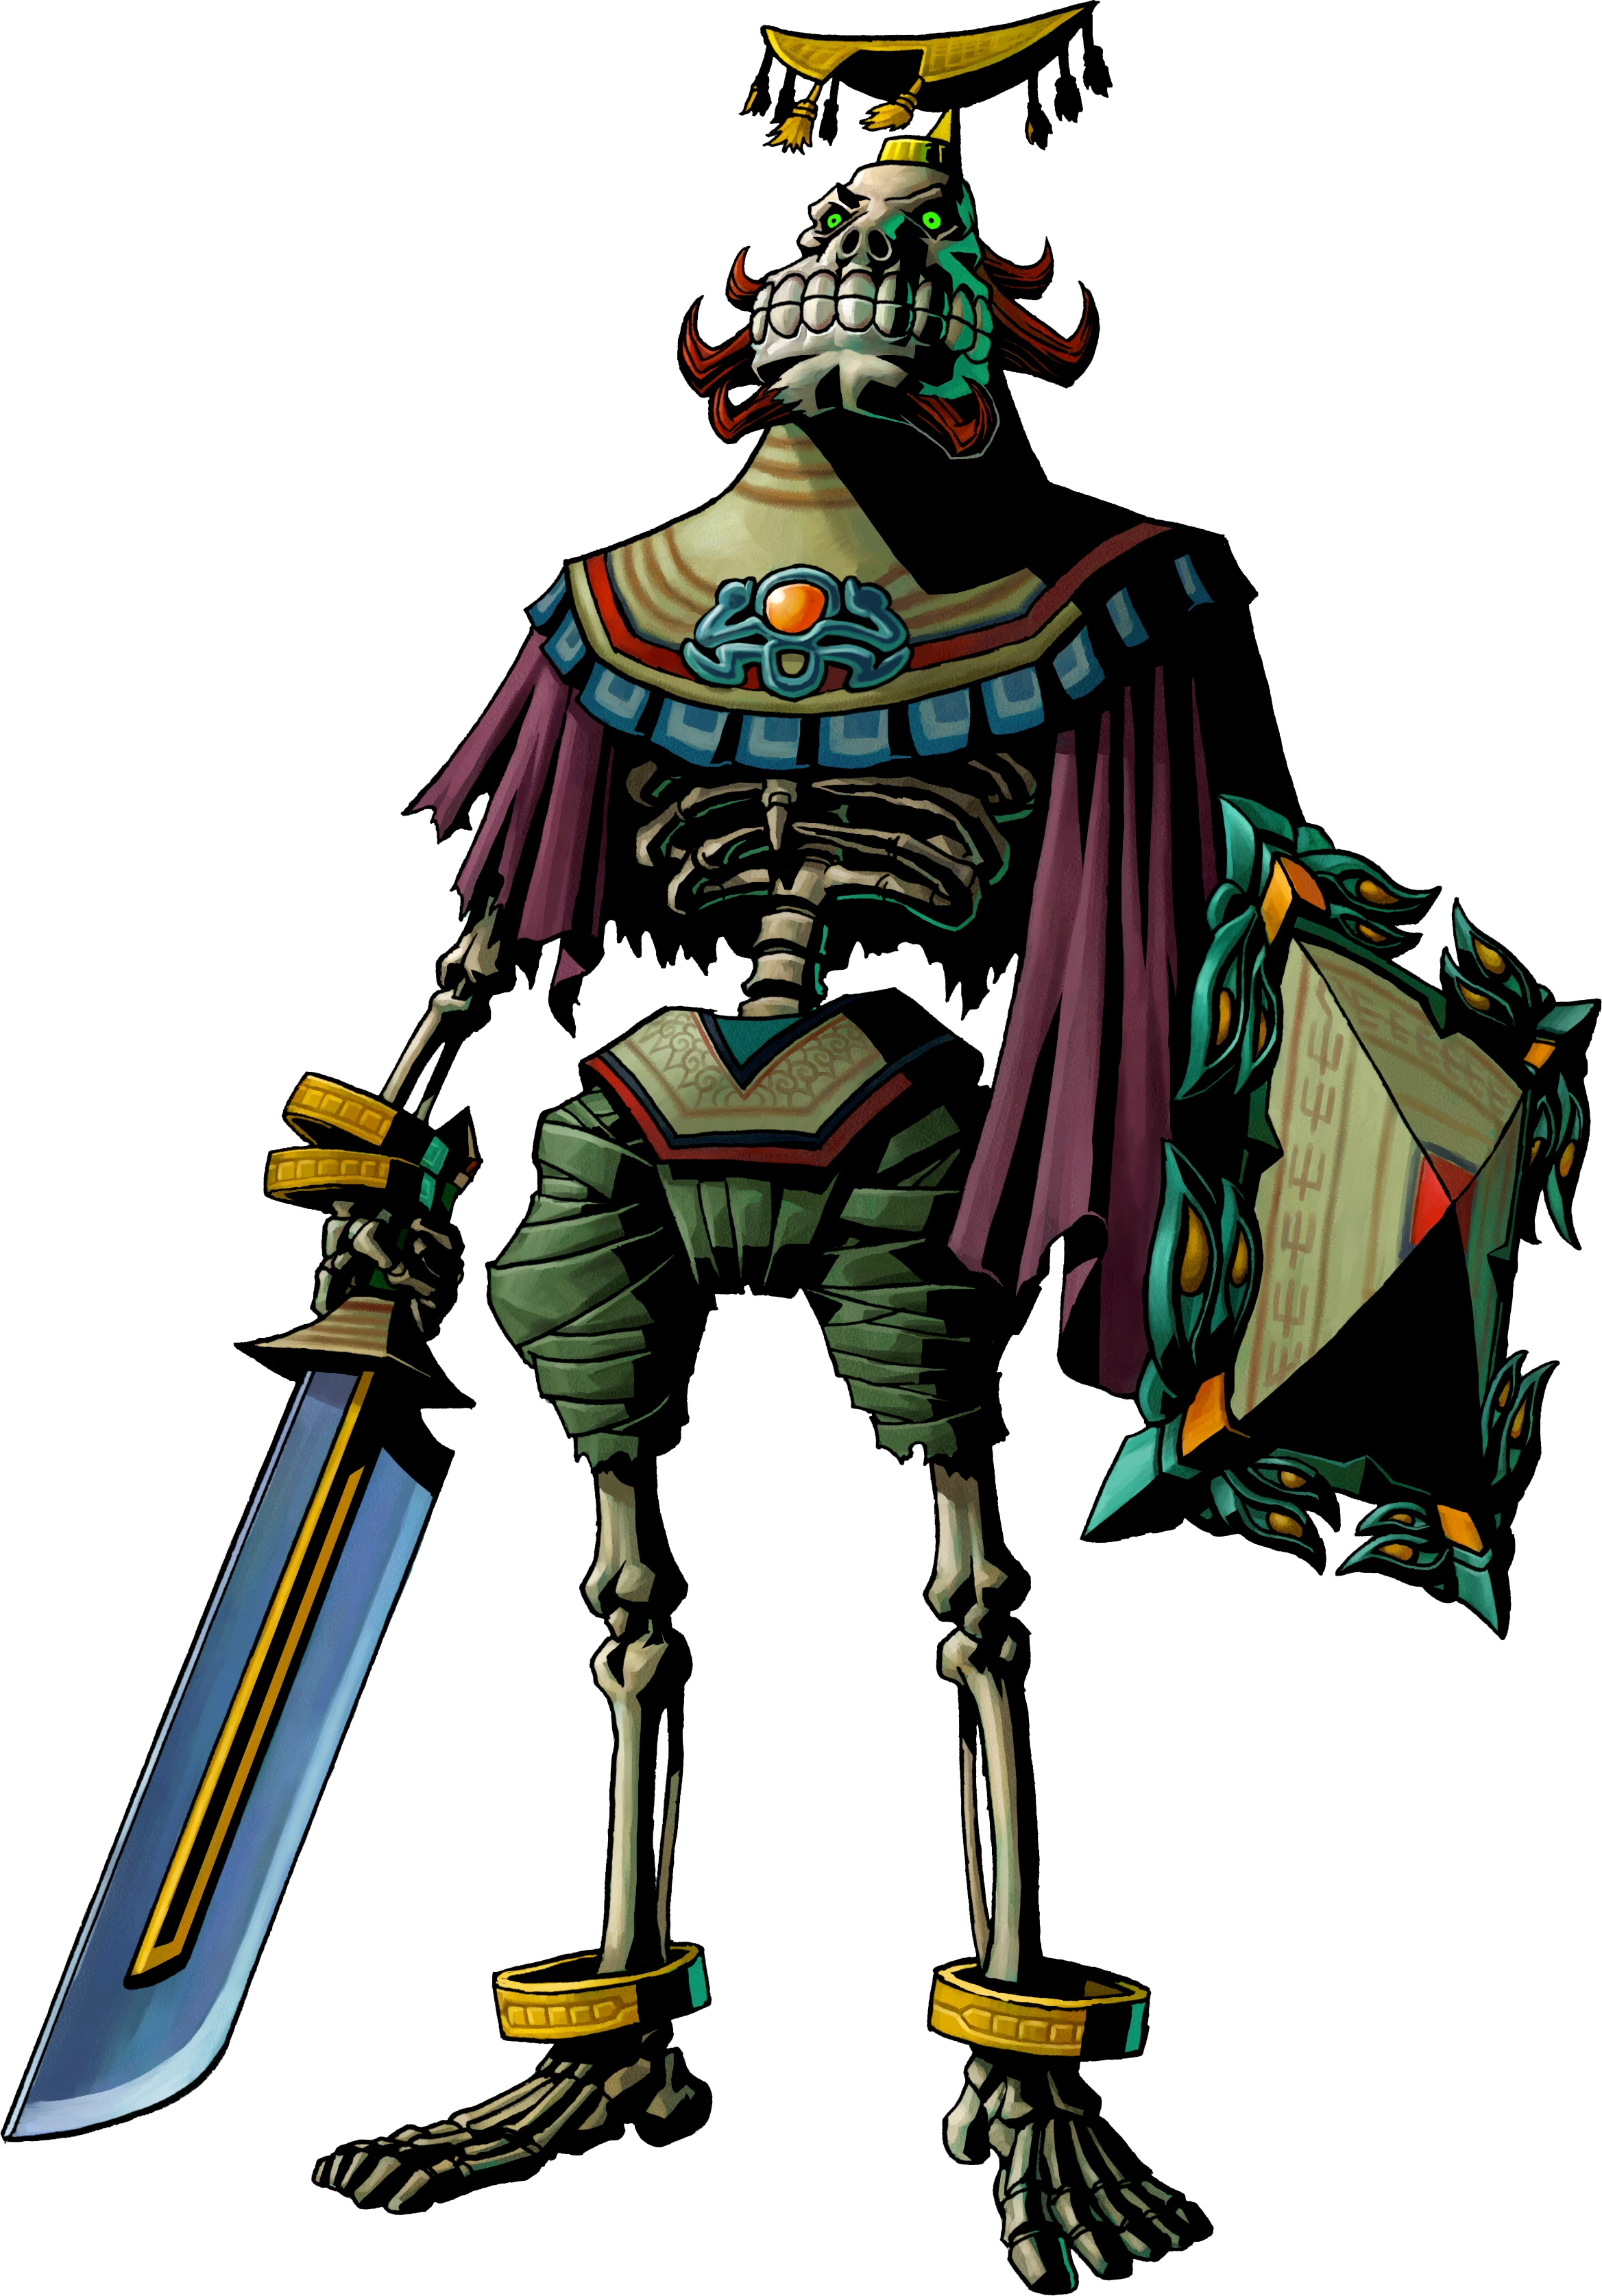
| − | |Artwork Nudillo de Hierro OoT y MM.png| |
+ | |Artwork Nudillo de Hierro OoT y MM.png|[[Nudillo de Hierro]] |
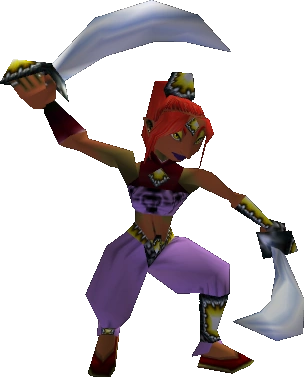
| − | |Nabooru Sub Jefe OoT.png| |
+ | |Nabooru Sub Jefe OoT.png|[[Nabooru (subjefe)|Nabooru]] |
|position = center |
|position = center |
||
| + | |captionalign = center |
||
|width = 120 |
|width = 120 |
||
|height = 160}} |
|height = 160}} |
||
| Línea 48: | Línea 76: | ||
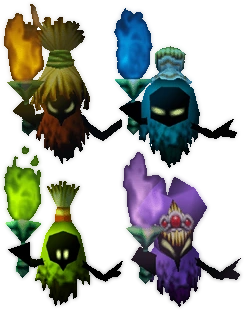
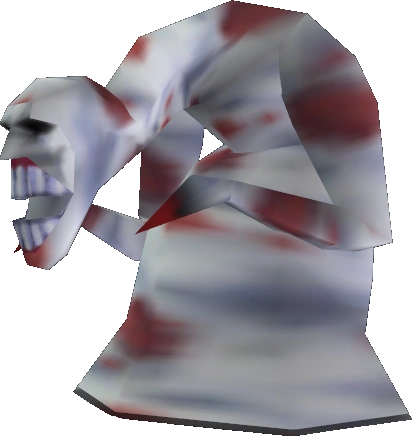
===[[The Legend of Zelda: Majora's Mask]]=== |
===[[The Legend of Zelda: Majora's Mask]]=== |
||
{{Galería |
{{Galería |
||
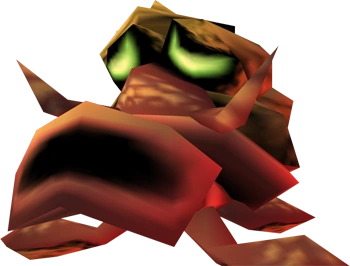
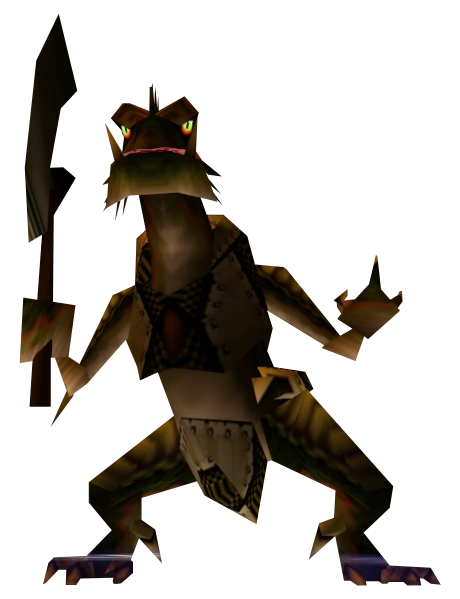
| − | |Dinolfo_MM.png| |
+ | |Dinolfo_MM.png|[[Dinolfos]] |
| − | |Gekko.png| |
+ | |Gekko.png|[[Gekko]] y [[Snapper]] |
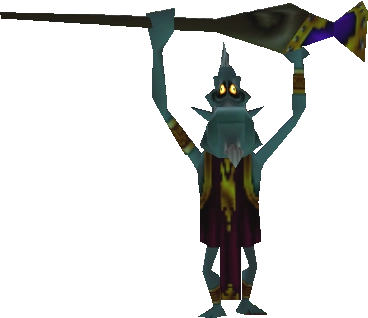
| − | |Wizzrobe_MM.png| |
+ | |Wizzrobe_MM.png|[[Wizzrobe]] |
| − | |Capitán_Keeta_MM3D.png| |
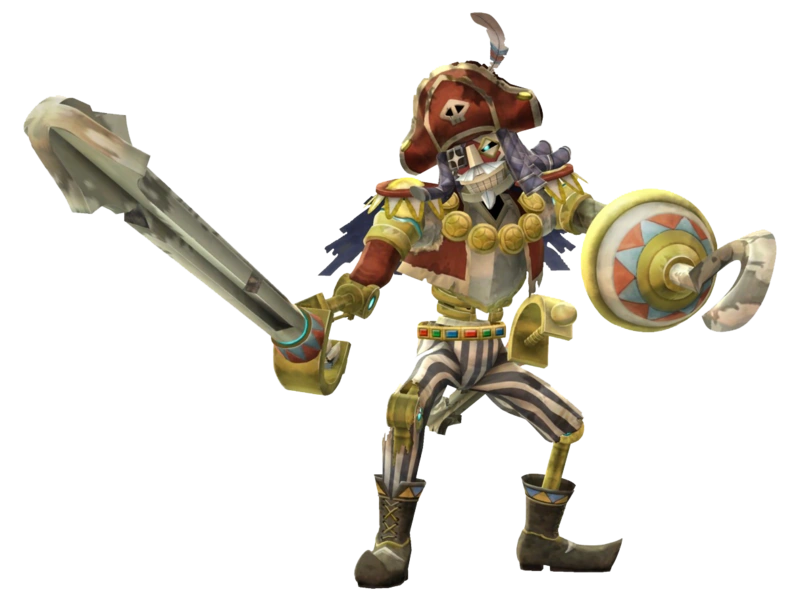
+ | |Capitán_Keeta_MM3D.png|[[Capitán Keeta]] |
| − | |Guardia Gerudo MM.png| |
+ | |Guardia Gerudo MM.png|[[Capitana Gerudo]] |
| − | | |
+ | |Wart_MM.png|[[Arghus]] |
| − | |Mad Jelly.png| |
+ | |Mad Jelly.png|[[Gekko]] y [[Jelly Loco]] |
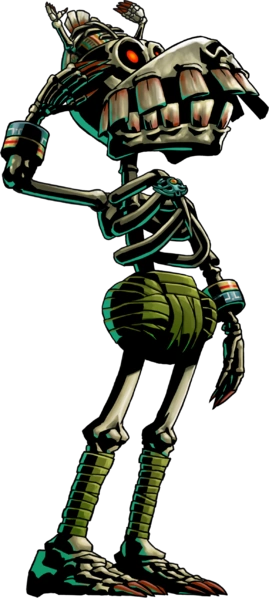
| − | |Sirviente de Igos.png| |
+ | |Sirviente de Igos.png|[[Sirvientes de Igos]] |
| − | |Artwork_Igos_du_Ikana_MM.png| |
+ | |Artwork_Igos_du_Ikana_MM.png|[[Igos de Ikana]] |
| − | |Garomaster2.png| |
+ | |Garomaster2.png|[[Maestro Garo]] |
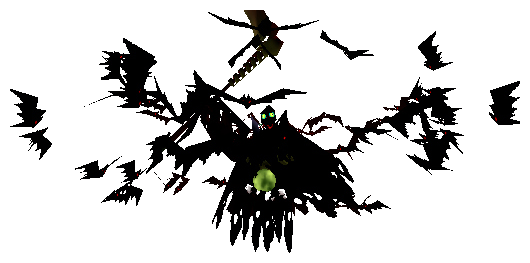
| − | |Gomess. |
+ | |Gomess.png|[[Gomess]] |
|position = center |
|position = center |
||
| + | |captionalign = center |
||
|width = 120 |
|width = 120 |
||
|height = 160}} |
|height = 160}} |
||
| Línea 65: | Línea 94: | ||
===[[The Legend of Zelda: Oracle of Ages]]=== |
===[[The Legend of Zelda: Oracle of Ages]]=== |
||
{{Galería |
{{Galería |
||
| − | |Ghini Gigante OoA.png| |
+ | |Ghini Gigante OoA.png|[[Ghini Gigante]] |
| − | |Swoop.gif| |
+ | |Swoop.gif|[[Swoop]] |
| − | |Miniboss3 Subterror.gif| |
+ | |Miniboss3 Subterror.gif|[[Subterror]] |
| − | |Guerrero_Armos_Armado.png| |
+ | |Guerrero_Armos_Armado.png|[[Guerrero Armos]] |
| − | |Great_Moblin_OOX.png| |
+ | |Great_Moblin_OOX.png|[[Gran Moblin (Oracle of Ages/Oracle of Seasons)|Gran Moblin]] |
| − | |Smasher con Bola OoA.png| |
+ | |Smasher con Bola OoA.png|[[Smasher]] |
| − | |Vire (Oracle of Ages and Oracle of Seasons).png| |
+ | |Vire (Oracle of Ages and Oracle of Seasons).png|[[Vire]] |
| − | |Pez Gigante Oracle of Ages.gif| |
+ | |Pez Gigante Oracle of Ages.gif|[[Angler Fish (Oracle of Ages)|Angler Fish]] |
| − | |Stalfo Azul.png| |
+ | |Stalfo Azul.png|[[Stalfos Azul]] |
|position = center |
|position = center |
||
| + | |captionalign = center |
||
|width = 120 |
|width = 120 |
||
|height = 160}} |
|height = 160}} |
||
| Línea 80: | Línea 110: | ||
===[[The Legend of Zelda: Oracle of Seasons]]=== |
===[[The Legend of Zelda: Oracle of Seasons]]=== |
||
{{Galería |
{{Galería |
||
| − | |Hermanos_Goriya_OoS.png| |
+ | |Hermanos_Goriya_OoS.png|[[Hermanos Goriya]] |
| − | |Facade LA.png| |
+ | |Facade LA.png|[[Façade (Oracle of Seasons)|Façade]] |
| − | |Calamareye.png| |
+ | |Calamareye.png|[[Calamareye]] |
| − | |Agahnim (Oracle of Seasons).gif| |
+ | |Agahnim (Oracle of Seasons).gif|[[Agahnim (Oracle of Seasons)|Agahnim]] |
| − | |Great_Moblin_OOX.png| |
+ | |Great_Moblin_OOX.png|[[Gran Moblin (Oracle of Ages/Oracle of Seasons)|Gran Moblin]] |
| − | |Syger.png| |
+ | |Syger.png|[[Syger]] |
| − | |Vire (Oracle of Ages and Oracle of Seasons).png| |
+ | |Vire (Oracle of Ages and Oracle of Seasons).png|[[Vire]] |
| − | |Hermanas_Poe_OoS.gif| |
+ | |Hermanas_Poe_OoS.gif|[[Hermanas Poe (Oracle of Seasons)|Hermanas Poe]] |
| − | |Frypolar Fuego OoS.png| |
+ | |Frypolar Fuego OoS.png|[[Frypolar]] |
|position = center |
|position = center |
||
| + | |captionalign = center |
||
|width = 120 |
|width = 120 |
||
|height = 160}} |
|height = 160}} |
||
| Línea 95: | Línea 126: | ||
===[[The Legend of Zelda: The Wind Waker]]=== |
===[[The Legend of Zelda: The Wind Waker]]=== |
||
{{Galería |
{{Galería |
||
| − | |Bokoblin_verde_TWW.png| |
+ | |Bokoblin_verde_TWW.png|[[Bokoblin]] |
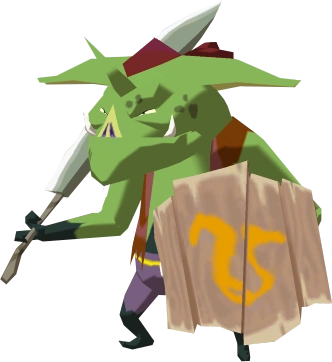
| − | |Moblin ww.png| |
+ | |Moblin ww.png|[[Moblin]] |
| − | |Mothula_ww.png| |
+ | |Mothula_ww.png|[[Polillántula]] |
| − | |Ferrus Gris TMM Artwork.png| |
+ | |Ferrus Gris TMM Artwork.png|[[Ferrus]] |
| − | |Ganon |
+ | |Ganon Fantasma TWW.png|[[Ganon Fantasma]] |
| − | |150px-Stalfos (The Wind Waker).png| |
+ | |150px-Stalfos (The Wind Waker).png|[[Stalfos]] |
| − | |Wizzrobe (The Wind Waker).png| |
+ | |Wizzrobe (The Wind Waker).png|[[Wizzrobe]] |
|position = center |
|position = center |
||
| + | |captionalign = center |
||
|width = 120 |
|width = 120 |
||
|height = 160}} |
|height = 160}} |
||
| Línea 108: | Línea 140: | ||
===[[The Legend of Zelda: Four Swords Adventures]]=== |
===[[The Legend of Zelda: Four Swords Adventures]]=== |
||
{{Galería |
{{Galería |
||
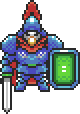
| − | |Soldado Jefe FSA.png| |
+ | |Soldado Jefe FSA.png|[[Soldado Jefe]] |
| − | |Link Oscuro FSA.png| |
+ | |Link Oscuro FSA.png|[[Link Oscuro]] |
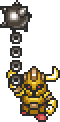
| − | |Ferrobola_FSA.png| |
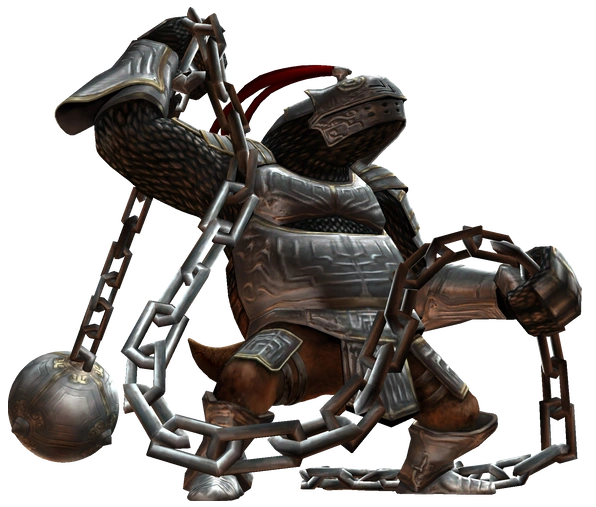
+ | |Ferrobola_FSA.png|[[Ferrobola]] |
| − | |Manhandla (Four Swords Adventures).png| |
+ | |Manhandla (Four Swords Adventures).png|[[Manhandla (Four Swords Adventures)|Manhandla]] |
| − | |Gohma_FSA.png| |
+ | |Gohma_FSA.png|[[Gohma]] |
| − | |Helmaroc_King_FSA.png| |
+ | |Helmaroc_King_FSA.png|[[Kranos]] |
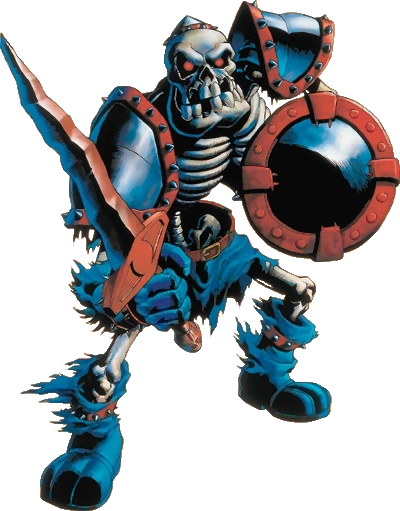
| − | |Gran Stalfos Oscuro FSA.png| |
+ | |Gran Stalfos Oscuro FSA.png|[[Gran Stalfos oscuro]] |
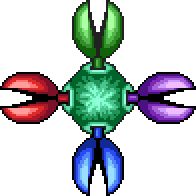
| − | |Cabeza_de_Fati_Triputis_FSA_.gif| |
+ | |Cabeza_de_Fati_Triputis_FSA_.gif|[[Fati Triputis (Four Swords Adventures)|Fati Triputis]] |
| − | |Dodongo FSA.png| |
+ | |Dodongo FSA.png|[[Dodongo (Four Swords Adventures)|Dodongo]] |
| − | |Gran_Dodongo.png| |
+ | |Gran_Dodongo.png|[[Gran Dodongo]] |
|position = center |
|position = center |
||
| + | |captionalign = center |
||
|width = 120 |
|width = 120 |
||
|height = 160}} |
|height = 160}} |
||
| Línea 124: | Línea 157: | ||
===[[The Legend of Zelda: The Minish Cap]]=== |
===[[The Legend of Zelda: The Minish Cap]]=== |
||
{{Galería |
{{Galería |
||
| − | |Madderpillar.gif| |
+ | |Madderpillar.gif|[[Madrepillar]] |
| − | |ChuChuSpiny.png| |
+ | |ChuChuSpiny.png|[[ChuChu|ChuChu Pinchos]] |
| − | |Ferrus_TMC.gif| |
+ | |Ferrus_TMC.gif|[[Ferrus]] |
| − | |Gran ChuChu Azul TMC.gif| |
+ | |Gran ChuChu Azul TMC.gif|[[Gran ChuChu Azul]] |
| − | |Ferrus_Rojo_TMC.gif| |
+ | |Ferrus_Rojo_TMC.gif|[[Ferrus|Ferrus Rojo]] |
| − | |Caballero_Negro_TMC.gif| |
+ | |Caballero_Negro_TMC.gif|[[Ferrus|Caballero Negro]] |
|position = center |
|position = center |
||
| + | |captionalign = center |
||
|width = 120 |
|width = 120 |
||
|height = 160}} |
|height = 160}} |
||
| Línea 136: | Línea 170: | ||
===[[The Legend of Zelda: Twilight Princess]]=== |
===[[The Legend of Zelda: Twilight Princess]]=== |
||
{{Galería |
{{Galería |
||
| − | |Gran_Baba.png| |
+ | |Gran_Baba.png|[[Gran Baba]] |
| − | |Ook-1.png| |
+ | |Ook-1.png|[[Uku]] |
| − | |Dangoro.png| |
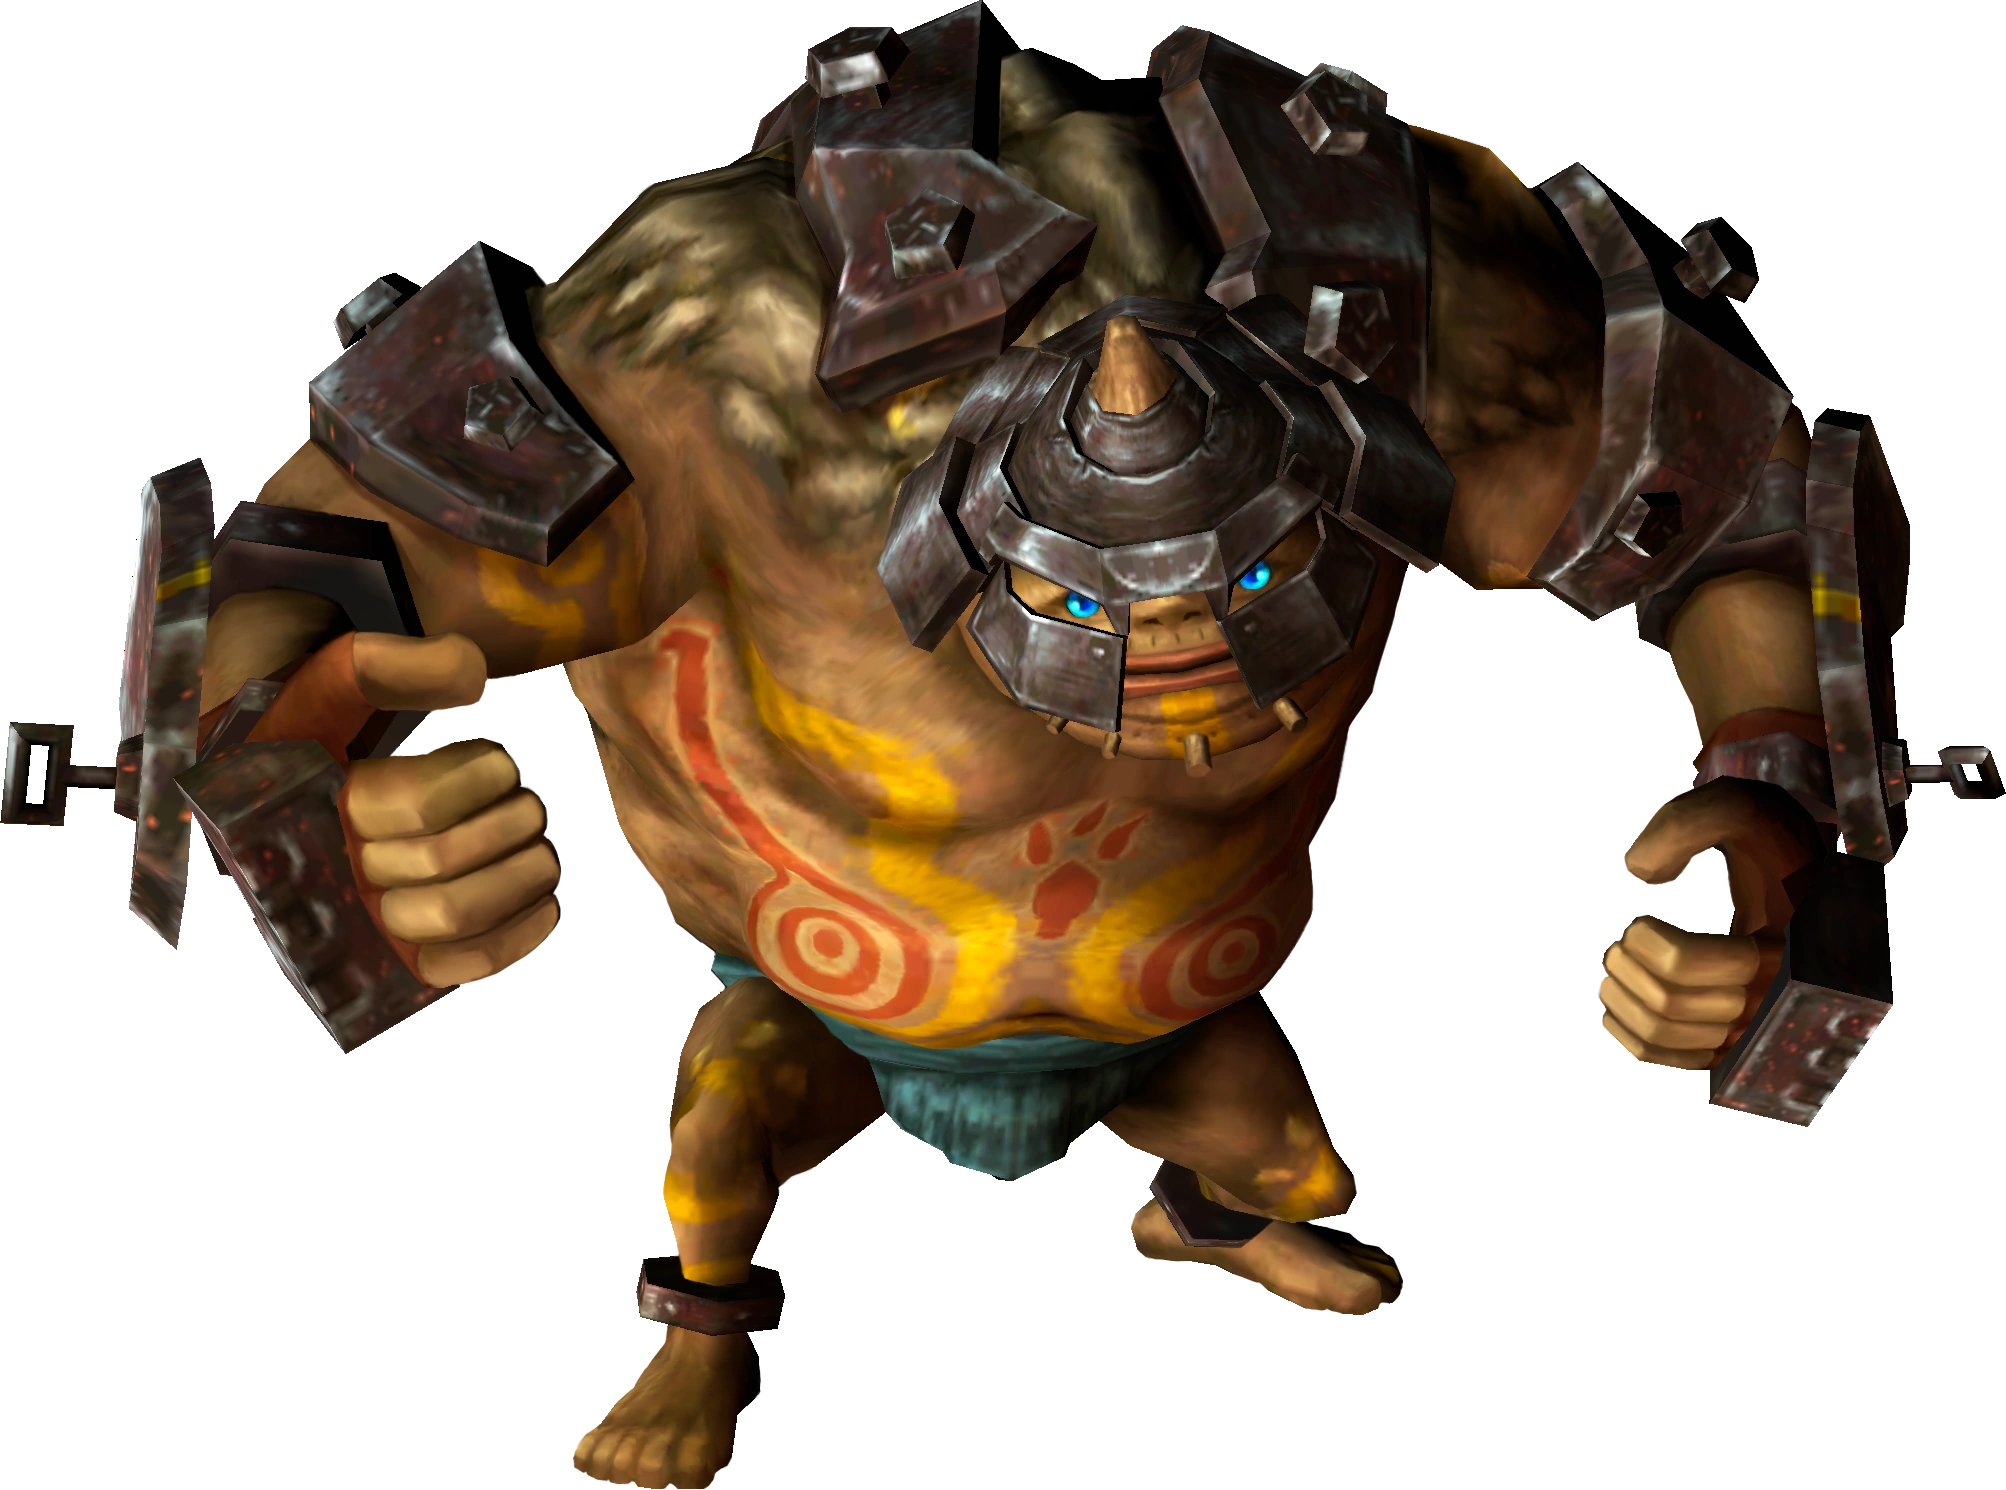
+ | |Dangoro.png|[[Dangoro]] |
| − | |Twilit_Bloat.png| |
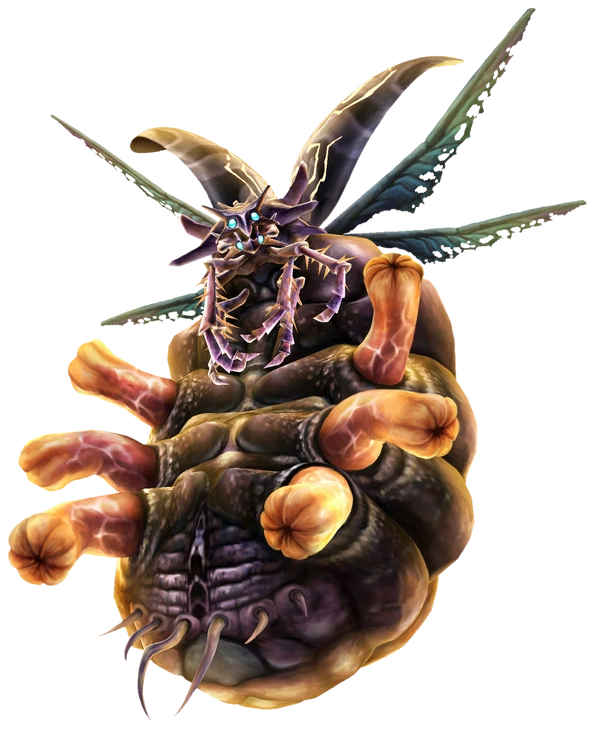
+ | |Twilit_Bloat.png|[[Twilit Bloat]] |
| − | |Deku_Toad.png| |
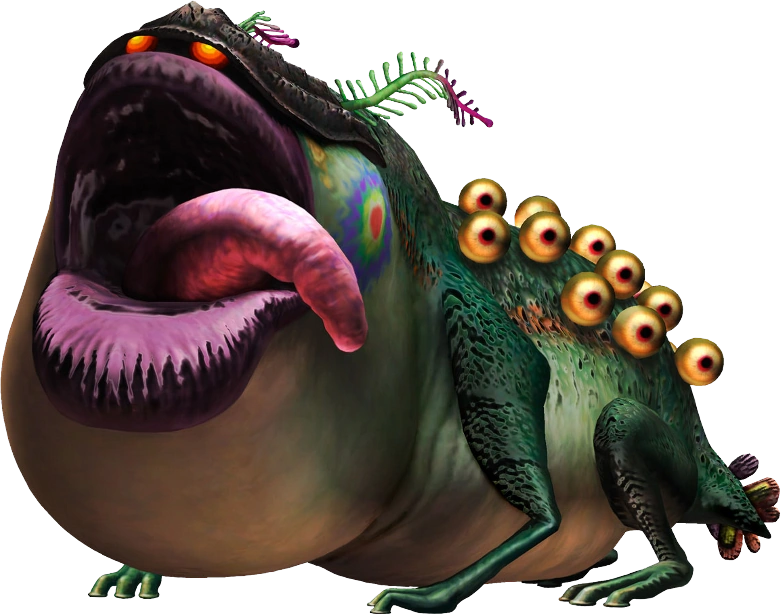
+ | |Deku_Toad.png|[[Sapo Deku]] |
| − | | |
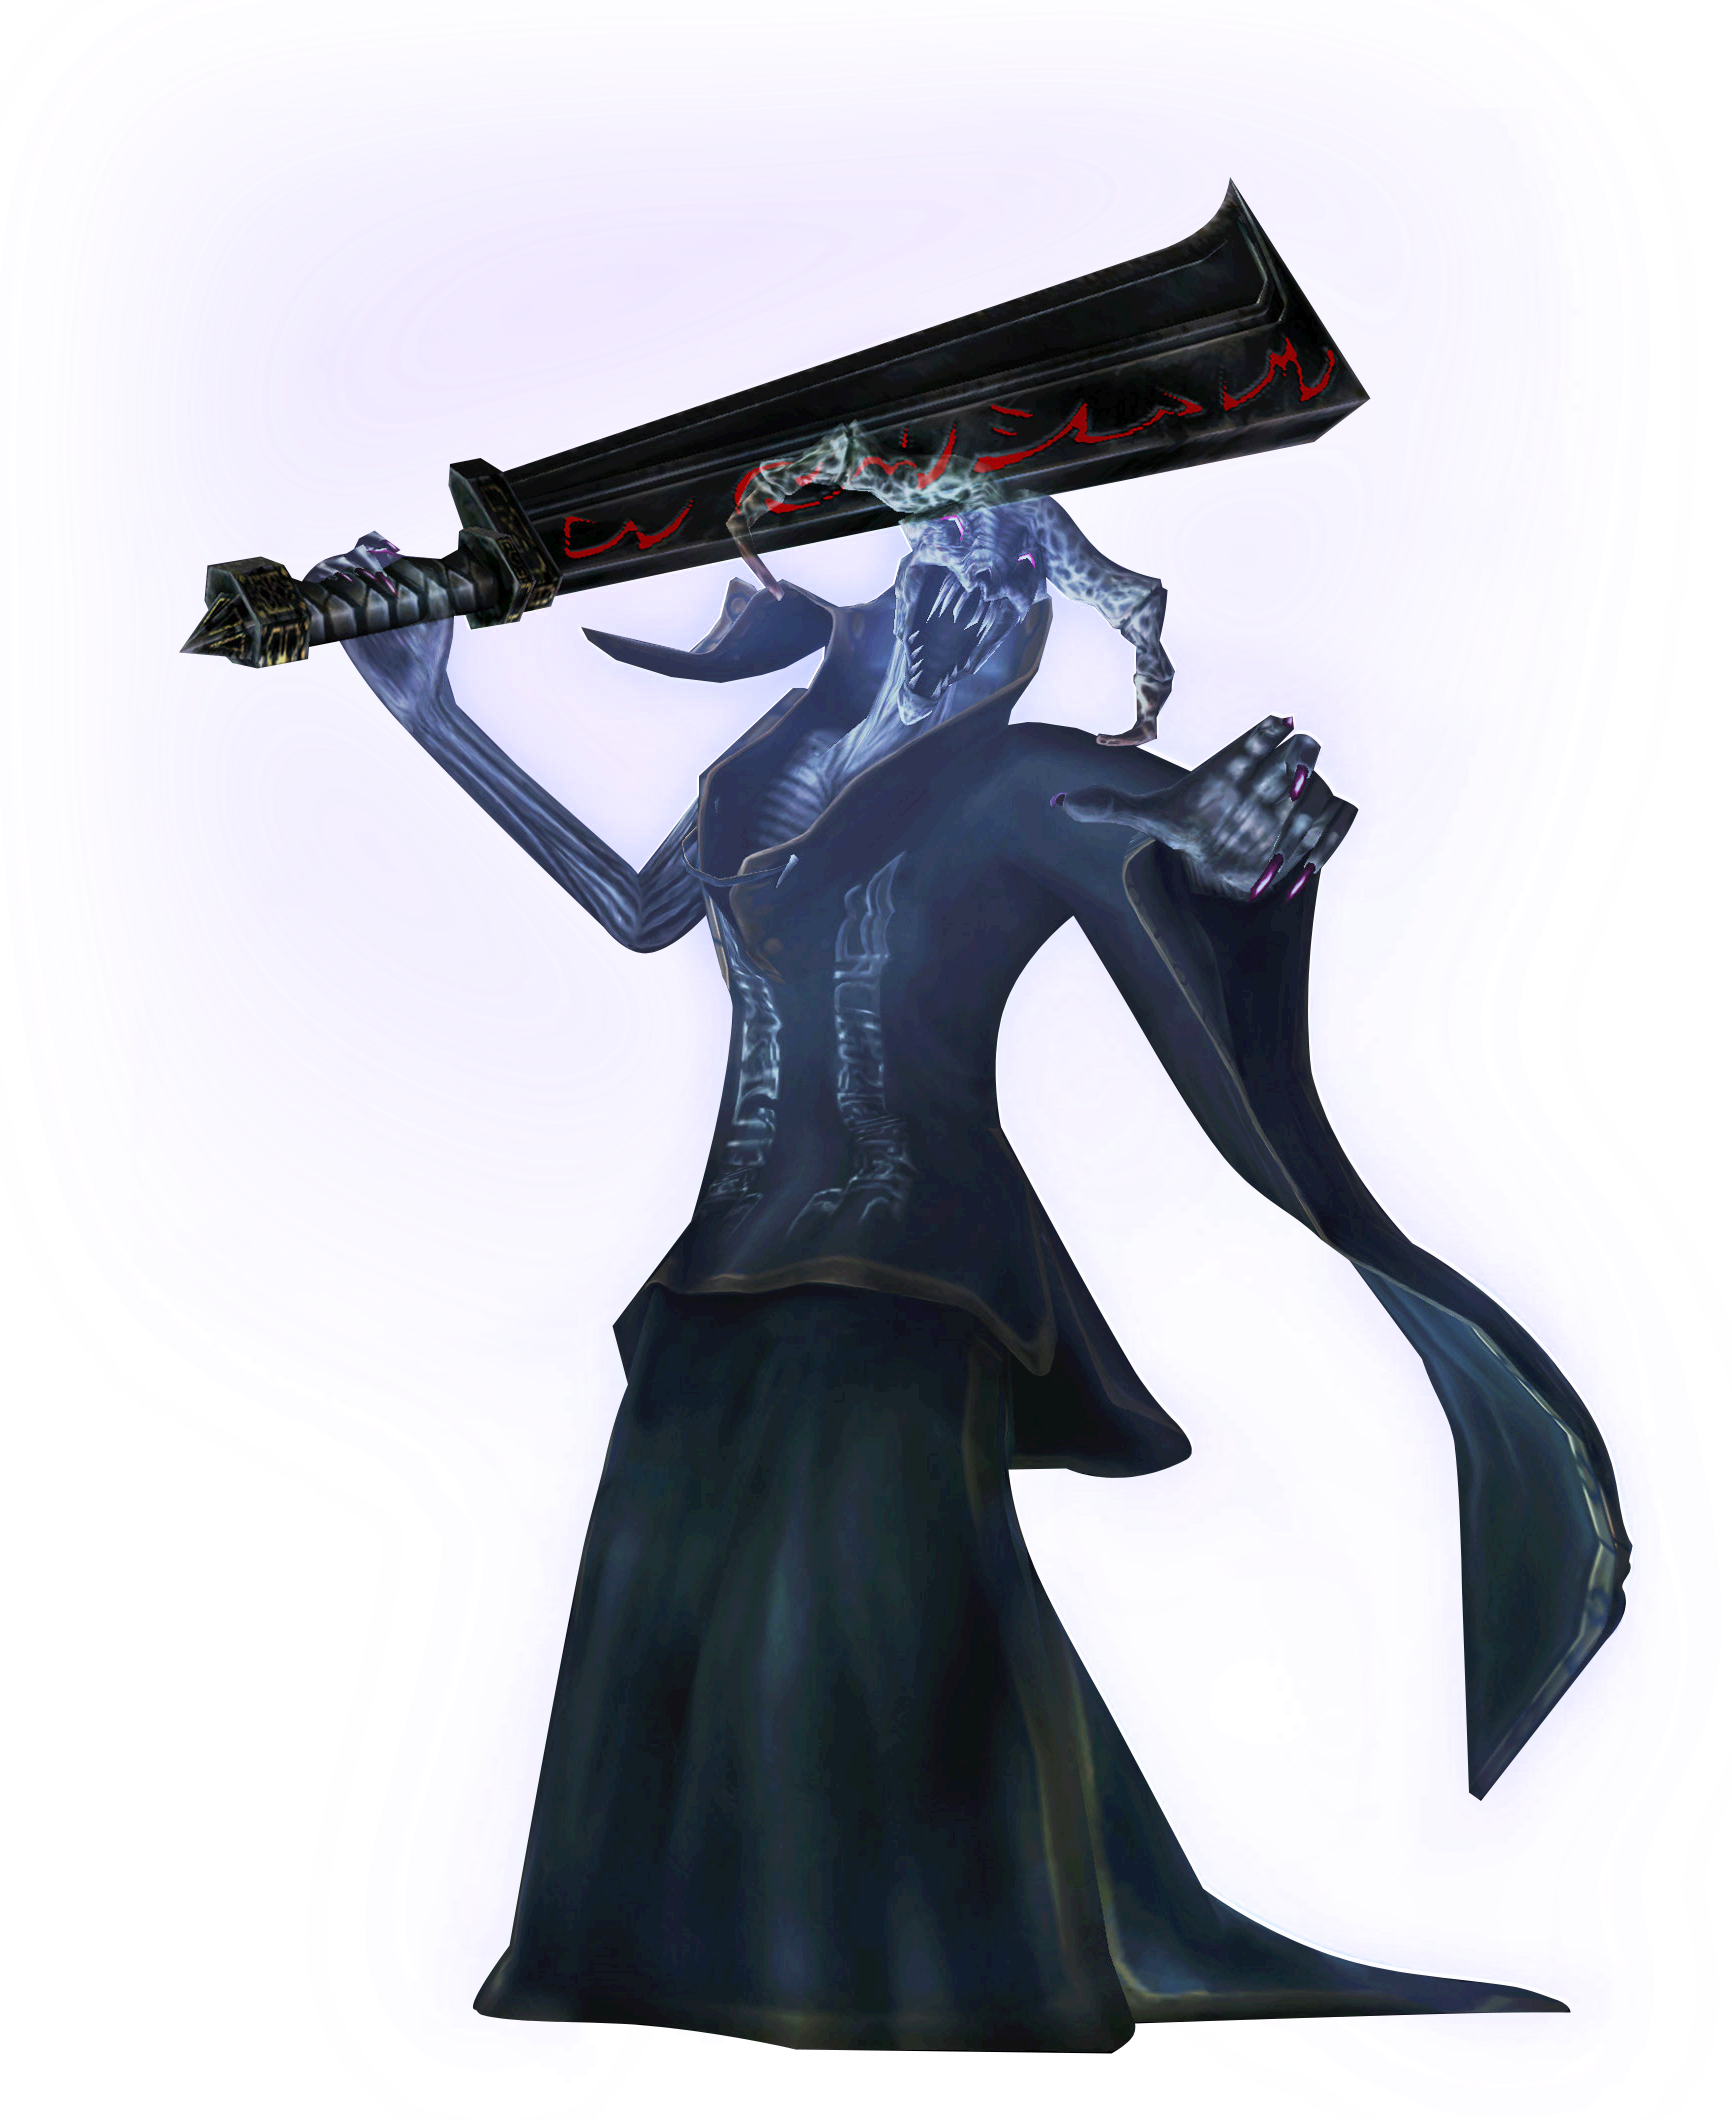
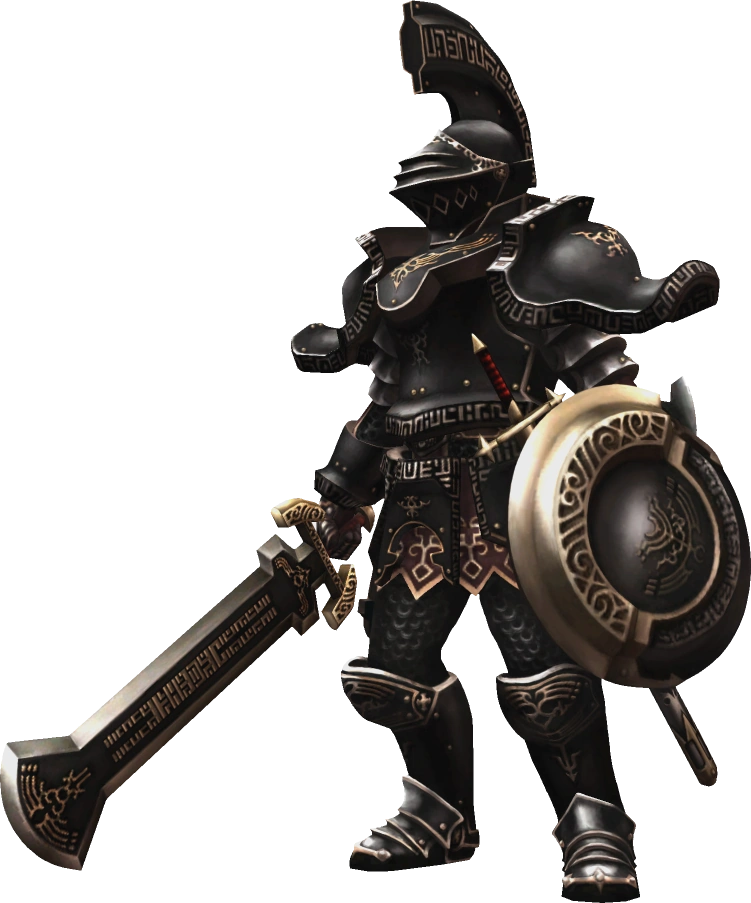
+ | |Espada de la Muerte TP.png|[[Espada de la Muerte]] |
| − | |Manguálido.png| |
+ | |Manguálido.png|[[Manguálido]] |
| − | |Ferrus TP.png| |
+ | |Ferrus TP.png|[[Ferrus]] |
| − | |Aeralfos TP.png| |
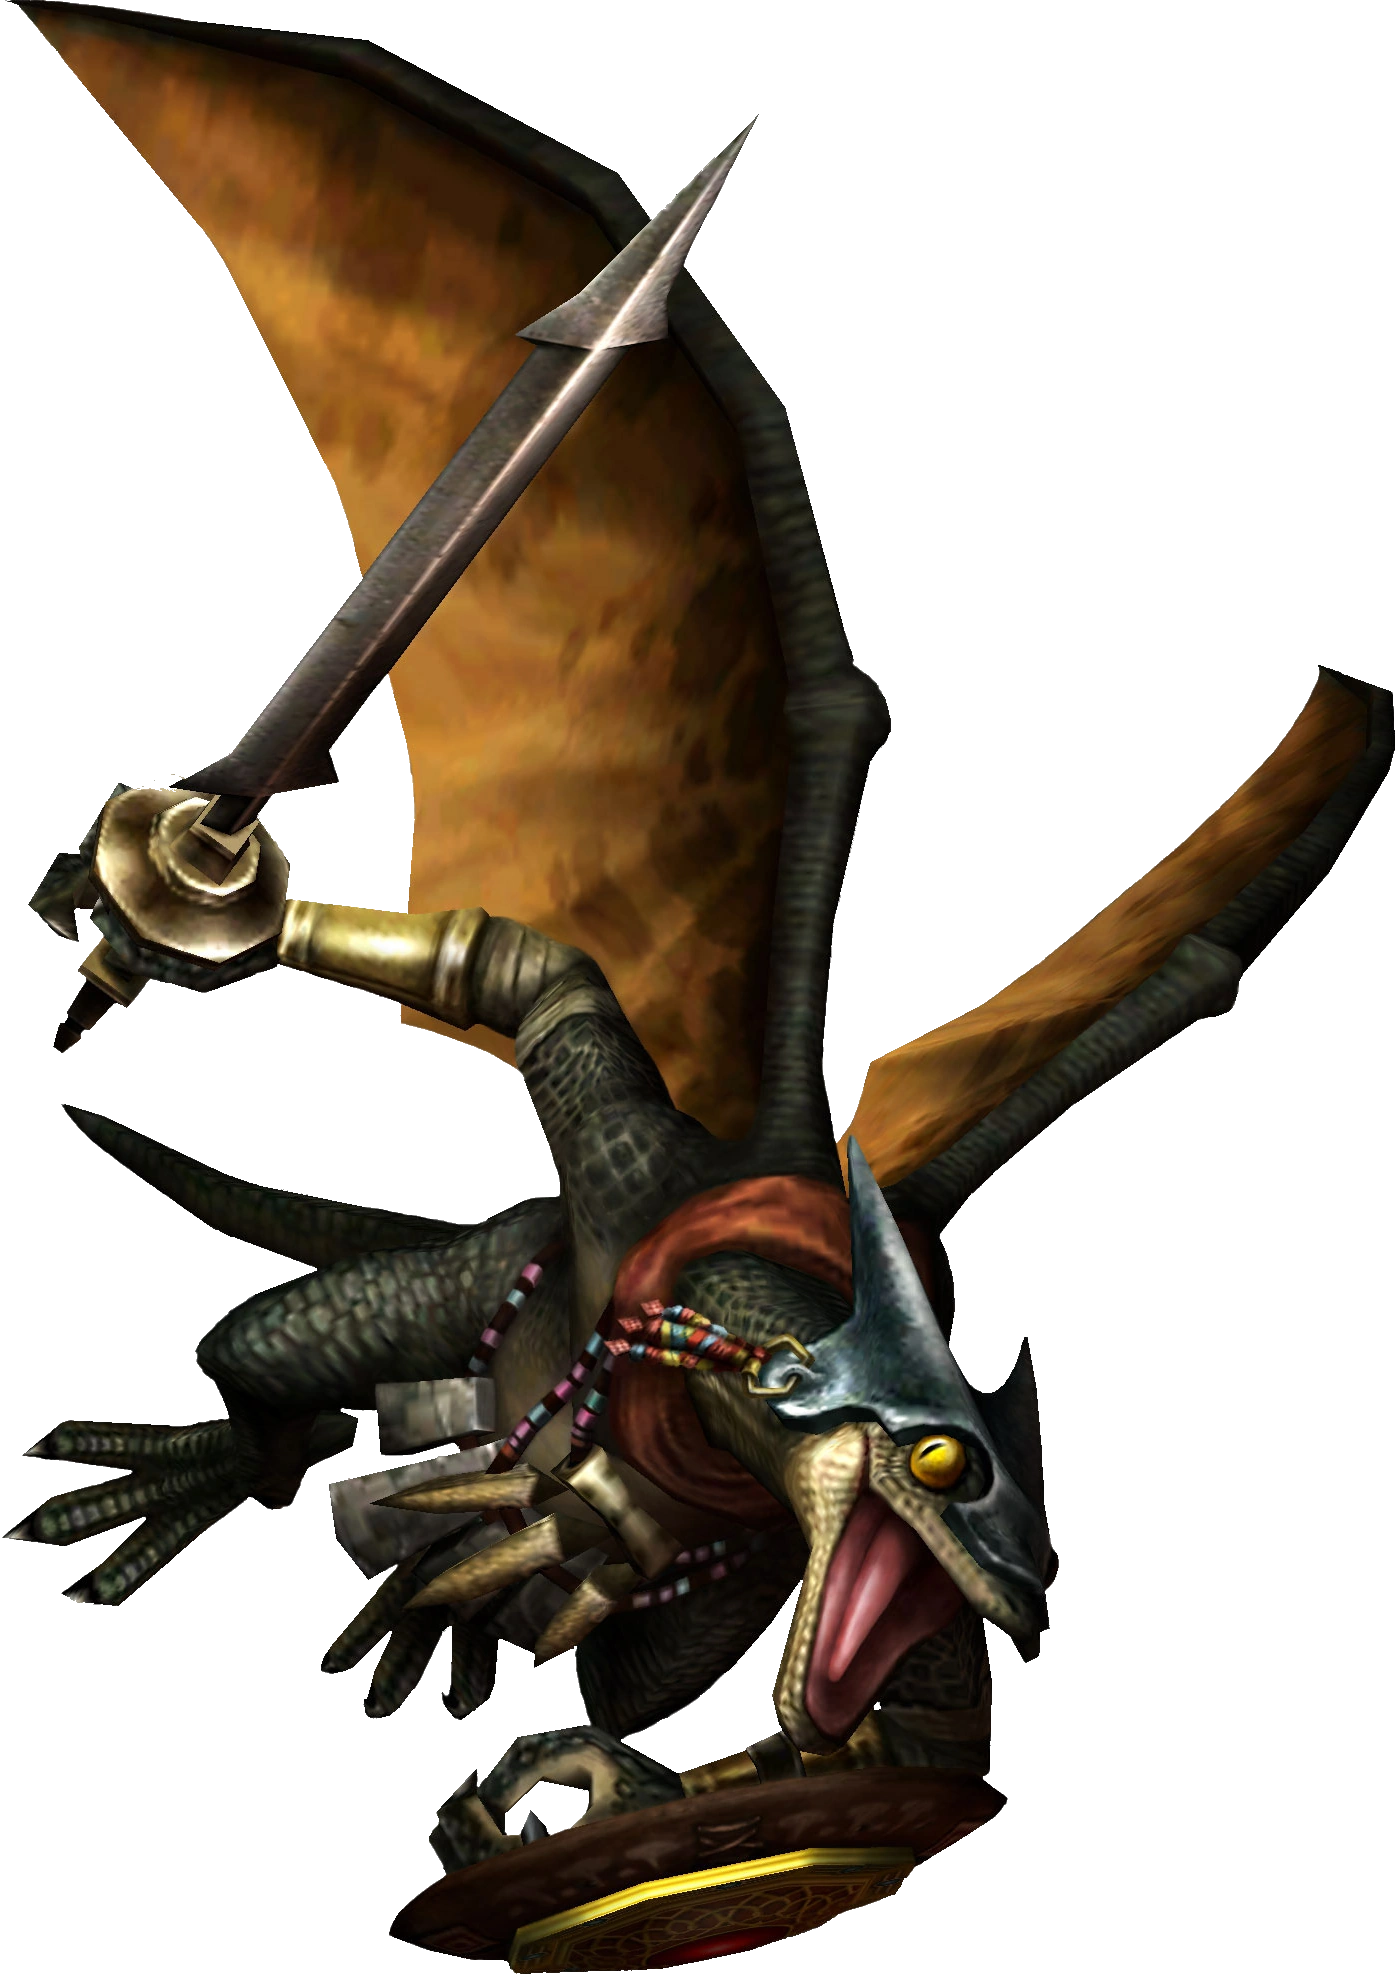
+ | |Aeralfos TP.png|[[Aeralfos]] |
| − | |Phantom Zant.png| |
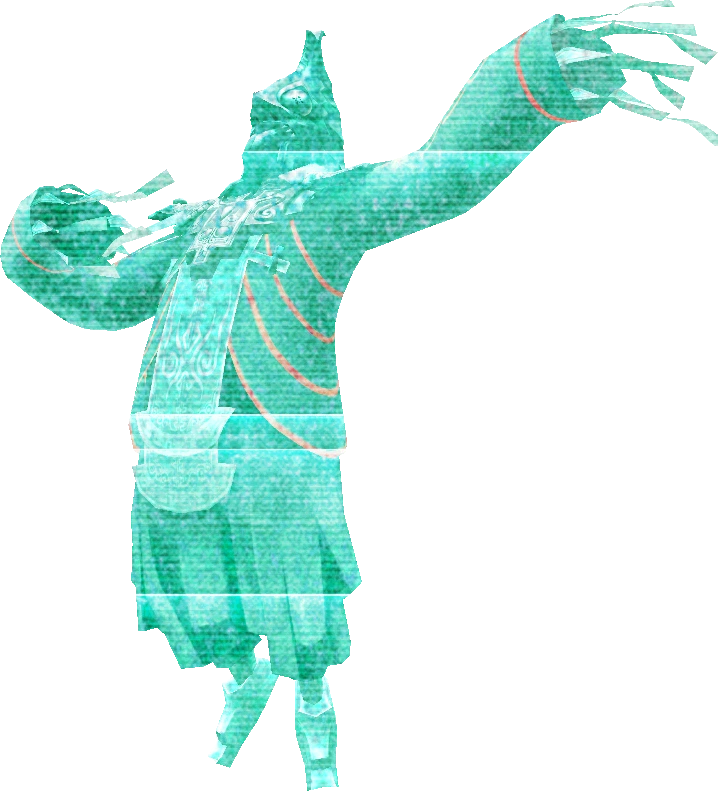
+ | |Phantom Zant.png|[[Fantasma de Zant]] |
| − | |Rey_Bulblin_TP.png| |
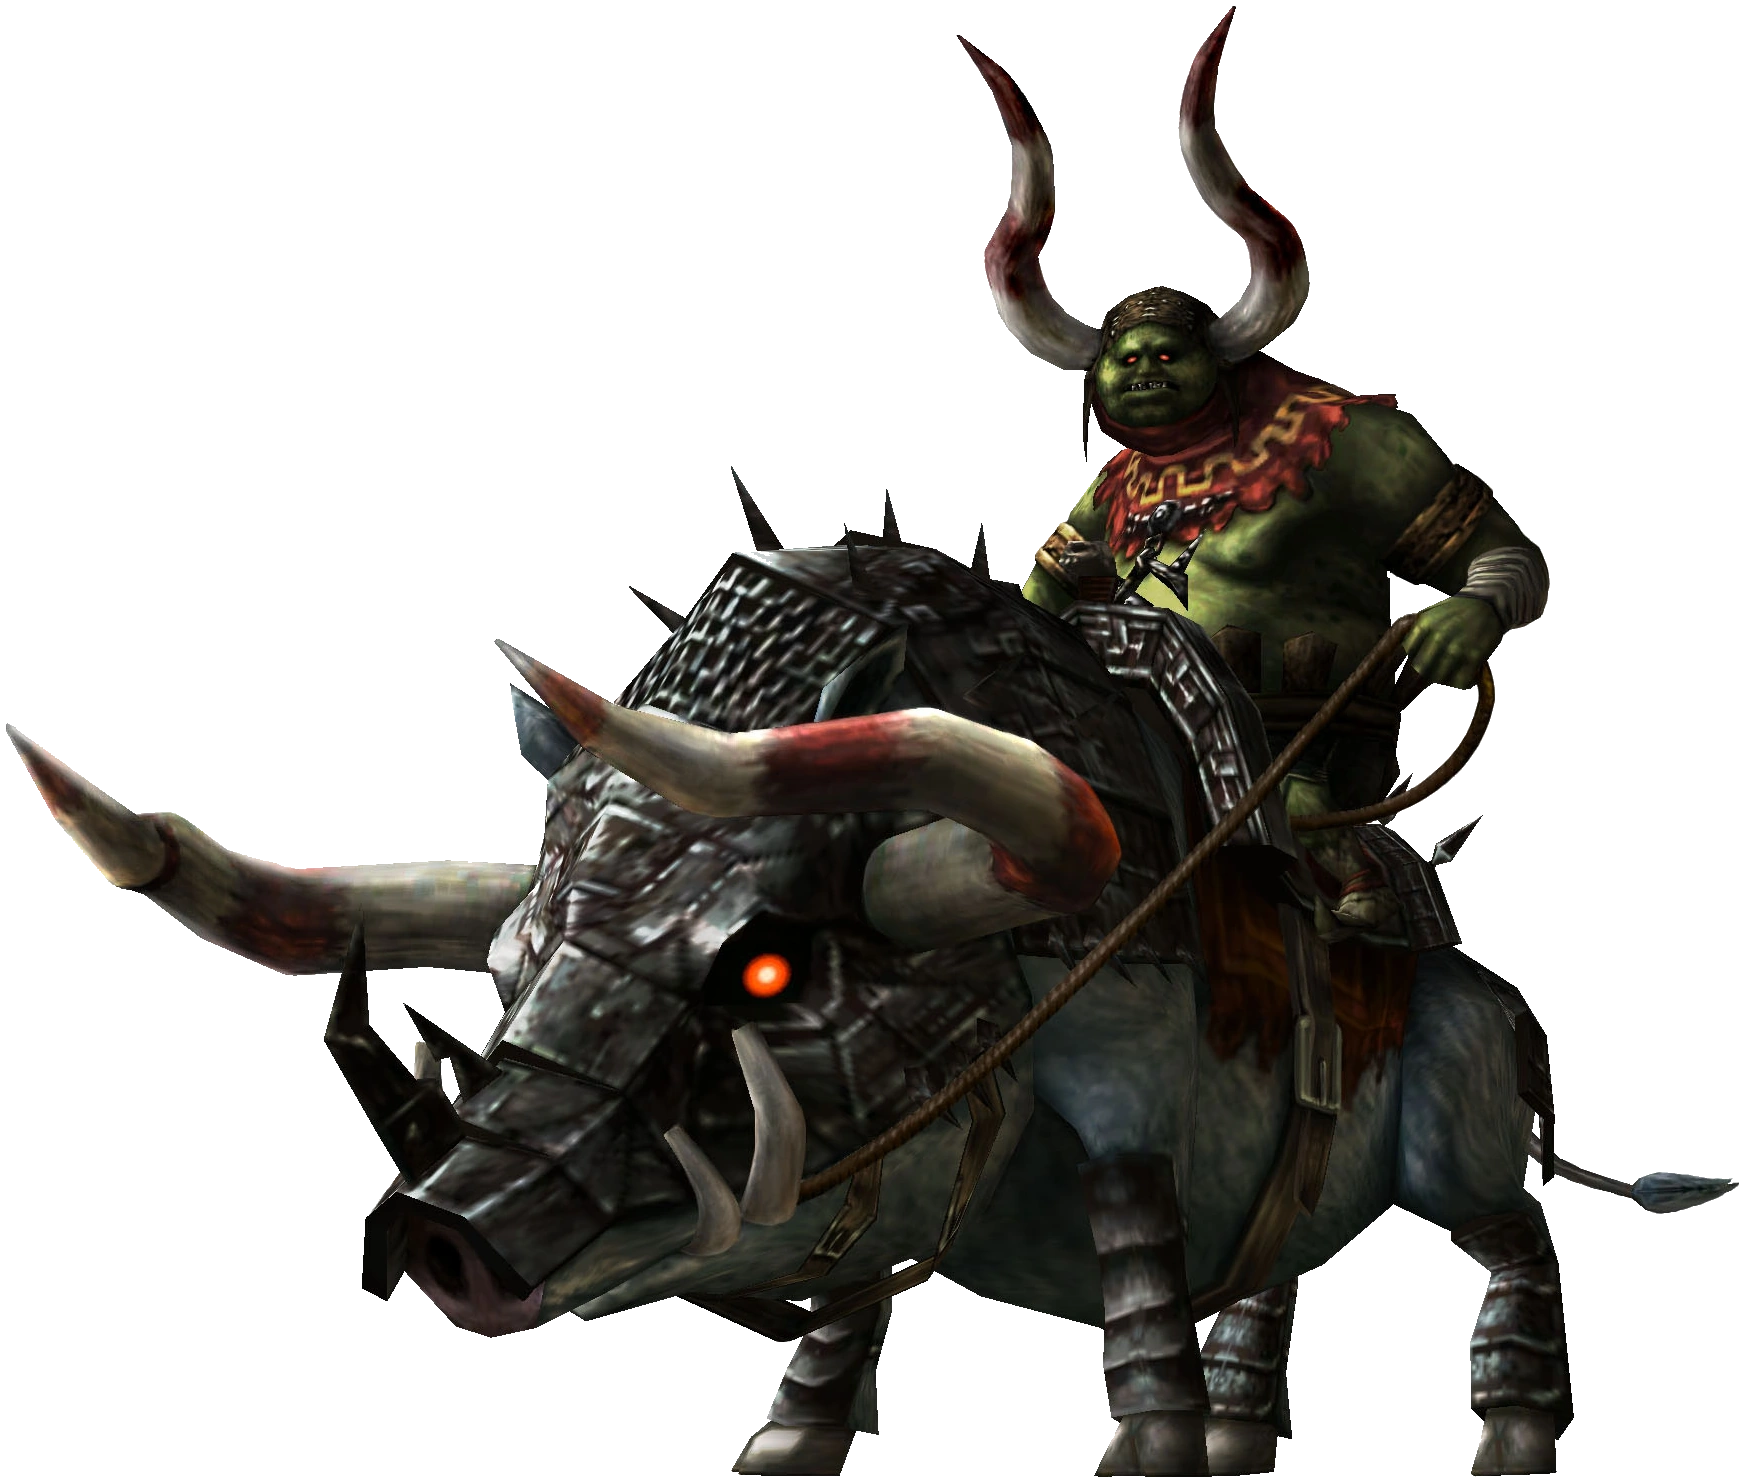
+ | |Rey_Bulblin_TP.png|[[Rey Bulblin]] |
|position = center |
|position = center |
||
| + | |captionalign = center |
||
|width = 120 |
|width = 120 |
||
|height = 160}} |
|height = 160}} |
||
| Línea 153: | Línea 188: | ||
===[[The Legend of Zelda: Phantom Hourglass]]=== |
===[[The Legend of Zelda: Phantom Hourglass]]=== |
||
{{Galería |
{{Galería |
||
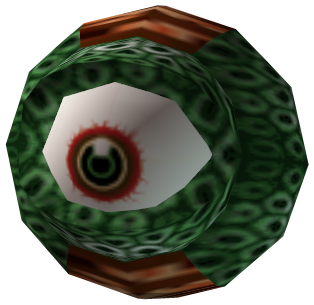
| − | |Gran Planta.png| |
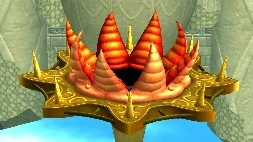
+ | |Gran Planta Ojo PH.png|[[Gran planta ojo]] |
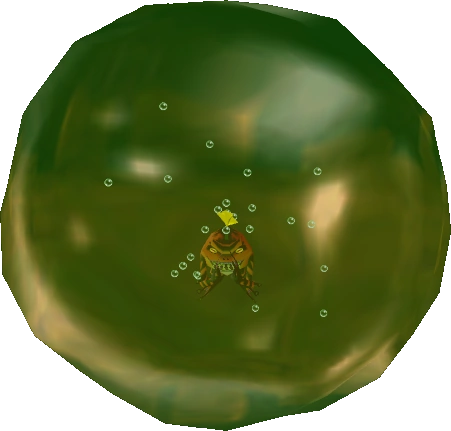
| − | | |
+ | |Gran_Pez_volador_PH.png|[[Gran pez volador]] |
|position = center |
|position = center |
||
| + | |captionalign = center |
||
|width = 120 |
|width = 120 |
||
|height = 160}} |
|height = 160}} |
||
| Línea 161: | Línea 197: | ||
===[[The Legend of Zelda: Spirit Tracks]]=== |
===[[The Legend of Zelda: Spirit Tracks]]=== |
||
{{Galería |
{{Galería |
||
| − | |Mothula spirit.png| |
+ | |Mothula spirit.png|[[Polillántula]] |
| − | |STRocktite.png| |
+ | |STRocktite.png|[[Rocktite]] |
| − | |Guerrero Zora ST.png| |
+ | |Guerrero Zora ST.png|[[Guerreros Zora]] |
| − | |Big Blin ST.png| |
+ | |Big Blin ST.png|[[Gran Blin]] |
| − | |Snapper ST.png| |
+ | |Snapper ST.png|[[Snapper (Spirit Tracks)|Snapper]] |
| − | |Heatoise.png| |
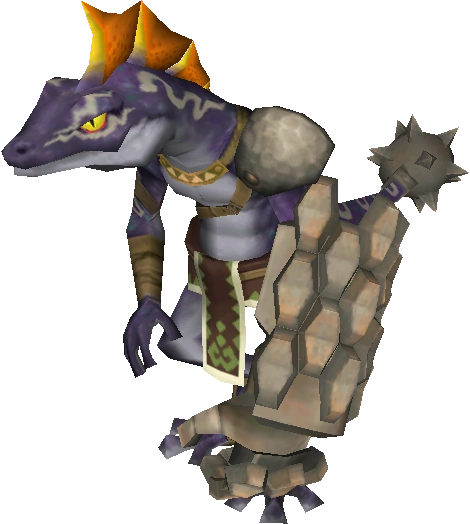
+ | |Heatoise.png|[[Heatoise]] |
| − | |Link Oscuro ST.png| |
+ | |Link Oscuro ST.png|[[Link Oscuro]] |
|position = center |
|position = center |
||
| + | |captionalign = center |
||
|width = 120 |
|width = 120 |
||
|height = 160}} |
|height = 160}} |
||
| Línea 174: | Línea 211: | ||
===[[The Legend of Zelda: Skyward Sword]]=== |
===[[The Legend of Zelda: Skyward Sword]]=== |
||
{{Galería |
{{Galería |
||
| − | |Stalfo SS.png| |
+ | |Stalfo SS.png|[[Stalfos]] |
| − | |Lizalfos SS.png| |
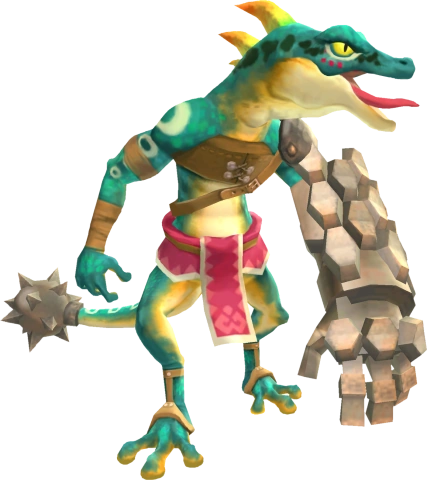
+ | |Lizalfos SS.png|[[Lizalfos]] |
| − | |Stalmaster.png| |
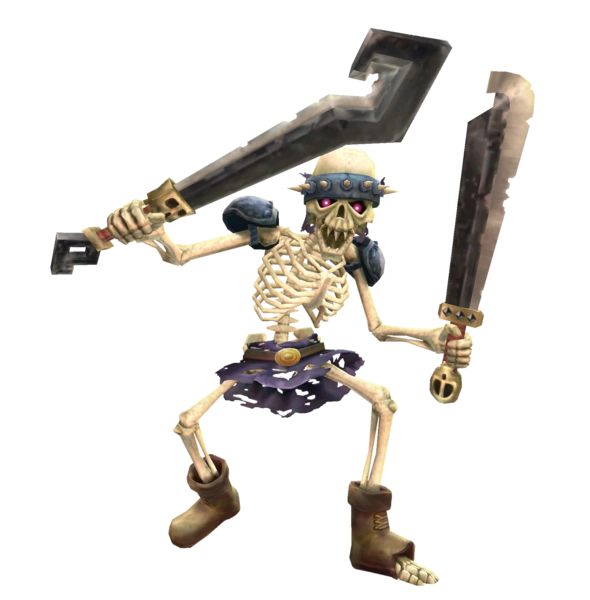
+ | |Stalmaster.png|[[Stalfos Supremo]] |
| − | |250px-LD-002G Scervo Artwork.png| |
+ | |250px-LD-002G Scervo Artwork.png|[[DL-002G Don Gera|Don Gera]] |
| − | |Magmanos.png| |
+ | |Magmanos.png|[[Magmano]] |
| − | |Dark Lizalfos.png| |
+ | |Dark Lizalfos.png|[[Lizalfos Oscuro]] |
| − | |Don Killer.png| |
+ | |Don Killer.png|[[DL-003K Don Killer|Don Killer]] |
|position = center |
|position = center |
||
| + | |captionalign = center |
||
|width = 120 |
|width = 120 |
||
|height = 160}} |
|height = 160}} |
||
| Línea 187: | Línea 225: | ||
===[[The Legend of Zelda: A Link Between Worlds]]=== |
===[[The Legend of Zelda: A Link Between Worlds]]=== |
||
{{Galería |
{{Galería |
||
| − | |Armos_ALBW.png| |
+ | |Armos_ALBW.png|[[Armos]] |
| − | | |
+ | |ALBW_Stalfos.png|[[Stalfos]] |
| − | |Salamanders_ALBW.png| |
+ | |Salamanders_ALBW.png|[[Heedle]] |
| − | |Ferrobola_ALBW.png| |
+ | |Ferrobola_ALBW.png|[[Ferrobola]] |
| − | |Goriya Verde ALBW.png| |
+ | |Goriya Verde ALBW.png|[[Goriya]] |
| − | |GigaBari_ABLW.png| |
+ | |GigaBari_ABLW.png|[[Gigabari]] |
| − | |Eyegore_Verde_ALBW.png| |
+ | |Eyegore_Verde_ALBW.png|[[Eyegore]] |
| − | |Debirando_ALBW.png| |
+ | |Debirando_ALBW.png|[[Devalant]] |
| − | |HokBokALBW.png| |
+ | |HokBokALBW.png|[[Hokbok]] |
| − | |Gibdo Modelo ALBW.png| |
+ | |Gibdo Modelo ALBW.png|[[Gibdo]] |
| − | |Pengator ALBW.png| |
+ | |Pengator ALBW.png|[[Pengator]] |
| − | |Gargola ALBW.png| |
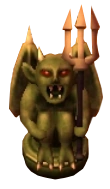
+ | |Gargola ALBW.png|[[Gimos]] |
| + | |position = center |
||
| + | |captionalign = center |
||
| + | |width = 120 |
||
| + | |height = 160}} |
||
| + | |||
| + | ===[[The Legend of Zelda: Tri Force Heroes]]=== |
||
| + | {{Galería |
||
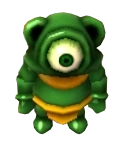
| + | |Rey Buzz Blob.png|[[Rey Buzz Blob]] |
||
| + | |TFH_Buzz_Blob_Boss_2.png|[[Reina Buzz Blob]] |
||
| + | |TFH_Hinox_Bros_1_y_2.png|[[Hermanos Hinox]] |
||
| + | |TFH_Freezlord.png|[[Freezlord]] |
||
| + | |TFH_Hinox_Bros_3.png|[[Hermanos Hinox]] |
||
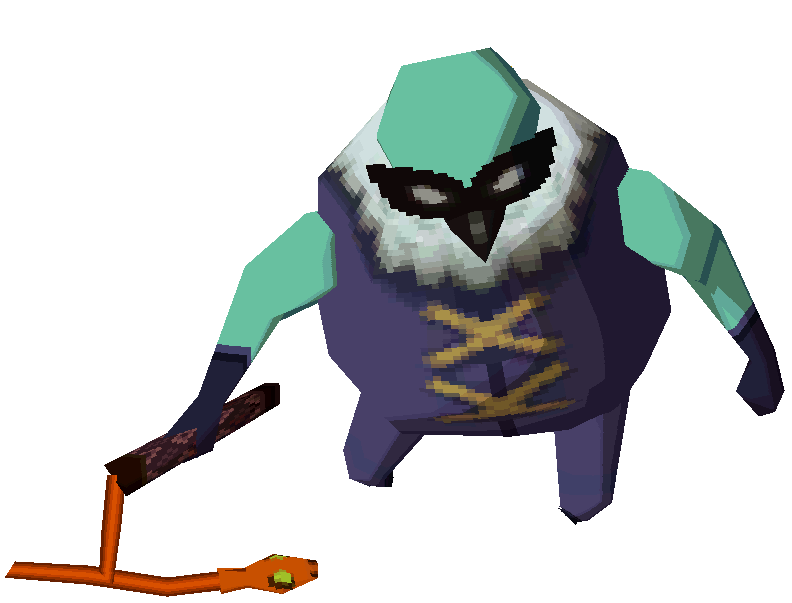
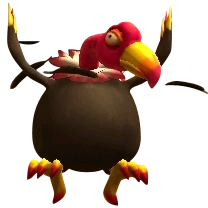
| + | |TFH_Buitre_Visir.png|[[Buitre Visir]] |
||
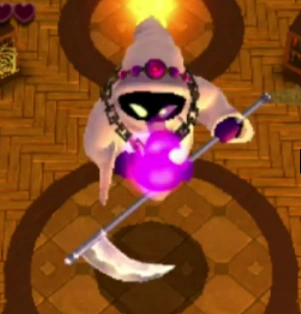
| + | |TFH_Grim_Poe.png|[[Grim Poe]] |
||
| + | |TFH_Gigaleon.png|[[Gigaleon]] |
||
| + | |position = center |
||
| + | |captionalign = center |
||
| + | |width = 120 |
||
| + | |height = 160}} |
||
| + | |||
| + | ===[[The Legend of Zelda: Breath of the Wild]]=== |
||
| + | {{Galería |
||
| + | |Centaleon comun breath of the wild.jpg|[[Centaleón]] |
||
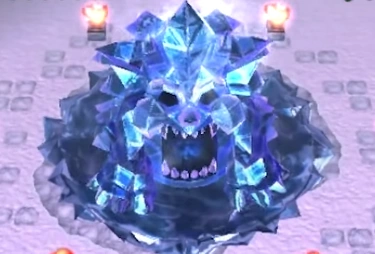
| + | |Frost-talus.jpg|[[Glaciarok]] |
||
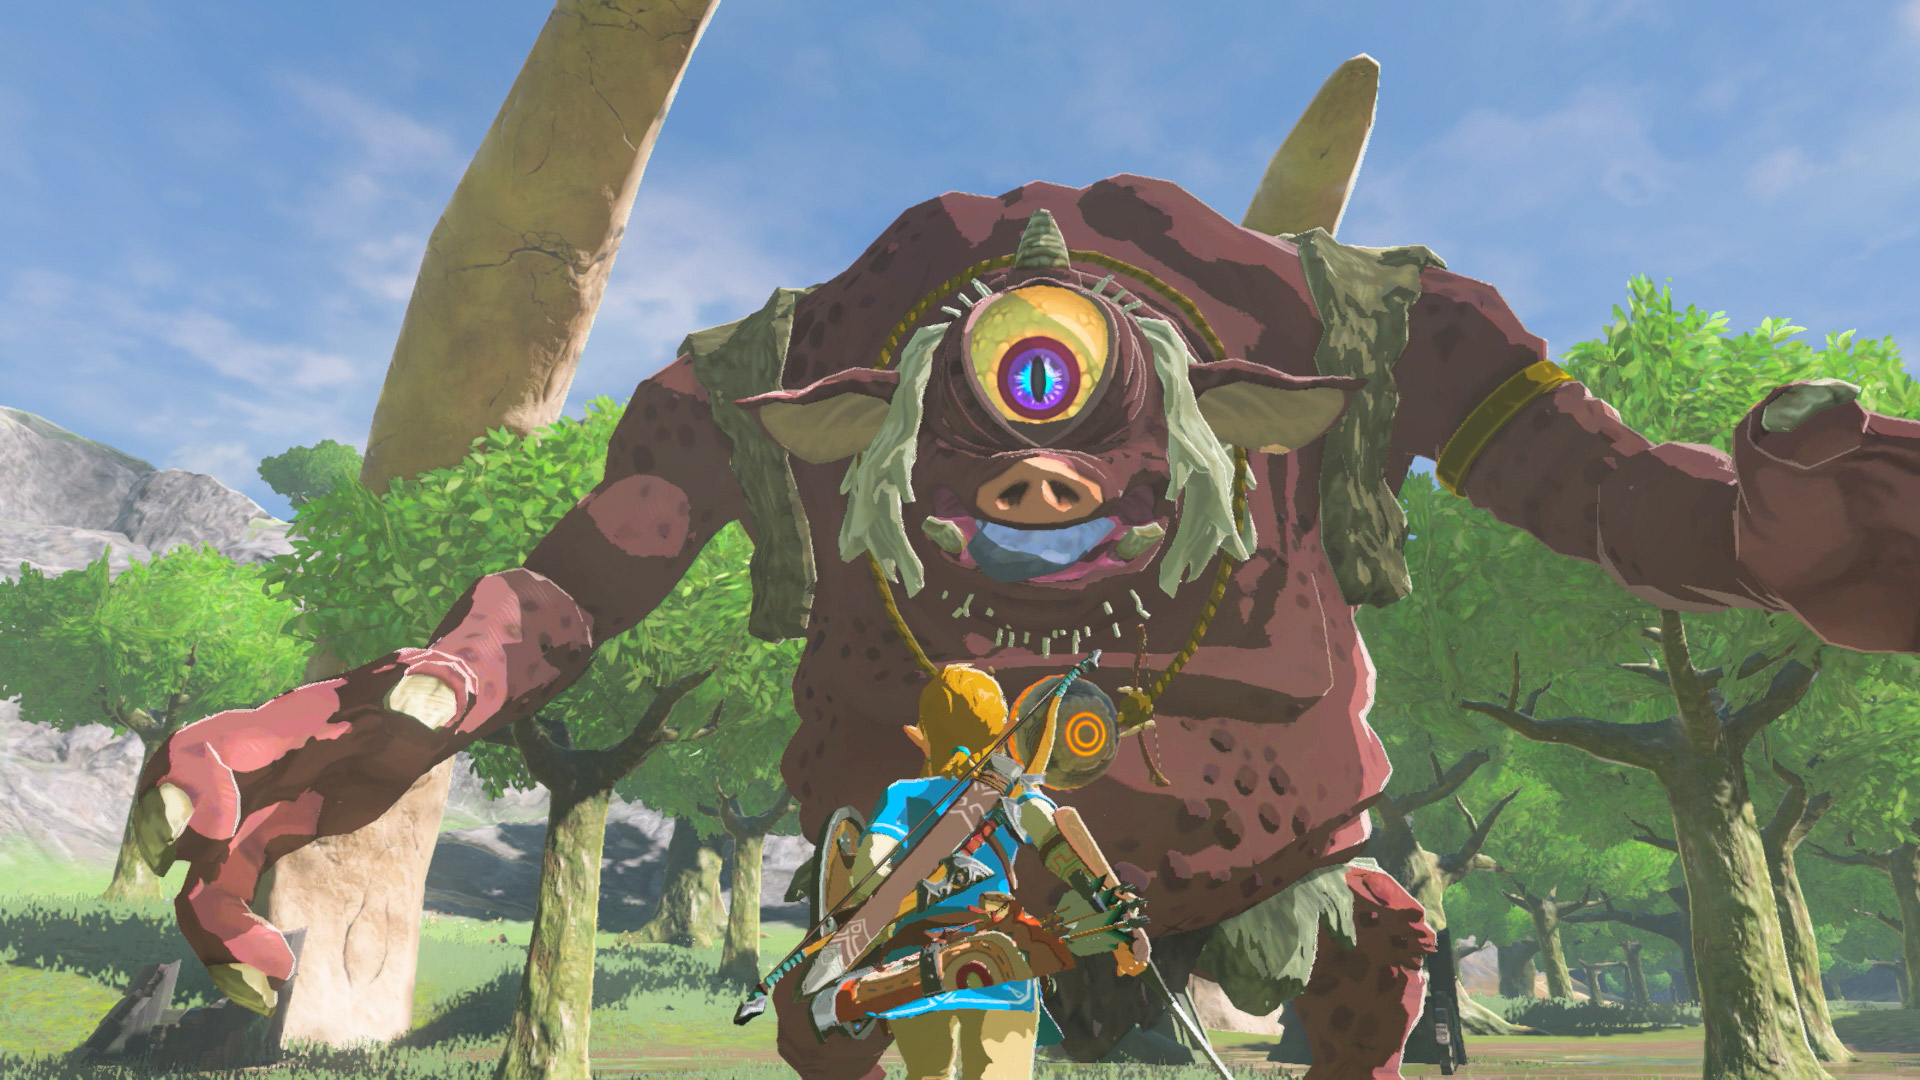
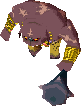
| + | |Hinox (Breath of the Wild).jpg|[[Hinox]] |
||
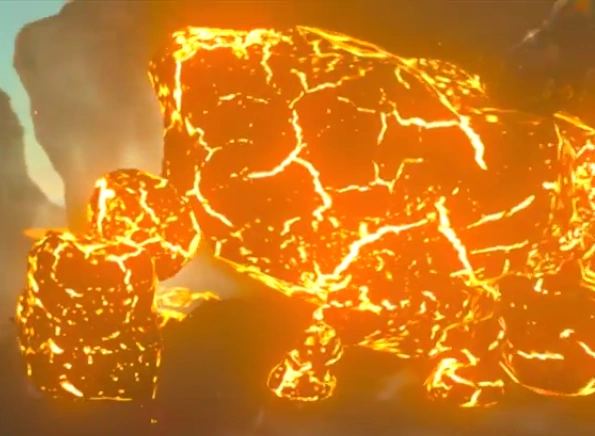
| + | |Magmarok BotW.png|[[Magmarok]] |
||
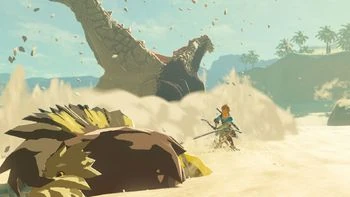
| + | |Molduga BOTW.jpg|[[Moldora]] |
||
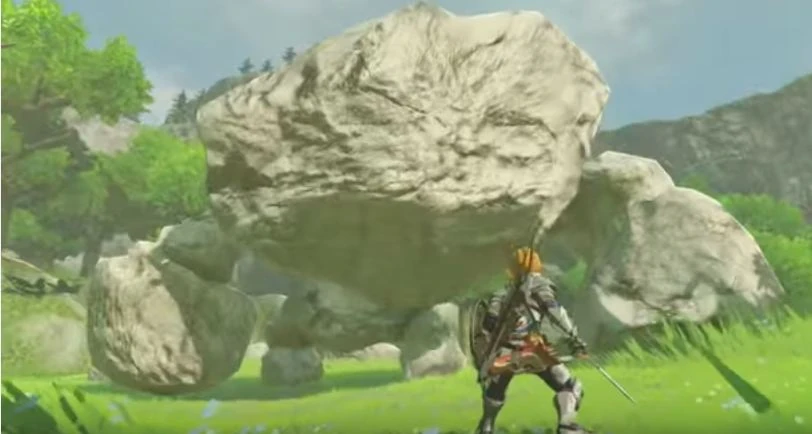
| + | |Petrarok trailer BotW.jpg|[[Petrarok]] |
||
|position = center |
|position = center |
||
| + | |captionalign = center |
||
|width = 120 |
|width = 120 |
||
|height = 160}} |
|height = 160}} |
||
| Línea 207: | Línea 274: | ||
[[en:Mini-boss]] |
[[en:Mini-boss]] |
||
| − | [[Categoría: |
+ | [[Categoría:Subjefes]] |
Revisión actual - 01:00 19 jun 2020
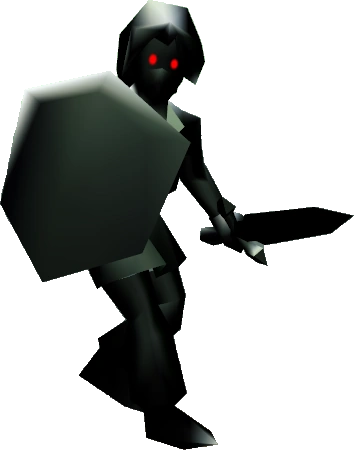
Un subjefe (mini-boss en inglés) es un tipo especial de enemigo en la serie de The Legend of Zelda. Por lo general, no es ni un enemigo regular ni un jefe y la batalla contra él es más duradera que la lucha contra un enemigo regular. A veces, la mazmorra no tiene subjefe. También, en raras ocasiones, una mazmorra puede tener más de un subjefe.
Los subjefes no aparecen solo en las mazmorras, también sirven como jefe de una minimazmorra y algunos han de ser vencidos a campo abierto. Debido a que muchos enemigos no se confirman como subjefes, la definición del término es comúnmente un aspecto controvertido de la serie. Link usualmente debe vencer a un subjefe para obtener el objeto especial de la mazmorra. A veces, enemigos que a lo largo del juego se convierten en enemigos regulares, pueden servir como subjefes, como en el caso de Ferrus, Stalfos o Lizalfos. Aunque es poco frecuente, en algunos juegos hay que combatir por segunda vez con jefes, los cuales en este segundo caso actúan más como un subjefe, que como un jefe.
Apariciones
The Legend of Zelda
Este juego cuenta con dos búsquedas, ambas difieren en los enemigos que aparecen dentro de las mazmorras, por lo tanto, poseen listas distintas.
Primera búsqueda


Segunda búsqueda


The Legend of Zelda: Link's Awakening
 |
 |
 |
 |
 |
 |
 |
 |
 |
 |
 |
 |
 |
The Legend of Zelda: Ocarina of Time
 |
 |
 |
 |
 |
 |
 |
|
 |
 |
 |
The Legend of Zelda: Majora's Mask
 |
 |
 |
 |
 |
 |
 |
 |
 |
 |
 |
The Legend of Zelda: Oracle of Ages


The Legend of Zelda: Oracle of Seasons


The Legend of Zelda: The Wind Waker

The Legend of Zelda: Four Swords Adventures
 |
 |
 |
 |
 |
 |
 |
 |
 |
 |
The Legend of Zelda: The Minish Cap


The Legend of Zelda: Twilight Princess
 |
 |
 |
 |
 |
 |
 |
 |
 |
 |
 |
The Legend of Zelda: Phantom Hourglass
The Legend of Zelda: Spirit Tracks


The Legend of Zelda: Skyward Sword

The Legend of Zelda: A Link Between Worlds


The Legend of Zelda: Tri Force Heroes
 |
 |
 |
 |
 |
 |
 |
The Legend of Zelda: Breath of the Wild