(Actualizacion Bigocto por artwork oficial) Etiqueta: Edición visual |
|||
| (No se muestran 44 ediciones intermedias de 11 usuarios) | |||
| Línea 1: | Línea 1: | ||
| − | A continuación, nombraremos los enemigos que aparecen en [[The Legend of Zelda: Ocarina of Time]]. Muchos de estos |
+ | A continuación, nombraremos los enemigos que aparecen en ''[[The Legend of Zelda: Ocarina of Time]]''. Muchos de estos enemigos también aparecen en otros juegos. |
| − | == |
+ | ==Enemigos== |
| + | {{Galería |
||
| − | *[[Anubis]] |
||
| + | |Anubis OoT.png|<center>[[Anubis]]</center> |
||
| − | *[[Armos]] |
||
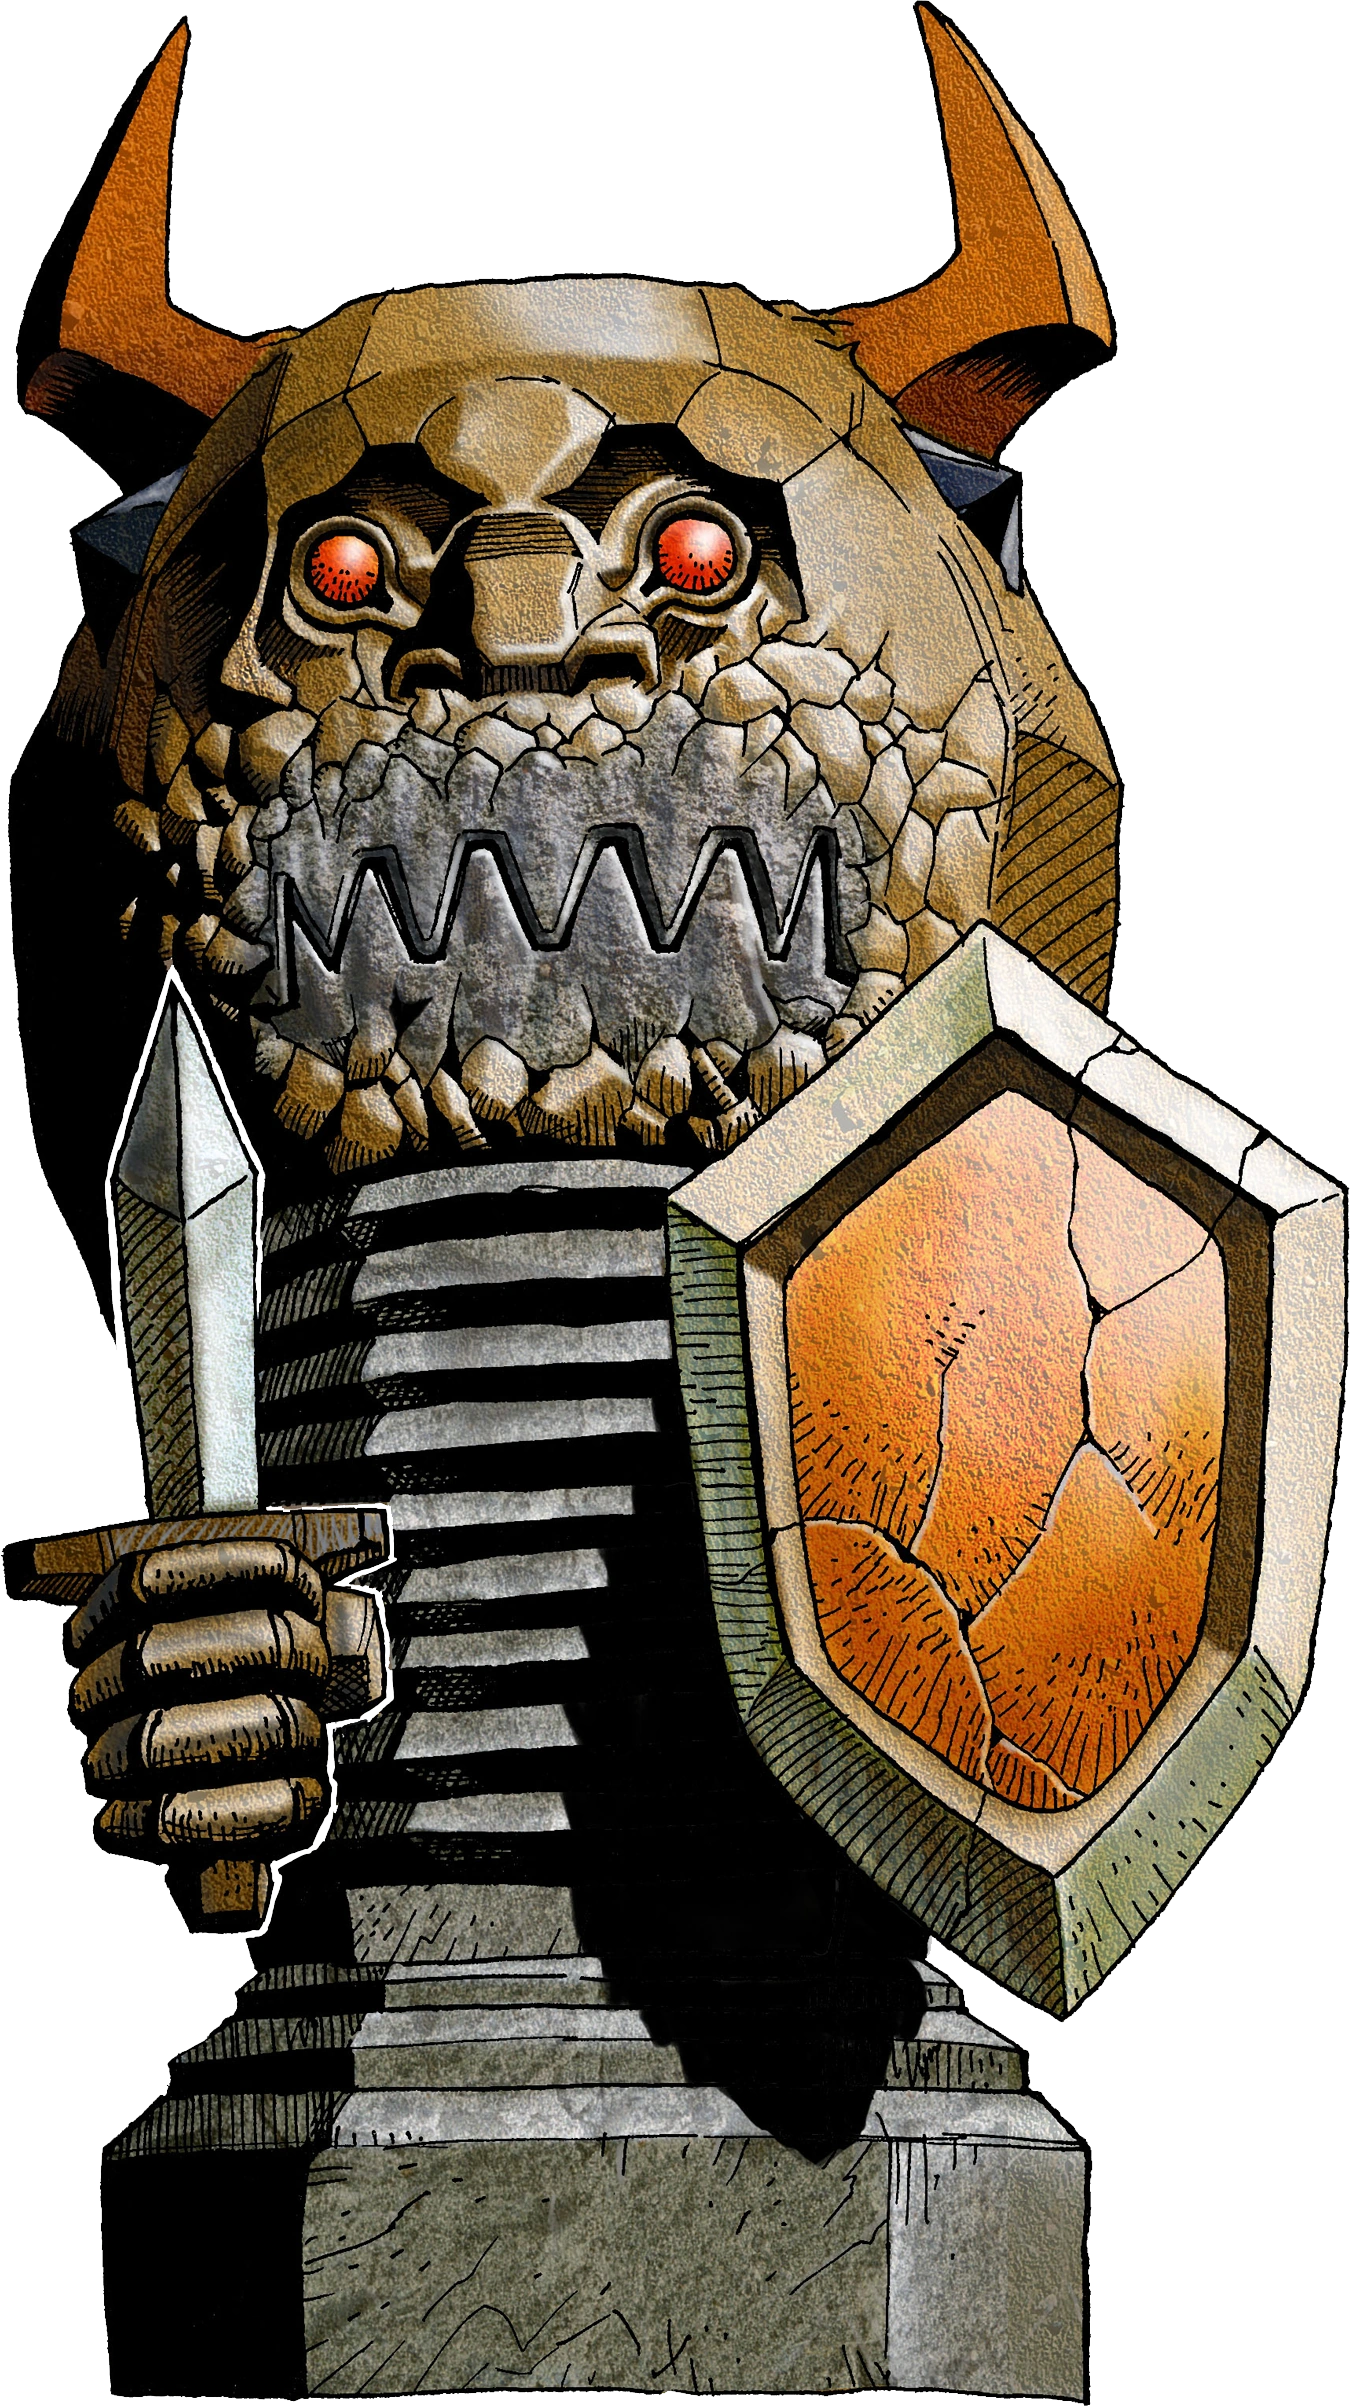
| + | |Armos OoT Artwork.png|<center>[[Armos]]</center> |
||
| − | *[[Babas Deku]] |
||
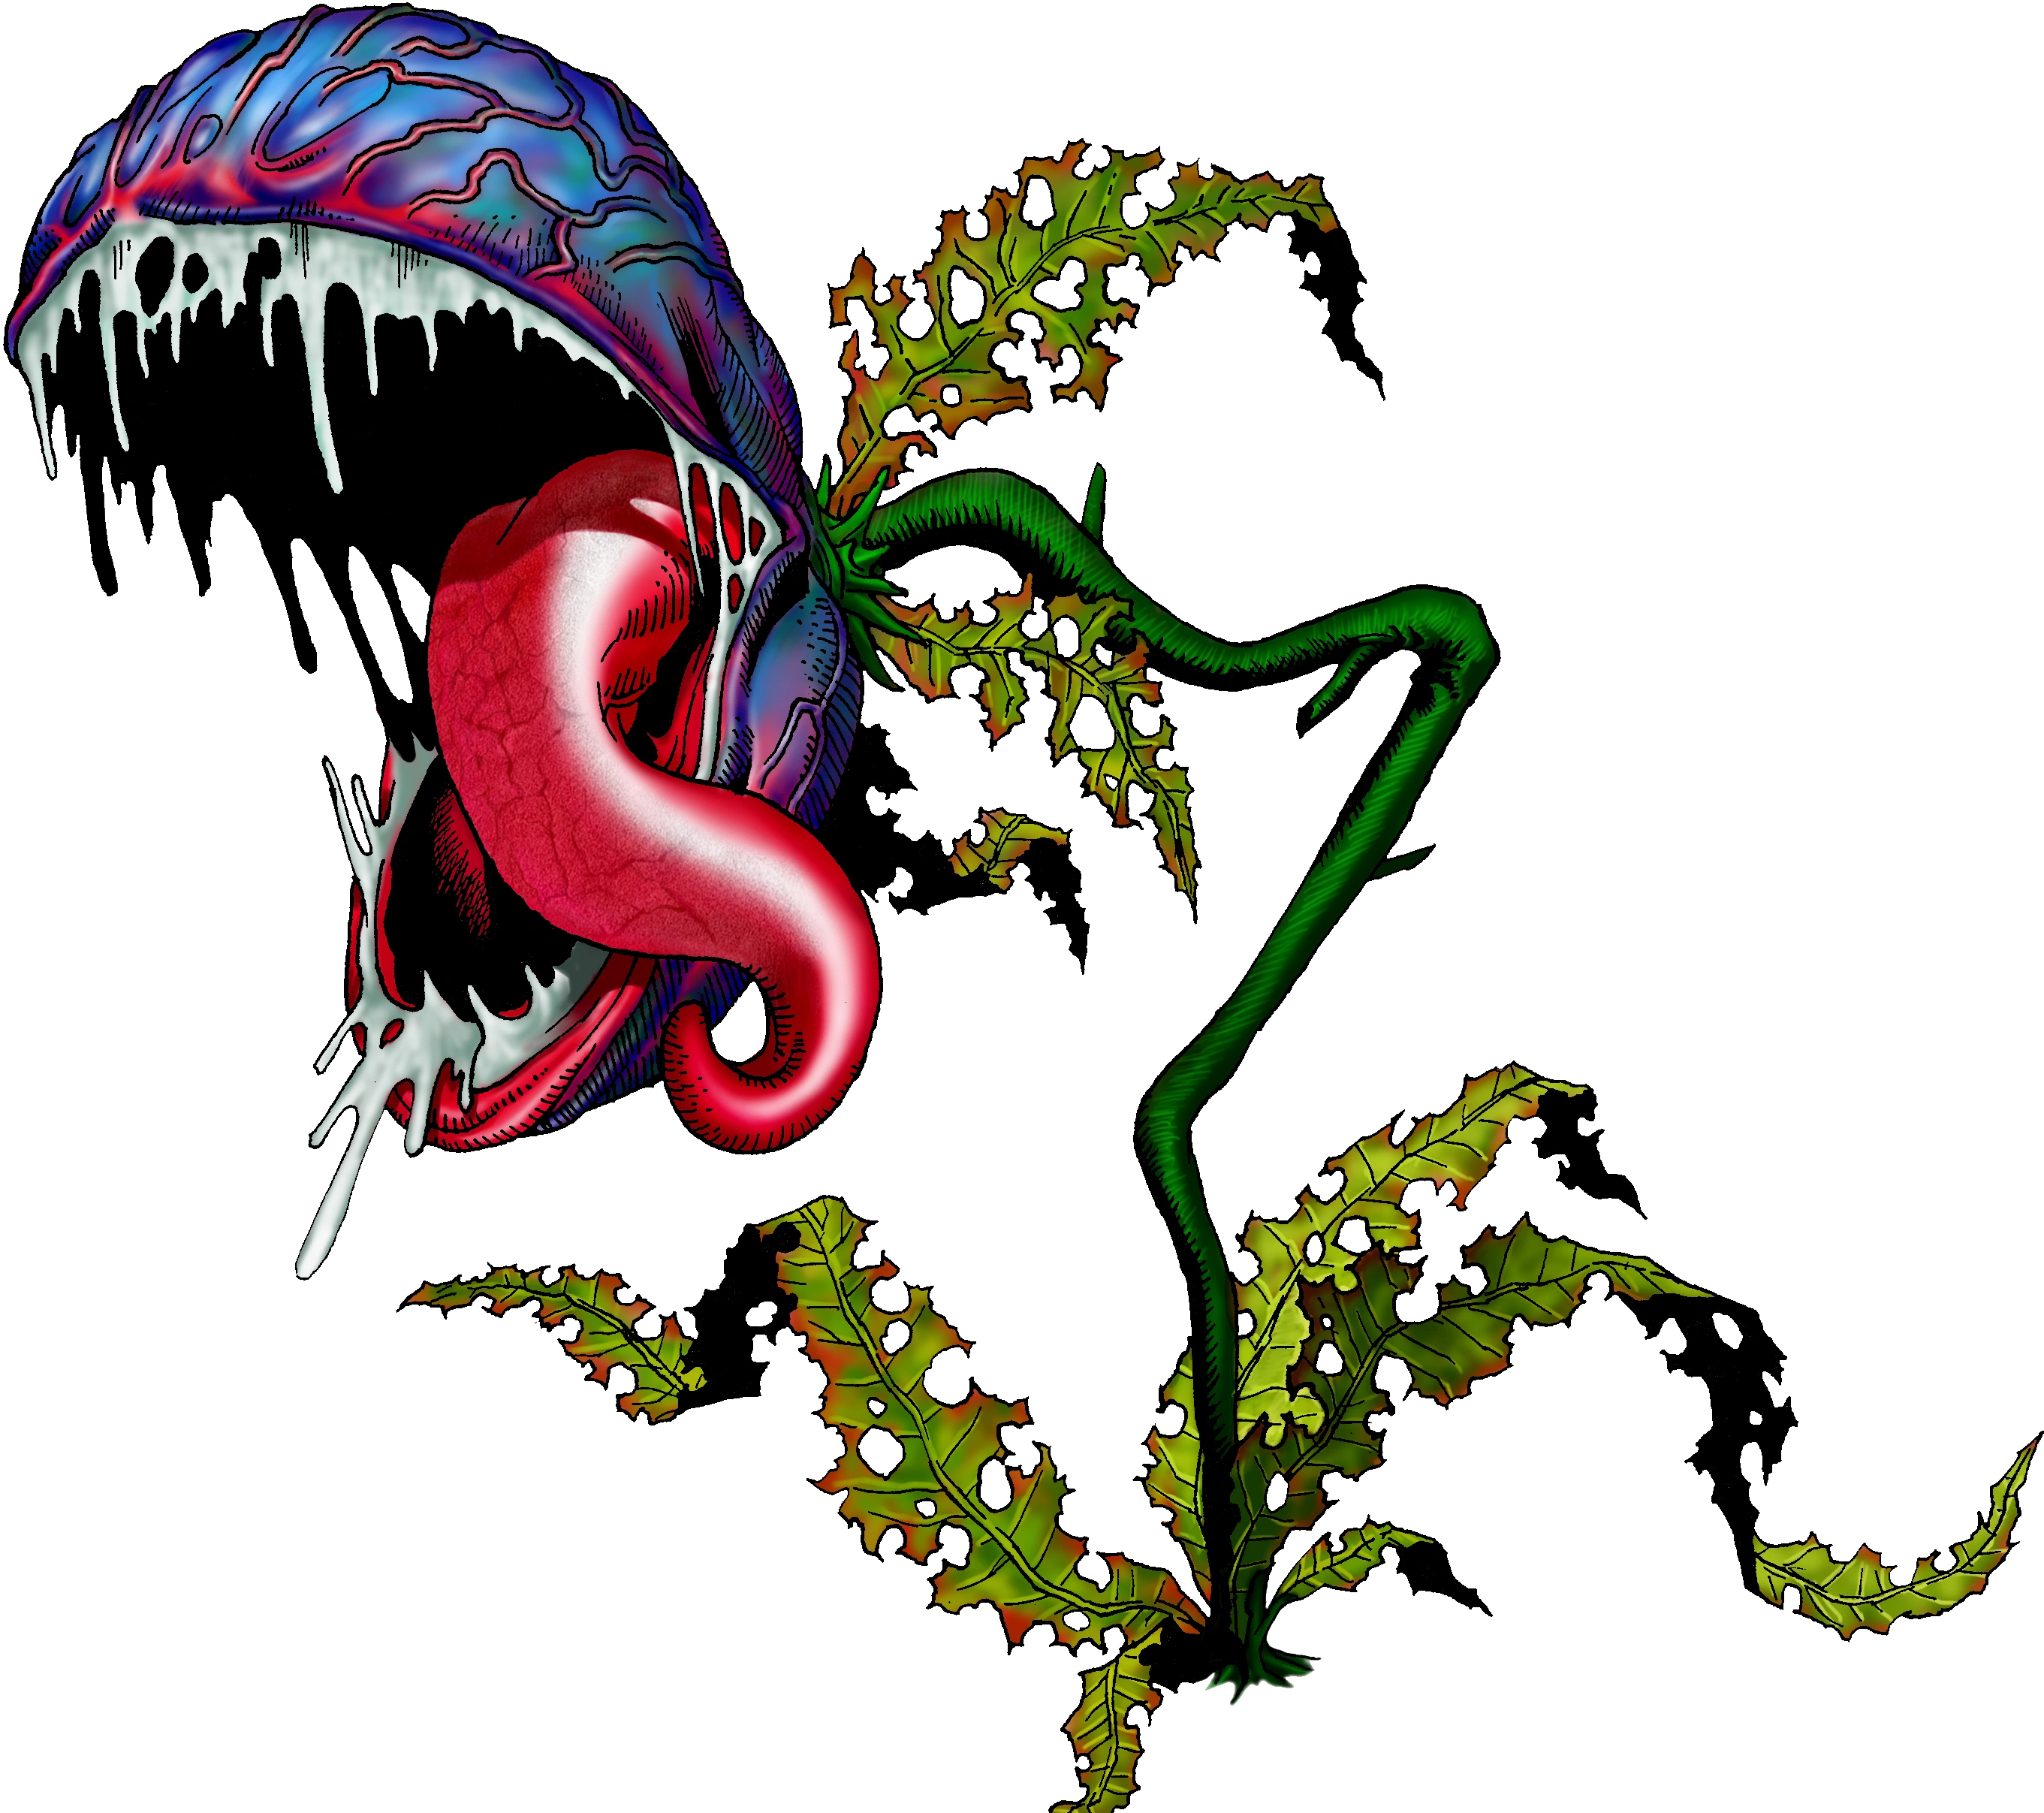
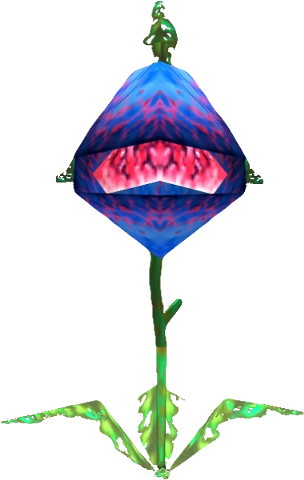
| + | |Deku Baba Artwork 3d.png|<center>[[Babas Deku]]</center> |
||
| − | *[[Baby Dodongo]] |
||
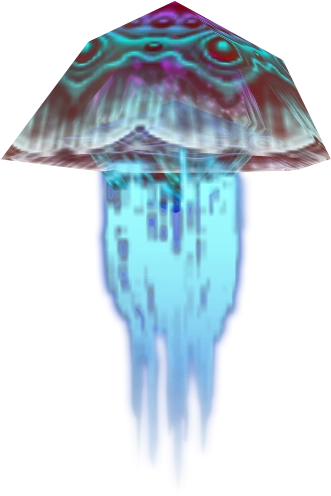
| − | + | |Bari OoT.png|<center>[[Bari]]</center> |
|
| − | + | |Beamos_OOT.png|<center>[[Beamos]]</center> |
|
| + | |Baby Dodongo Artwork (Ocarina of Time).png|<center>[[Bebé Dodongo]]</center> |
||
| − | *[[Bemol]] |
||
| + | |Bemol.png|<center>[[Bemol]]</center> |
||
| − | *[[Bubble]] |
||
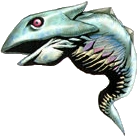
| + | |Biri OoT.png|<center>[[Biri]]</center> |
||
| − | *[[Dinolfos]] |
||
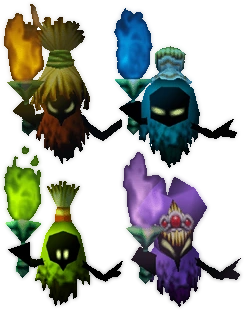
| + | |Artwork Bubble Azul OoT.png|<center>[[Bubble]]</center> |
||
| − | *[[Dodongo]] |
||
| + | |Bubble Azul.png|<center>[[Bubble Azul]]</center> |
||
| − | *[[Floormaster]] |
||
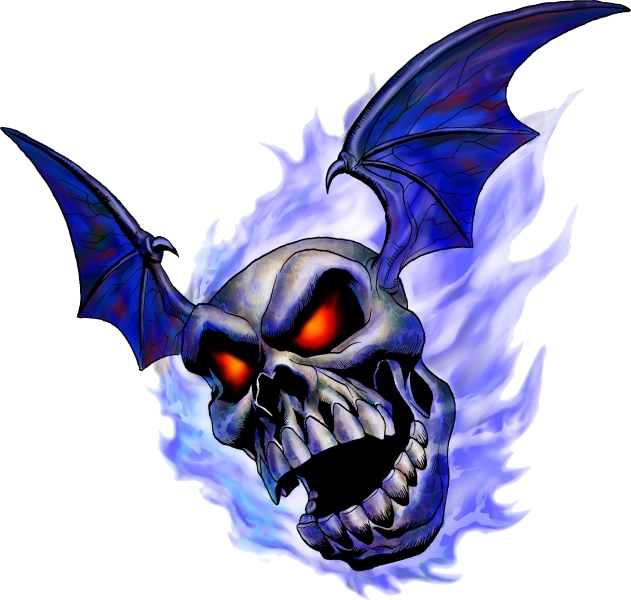
| + | |Bubble de Fuego OoT.png|<center>[[Bubble Rojo]]</center> |
||
| − | *[[Freezard]] |
||
| + | |Bubble Verde.png|<center>[[Bubble Verde]]</center> |
||
| − | *[[Gibdo]] |
||
| + | |Dinolfos OoT.png|<center>[[Dinolfos]]</center> |
||
| − | *[[Gran Baba]] |
||
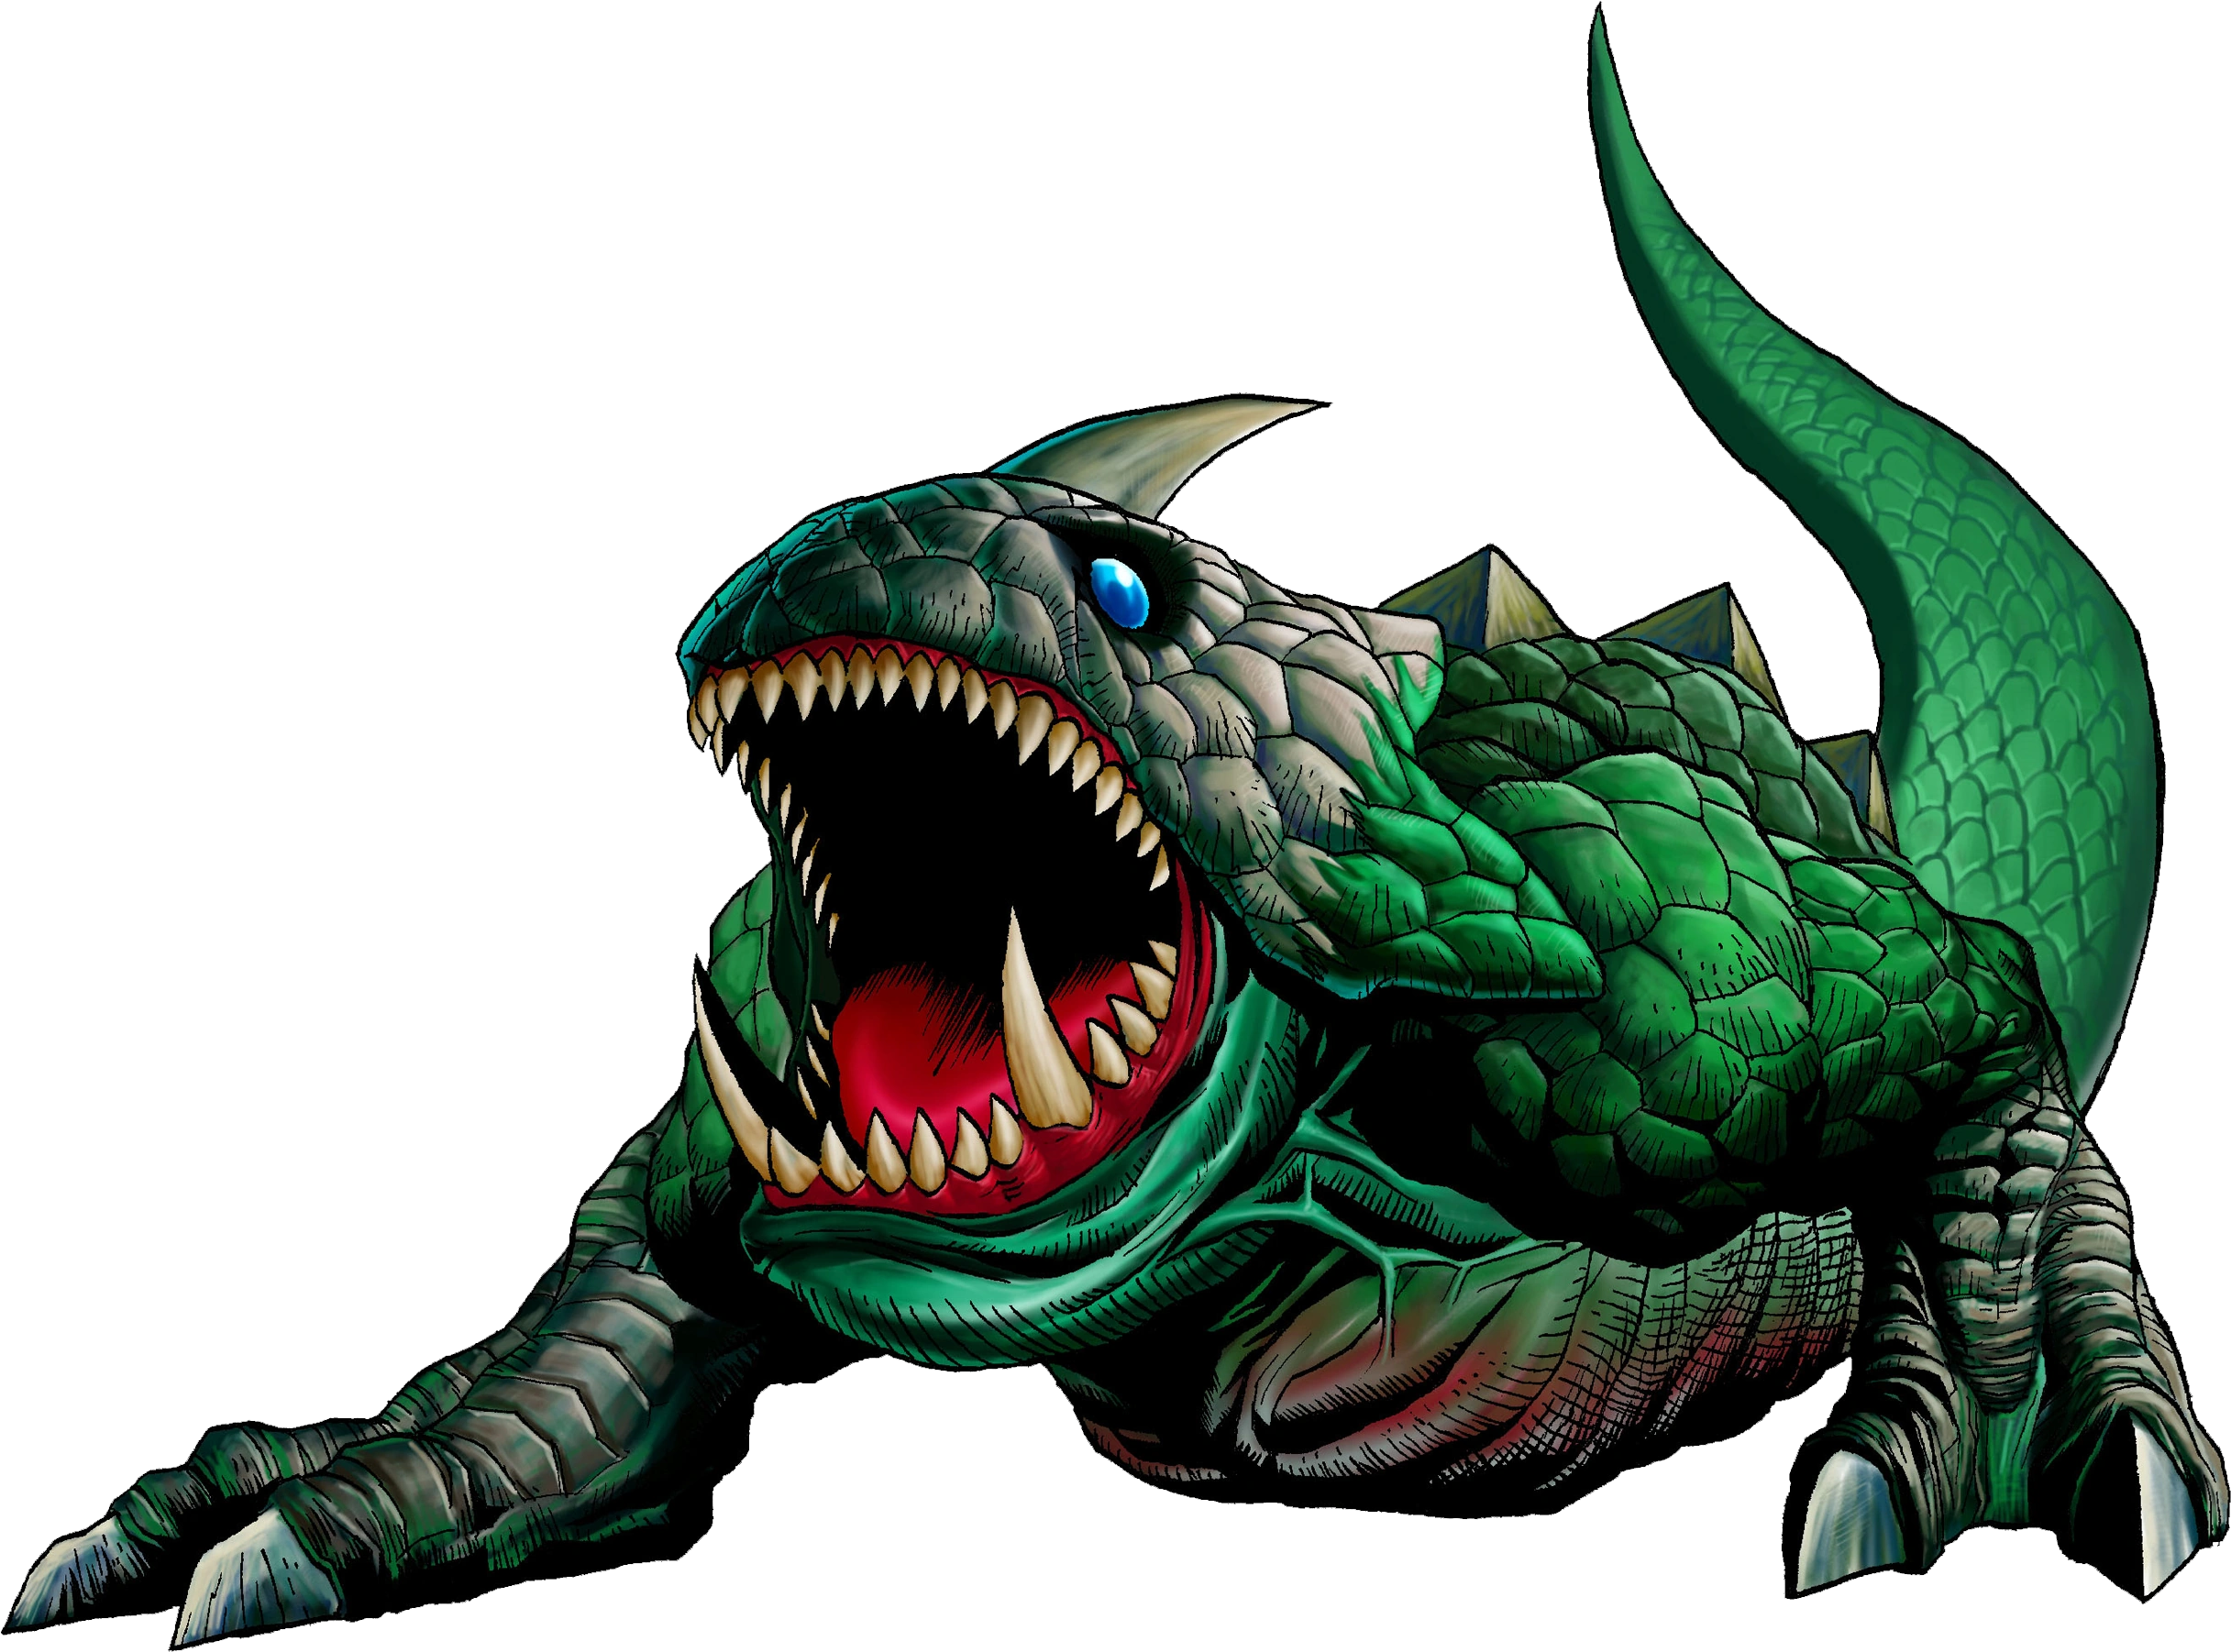
| + | |Dodongo_Majora's_Mask.png|<center>[[Dodongo]]</center> |
||
| − | *[[Gran Skulltula]] |
||
| + | |Floormaster_OoT_y_MM.png|<center>[[Floormaster]]</center> |
||
| − | *[[Guay]] |
||
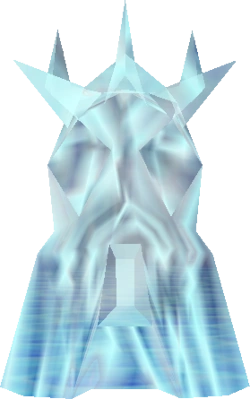
| + | |Freezard.png|<center>[[Freezard]]</center> |
||
| − | *[[Keese]] |
||
| + | |Gibdo (Ocarina of Time).png|<center>[[Gibdo]]</center> |
||
| − | *[[Keese de Fuego]] |
||
| + | |Gran_Baba_Deku_OoT.png|<center>[[Gran Baba Deku]]</center> |
||
| − | *[[Keese de Hielo]] |
||
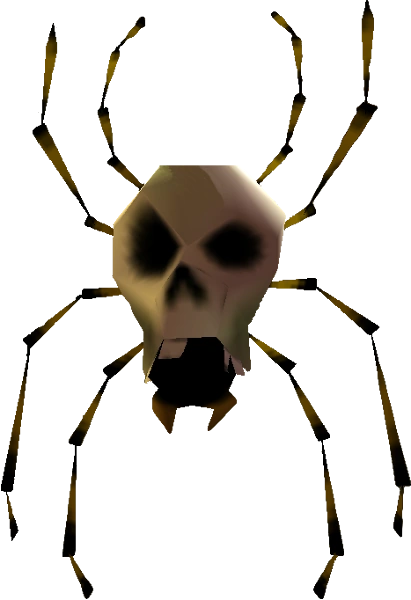
| + | |Gran Skulltula_OoT.png|<center>[[Gran Skulltula]]</center> |
||
| − | *[[Llamababa]] |
||
| + | |Guay (OoT y MM).png|<center>[[Guay]]</center> |
||
| − | *[[Like Like]] |
||
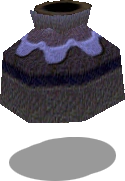
| + | |Jarrón Volador Oot.png|<center>[[Jarrón Volador]]</center> |
||
| − | *[[Lizalfos]] |
||
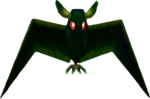
| + | |Keese (Ocarina of Time).png|<center>[[Keese]]</center> |
||
| − | *[[Mano Muerta]] |
||
| + | |Keese de Fuego.png|<center>[[Keese de Fuego]]</center> |
||
| − | *[[Matorral Loco]] |
||
| + | |Keese_de_Hielo_OoT_y_MM.png|<center>[[Keese de Hielo]]</center> |
||
| − | *[[Moblin]] |
||
| + | |position = center |
||
| − | *[[Nudillo de Hierro]] |
||
| + | |width = 120 |
||
| − | *[[Octorok]] |
||
| + | |height = 160}} |
||
| − | *[[Peahat]] |
||
| + | {{Galería |
||
| − | *[[Poe]] |
||
| + | |Torch Slug (Ocarina of Time).png|<center>[[Llamababa]]</center> |
||
| − | *[[ReDead]] |
||
| + | |Peahat Larva.png|<center>[[Larva Peahat]]</center> |
||
| − | *[[Shabom]] |
||
| + | |Larva Gohma.png|<center>[[Larva Gohma]]</center> |
||
| − | *[[Shell Blade]] |
||
| + | |Leever_artwork.png|<center>[[Leever]]</center> |
||
| − | *[[Skull Kid (Personaje)|Skull Kid]] |
||
| + | |Like_Like_OOT.png|<center>[[Like Like]]</center> |
||
| − | *[[Skulltulas|Skulltula]] |
||
| + | |Artwork_Lizalfos_Oot.png|<center>[[Lizalfos]]</center> |
||
| − | *[[Skulltula Dorada]] |
||
| + | |Mano Muerta OoT.png|<center>[[Mano Muerta]]</center> |
||
| − | *[[Skullwalltula]] |
||
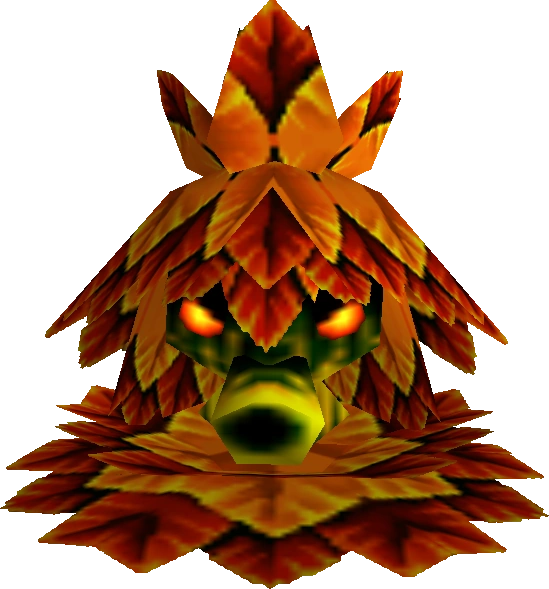
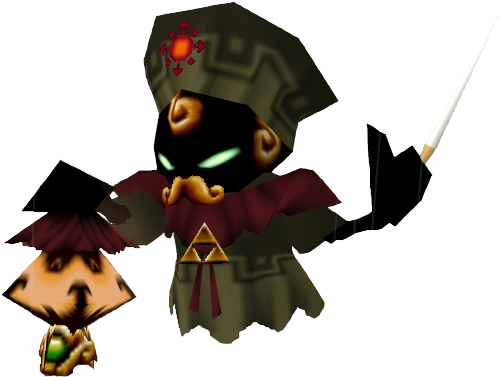
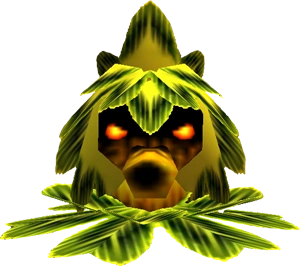
| + | |Matorral Loco.png|<center>[[Matorral Loco]]</center> |
||
| − | *[[Sostenido]] |
||
| + | |Moblin con Lanza(Ocarina of Time).png|<center>[[Moblin]]</center> |
||
| − | *[[Spike]] |
||
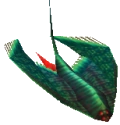
| + | |Moluscuchilla OoT y MM.gif|<center>[[Moluscuchilla]]</center> |
||
| − | *[[Stalchild]] |
||
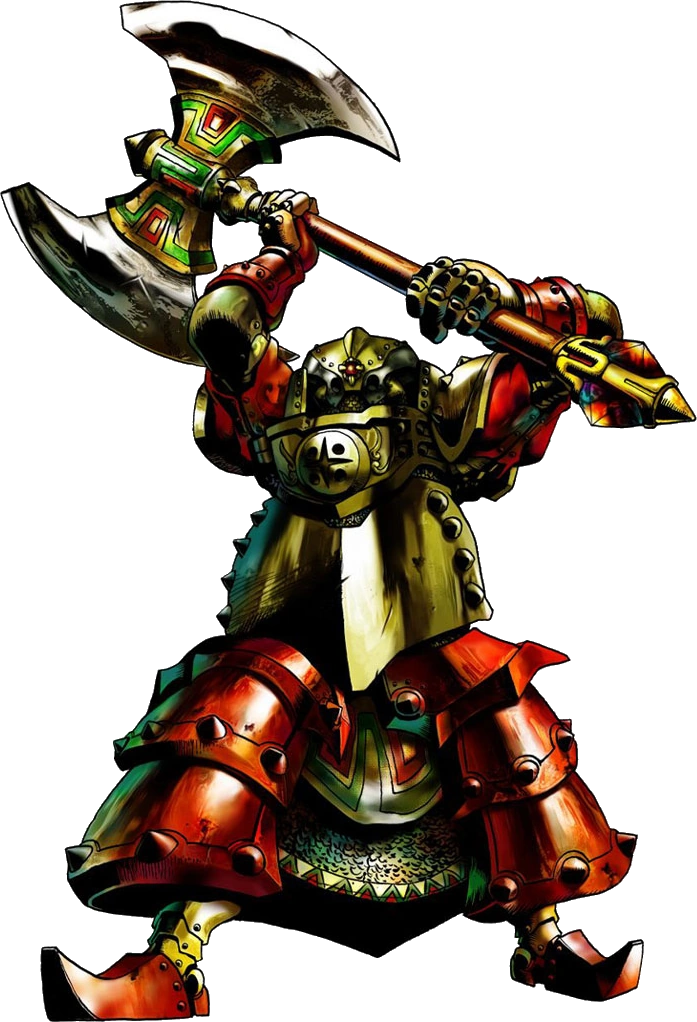
| + | |Artwork Nudillo de Hierro OoT y MM.png|<center>[[Nudillo de Hierro]]</center> |
||
| − | *[[Stalfos]] |
||
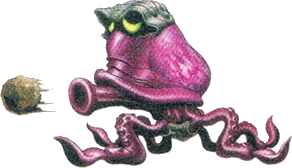
| + | |Octorok Artwork (Ocarina of Time).png|<center>[[Octorok]]</center> |
||
| − | *[[Stinger]] |
||
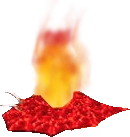
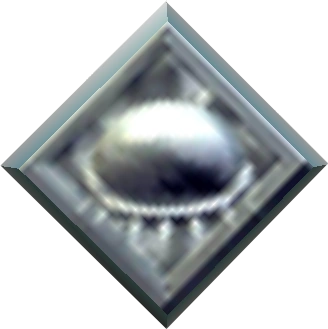
| + | |Ojo de Fuego inactivo.png|<center>[[Ojo de Fuego]]</center> |
||
| − | *[[Tailpasaran]] |
||
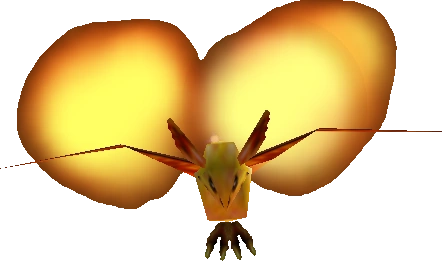
| + | |Peahat.png|<center>[[Peahat]]</center> |
||
| − | *[[Tektite]] |
||
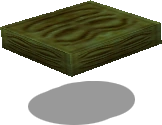
| + | |Plataforma Voladora OoT.png|<center>[[Plataforma Voladora]]</center> |
||
| − | *[[Tentáculo Parasitario]] |
||
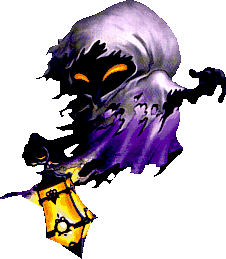
| + | |Poe_Artwork_(Ocarina_of_Time).png|<center>[[Poe]]</center> |
||
| − | *[[Wallmaster]] |
||
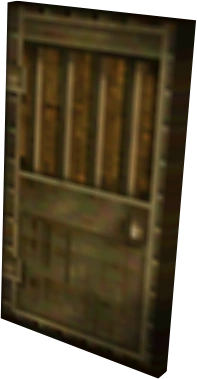
| + | |Puerta Falsa.png|<center>[[Puerta Falsa]]</center> |
||
| − | *[[Wolfos]] |
||
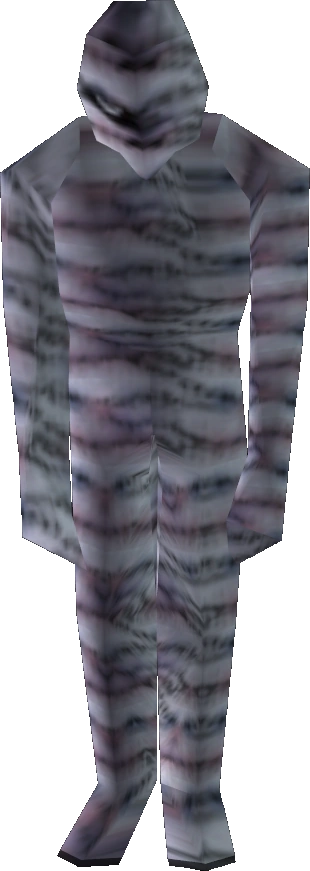
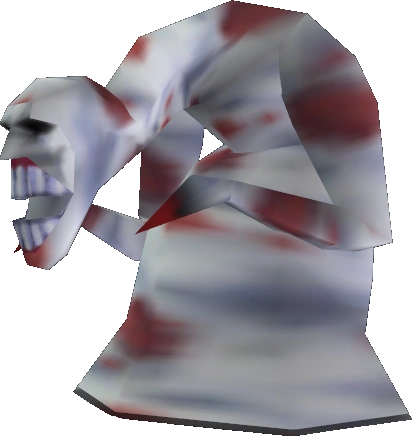
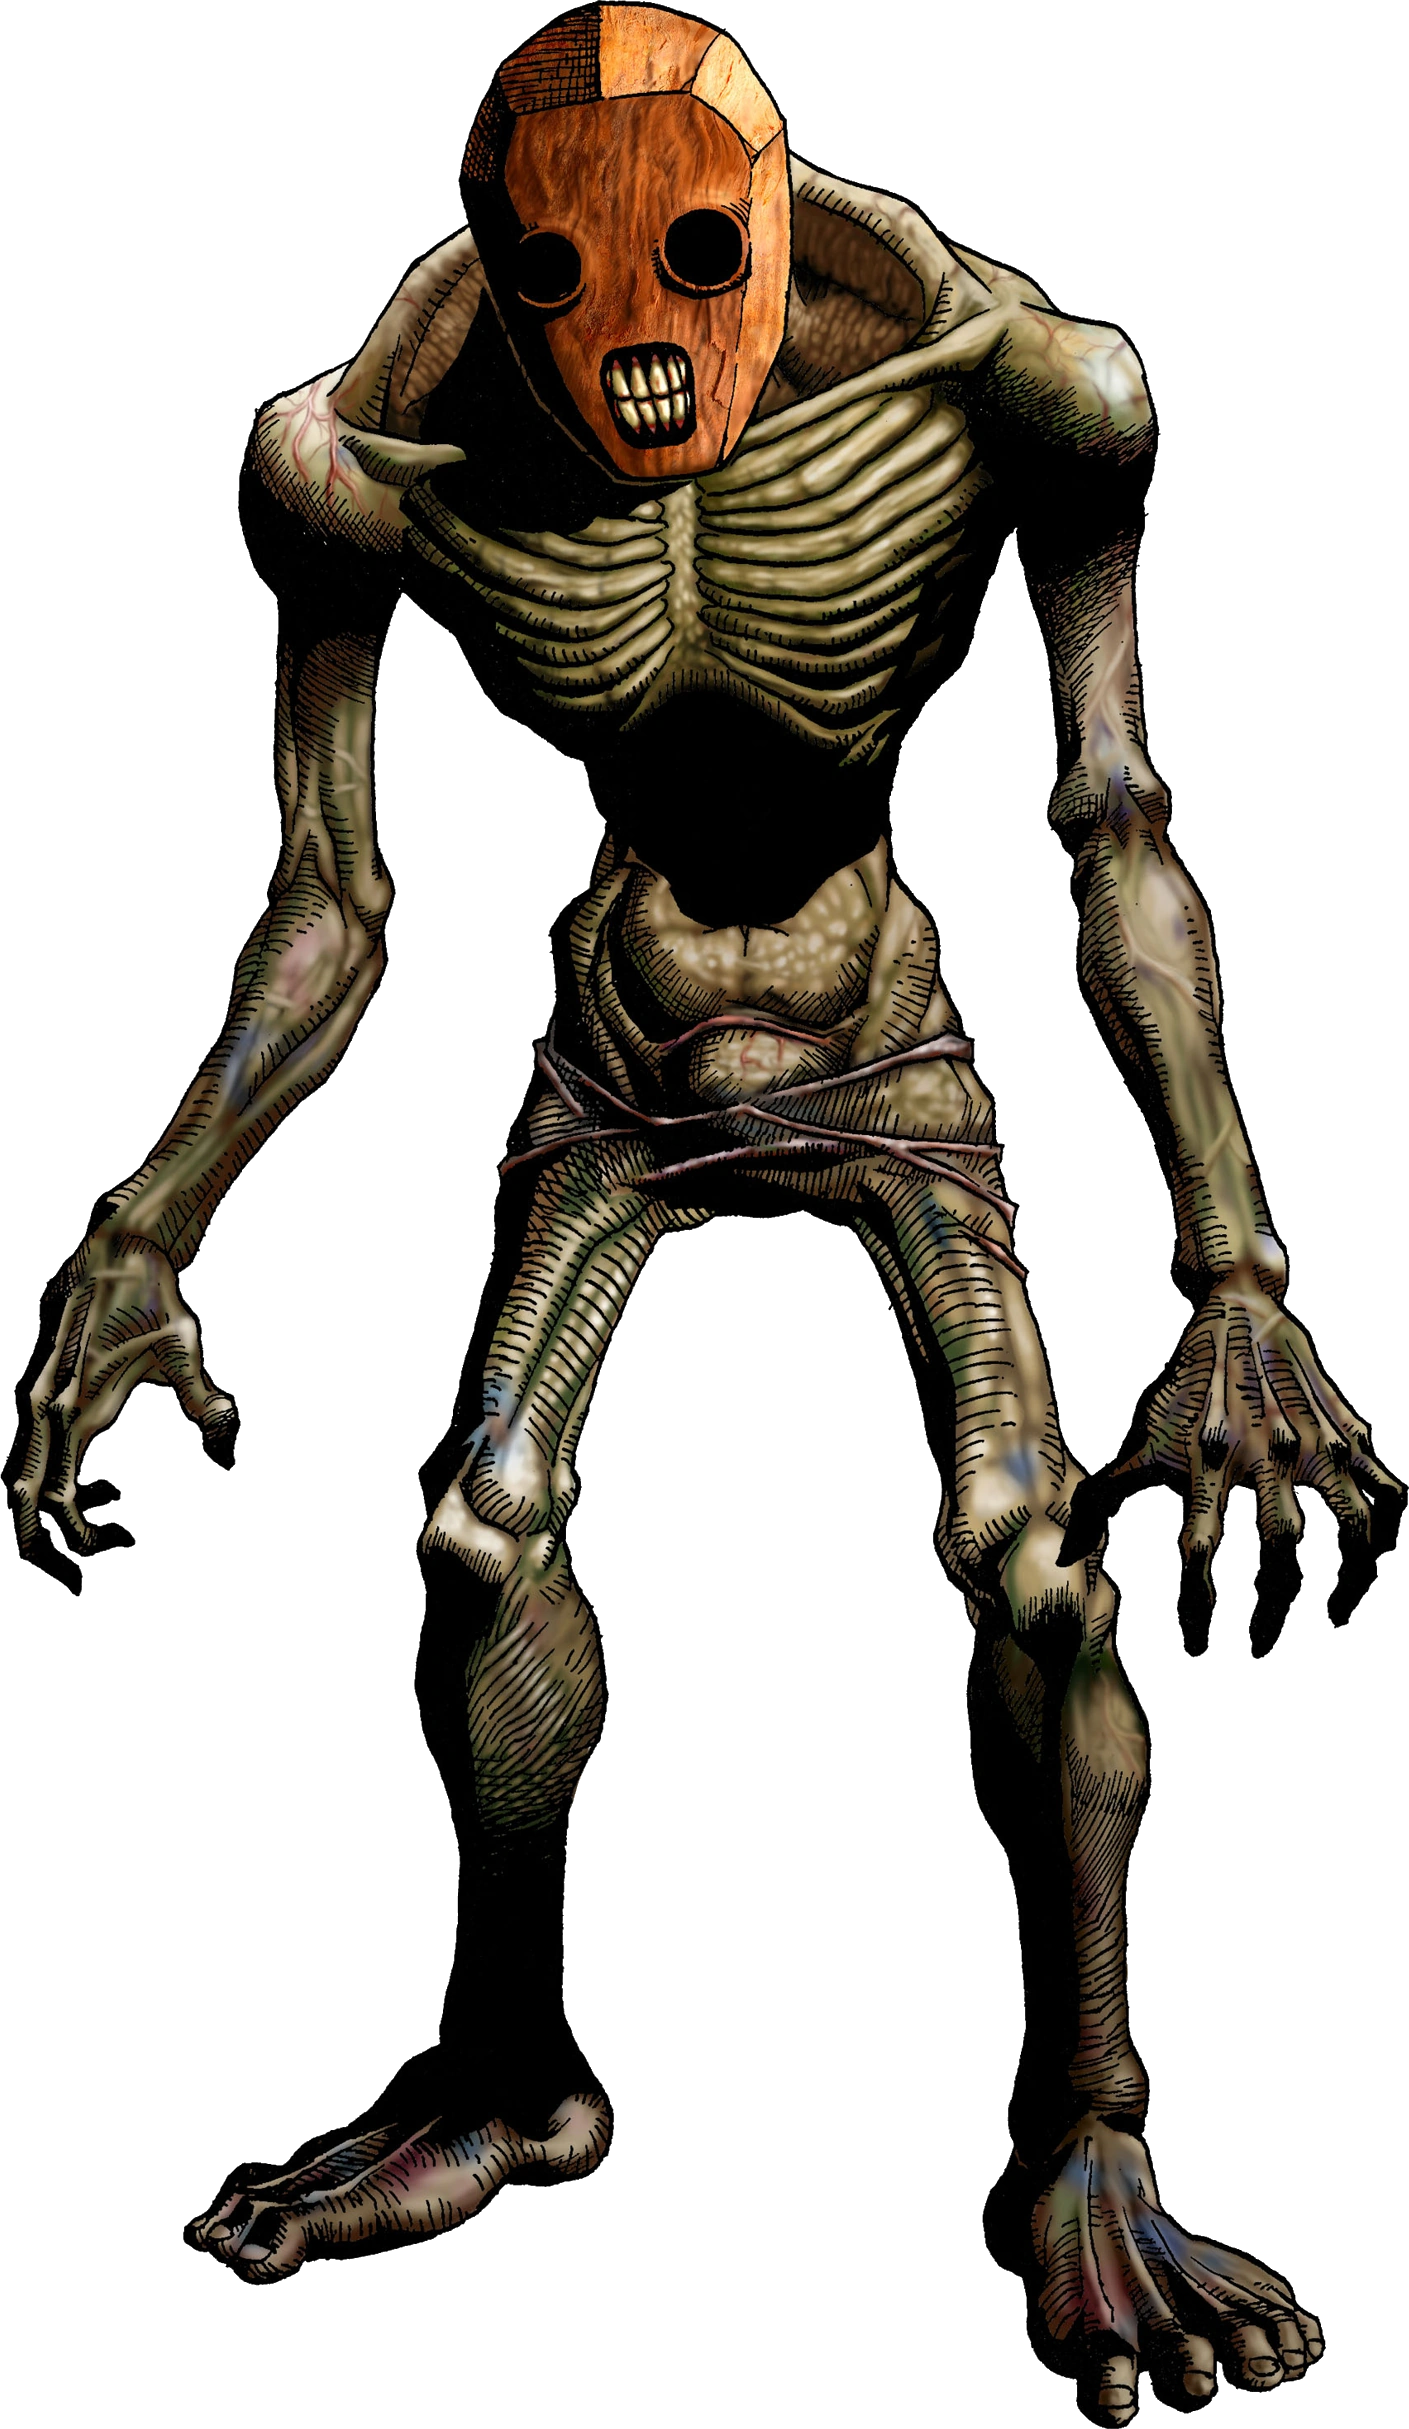
| + | |ReDead Artwork 3d.png|<center>[[ReDead]]</center> |
||
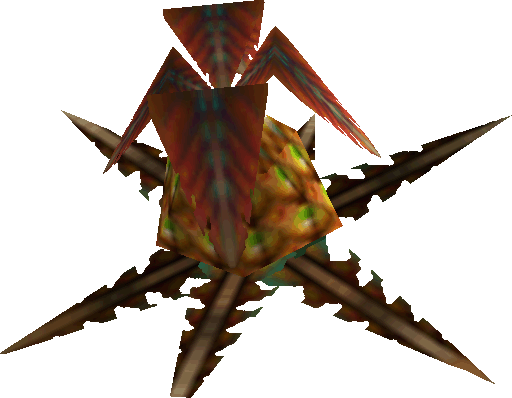
| + | |Rodillo de Púas OoT.png|<center>[[Rodillo de Púas]]</center> |
||
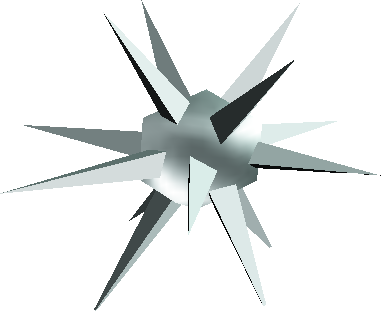
| + | |Shabom.png|<center>[[Shabom]]</center> |
||
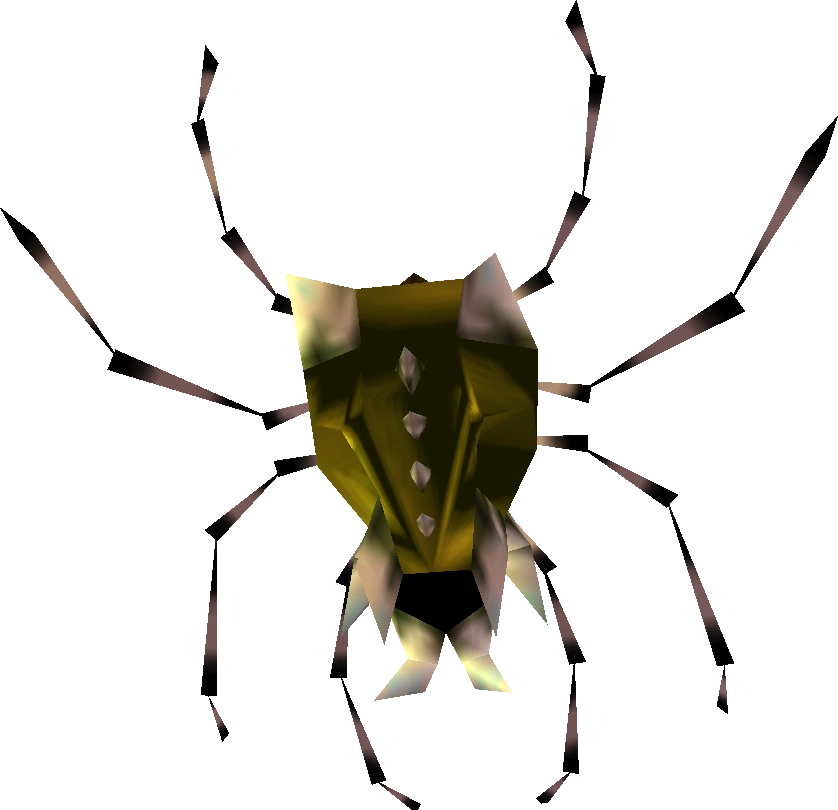
| + | |Skulltula_OoT.png|<center>[[Skulltulas|Skulltula]]</center> |
||
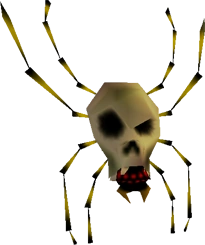
| + | |Gold Skulltula.png|<center>[[Skulltula Dorada]]</center> |
||
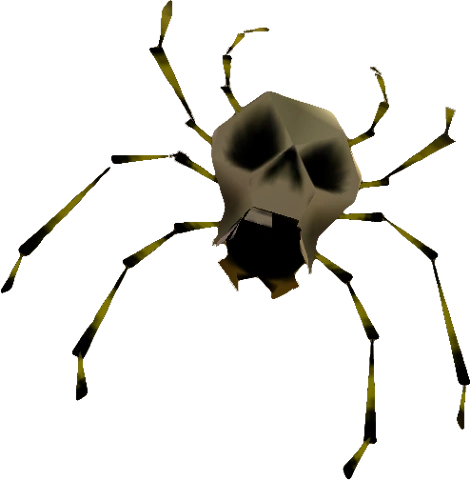
| + | |Skullwalltula OoT.png|<center>[[Skullwalltula]]</center> |
||
| + | |Sostenido.png|<center>[[Sostenido]]</center> |
||
| + | |position = center |
||
| + | |width = 120 |
||
| + | |height = 160}} |
||
| + | {{Galería |
||
| + | |Spike OoT.png|<center>[[Spike]]</center> |
||
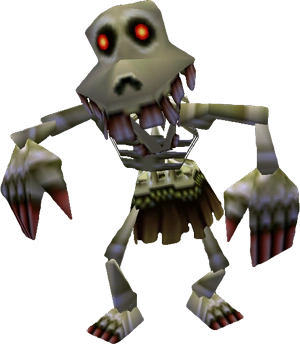
| + | |Stalchild.png|<center>[[Stalchild]]</center> |
||
| + | |Stinger.png|<center>[[Stinger]]</center> |
||
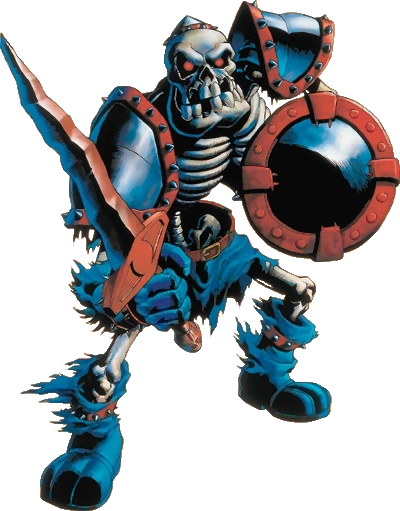
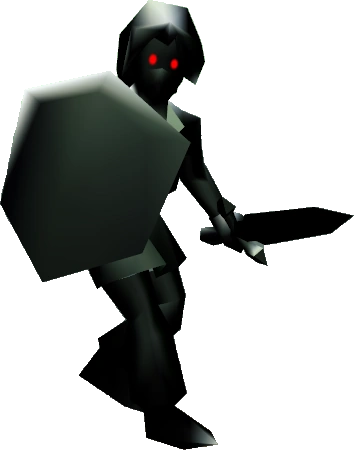
| + | |Stalfos_(Ocarina_of_Time).png|<center>[[Stalfos]]</center> |
||
| + | |Tailpasaran.png|<center>[[Tailpasaran]]</center> |
||
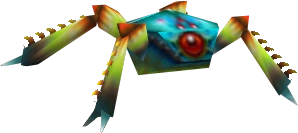
| + | |Tektite_de_Agua_OOT.png|<center>[[Tektite]]</center> |
||
| + | |Tentáculo_Parasitario.png|<center>[[Tentáculo Parasitario]]</center> |
||
| + | |Trampa MM.png|<center>[[Trampa]]</center> |
||
| + | |Wallmaster_OoT_y_MM.png|<center>[[Wallmaster]]</center> |
||
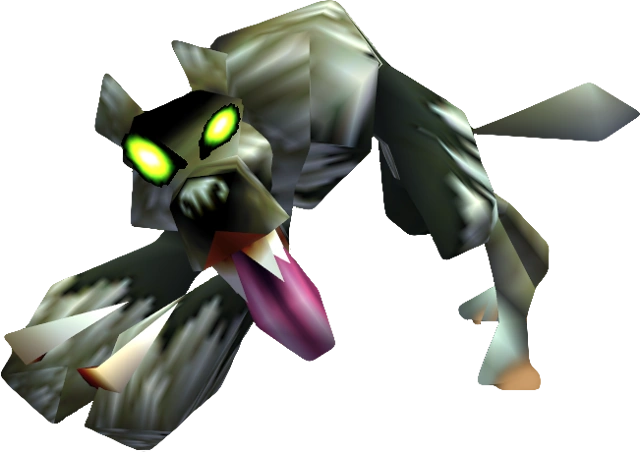
| + | |Wolfos OoT.png|<center>[[Wolfos]]</center> |
||
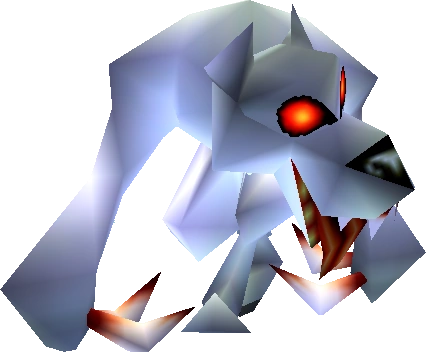
| + | |Wolfo_blanco.png|<center>[[Wolfos Blancos]]</center> |
||
| + | |position = center |
||
| + | |width = 120 |
||
| + | |height = 160}} |
||
| − | == |
+ | ==Subjefes== |
| + | {{Galería |
||
| − | <gallery> |
||
| − | + | |Matorral Deku OoT.png|<center>[[Hermanos Matorrales Deku]]</center> |
|
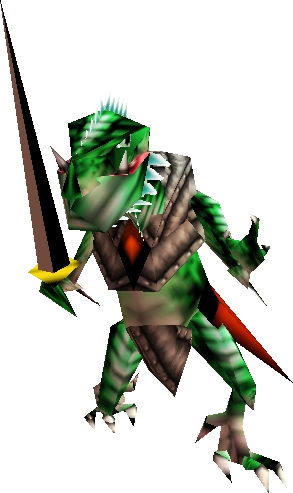
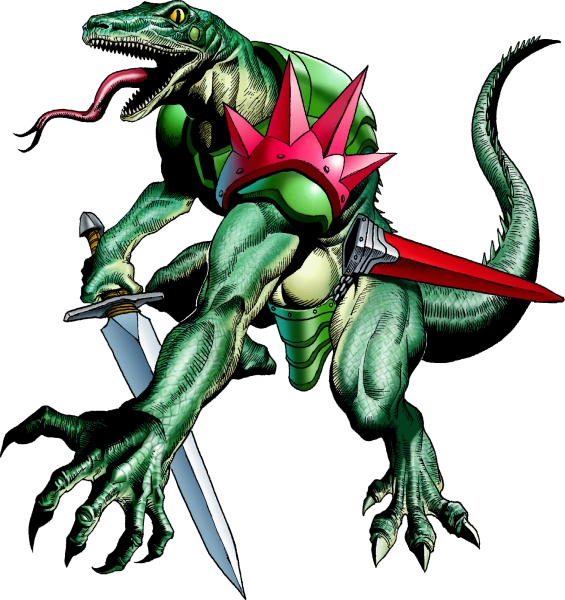
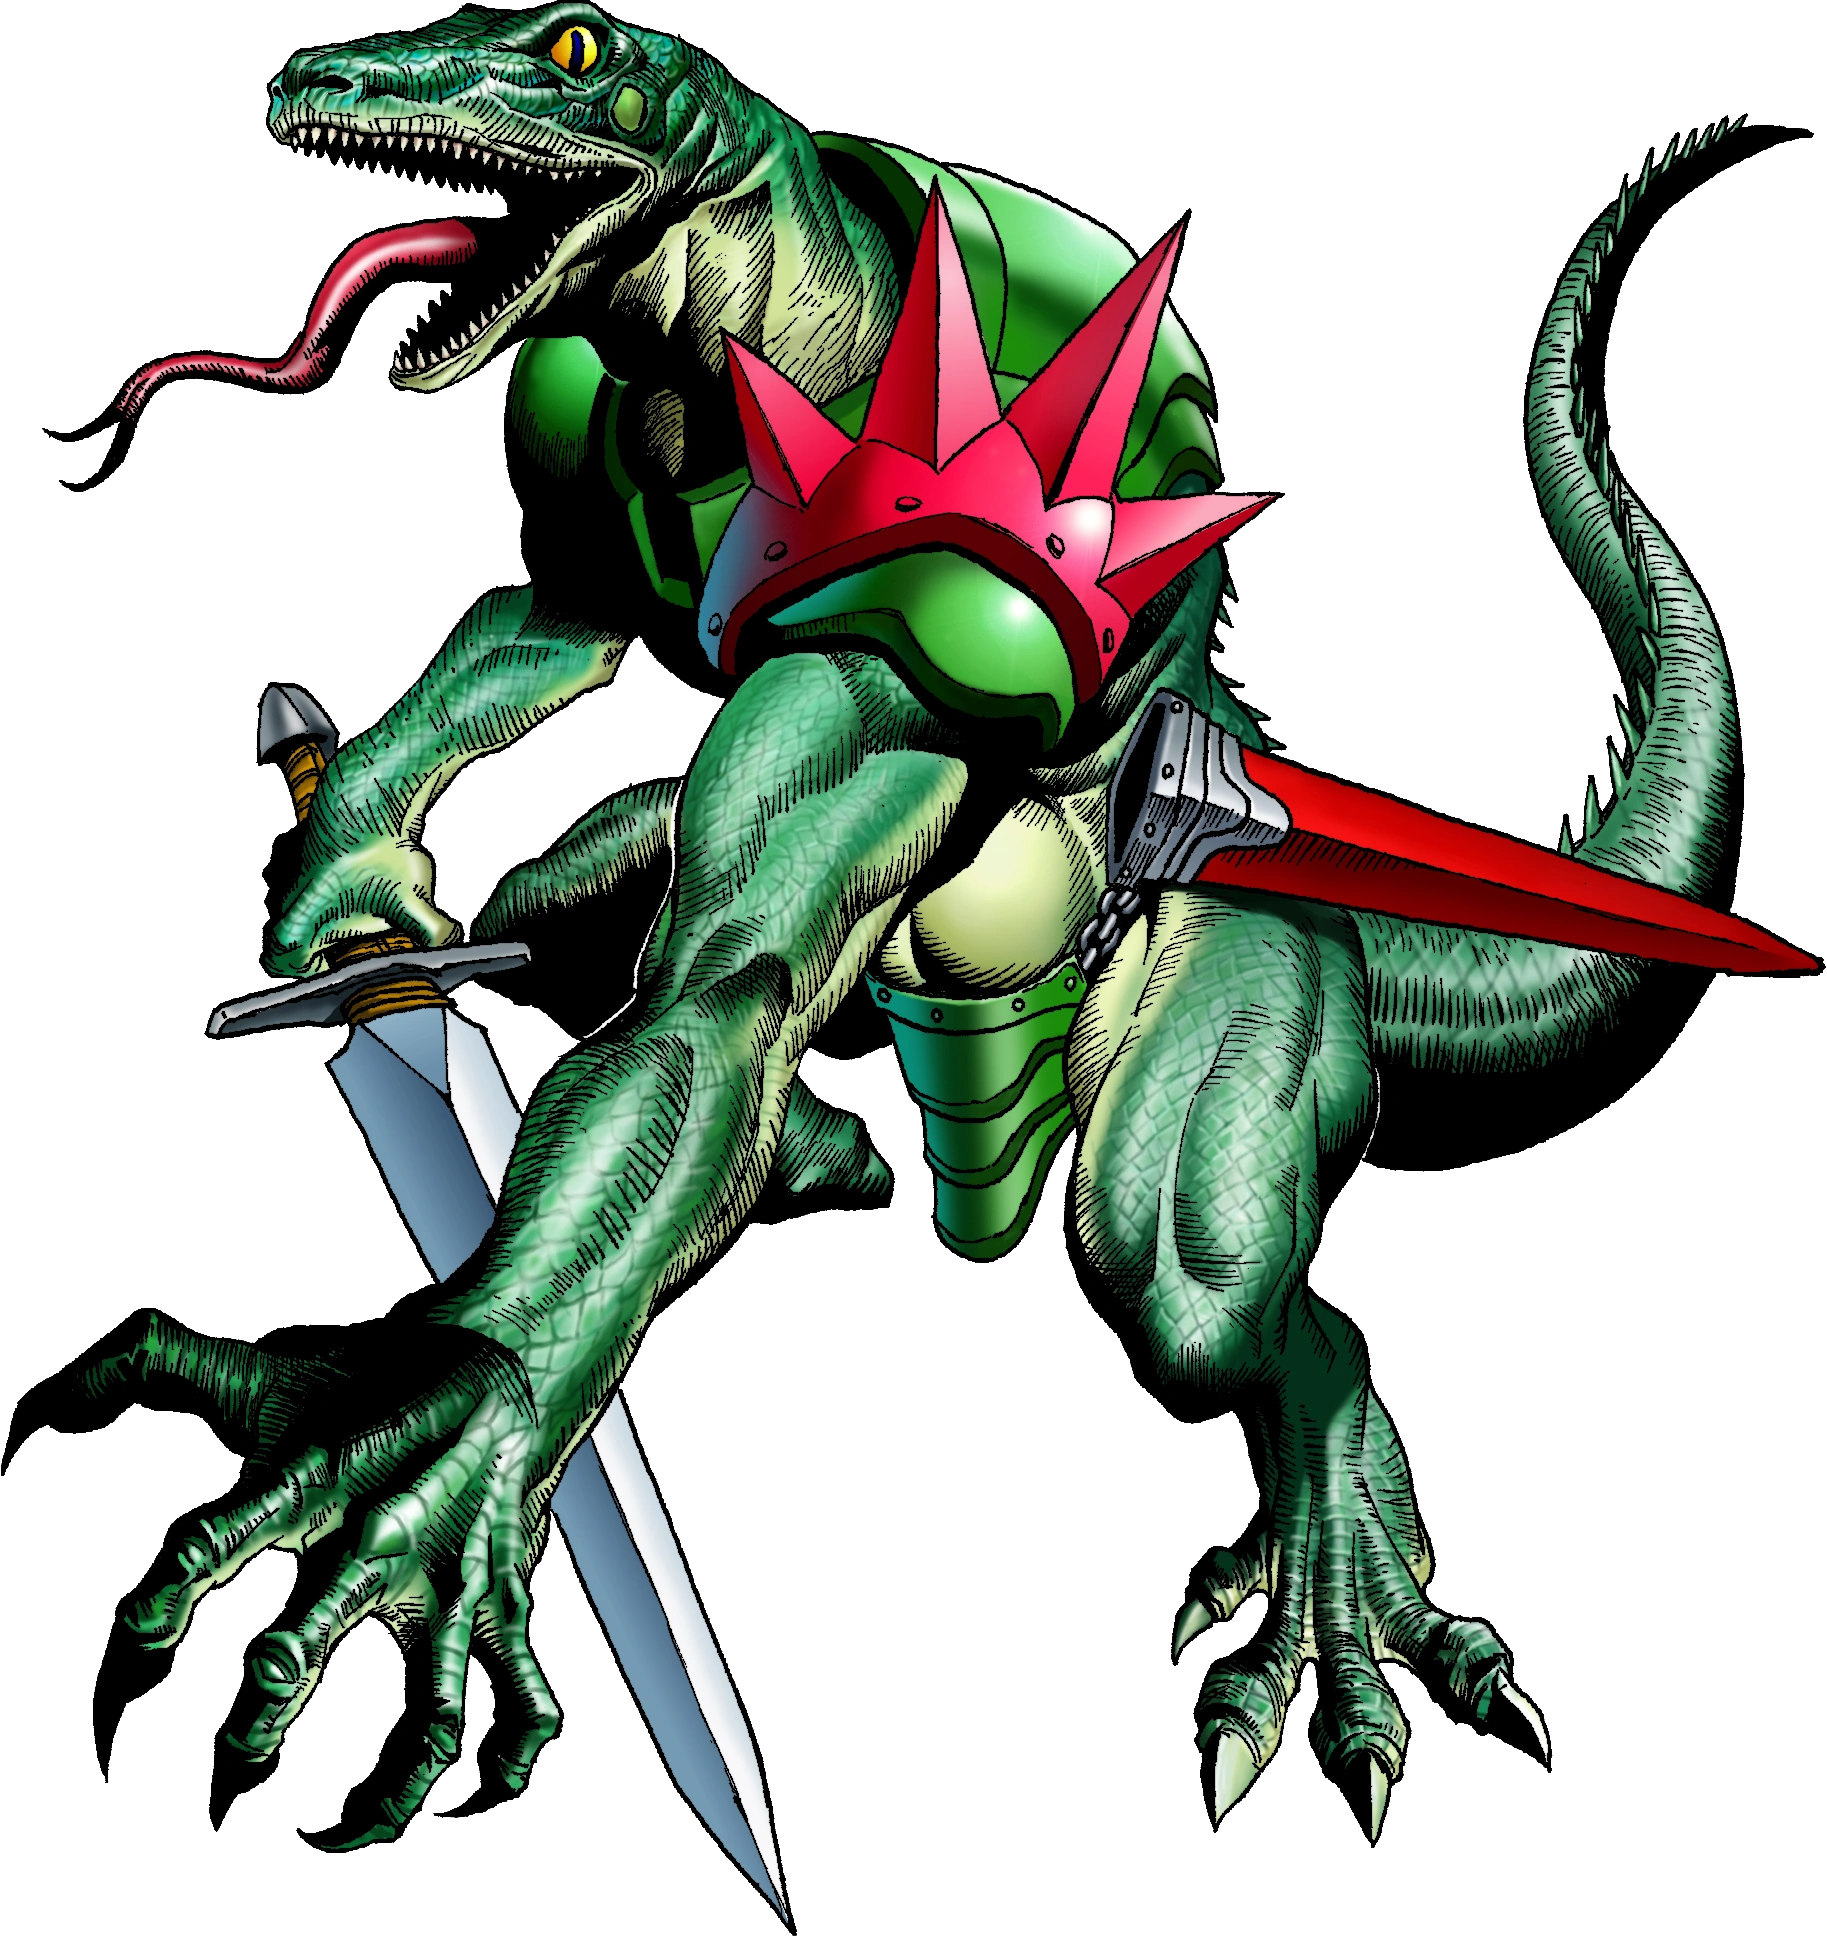
| − | + | |Lizalfos_Artwork_3d.png|<center>[[Lizalfos]]</center> |
|
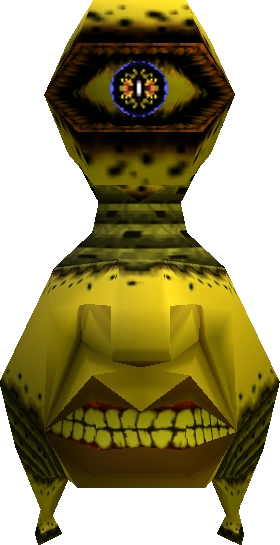
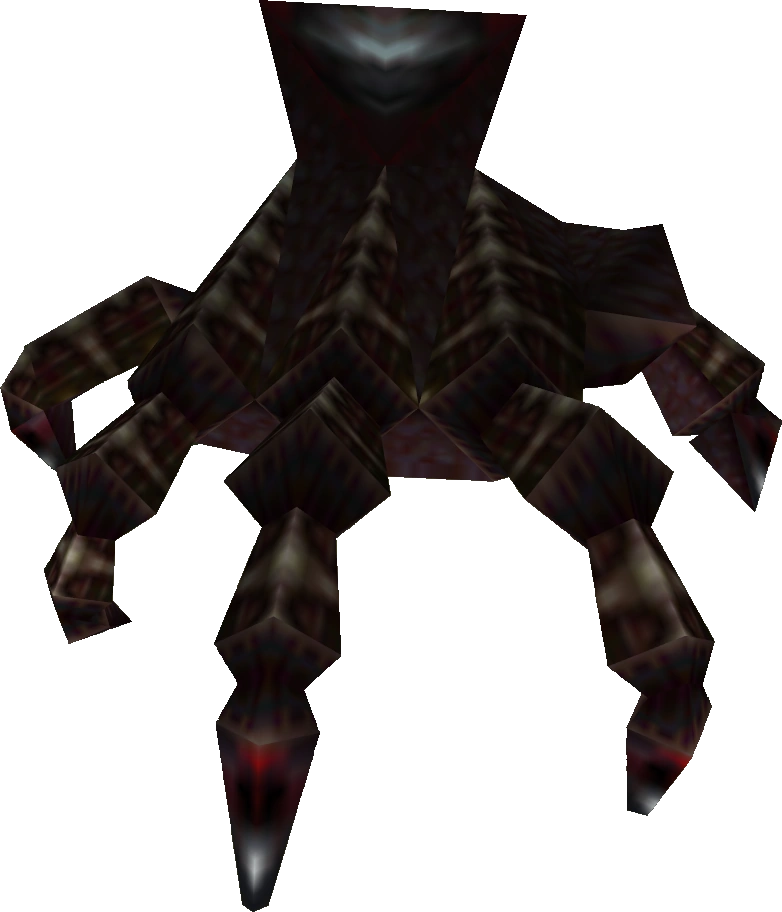
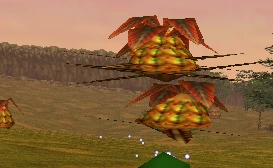
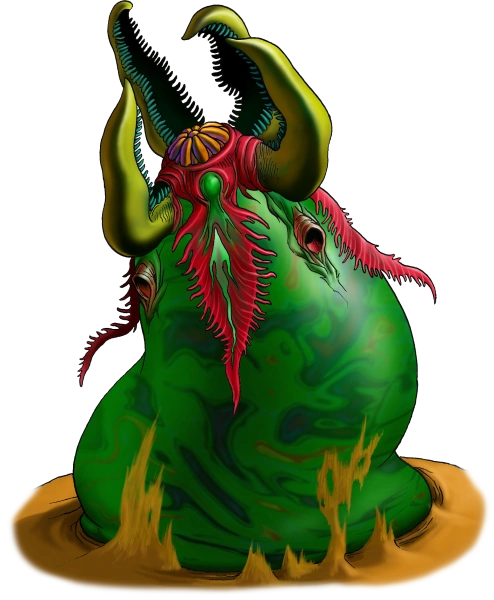
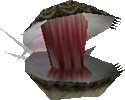
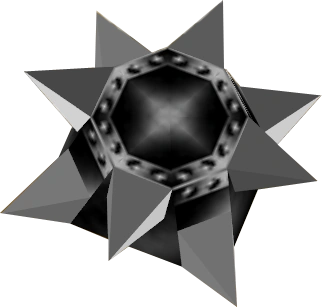
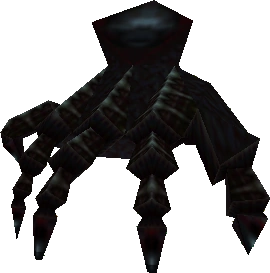
| − | + | |Bigocto artwork OoT.png|<center>[[Bigocto]]</center> |
|
| − | + | |Stalfos_(Ocarina_of_Time).png|<center>[[Stalfos]]</center> |
|
| − | + | |Hermanas_Poe_OoT_y_MM.png|<center>[[Hermanas Poe]]</center> |
|
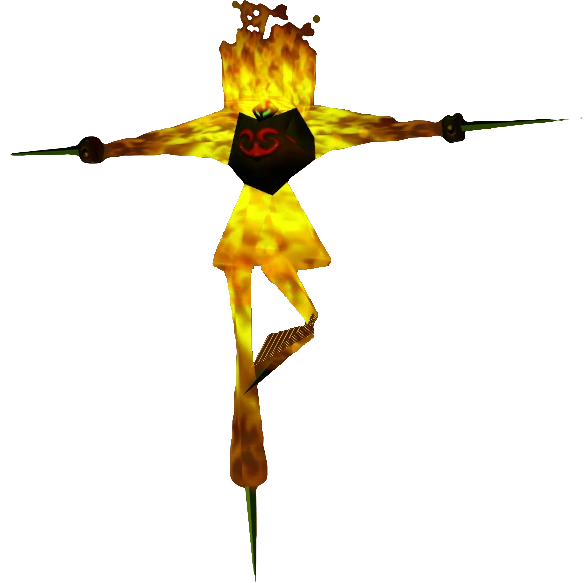
| − | + | |Bailafuego OoT.png|<center>[[Bailafuego]]</center> |
|
| − | + | |Wolfo blanco.png|<center>[[Wolfos Blancos]]</center> |
|
| − | + | |Dark Link (Ocarina of Time).png|<center>[[Link Oscuro]]</center> |
|
| − | + | |Mano Muerta OoT.png|<center>[[Mano Muerta]]</center> |
|
| − | + | |Artwork Nudillo de Hierro OoT y MM.png|<center>[[Nudillo de Hierro]]</center> |
|
| + | |Nabooru Sub Jefe OoT.png|<center>[[Nabooru (Sub-Jefe)|Nabooru]]</center> |
||
| − | </gallery> |
||
| + | |position = center |
||
| + | |width = 120 |
||
| + | |height = 160}} |
||
| + | |||
| + | ==Jefes== |
||
| + | {{Galería |
||
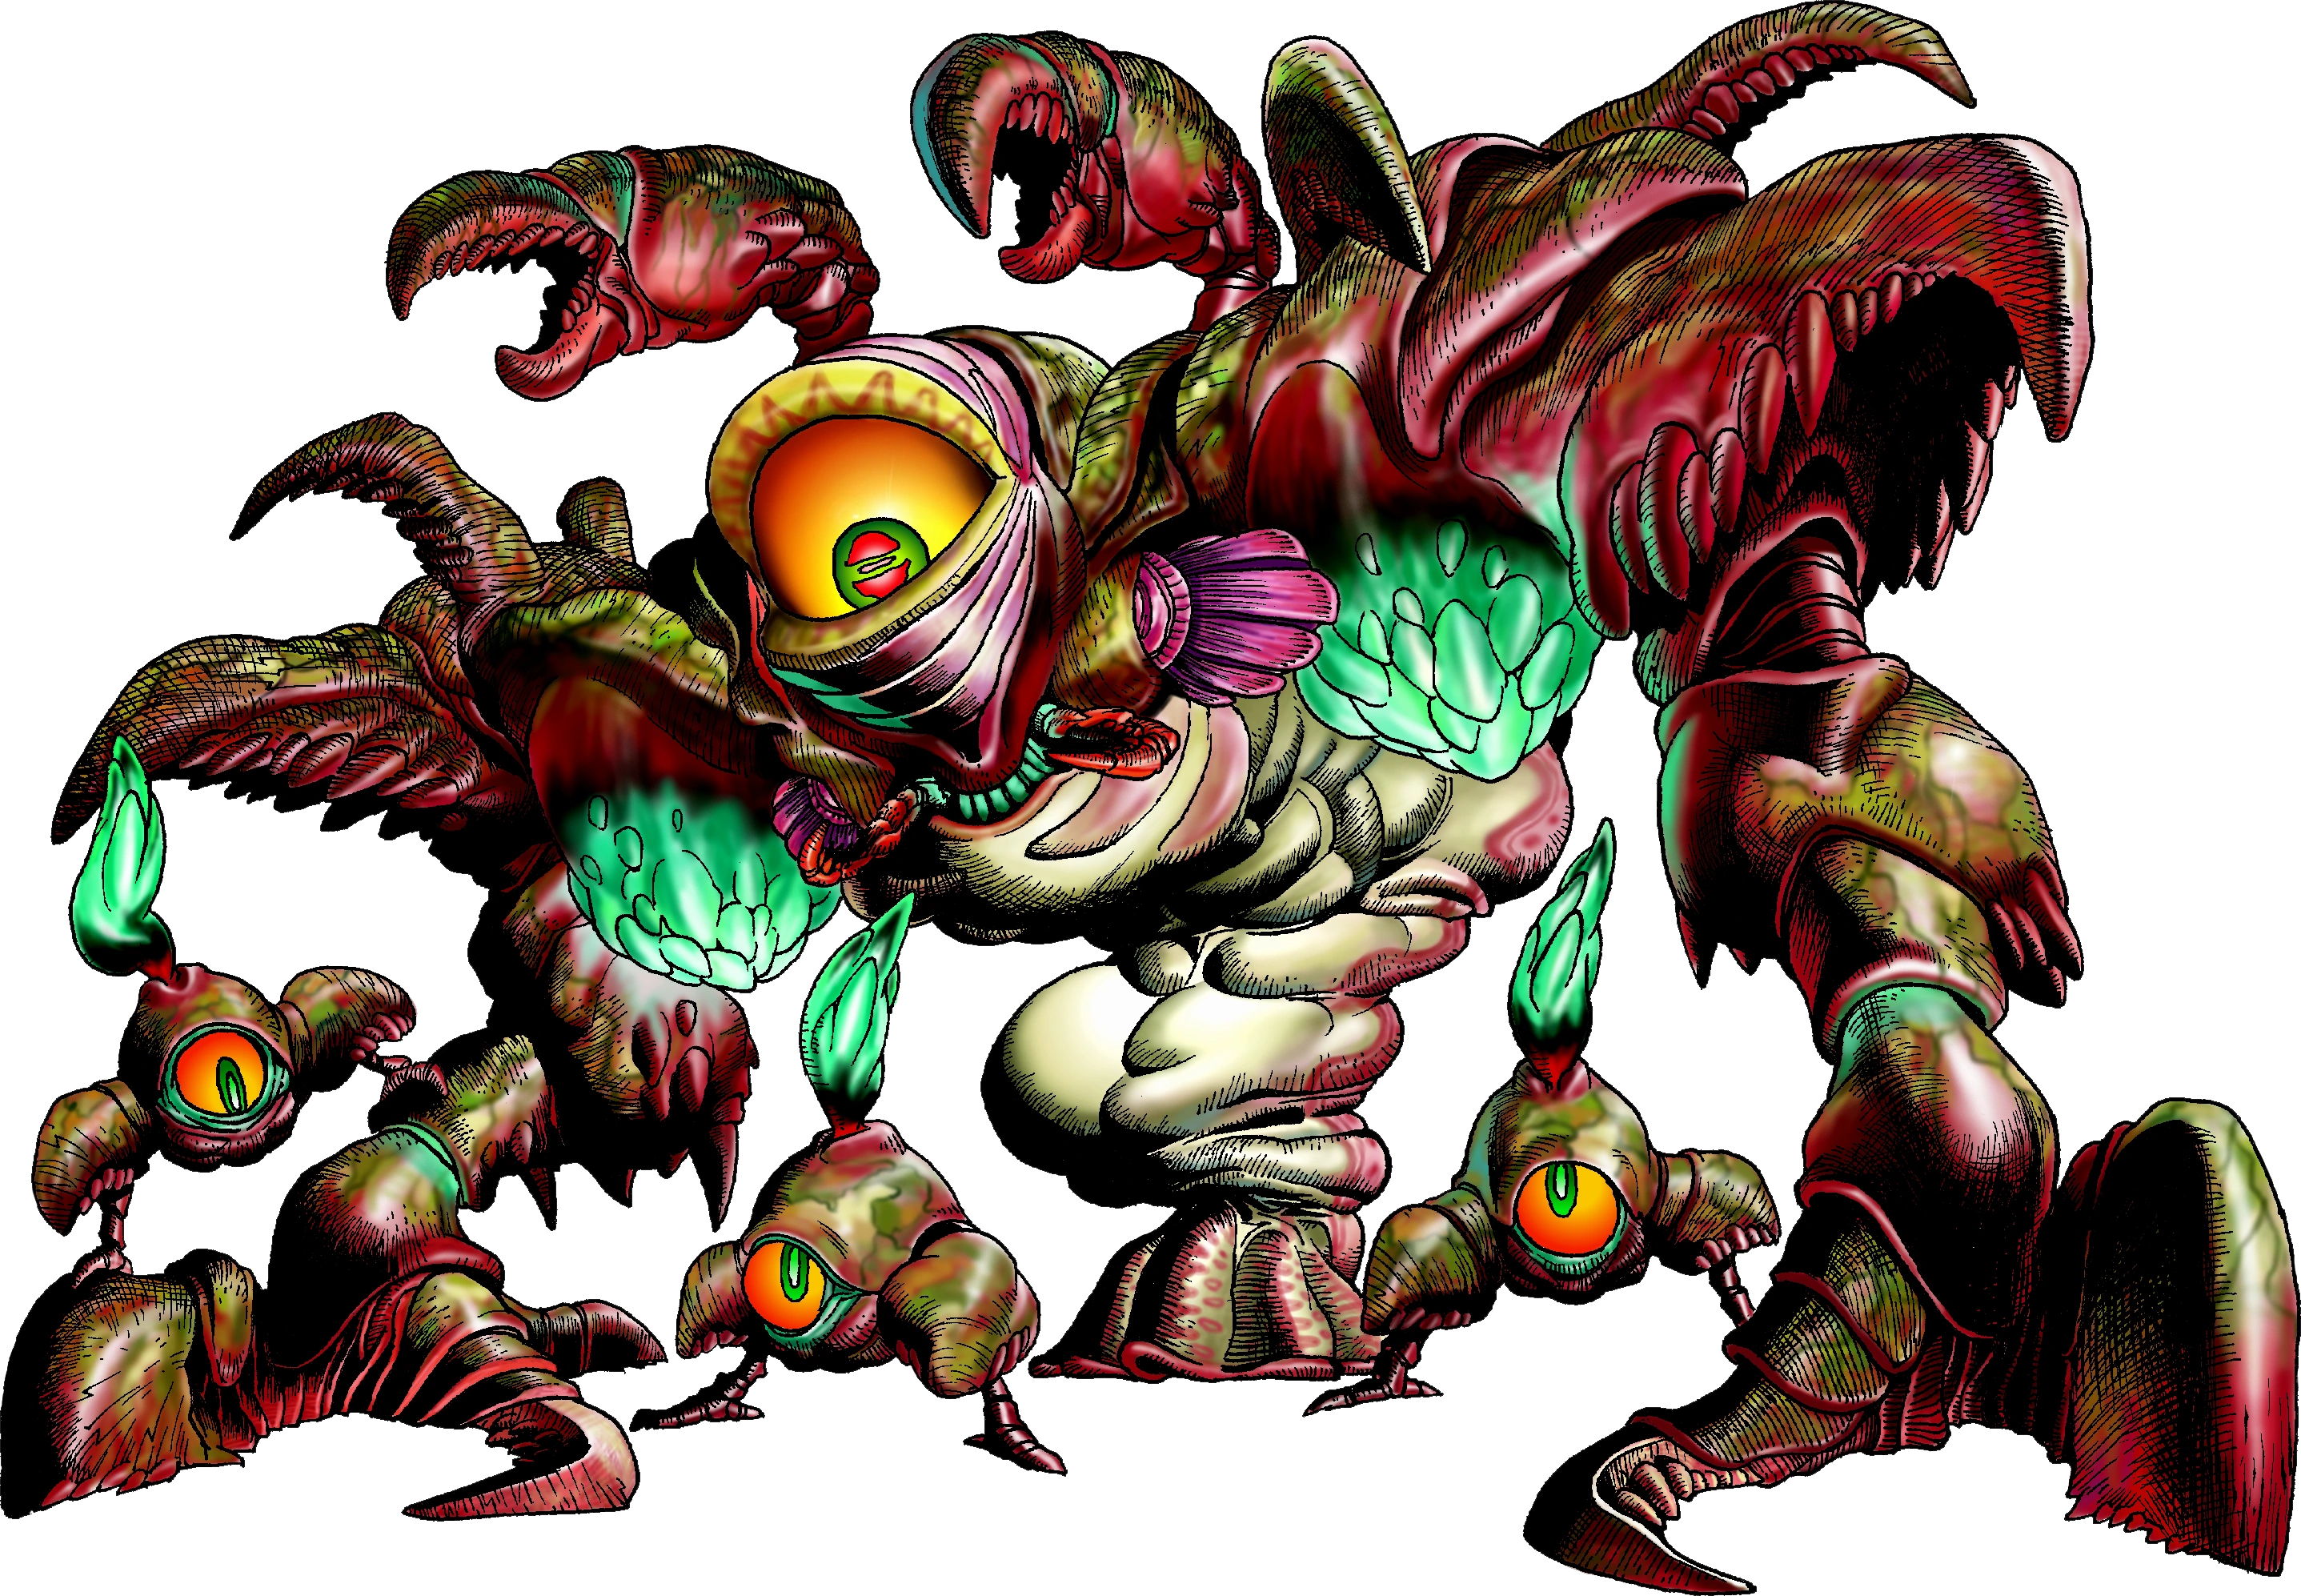
| + | |Reina Gohma artwork 3d.png|<center>[[Reina Gohma]]</center> |
||
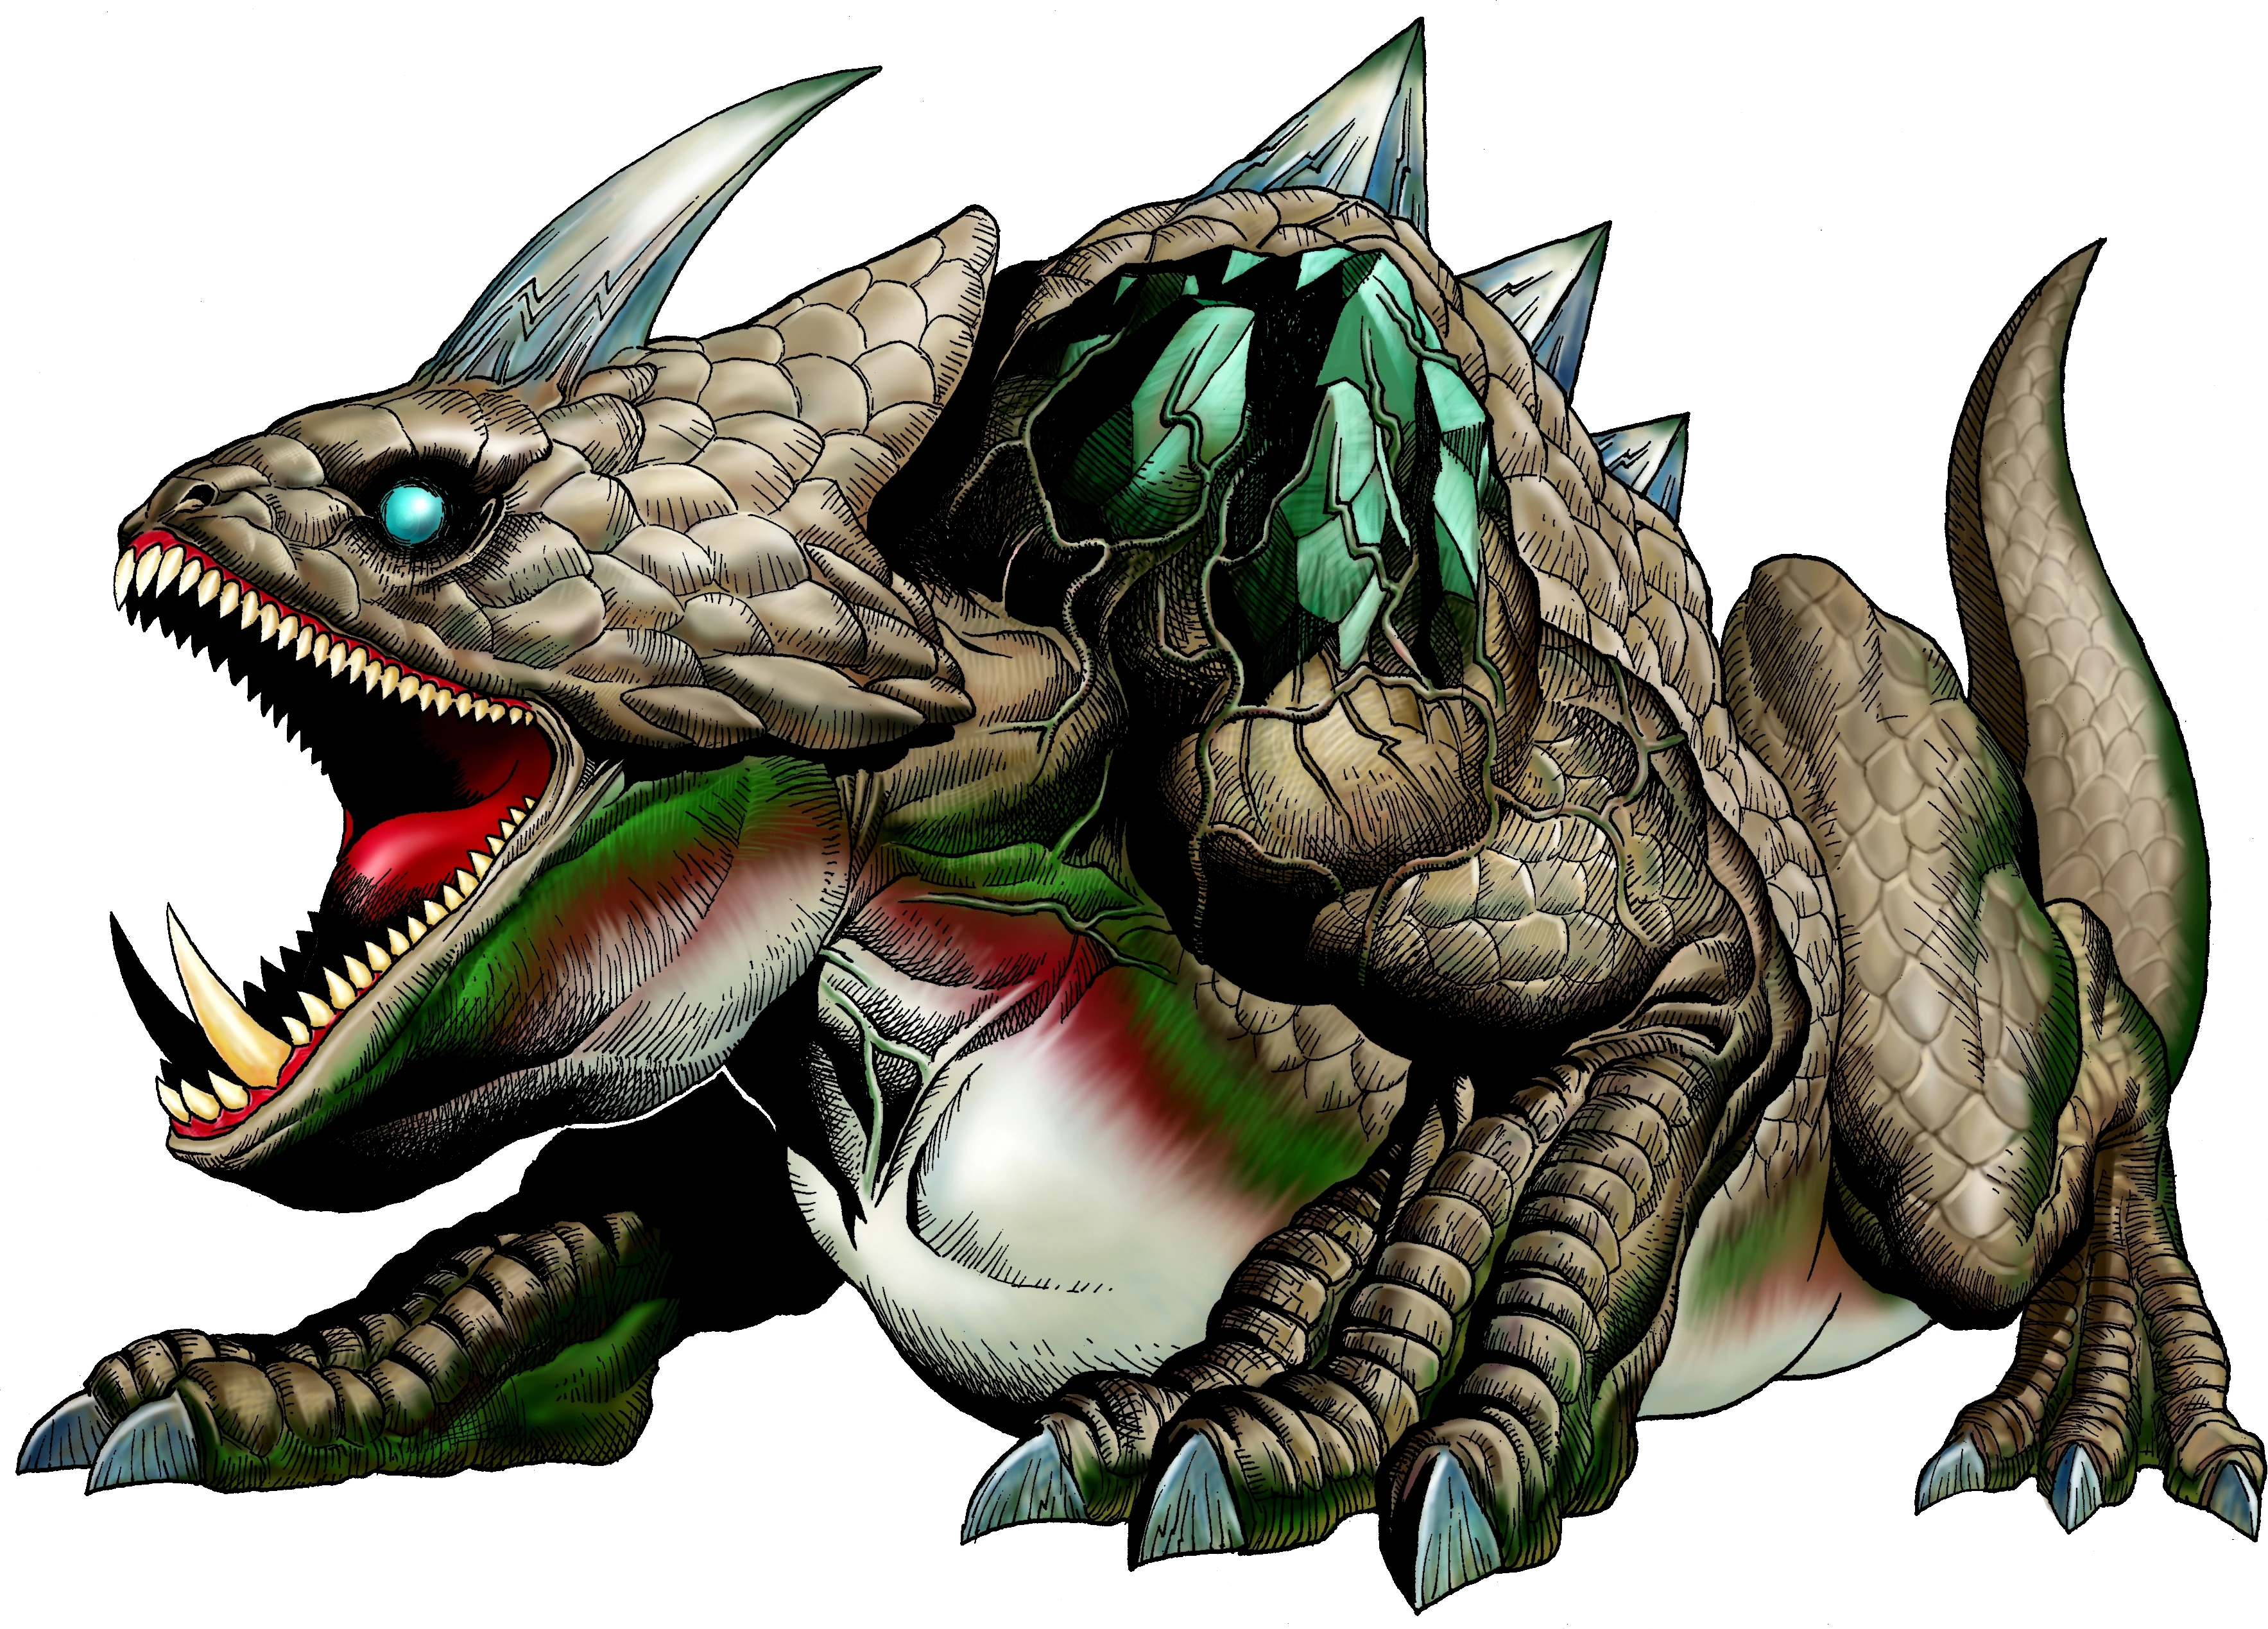
| + | |Rey Dodongo artwork 3d.png|<center>[[Rey Dodongo]]</center> |
||
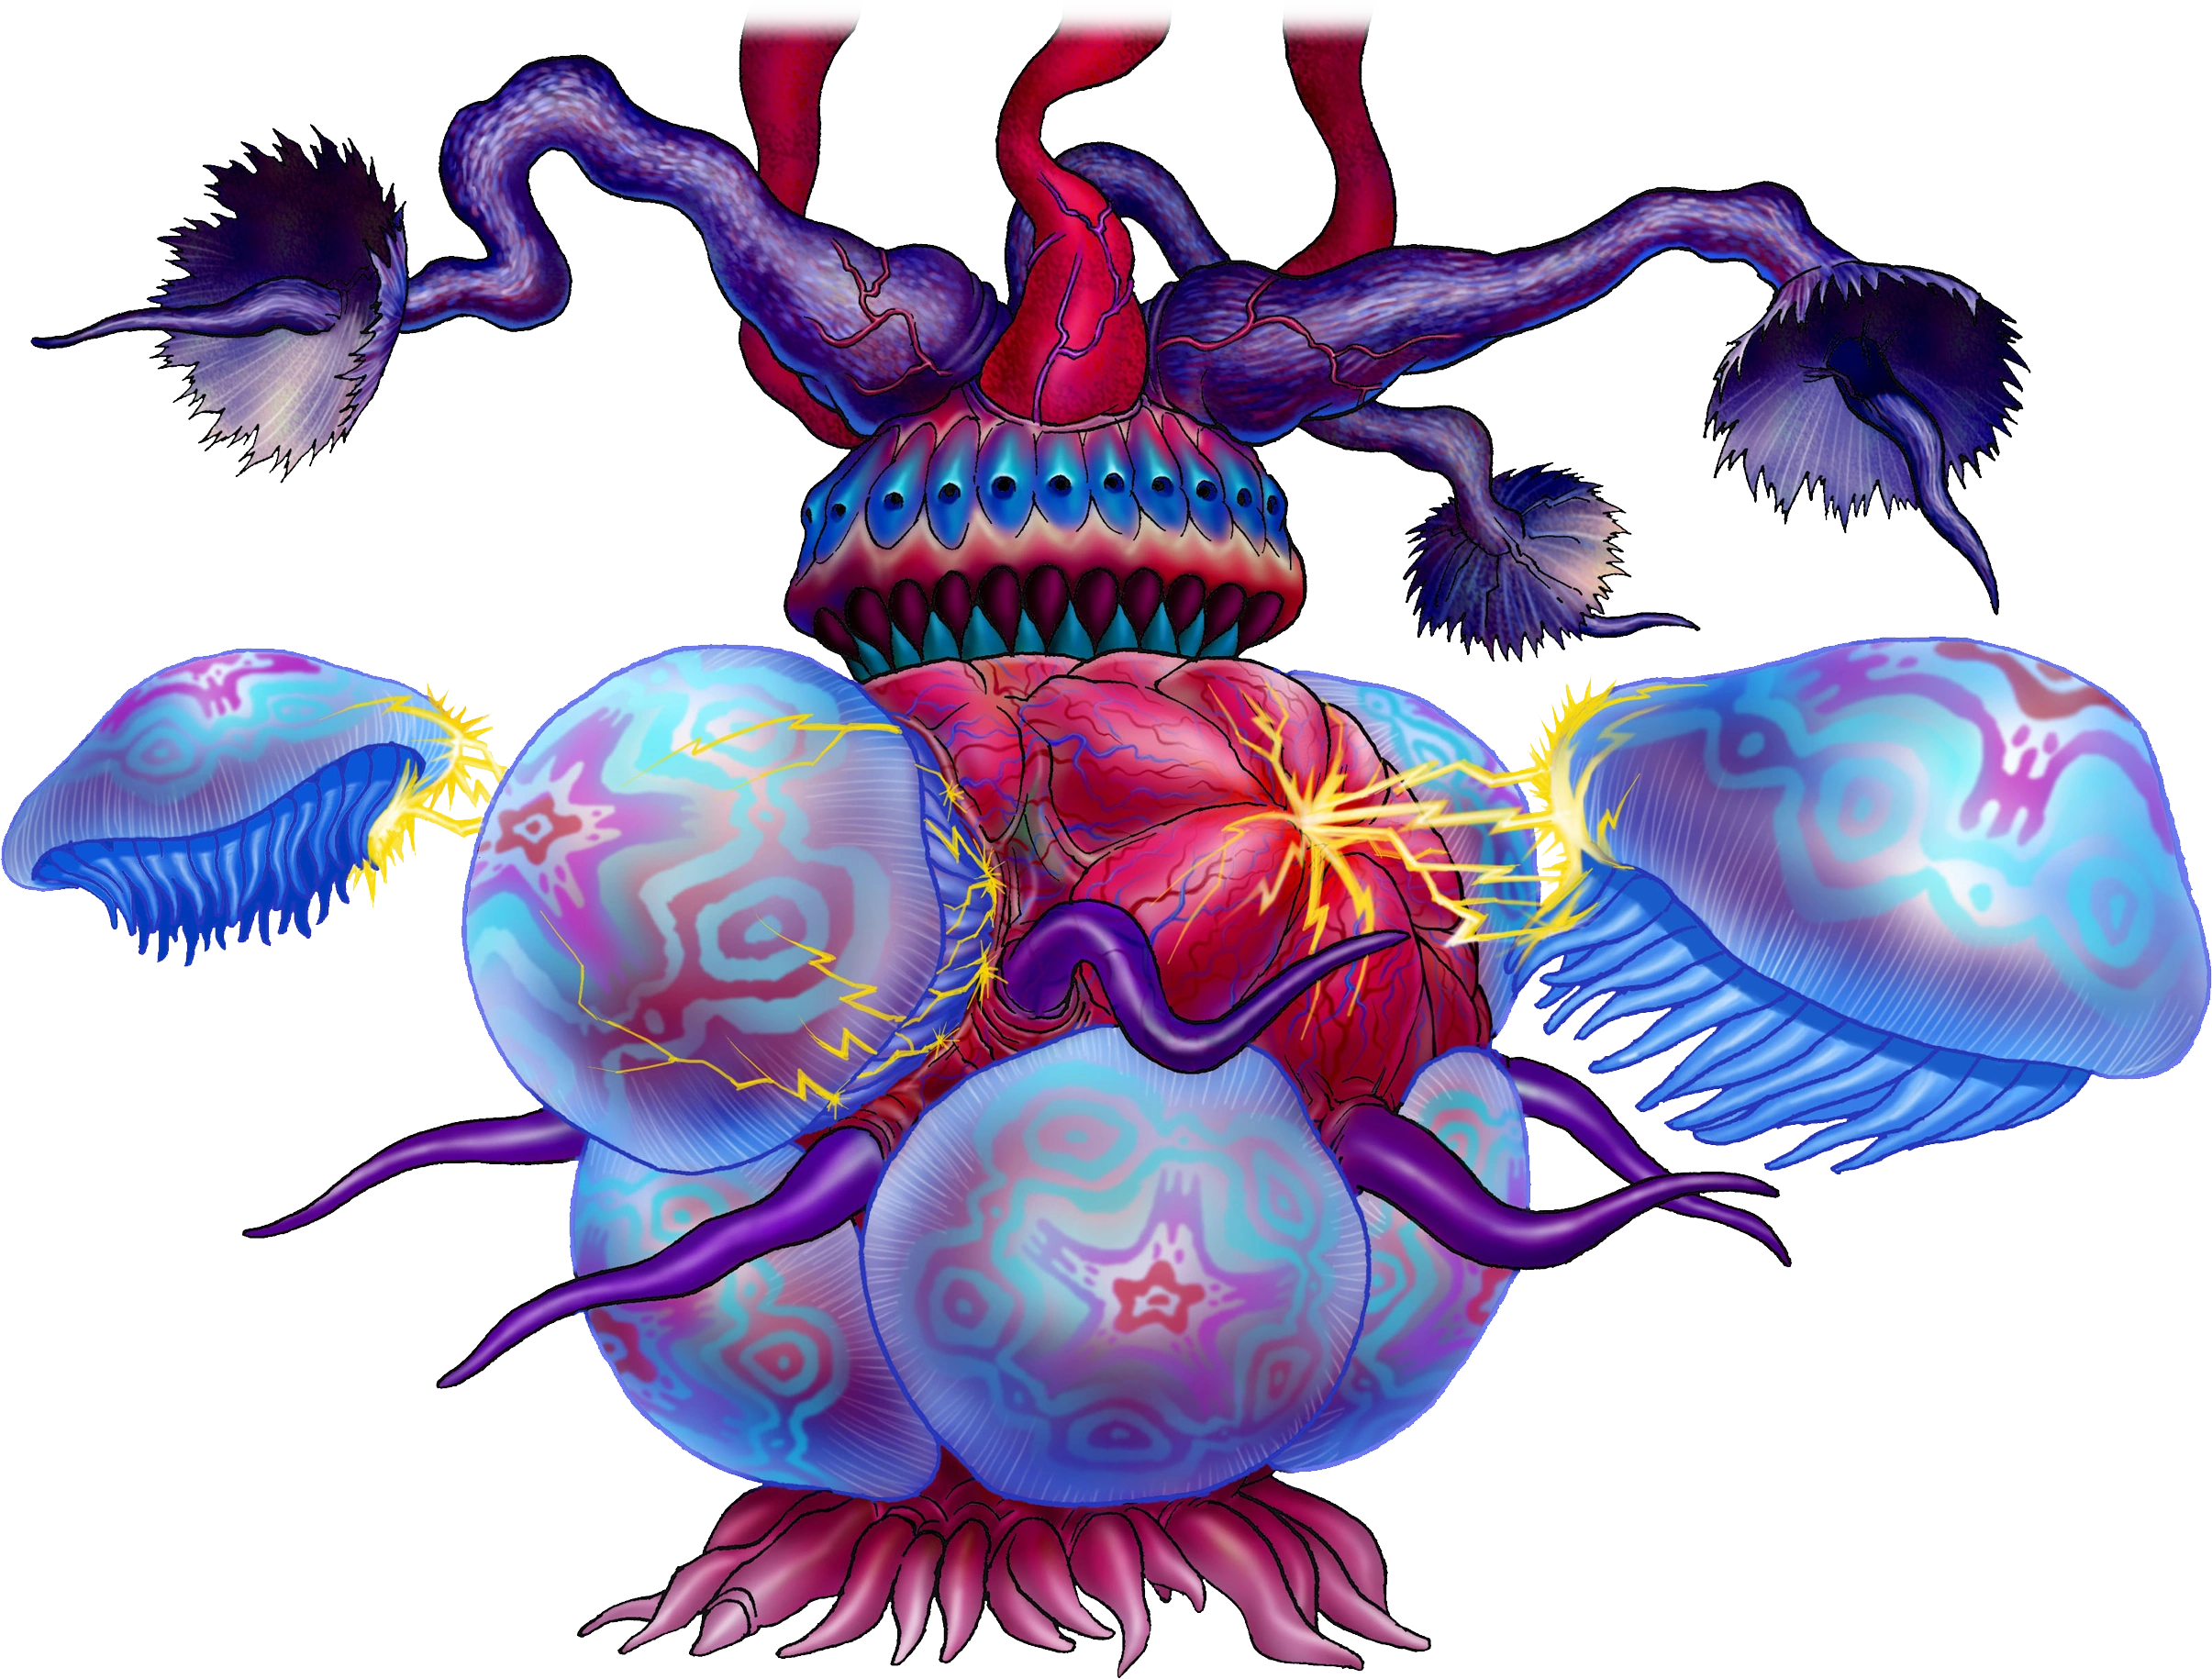
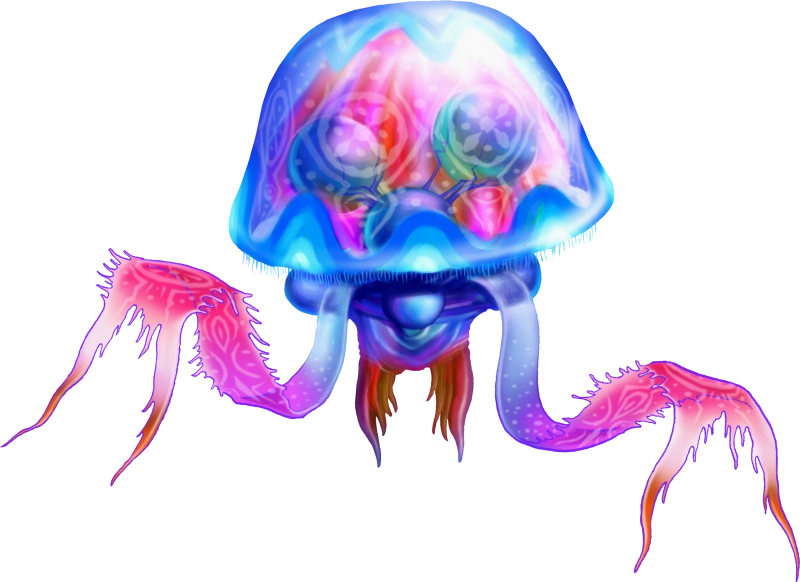
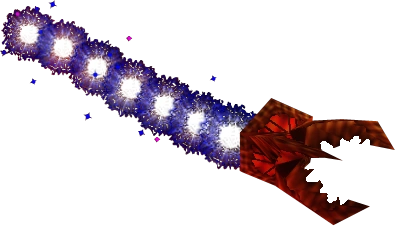
| + | |Barinade artwork 3d.png|<center>[[Barinade]]</center> |
||
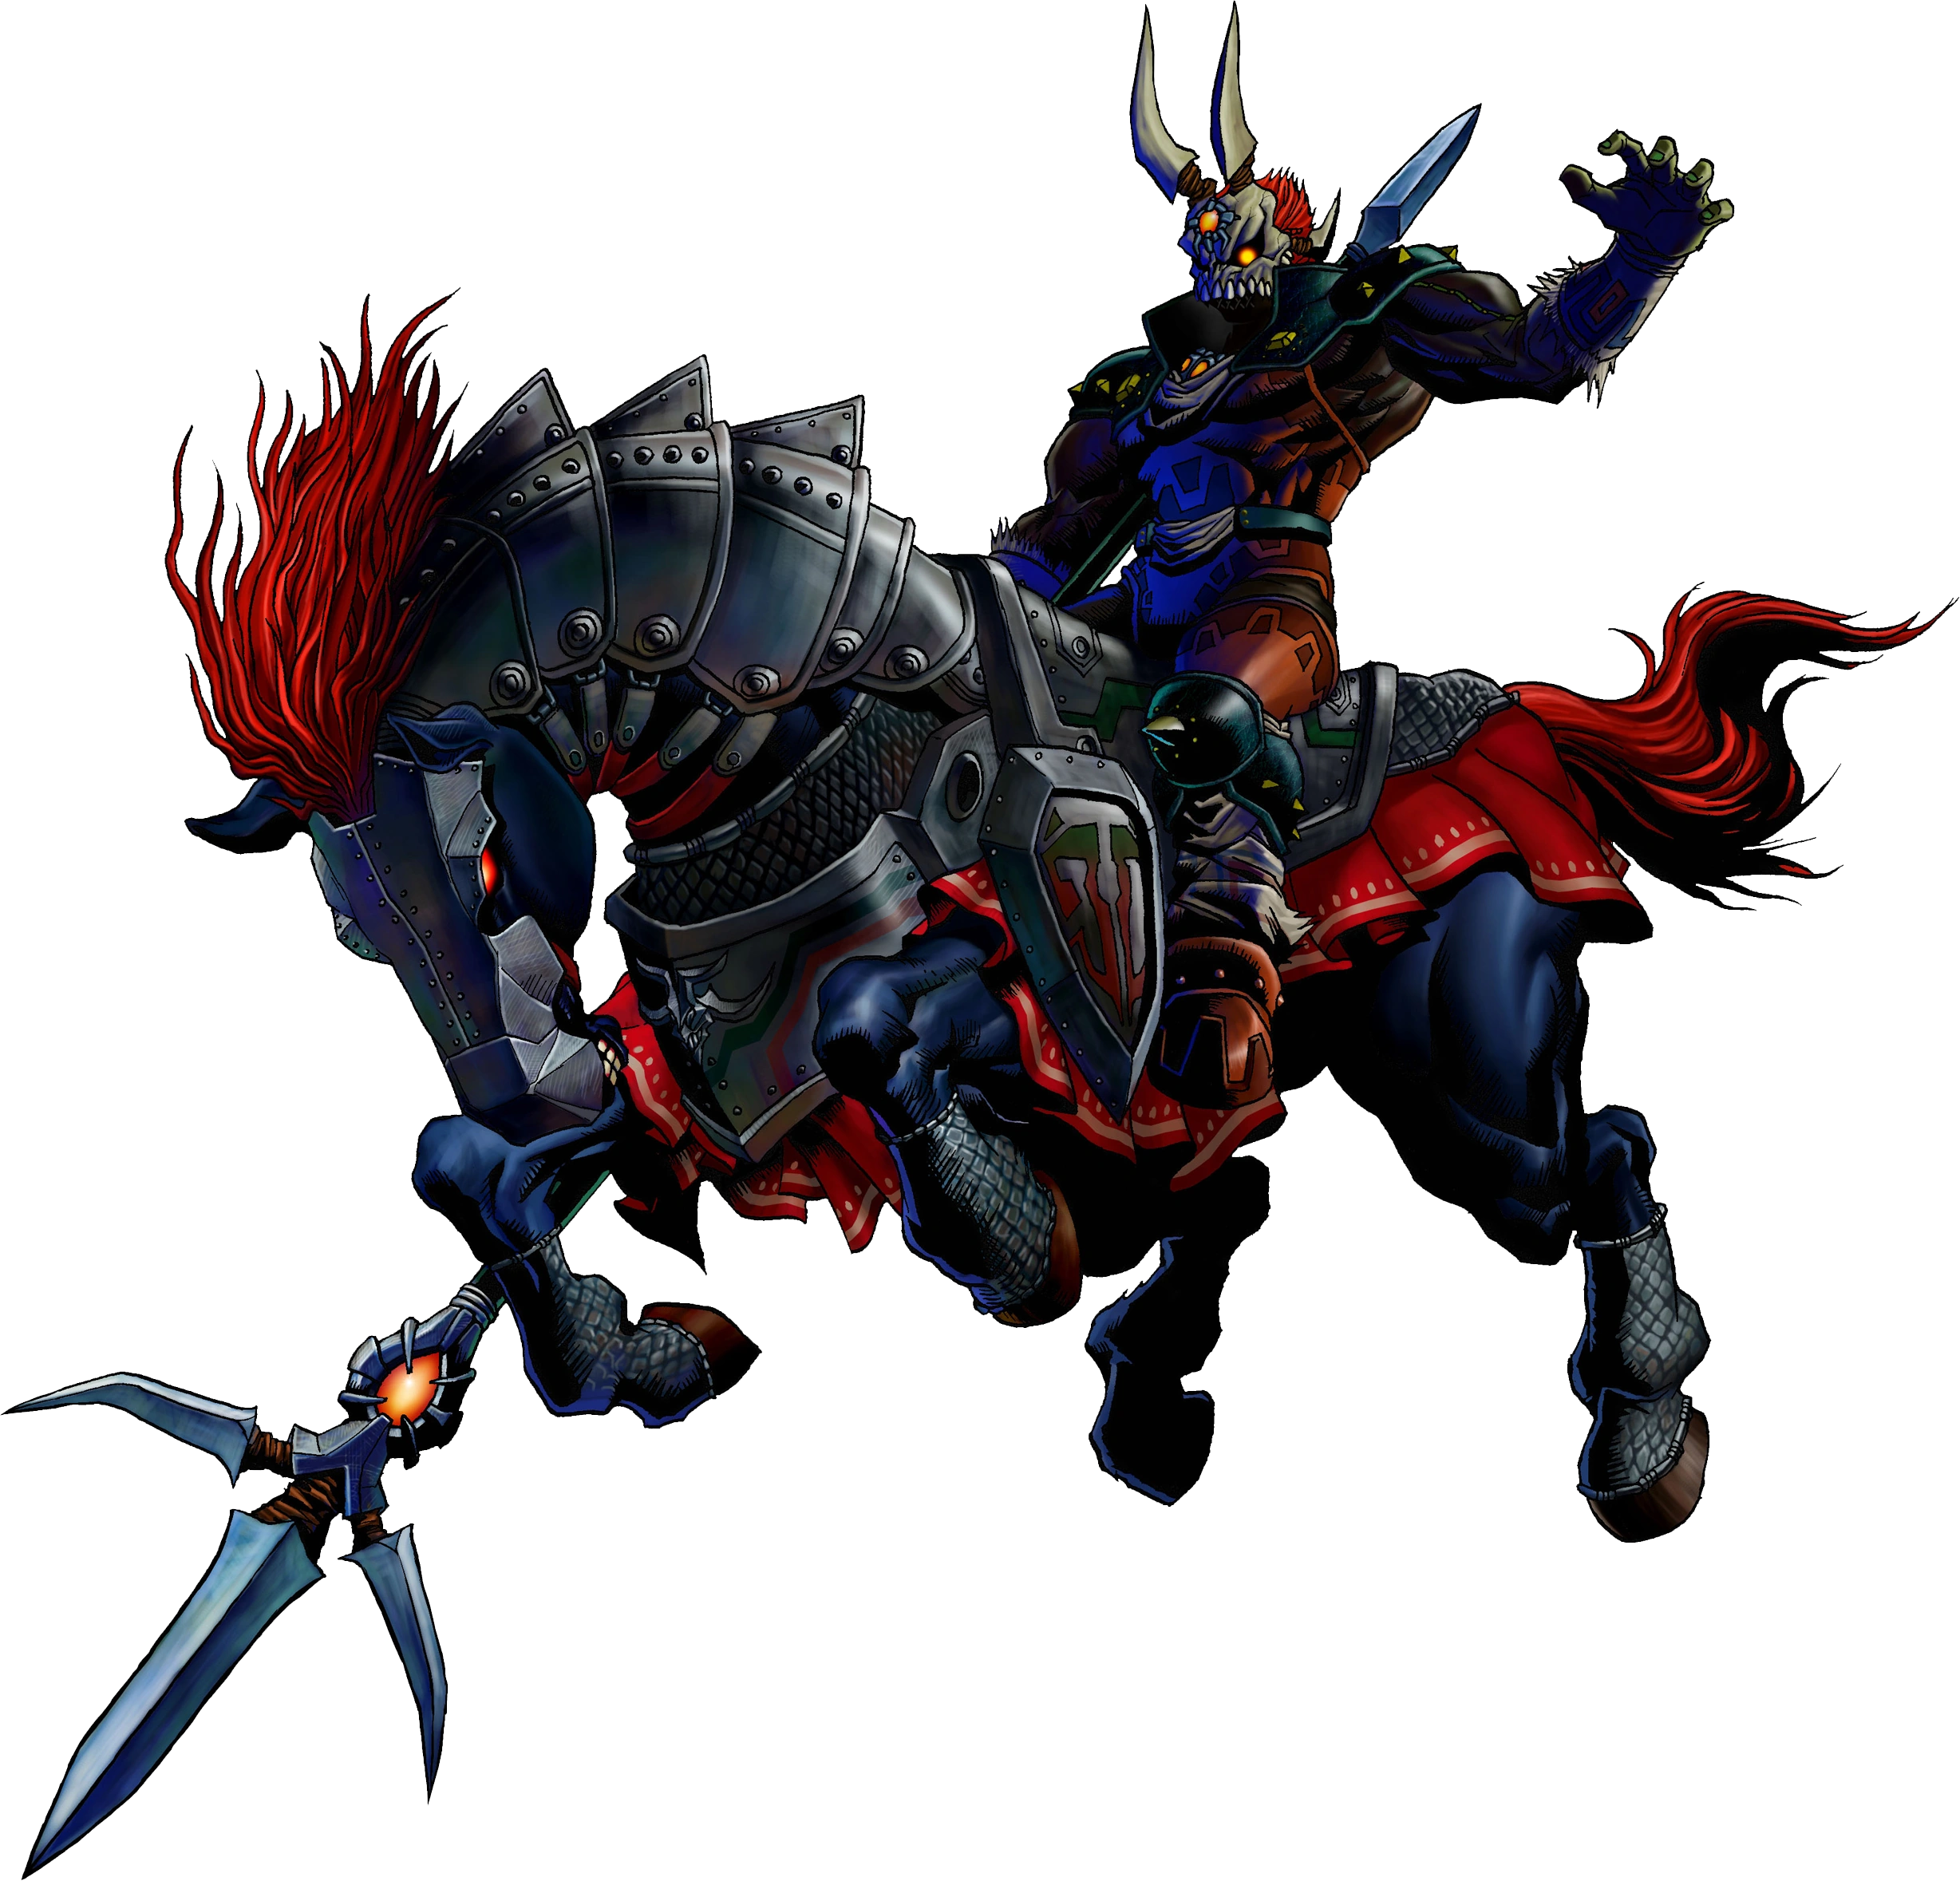
| + | |Ganon Fantasma artwork 3d.png|<center>[[Ganon Fantasma]]</center> |
||
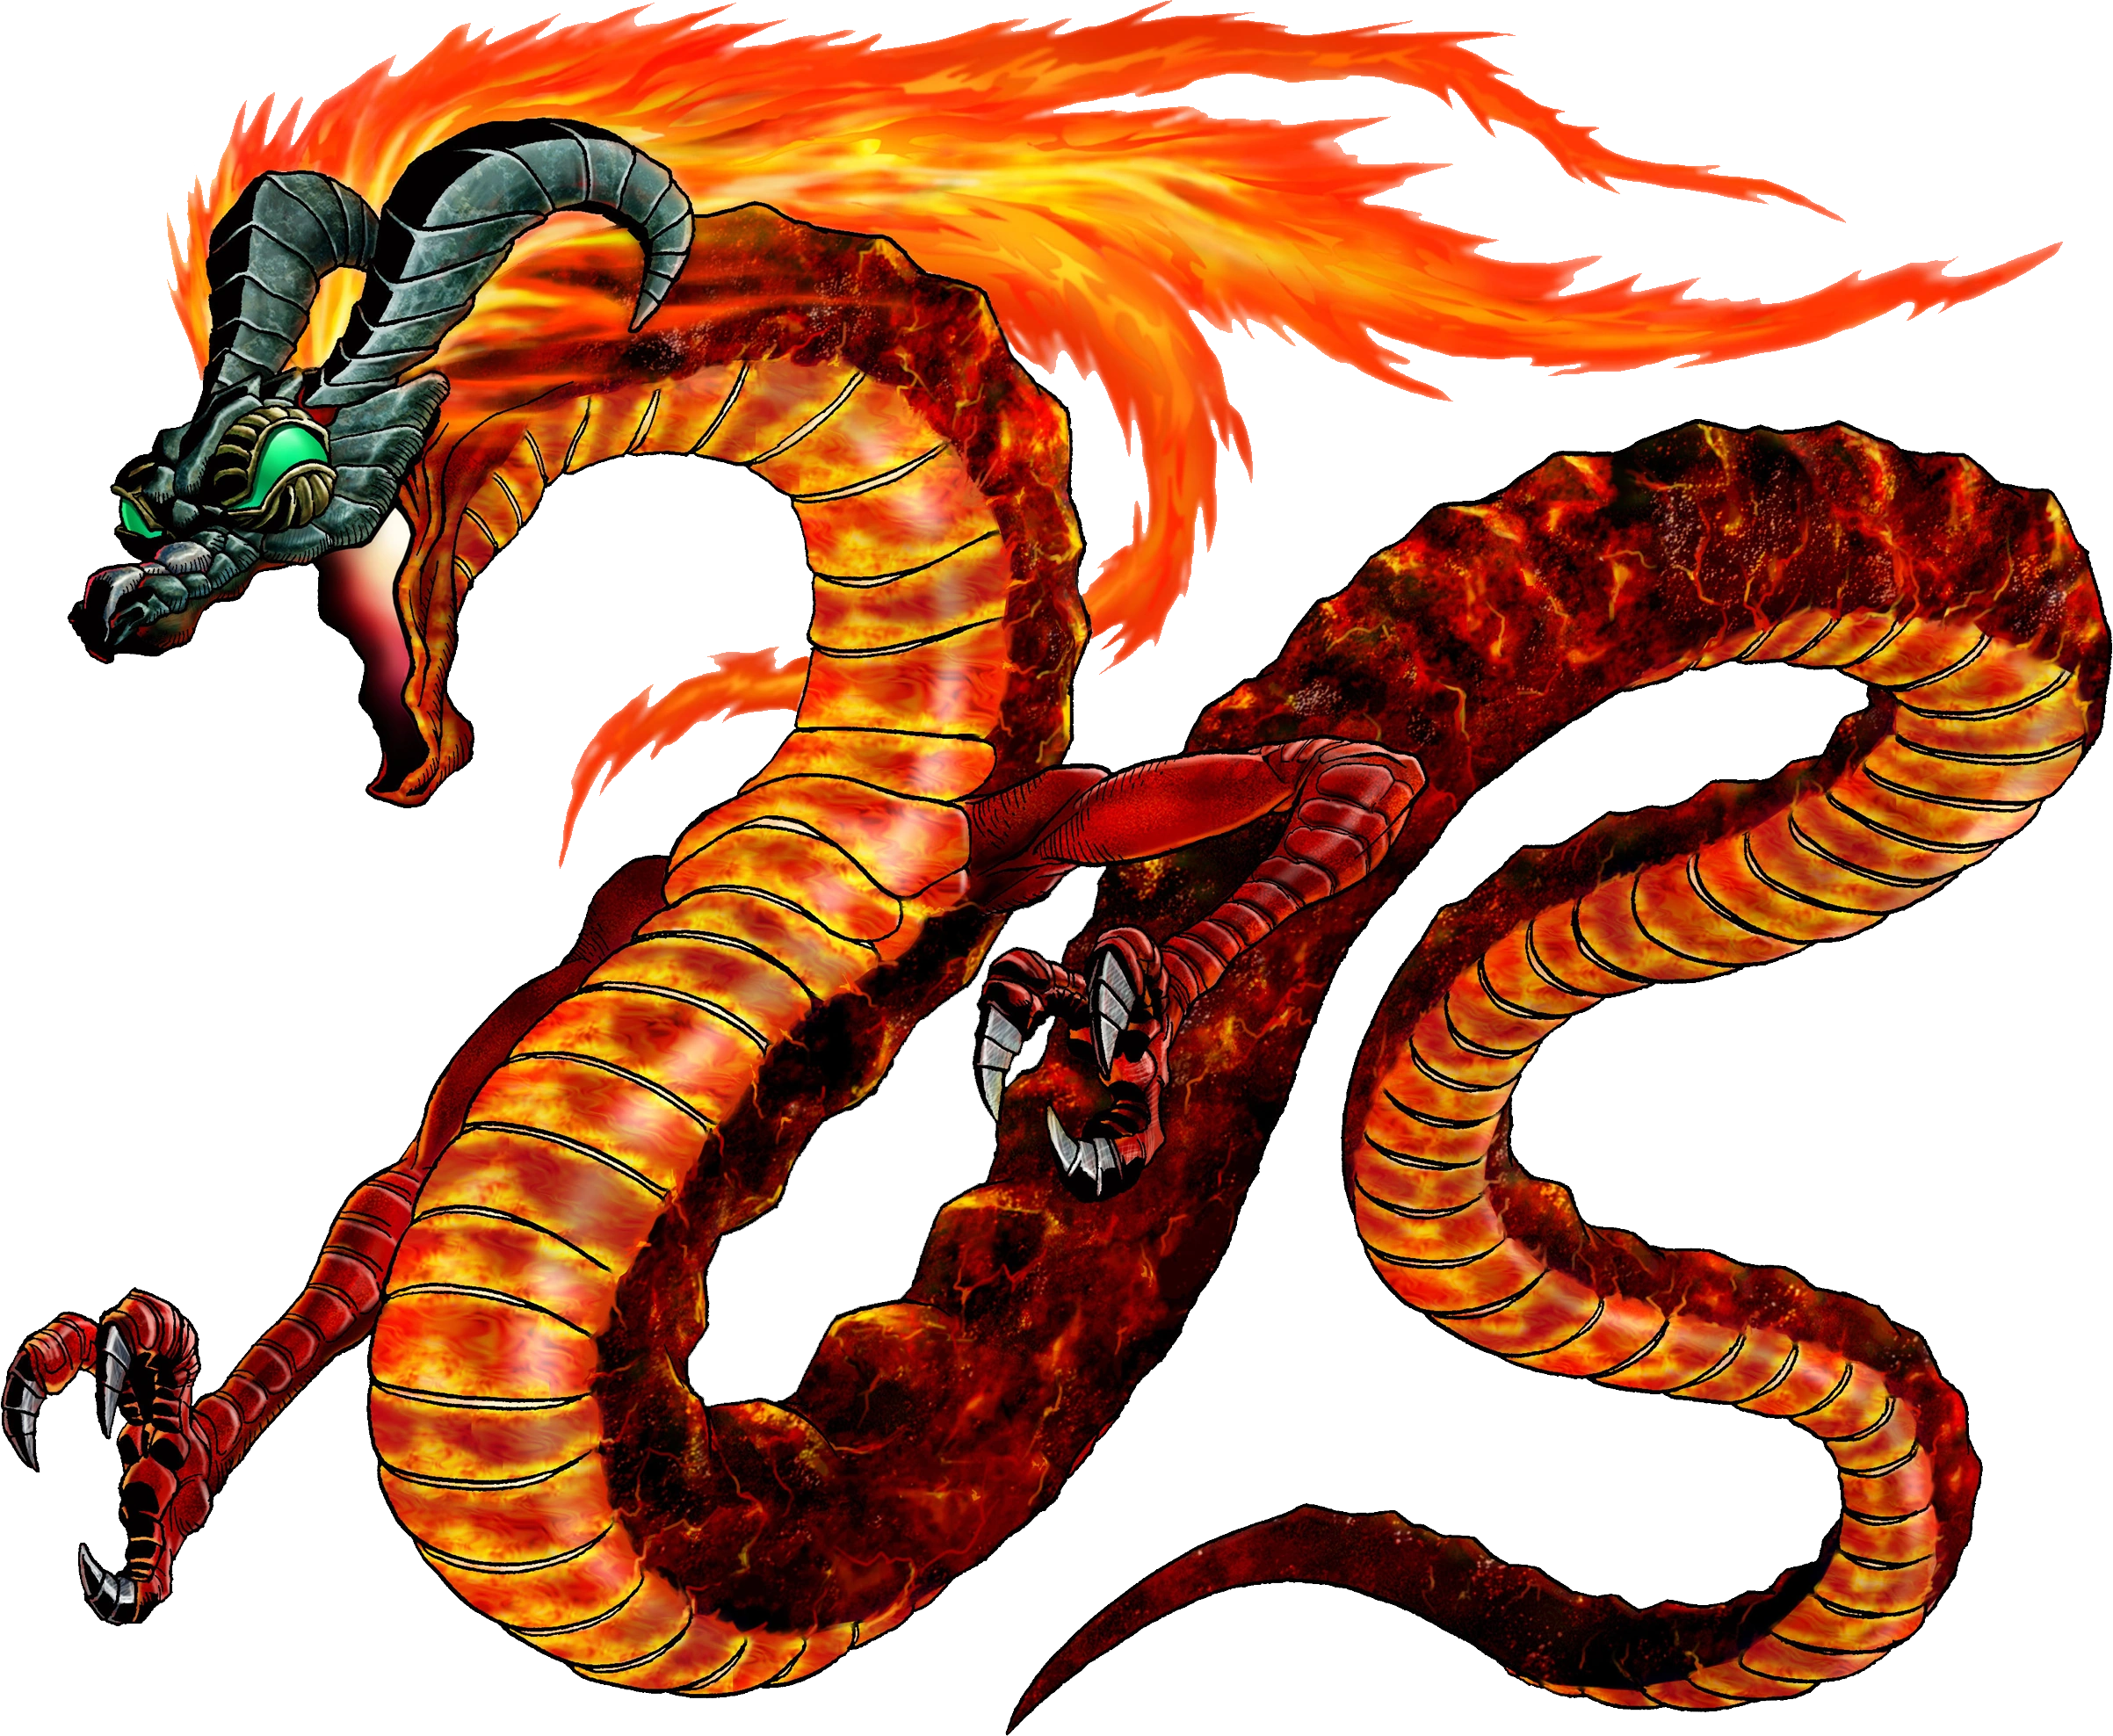
| + | |Volvagia artwork 3d.png|<center>[[Volvagia (Ocarina of Time)|Volvagia]]</center> |
||
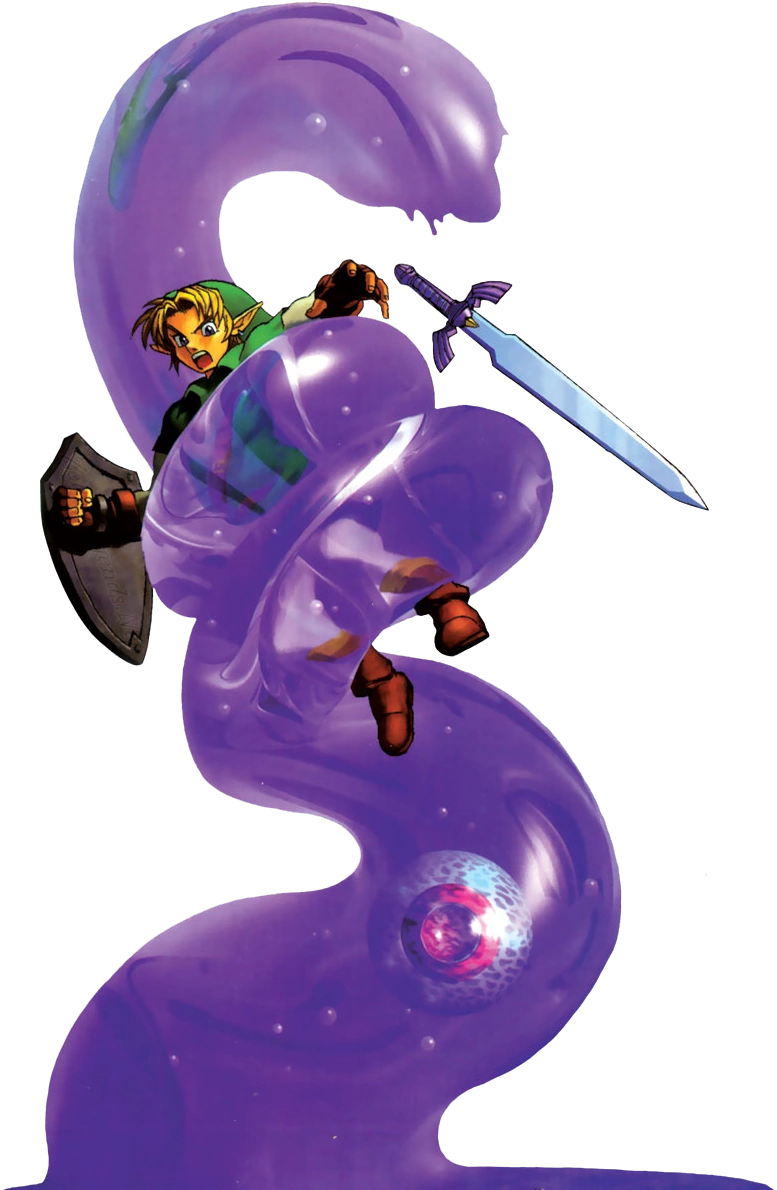
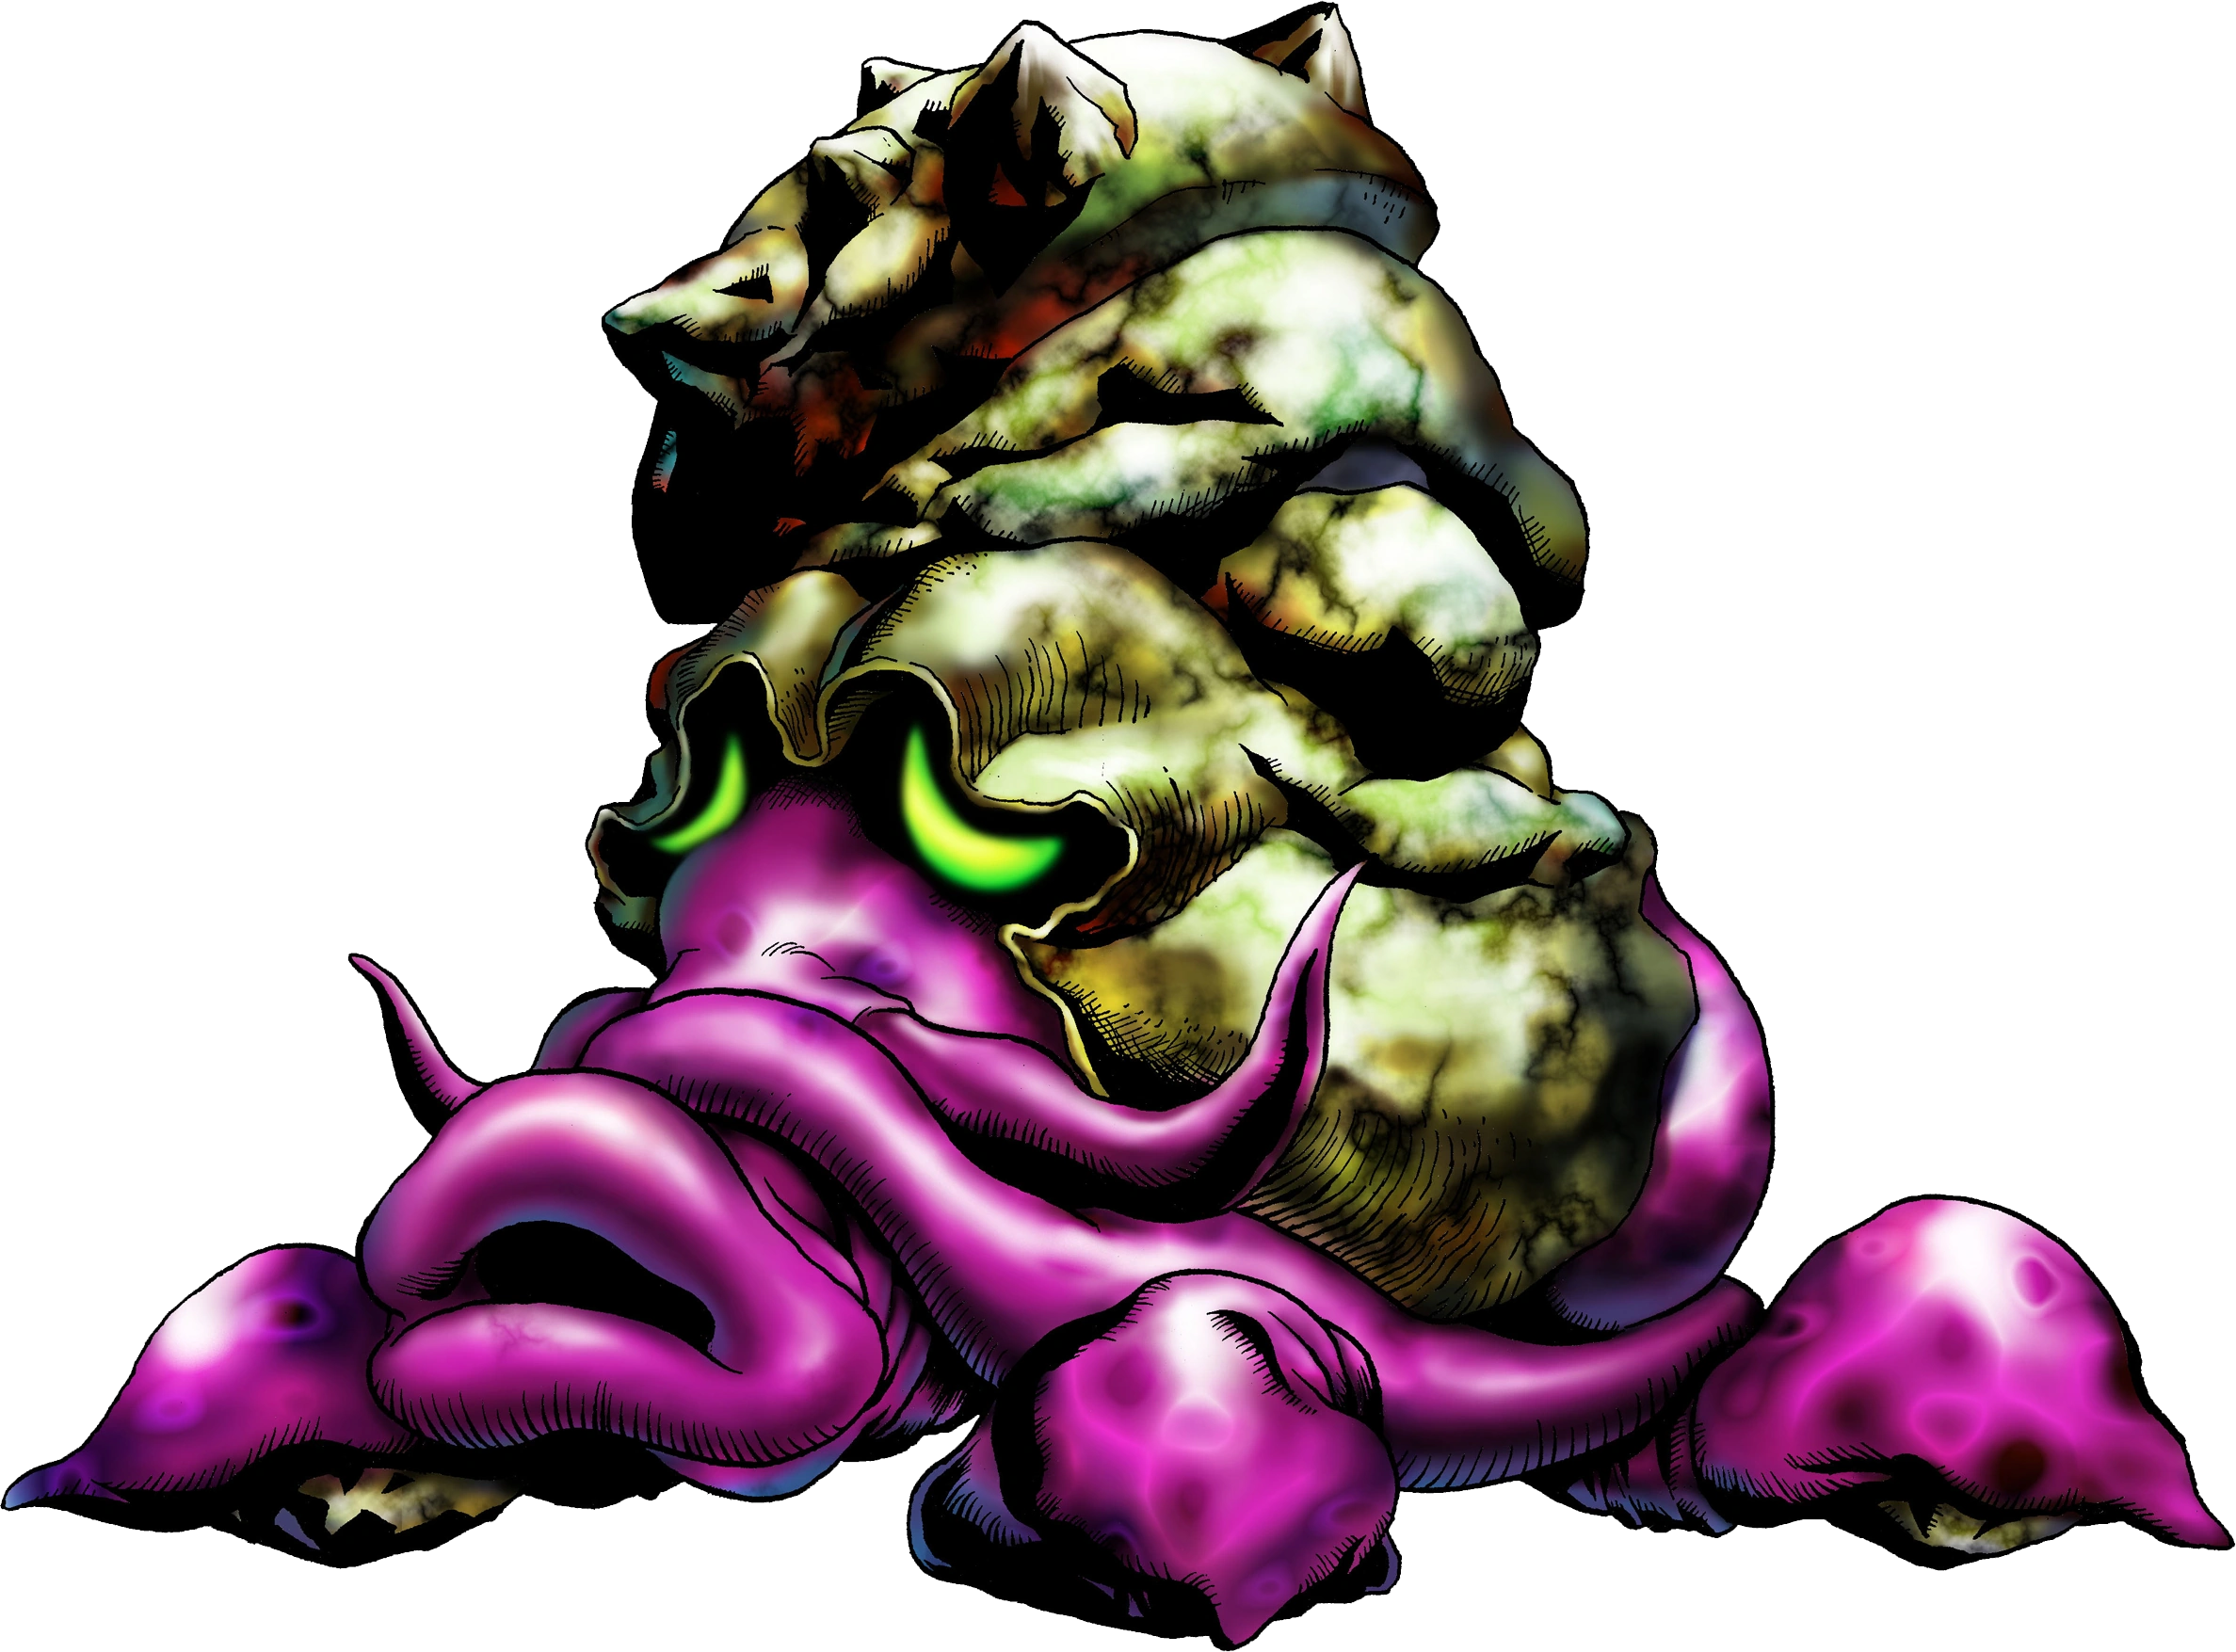
| + | |Morpha.png|<center>[[Morpha]]</center> |
||
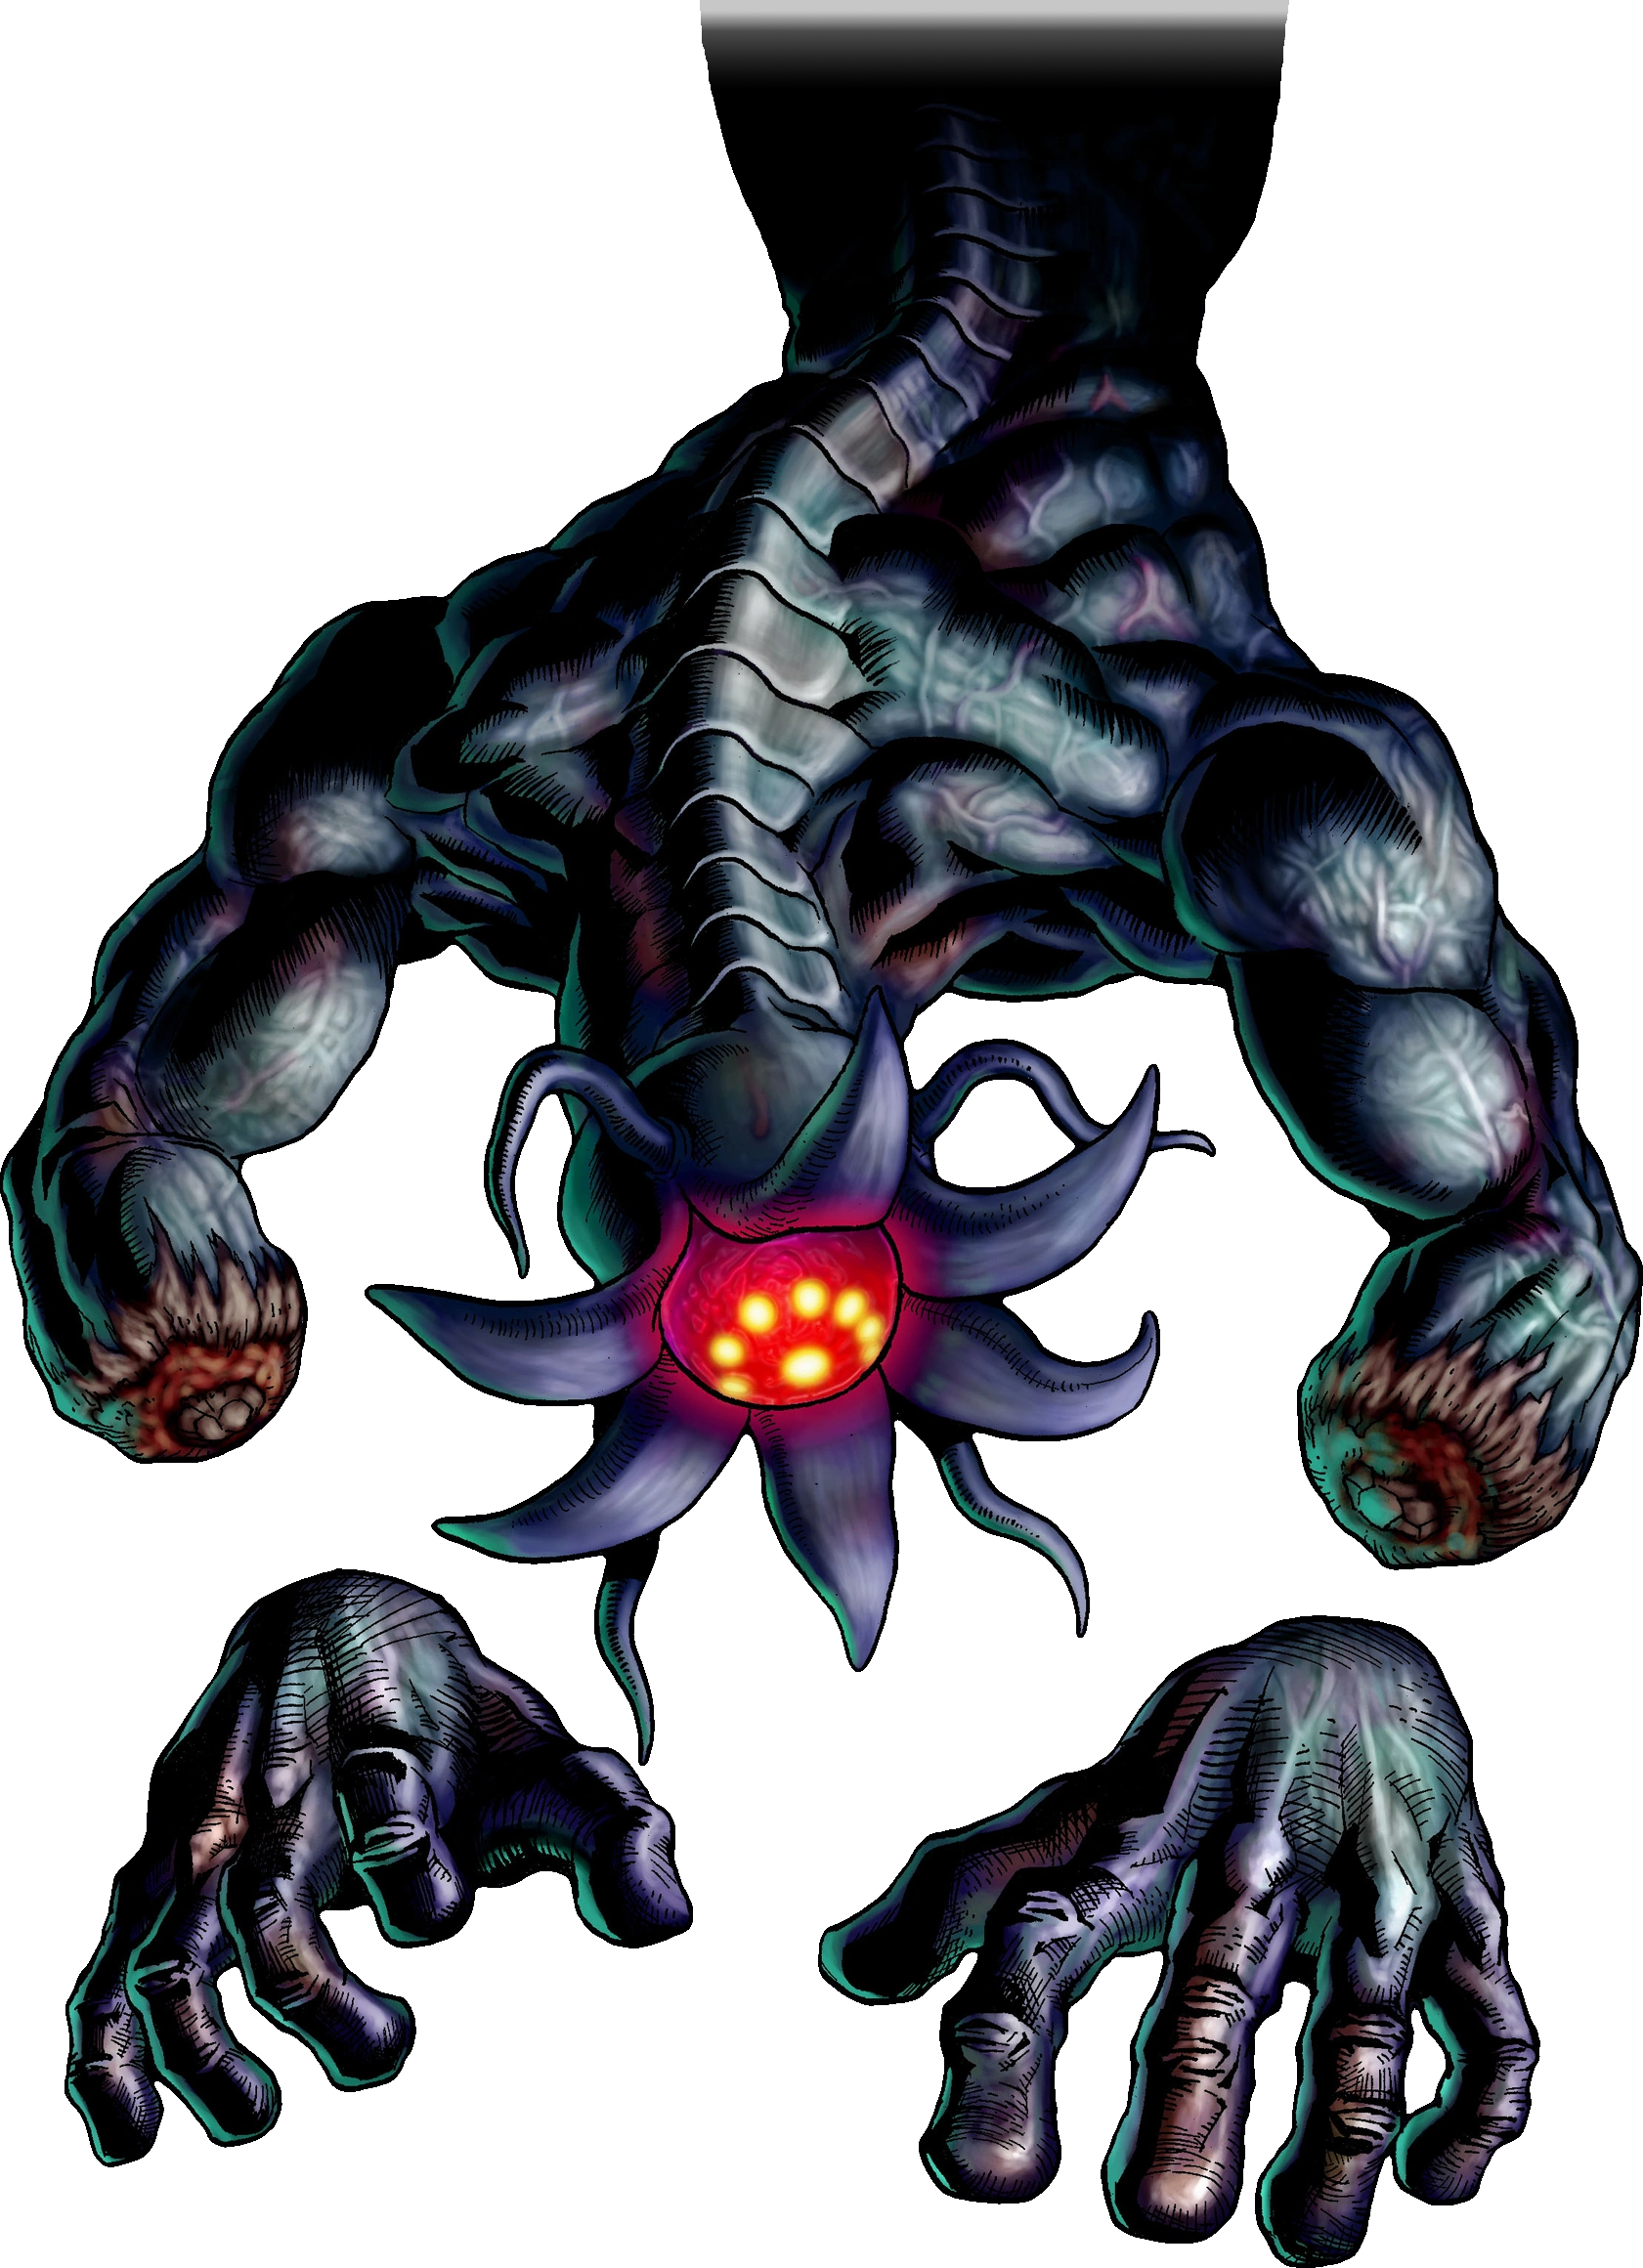
| + | |Artwork de Bongo Bongo OoT.png|<center>[[Bongo Bongo]]</center> |
||
| + | |Artwork de Birova OoT.png|<center>[[Birova (Ocarina of Time)|Birova]]</center> |
||
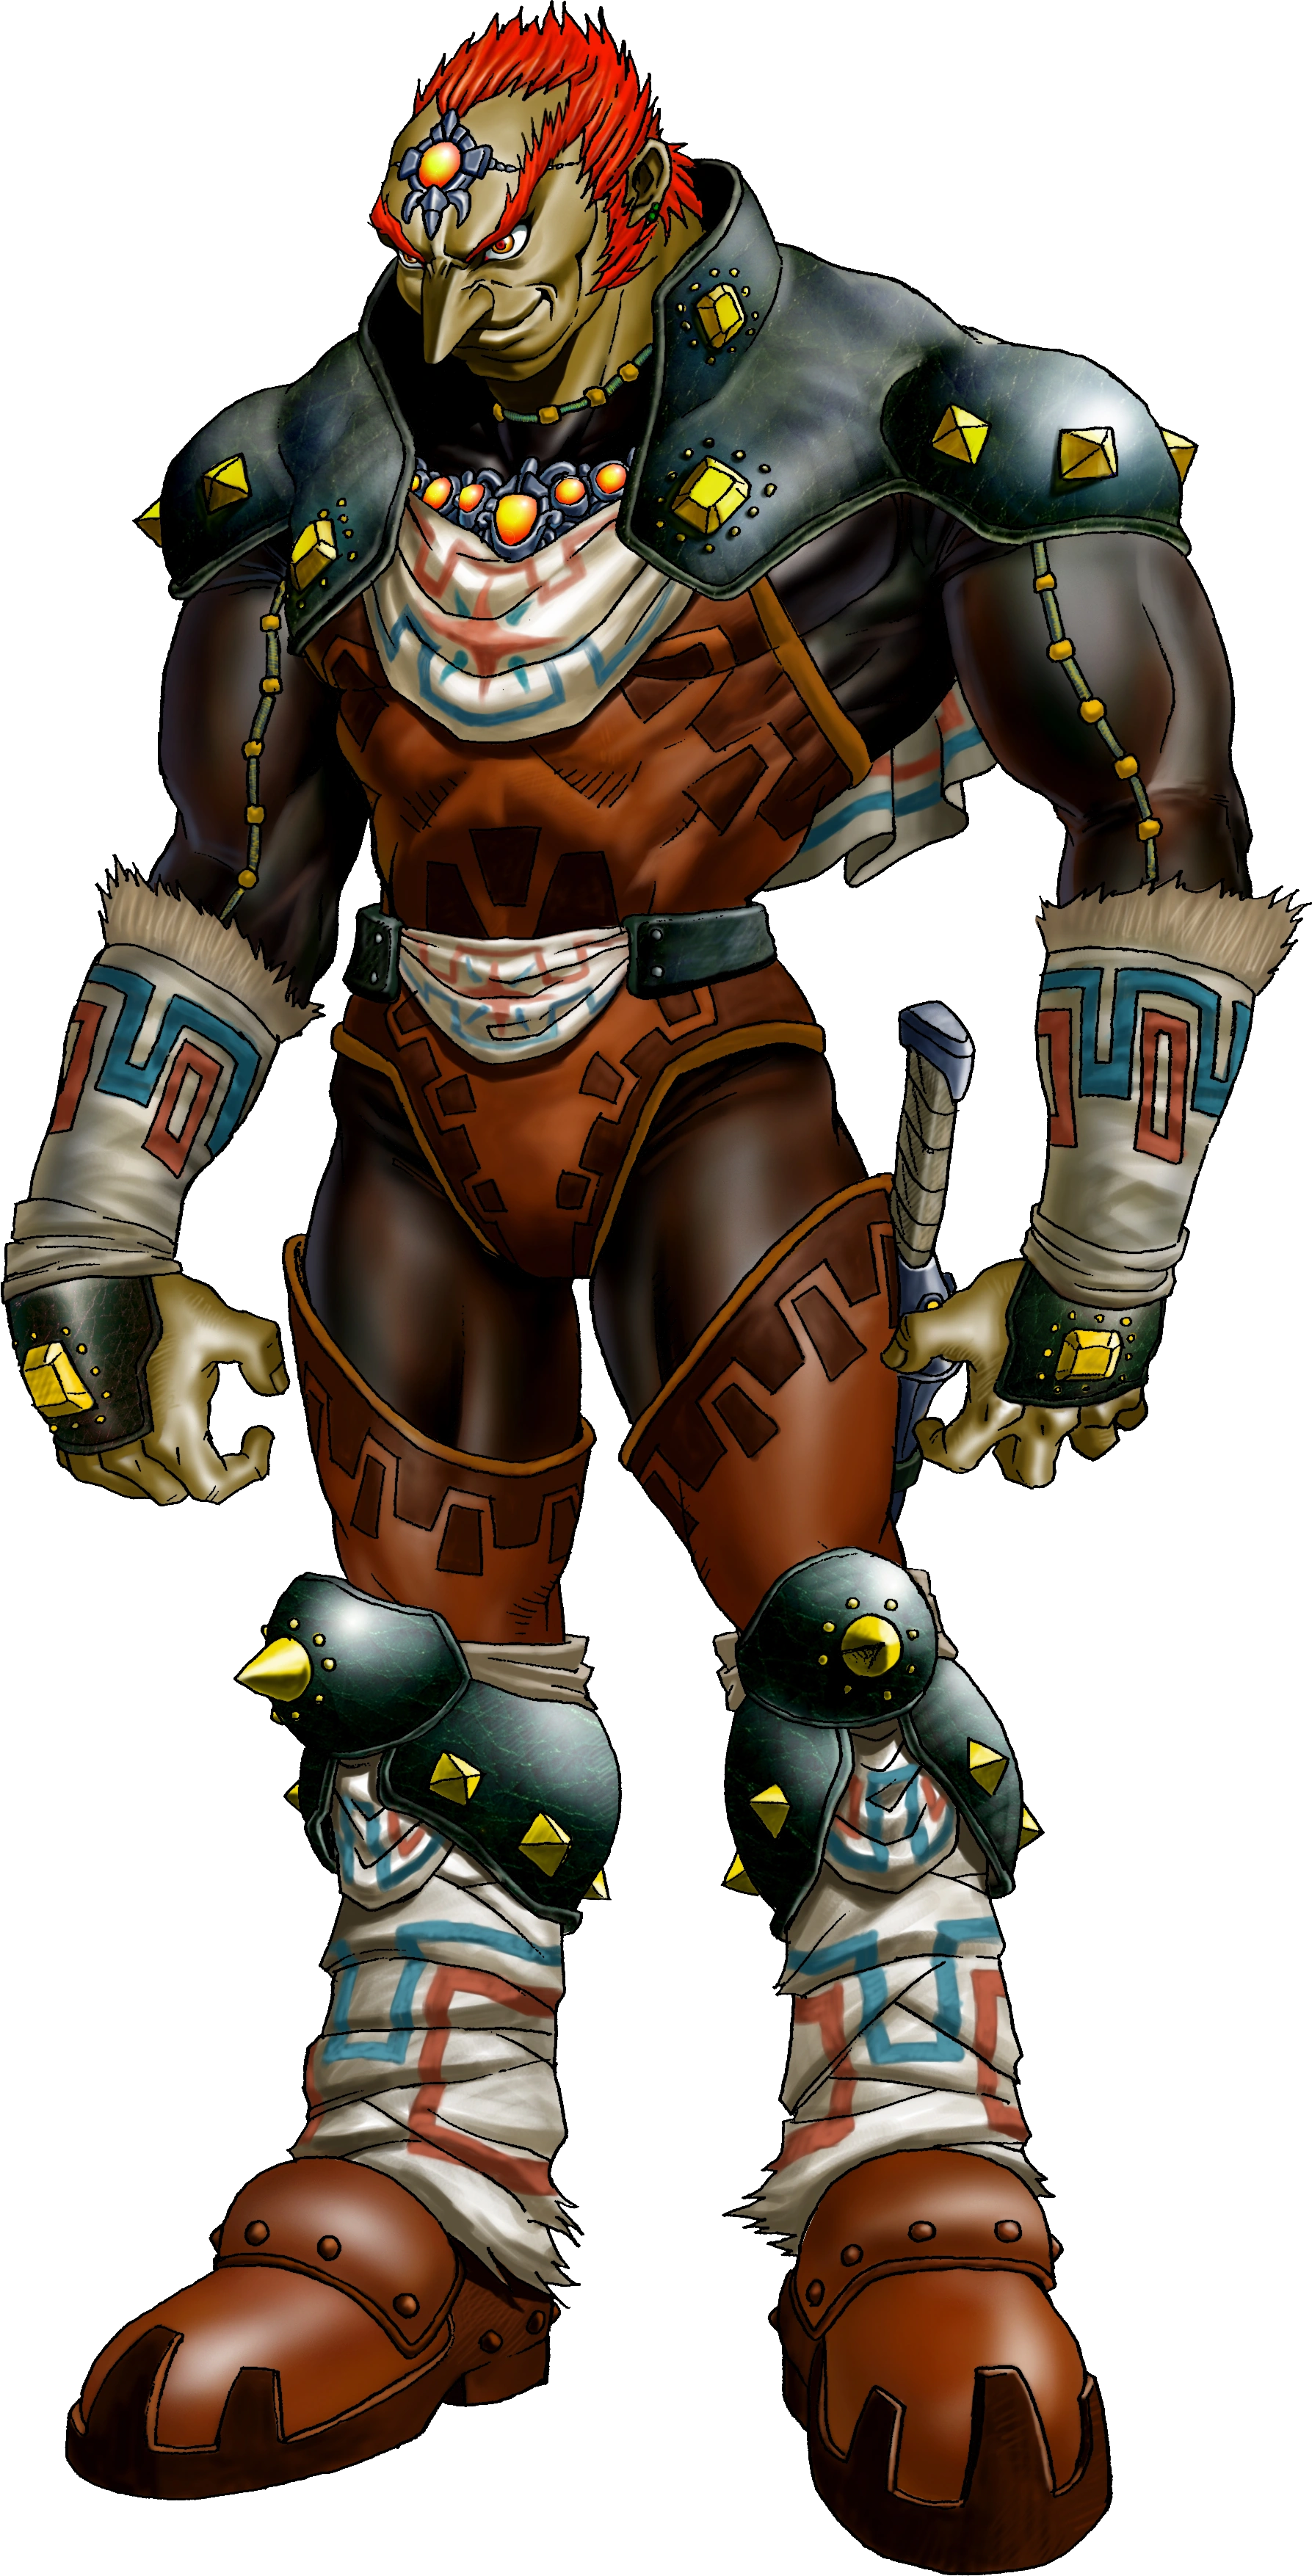
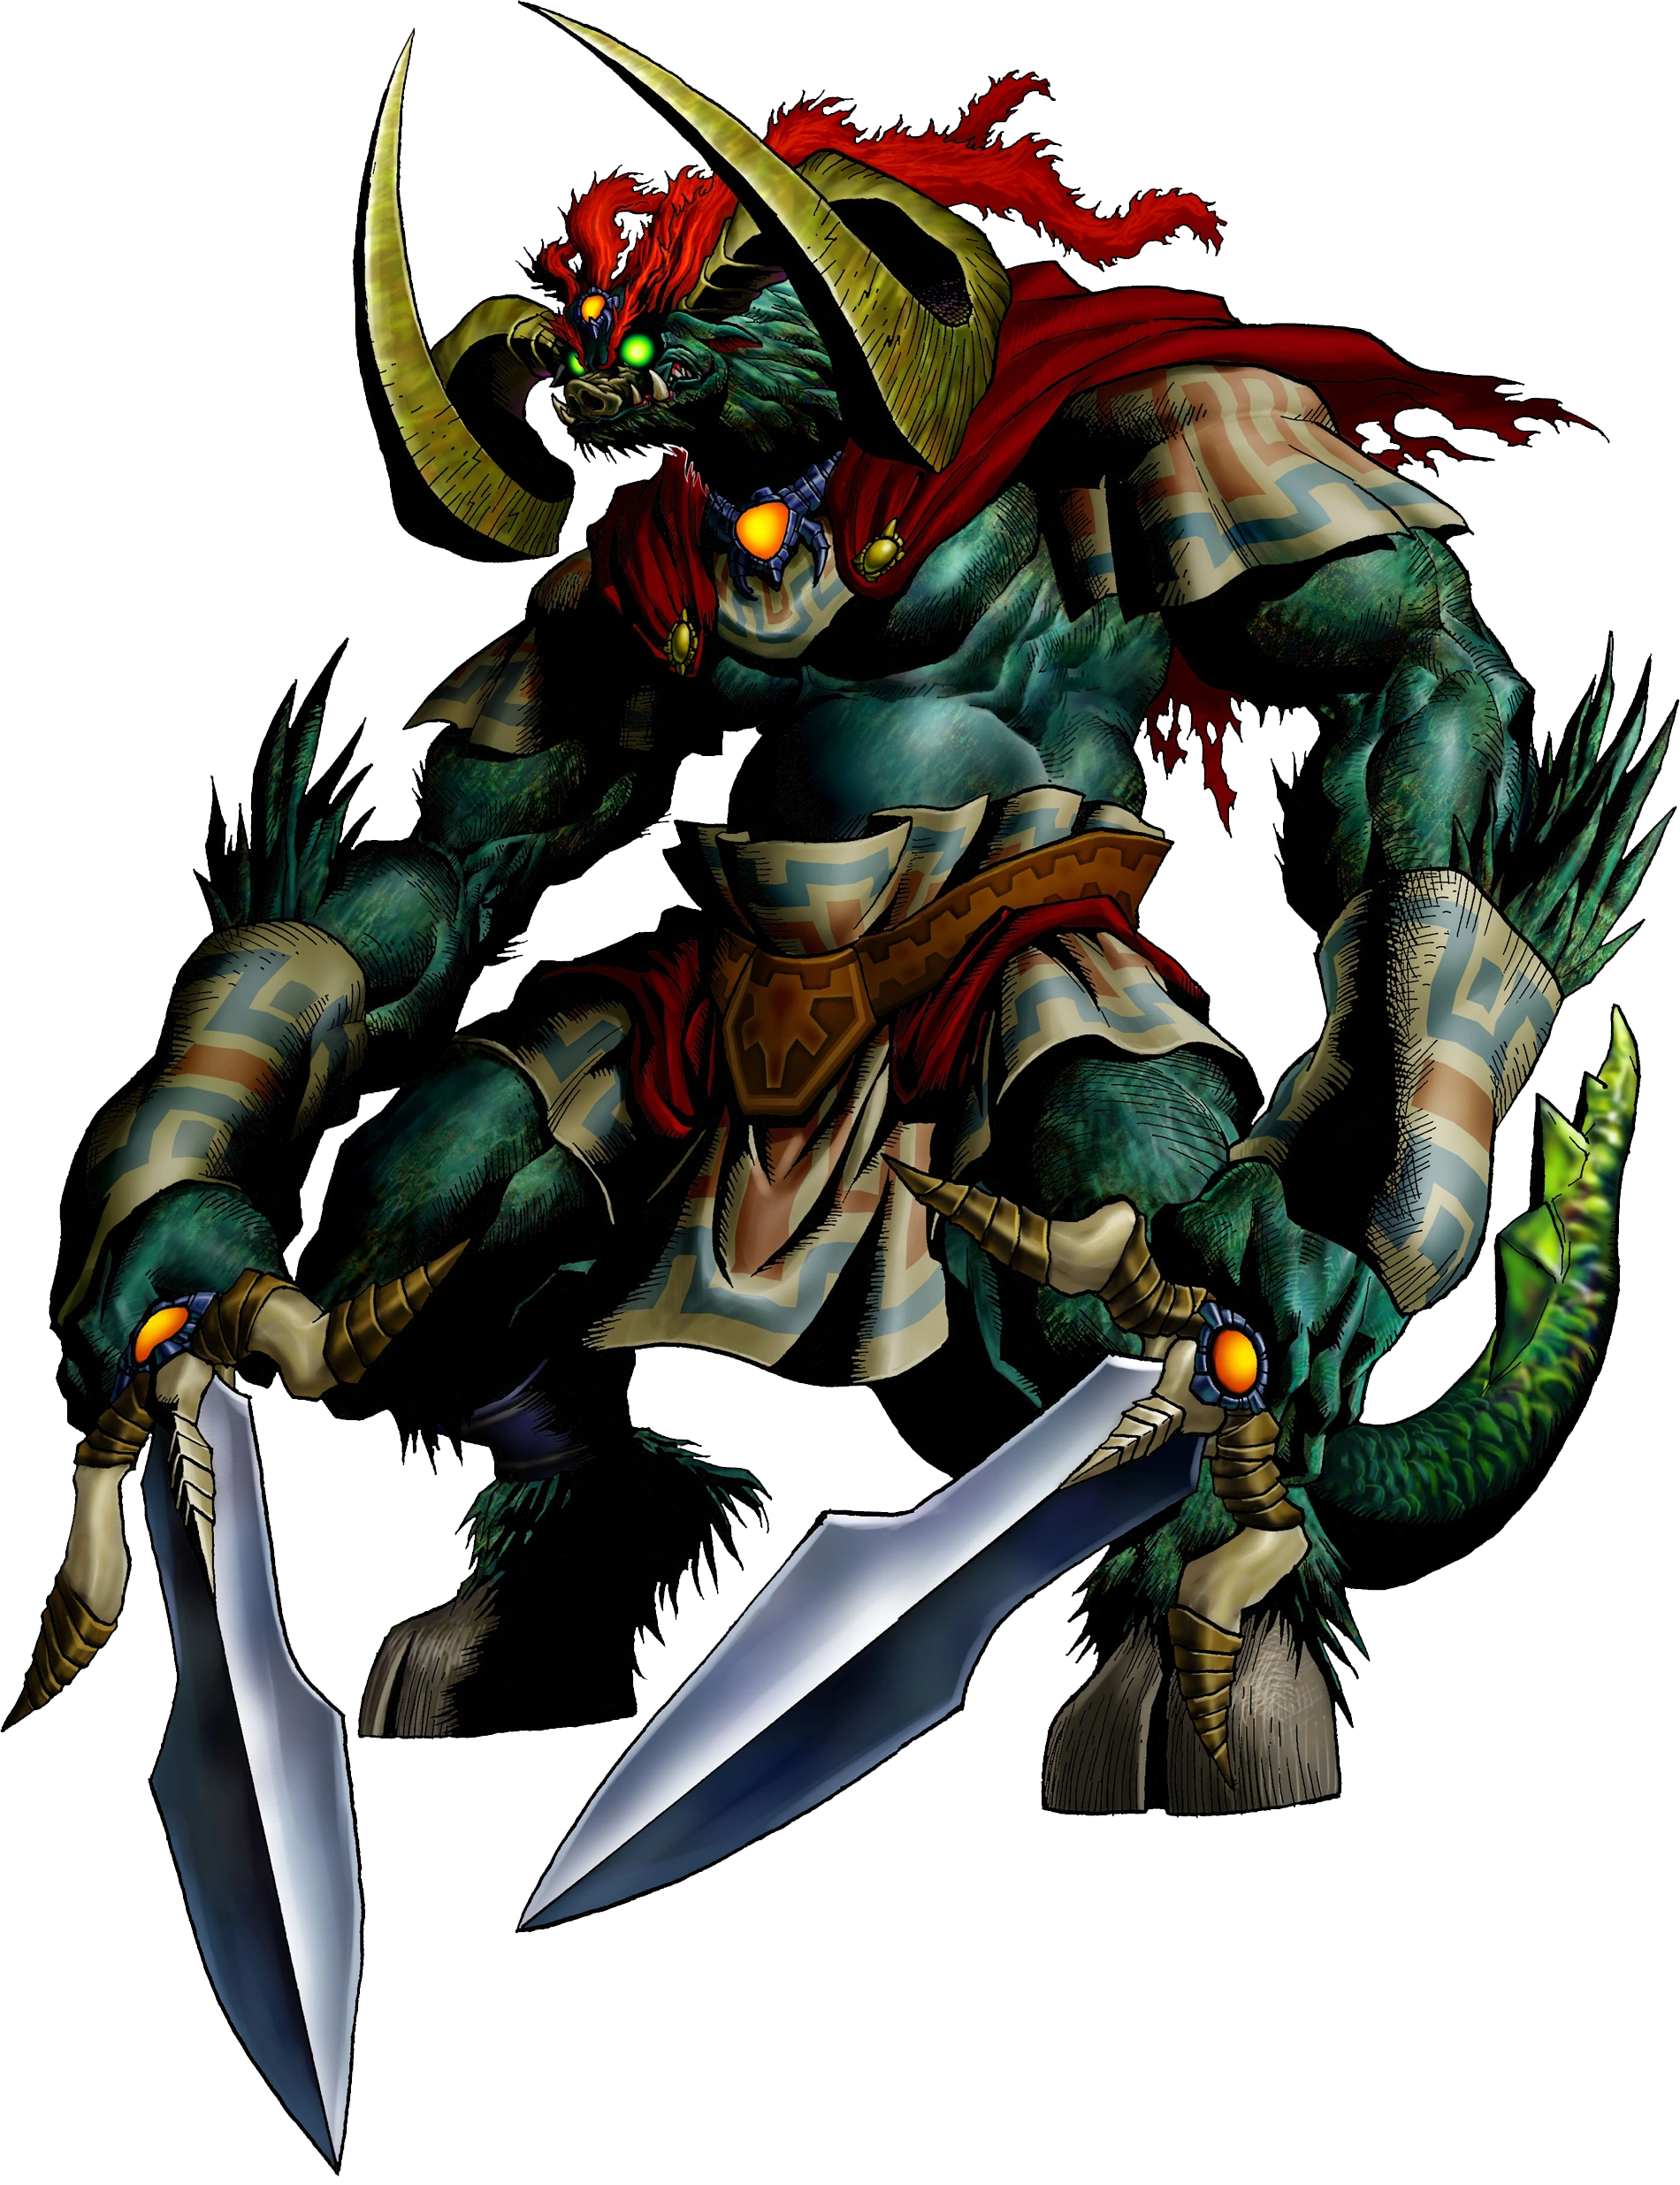
| + | |Ganondorf Artwork 3d.png|<center>[[Ganondorf (Ocarina of Time)|Ganondorf]]</center> |
||
| + | |Ganon artwork 3d.png|<center>[[Ganon (Ocarina of Time)|Ganon]]</center> |
||
| + | |position = center |
||
| + | |width = 120 |
||
| + | |height = 160}} |
||
| + | |||
| + | {{NavOoT}} |
||
[[Categoría:Enemigos de The Legend of Zelda: Ocarina of Time]] |
[[Categoría:Enemigos de The Legend of Zelda: Ocarina of Time]] |
||
[[Categoría:Enemigos]] |
[[Categoría:Enemigos]] |
||
Revisión actual - 19:45 31 dic 2019
A continuación, nombraremos los enemigos que aparecen en The Legend of Zelda: Ocarina of Time. Muchos de estos enemigos también aparecen en otros juegos.
Enemigos
 |
 |
 |
 |
 |
 |
 |
 |
 |
 |
 |
 |
 |
 |
 |
 |
 |
 |
 |
 |
 |
 |
 |
 |
 |
 |
 |
 |
 |
 |
 |
 |
 |
 |
 |
 |
 |
 |
 |
 |
 |
 |
 |
 |
 |
 |
 |
 |
 |
 |
 |
 |
 |
 |
 |
 |
Subjefes
 |
 |
 |
|
 |
 |
|
 |
|
|
 |
Jefes